Colorless spot
- “Colorless objects won't work right until you restore their color, so don't be stingy with that paint hammer!”
- —Huey, Paper Mario: Color Splash
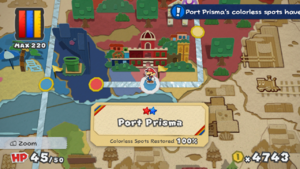
Colorless spots are areas in Paper Mario: Color Splash that have been deprived of color, mainly caused by Slurp Guys. Almost every level has colorless spots that Mario can fill in with his Paint Hammer. There are 929 in total (930 if the Princess Peach one in Black Bowser's Castle is counted too, even though game does not take it into account (for the sake of the list, it will be also included)). The percentage of colorless spots that have been painted in a level can be seen on the map, and if Mario paints every spot in a level, it gains a gold flag next to its level marker and its record becomes available in the Prisma Museum. A Super Flag is awarded for repainting every colorless spot. Their role is replaced by Not-Bottomless Holes in Paper Mario: The Origami King.
The Shy Bandit appears on the map randomly, and can suck all the color out of a level, besides colorless spots on Toads and spots that are painted in by the Big Paint Stars. If Mario does not catch the Shy Bandit in time, that level's colorless spots must be painted in again.
NOTES:
- Colorless spots with multiple colors can consume different paint depending on where the Paint Hammer strikes; these entries are marked with multiple paint blobs.
- Some colorless spots are inaccessible until returning later; these entries are highlighted in beige.
- None of the Roshambo Temples have any colorless spots.
- There are also 19 places that use paint, but they're different enough to not be considered Colorless Spots. This section can be found between Black Bowser's Castle and Statistics sections.
- There are four types of drops:
- Coins: Found in almost every Colorless Spots but their amount is random.
- Globs of Paint: Found in only a few Colorless Spots, with their amount also random.
- Battle Cards: Found in the most Colorless Spots. Each Colorless Spot that has a card has a specific card that drops from it every time, with multiple exceptions, where there are multiple cards picked from a specific group (will be specifed in the specific drop).
- Hearts: Found only if Mario has low HP.
Port Prisma[edit]
There are a total of 80 Colorless spots to fill in Port Prisma:
- 64 from environment
- 16 from Toads
| Location | Drop | Necessity | Image |
|---|---|---|---|
| Port Prisma | 80 Colorless Spots (64 enviroment, 16 Toads) | |||
| None | Required | 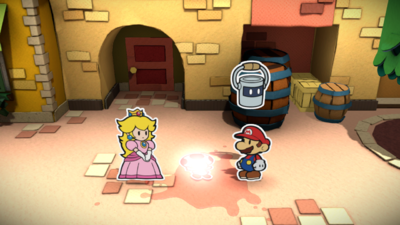
| |
| None | Required | 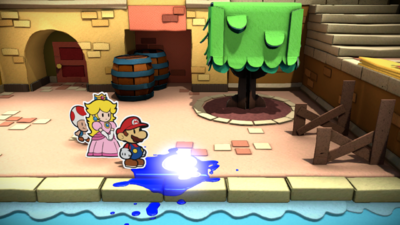
| |
 Coins |
Optional | 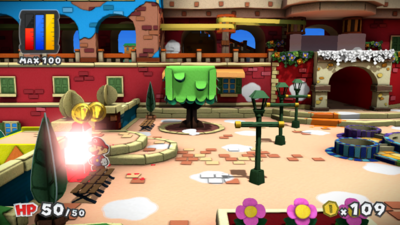
| |
 Coins |
Optional | 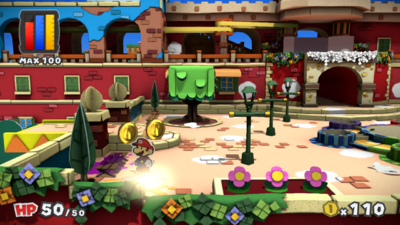
| |
  Coins, Worn-Out Jump Battle Card |
Optional | 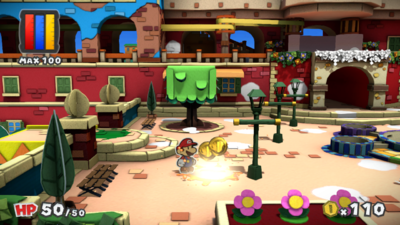
| |
 Coins |
Optional | 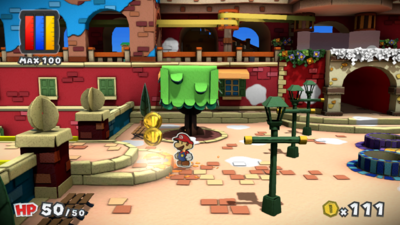
| |
 Coins |
Optional | 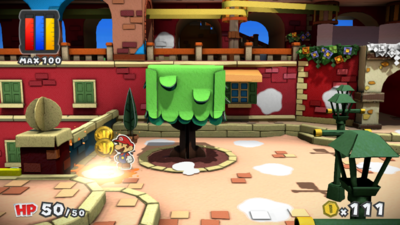
| |
 Coins |
Optional | 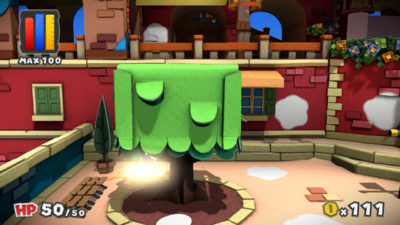
| |
 Coins |
Optional | 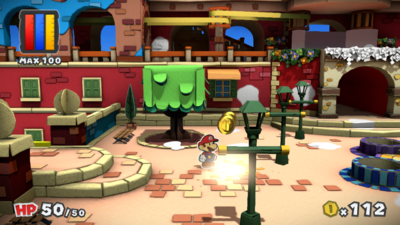
| |
 Coins |
Optional | 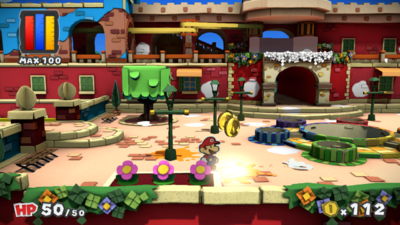
| |
 Coins |
Optional | 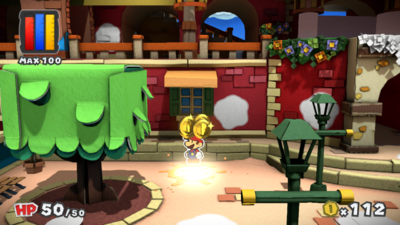
| |
 Coins |
Optional | 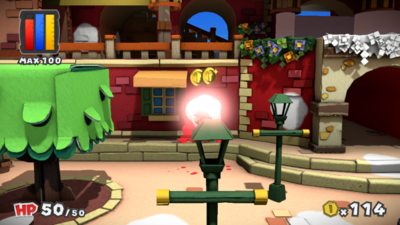
| |
 Coins |
Optional | 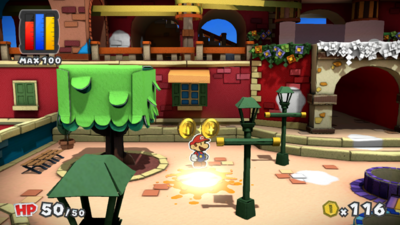
| |
 Coins |
Optional | 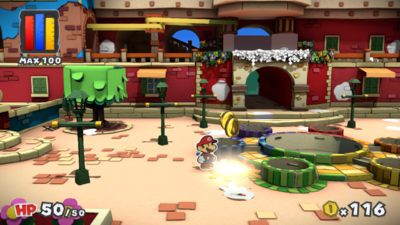
| |
 Coins |
Optional | 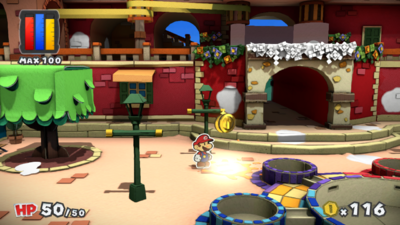
| |
 Coins |
Optional | 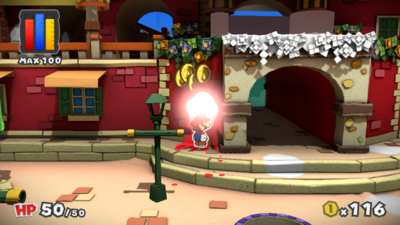
| |
 Coins |
Optional | 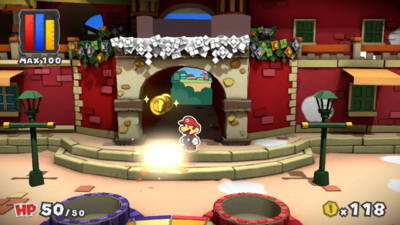
| |
 Coins |
Optional | 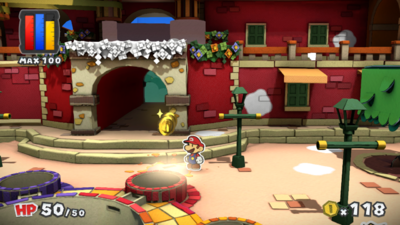
| |
 Coins |
Optional | 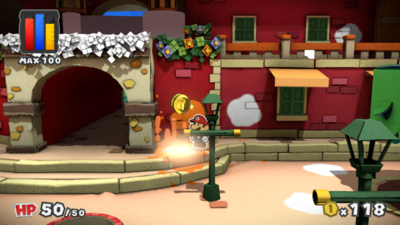
| |
  Coins, Worn-Out Hammer Battle Card |
Optional | 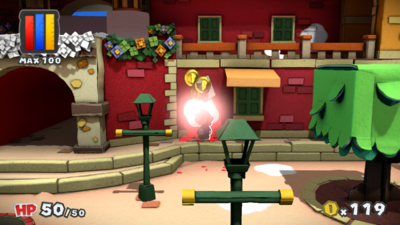
| |
 Coins |
Optional | 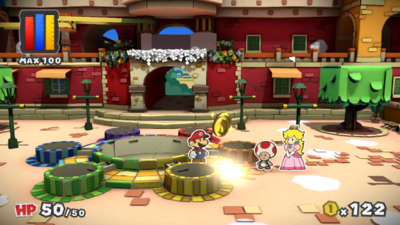
| |
 Coins |
Optional | 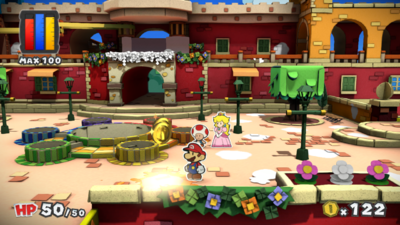
| |
 Coins |
Optional | 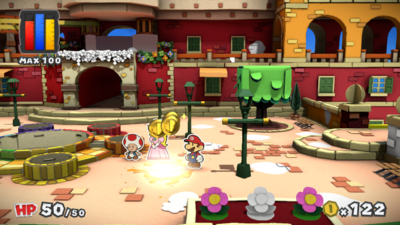
| |
 Coins |
Optional | 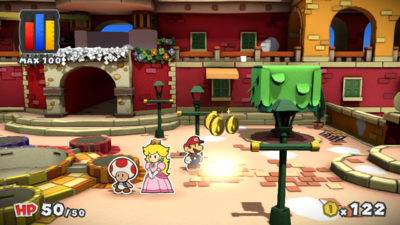
| |
 Coins |
Optional | 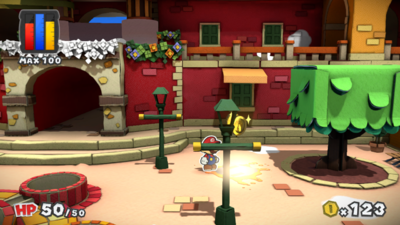
| |
 Coins |
Optional | 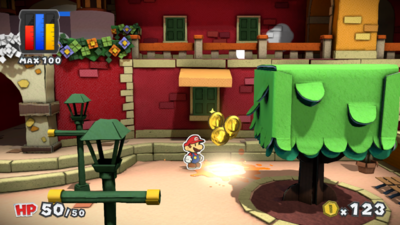
| |
 Coins |
Optional | 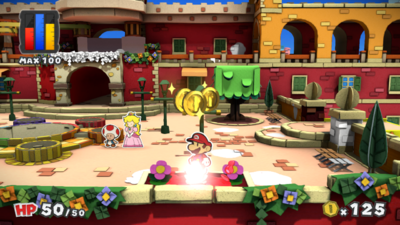
| |
  Coins, Worn-Out Hammer Battle Card |
Optional | 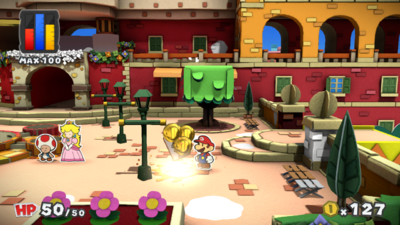
| |
 Coins |
Optional | 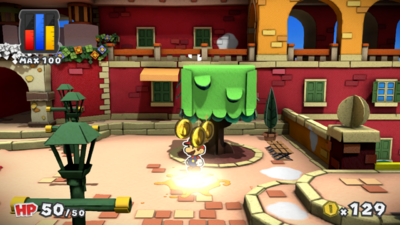
| |
 Coins |
Optional | 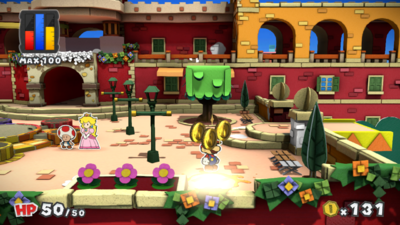
| |
 Coins |
Optional | 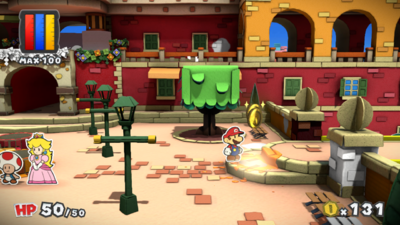
| |
 Coins |
Optional | 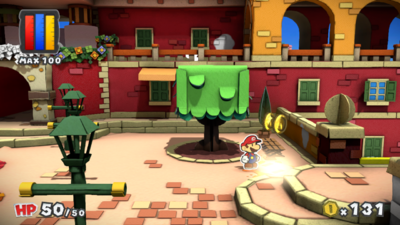
| |
  Coins, Worn-Out Jump Battle Card |
Optional | 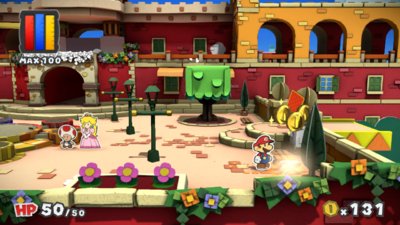
| |
 Coins |
Optional | 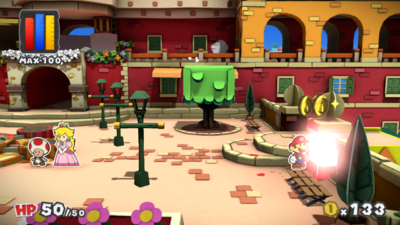
| |
 Coins |
Optional | 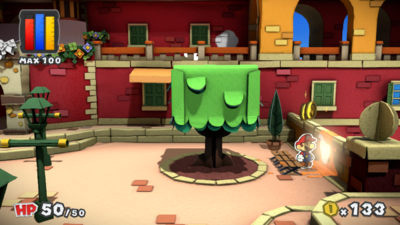
| |
| None | Optional | 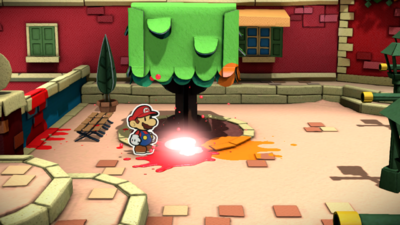
| |
| None | Optional | 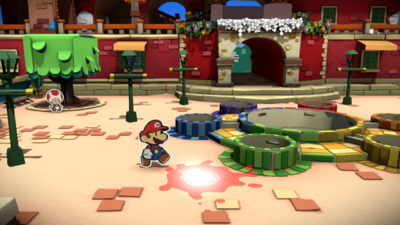
| |
| None | Optional | 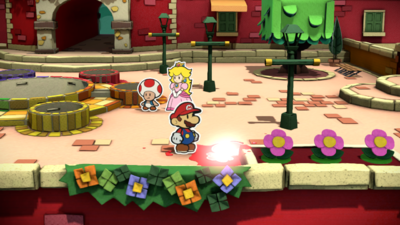
| |
 Coins |
Optional | 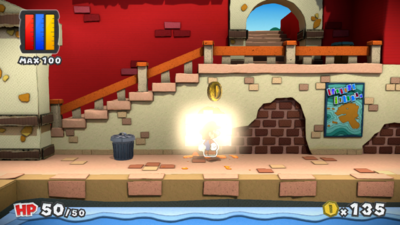
| |
| None | Required | 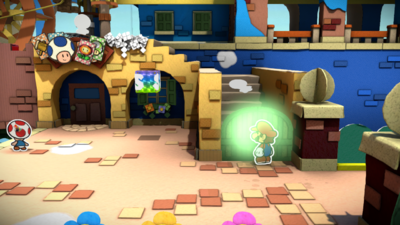
| |
 Coins |
Optional | 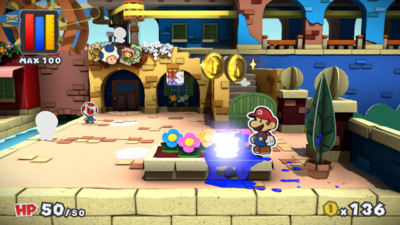
| |
 Coins |
Optional | 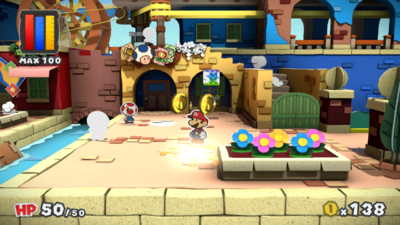
| |
 Coins |
Optional | 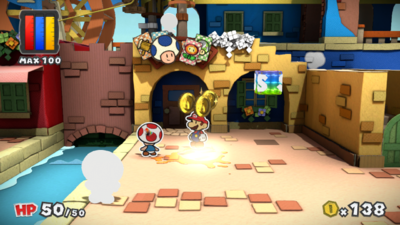
| |
| None | Optional | 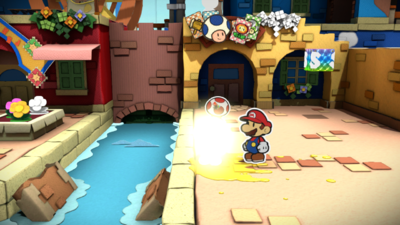
| |
| None | Optional | 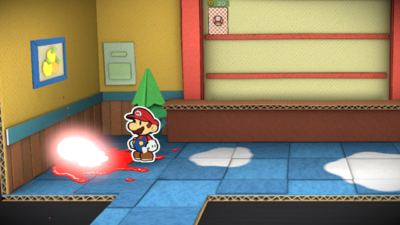
| |
 Coins |
Optional | 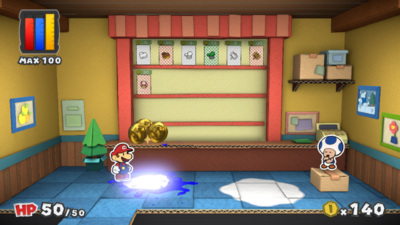
| |
 Coins |
Optional | 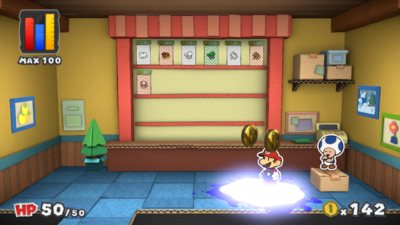
| |
| None | Optional | 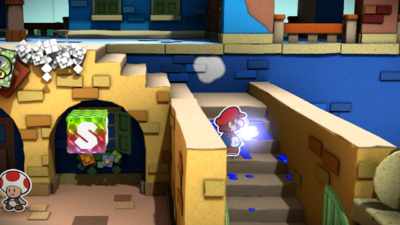
| |
 Coins |
Optional | 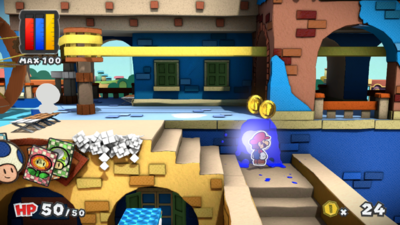
| |
 Coins |
Optional | 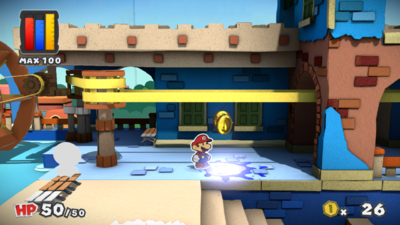
| |
 Coins |
Optional | 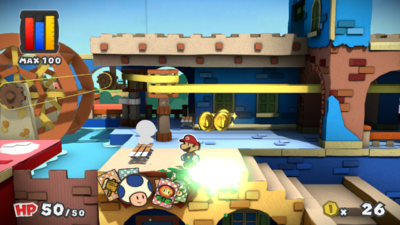
| |
 Coins |
Optional | 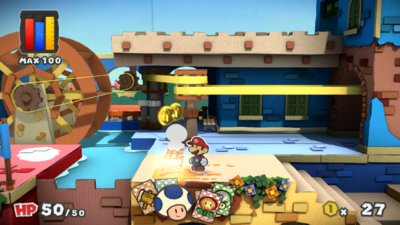
| |
| None | Optional | 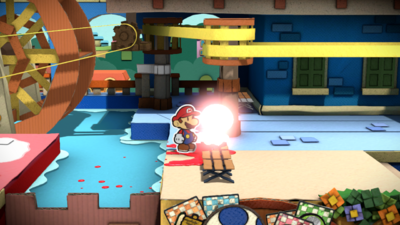
| |
 Coins |
Optional | 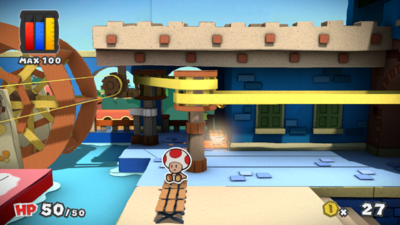
| |
 Coins |
Optional | 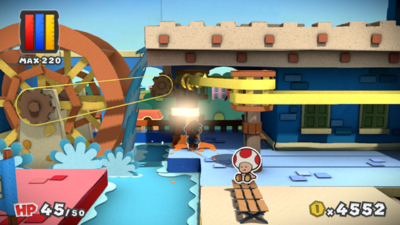
| |
  Coins, Worn-Out Jump Battle Card |
Optional | 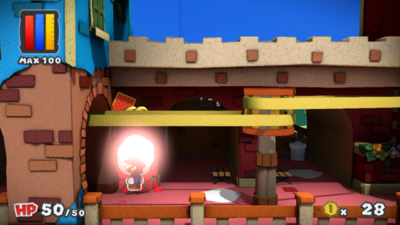
| |
  Coins, Worn-Out Jump Battle Card |
Optional | 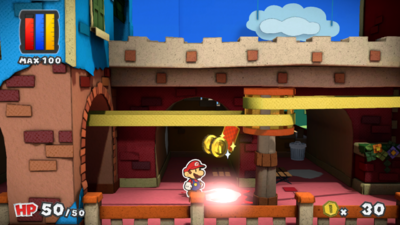
| |
 Coins |
Optional | 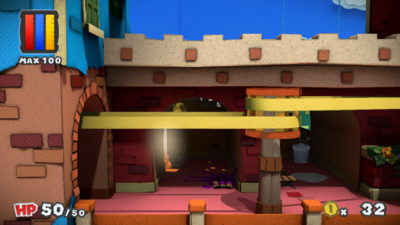
| |
 Coins |
Optional | 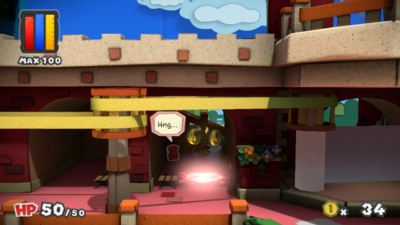
| |
 Coins |
Optional | 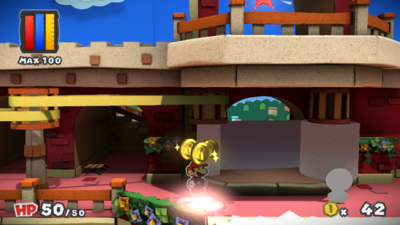
| |
 Coins |
Optional | 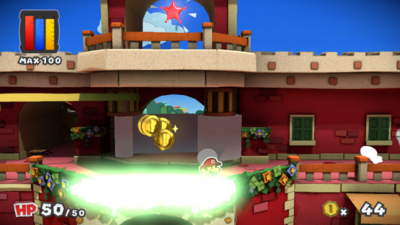
| |
| None | Optional | 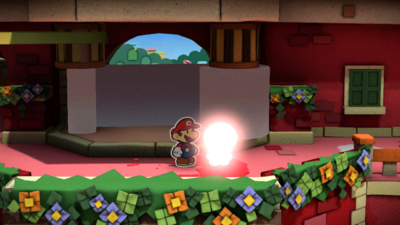
| |
 Coins |
Optional | 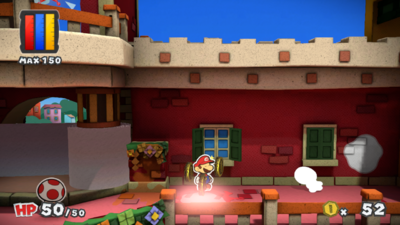
| |
| None | Optional | 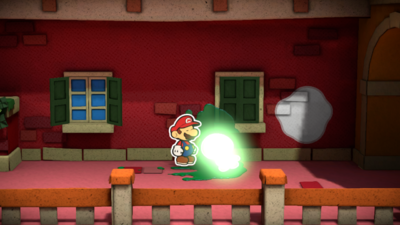
| |
 Coins |
Optional | 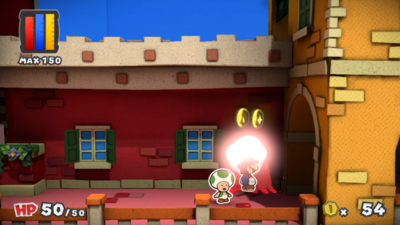
| |
| None | Optional | 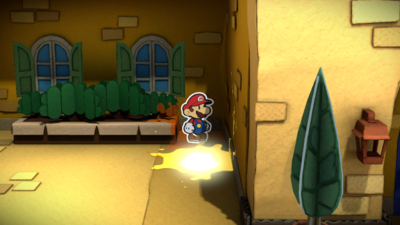
| |
 Coins |
Optional | 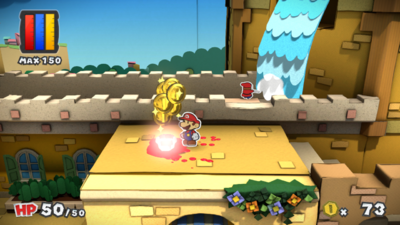
| |
| None | Required | 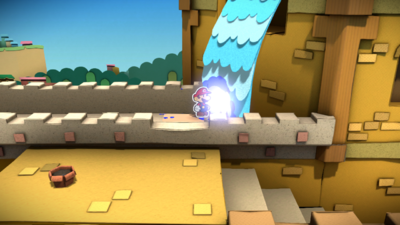
| |
 Coins |
Optional | 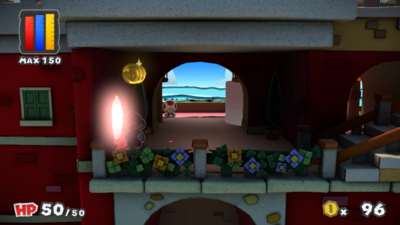
| |
| Required: Rescue bridge builder Toad at the Crimson Tower. |
 Coins |
Optional | 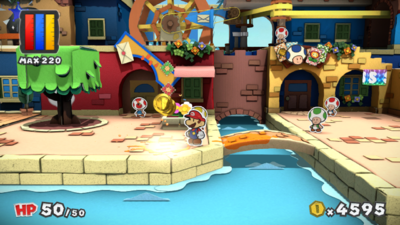
|
| Required: Rescue bridge builder Toad at the Crimson Tower. |
 Coins |
Optional | 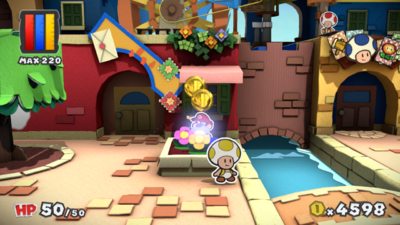
|
| Required: Rescue bridge builder Toad at the Crimson Tower. |
 Coins |
Optional | 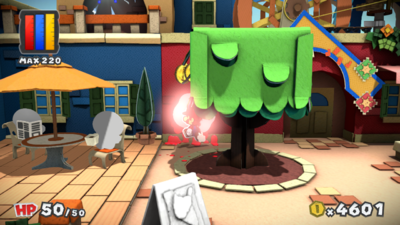
|
| Required: Rescue bridge builder Toad at the Crimson Tower. |
 Coins |
Optional | 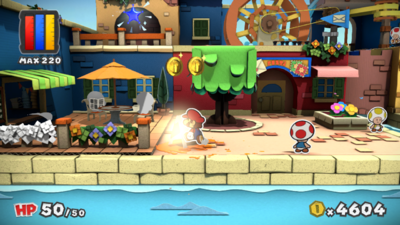
|
| Required: Rescue bridge builder Toad at the Crimson Tower. |
 Coins |
Optional | 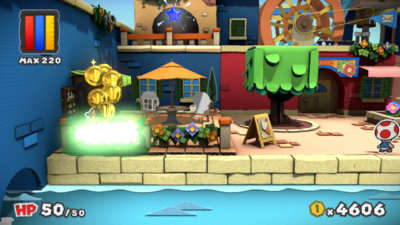
|
| Required: Rescue bridge builder Toad at the Crimson Tower. |
None | Optional | 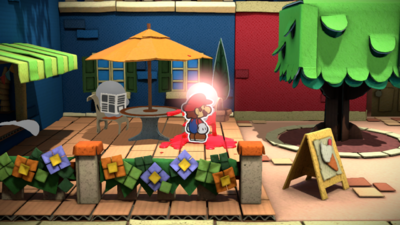
|
| Required: Rescue bridge builder Toad at the Crimson Tower. |
None | Optional | 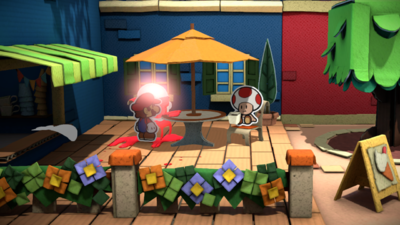
|
| Required: Rescue bridge builder Toad at the Crimson Tower. |
None | Optional | 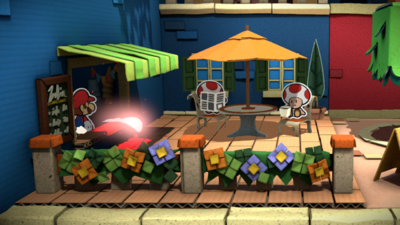
|
| Required: Rescue bridge builder Toad at the Crimson Tower. |
 Coins |
Optional | 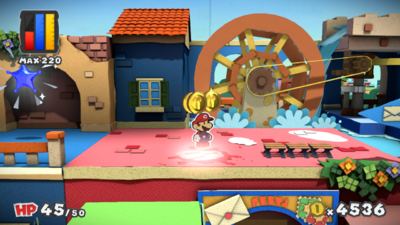
|
| Required: Rescue bridge builder Toad at the Crimson Tower. |
 Coins |
Optional | 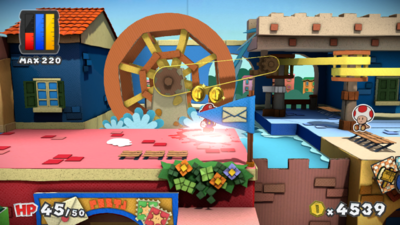
|
| Required: Rescue bridge builder Toad at the Crimson Tower. |
None | Optional | 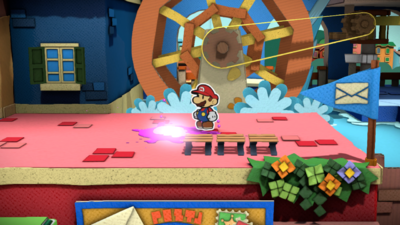
|
Red courses[edit]
There are a total of 125 Colorless spots to fill in the red courses:
- Ruddy Road has 40 Colorless spots - 39 from environment, 1 from Toad
- Cherry Lake has 29 Colorless spots from environment
- Redpepper Volcano has 13 Colorless spots from environment
- Redpepper Crater has 19 Colorless spots from environment
- The Crimson Tower has 24 Colorless spots - 22 from environment, 2 from Toads
| Location | Drop | Necessity | Image |
|---|---|---|---|
| Ruddy Road | 40 Colorless spots (39 environment, 1 Toad) | |||
 Coins |
Optional | 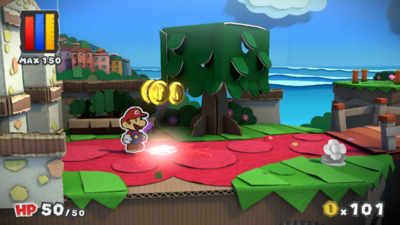
| |
 Coins |
Optional | 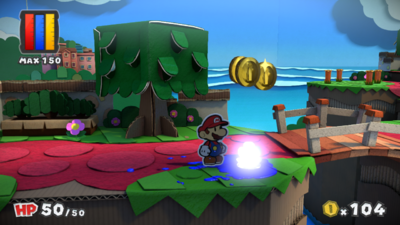
| |
  Coins, Fire Flower Battle Card |
Optional | 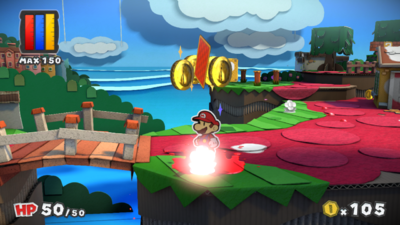
| |
  Coins, Worn-Out Jump Battle Card |
Optional | 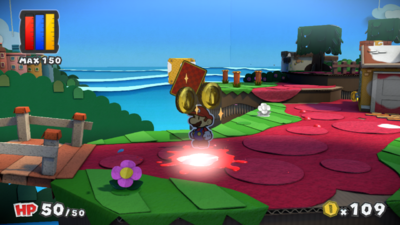
| |
 Coins |
Optional | 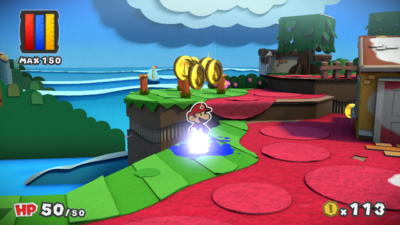
| |
 Coins |
Optional | 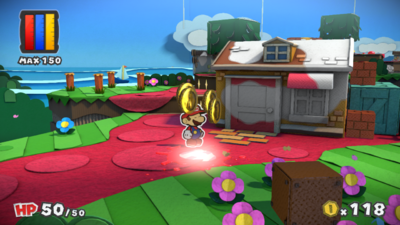
| |
 Coins   Any combination of 3 Cards from Hammer and Jump |
Optional | 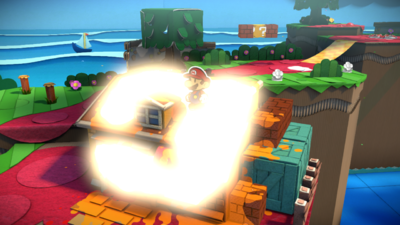
| |
  Coins, Hammer Battle Card |
Optional | 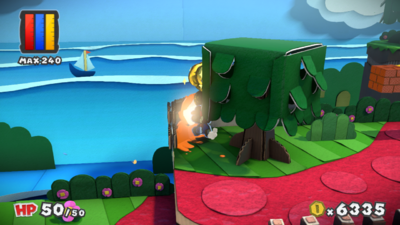
| |
 Coins |
Optional | 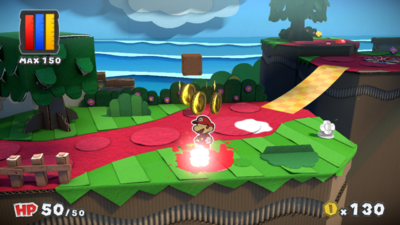
| |
 Coins |
Optional | 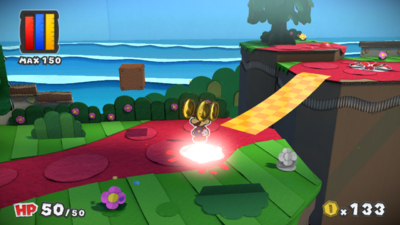
| |
 Coins |
Optional | 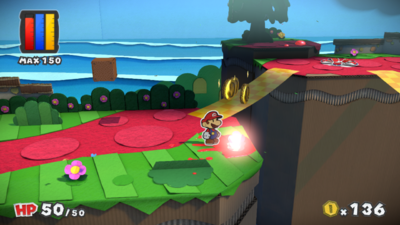
| |
 Coins |
Optional | 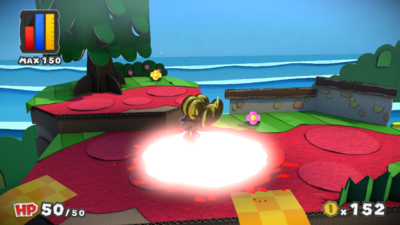
| |
  Coins, Worn-Out Hammer Battle Card |
Optional | 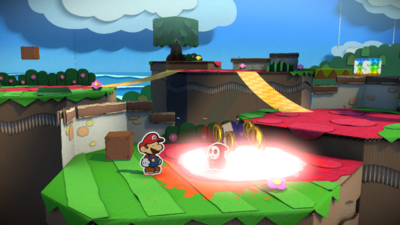
| |
 Coins |
Optional | 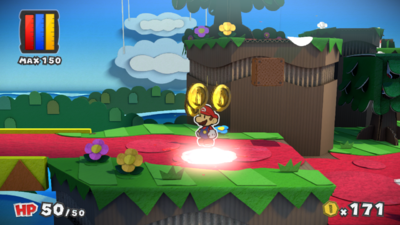
| |
  Coins, Worn-Out Jump Battle Card |
Optional | 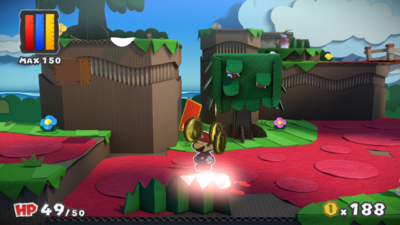
| |
 Coins |
Optional | 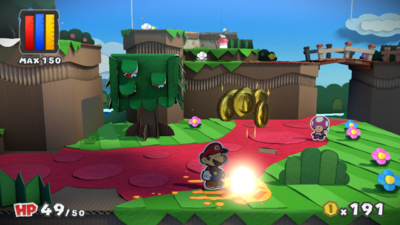
| |
 Coins |
Optional | 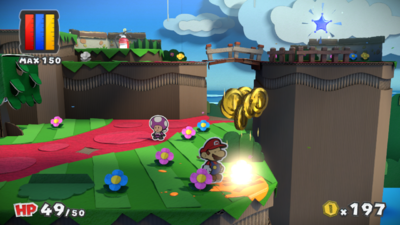
| |
 Coins |
Optional | 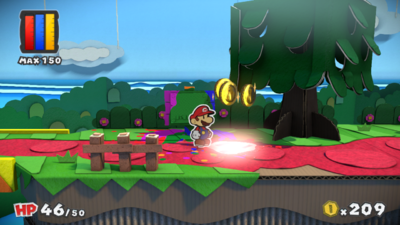
| |
 Coins |
Optional | 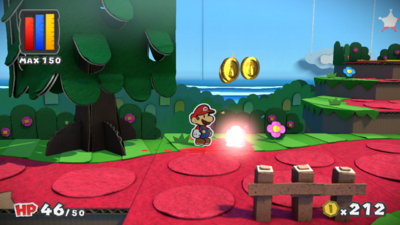
| |
 Coins |
Optional | 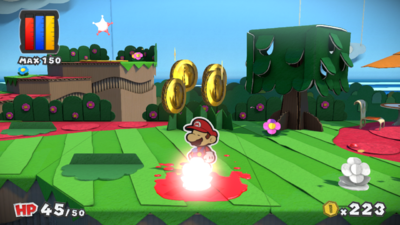
| |
 Coins |
Optional | 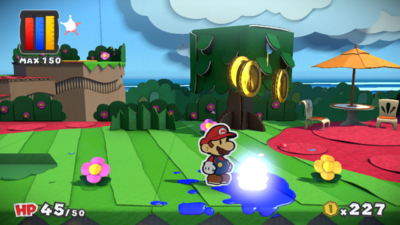
| |
  Coins, Worn-Out Hammer Battle Card |
Optional | 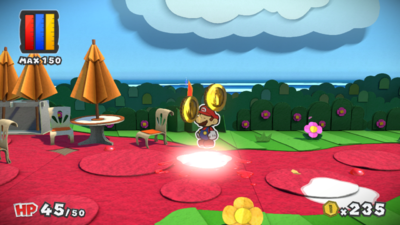
| |
 Coins |
Optional | 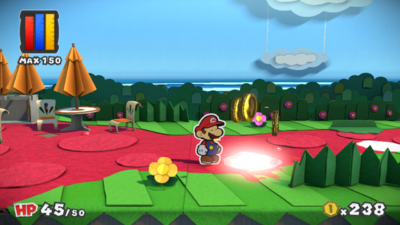
| |
 Coins |
Optional | 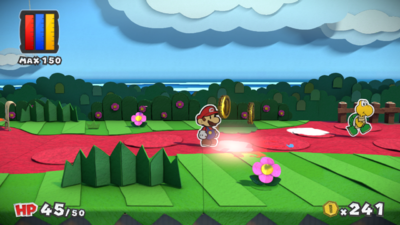
| |
 Coins |
Optional | 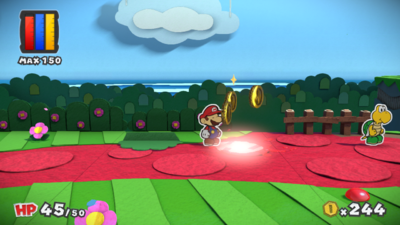
| |
  Coins, Worn-Out Jump Battle Card |
Optional | 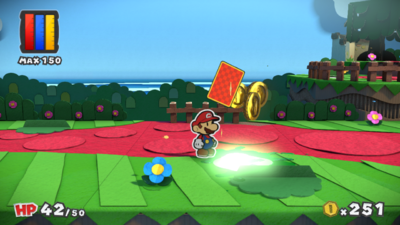
| |
 Coins |
Optional | 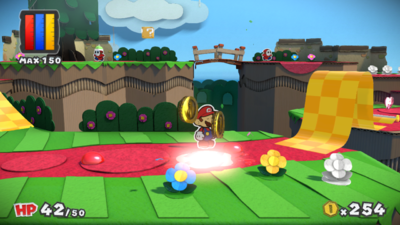
| |
 Coins |
Optional | 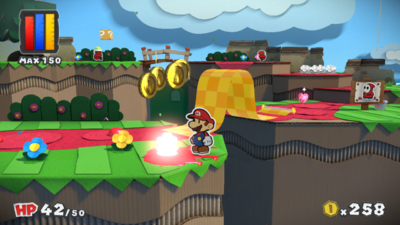
| |
  Coins, Worn-Out Hammer Battle Card |
Optional | 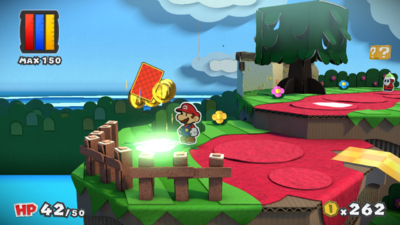
| |
 Coins |
Optional | 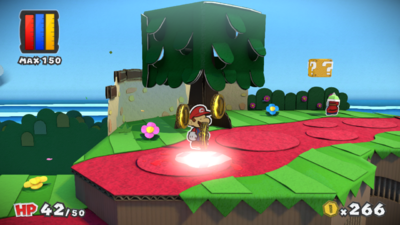
| |
 Coins |
Optional | 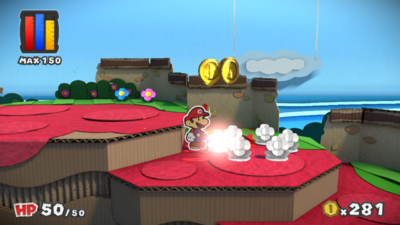
| |
 Coins |
Optional | 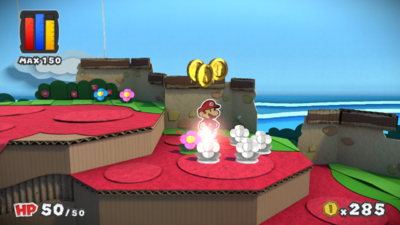
| |
 Coins |
Optional | 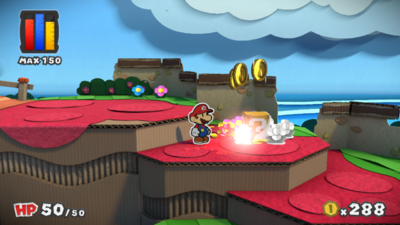
| |
 Coins |
Optional | 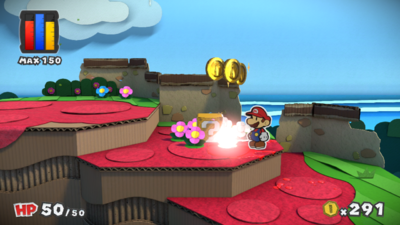
| |
 Coins |
Optional | 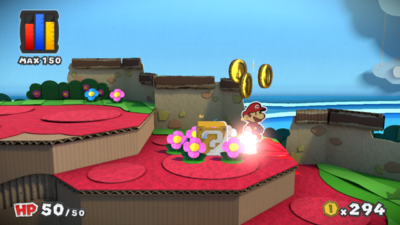
| |
 Coins |
Optional | 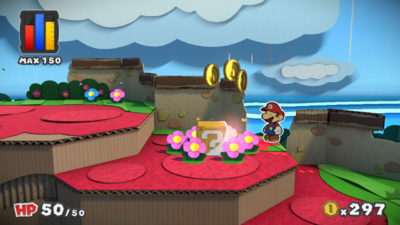
| |
 Coins |
Optional | 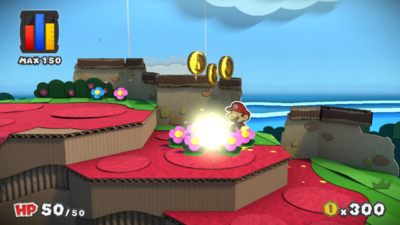
| |
| Required: Return with Purple Rescue Squad members. |
None | Optional | 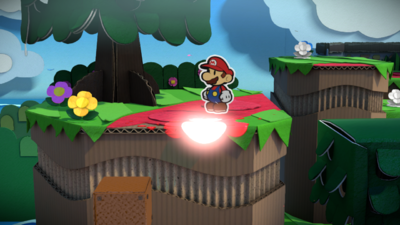
|
| Required: Return with Purple Rescue Squad members. |
 Coins |
Optional | 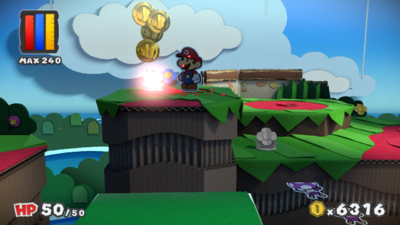
|
| Required: Return with Purple Rescue Squad members. |
 Coins |
Optional | 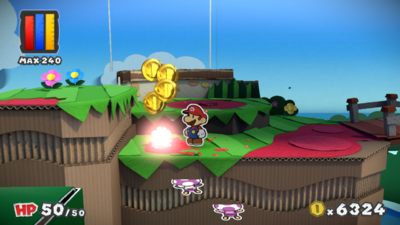
|
| Cherry Lake | 29 Colorless spots from environment | |||
  Coins, Worn-Out Jump Battle Card |
Optional | 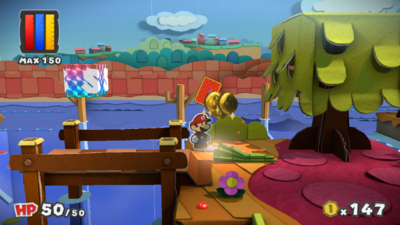
| |
 Coins |
Optional | 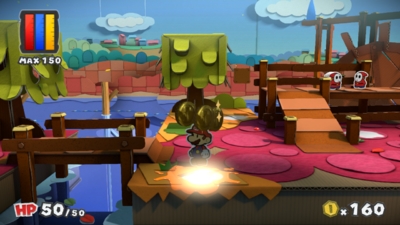
| |
  Coins, Worn-Out Jump Battle Card |
Optional | 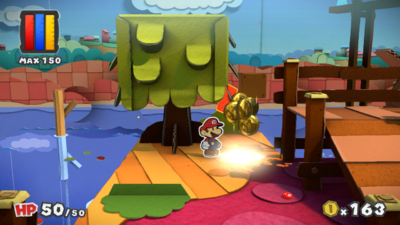
| |
  Coins, Worn-Out Hammer Battle Card |
Optional | 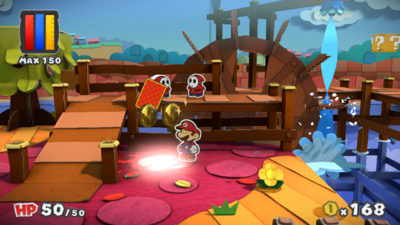
| |
 Coins |
Optional | 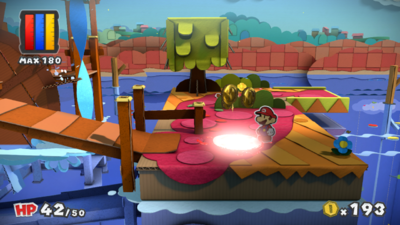
| |
 Coins |
Optional | 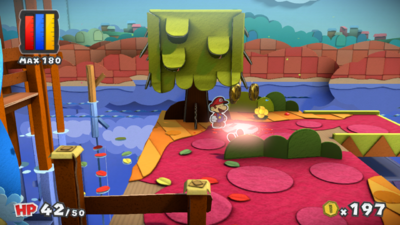
| |
 Coins |
Optional | 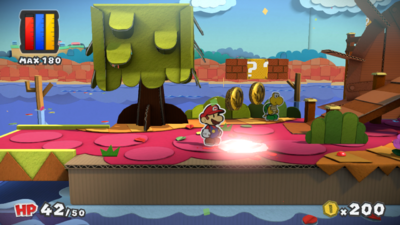
| |
 2x 2x Coins, 2 Worn-Out Jump Battle Cards |
Optional | 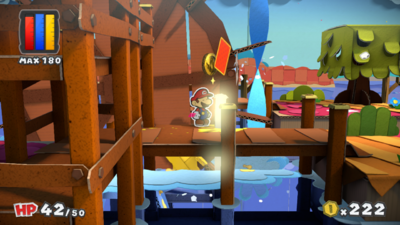
| |
  Coins, Worn-Out Jump Battle Card |
Optional | 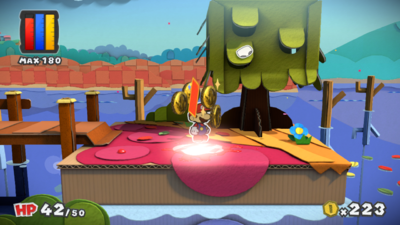
| |
  Coins, Worn-Out Hammer Battle Card |
Optional | 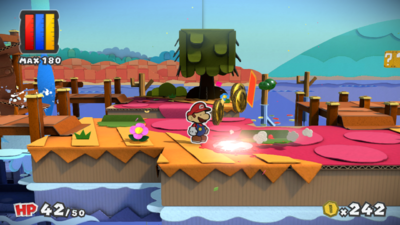
| |
 Coins |
Optional | 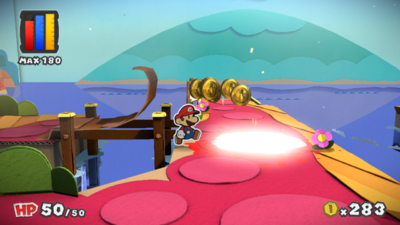
| |
 Coins |
Optional | 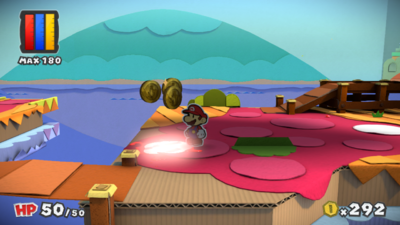
| |
  Coins, Worn-Out Hammer Battle Card |
Optional | 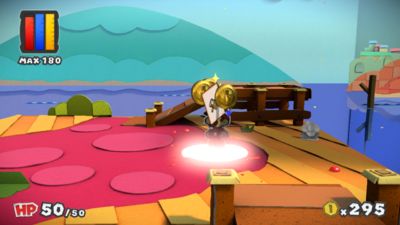
| |
  Coins, Ice Flower Battle Card |
Optional | 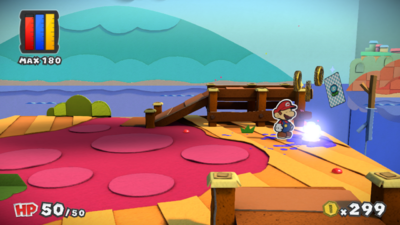
| |
 Coins |
Optional | 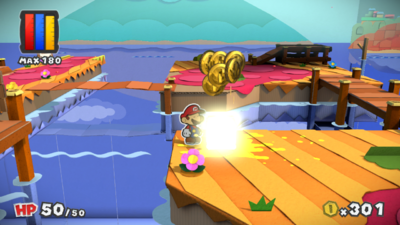
| |
 Coins Rainbow Globs of Paint   Any combination of 3 Cards from Worn-Out Hammer x3 and Worn-Out Jump x3 |
Optional | 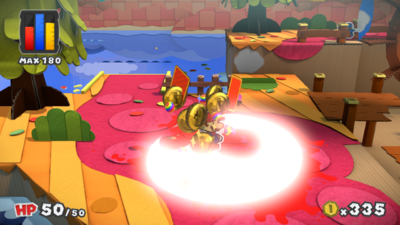
| |
 Coins |
Optional | 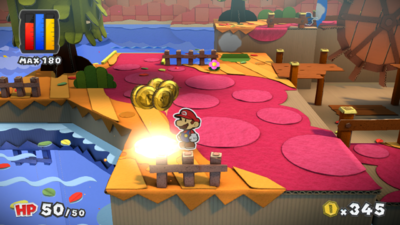
| |
 Coins |
Optional | 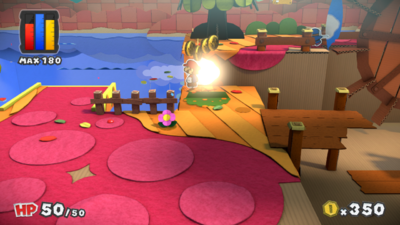
| |
  Coins, Worn-Out Jump x3 Battle Card |
Optional | 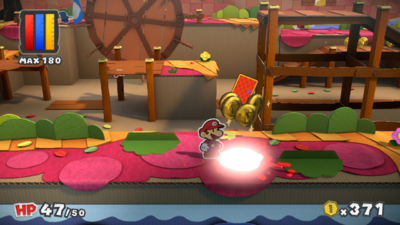
| |
| None | Required | 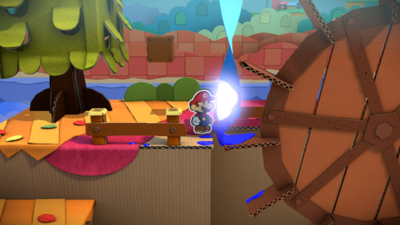
| |
 Coins |
Optional | 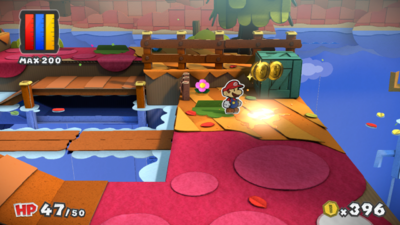
| |
 Coins |
Optional | 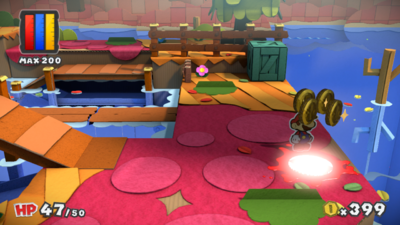
| |
 Coins |
Optional | 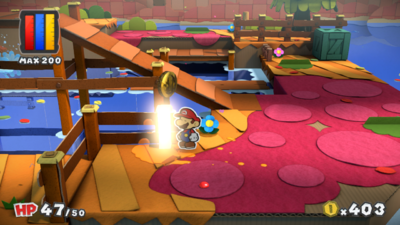
| |
 Coins |
Optional | 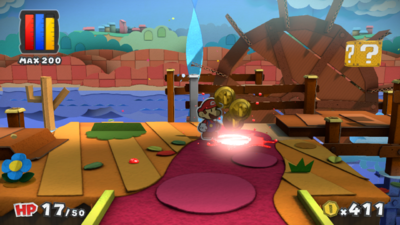
| |
  Coins, Worn-Out Jump Battle Card |
Optional | 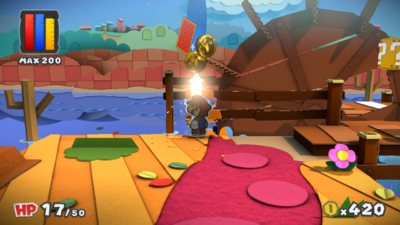
| |
  Coins, Jump Battle Card |
Optional | 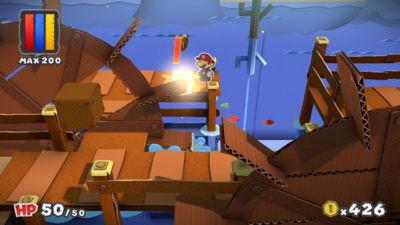
| |
 Coins |
Optional | 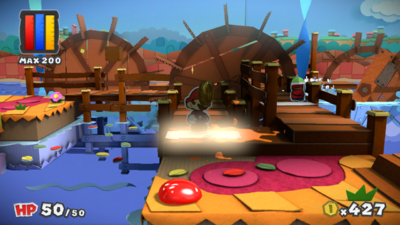
| |
 Coins |
Optional | 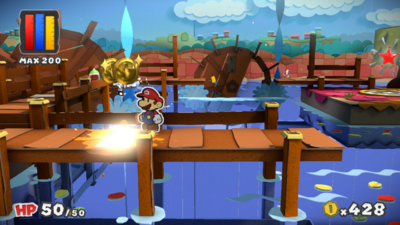
| |
 Coins |
Optional | 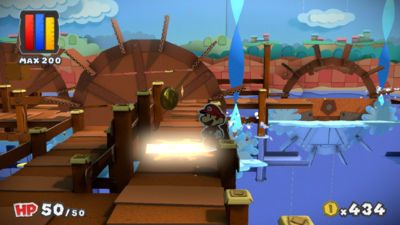
| |
| Redpepper Volcano | 13 Colorless spots from environment | |||
 Coins |
Optional | 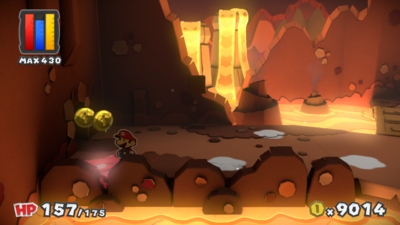
| |
 Coins |
Optional | 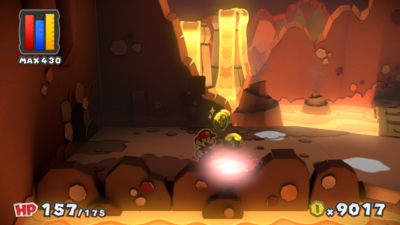
| |
 Coins |
Optional | 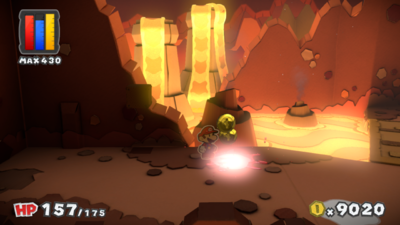
| |
 Coins |
Optional | 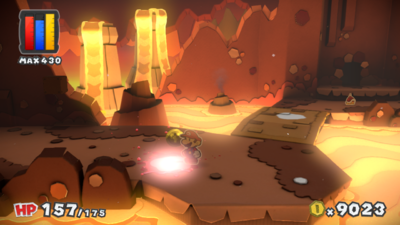
| |
  Coins, Blazehammer Battle Card |
Optional | 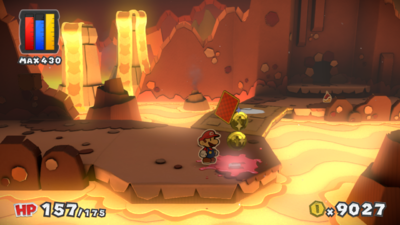
| |
  Coins, Spin Jump Battle Card |
Optional | 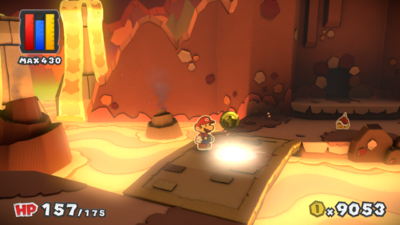
| |
 Coins |
Optional | 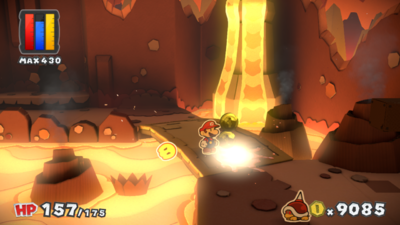
| |
  Coins, Hammer x2 Battle Card |
Optional | 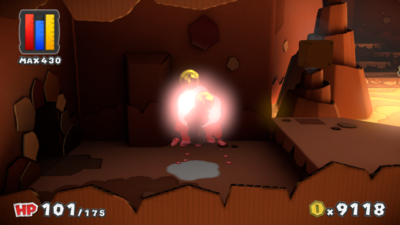
| |
 Coins |
Optional | 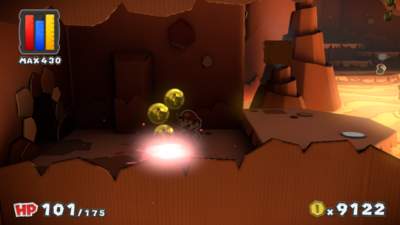
| |
 Coins |
Optional | 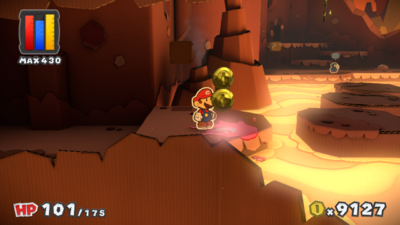
| |
| None | Required | 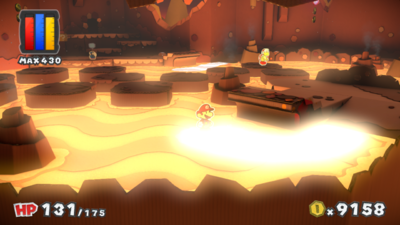
| |
| None | Required | 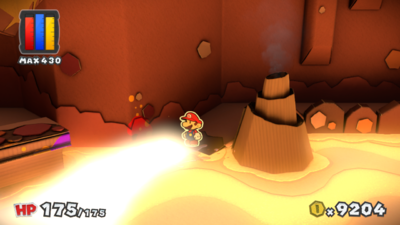
| |
 Coins |
Optional | 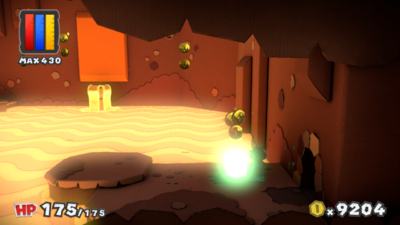
| |
| Redpepper Crater | 19 Colorless spots from environment | |||
 Coins |
Optional | 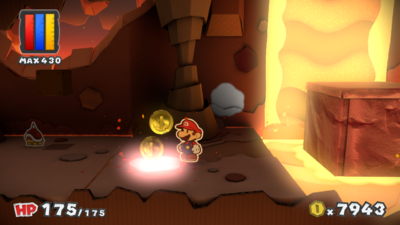
| |
  Coins, Blazehammer Battle Card |
Optional | 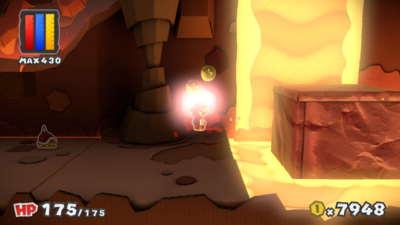
| |
  Coins, Ice Flower Battle Card |
Optional | 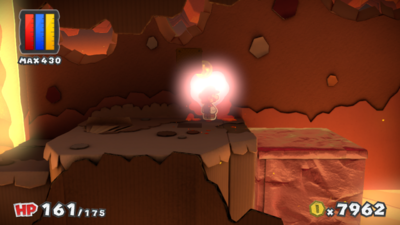
| |
 Coins |
Optional | 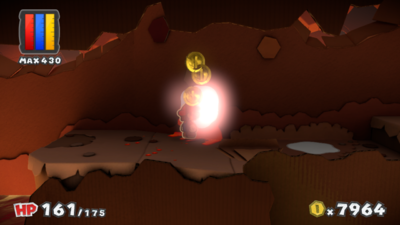
| |
  Coins, POW Block Battle Card |
Optional | 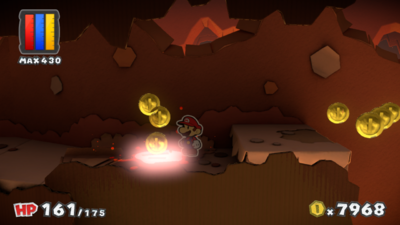
| |
 Coins |
Optional | 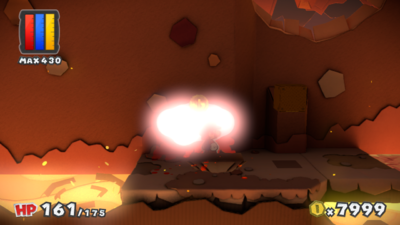
| |
 Coins |
Optional | 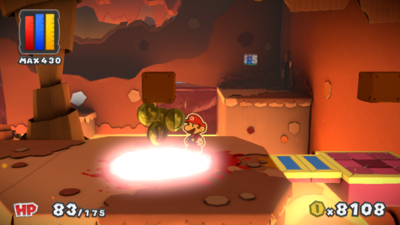
| |
 Coins |
Required | 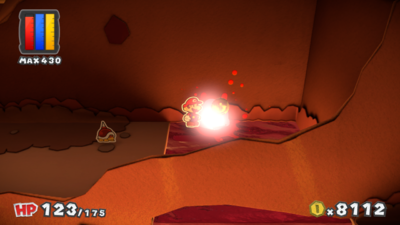
| |
   Coins, 1-Up Mushroom and Ice Flower Battle Cards |
Optional | 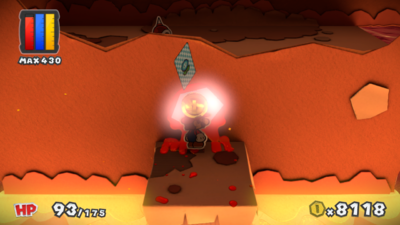
| |
 Coins |
Optional | 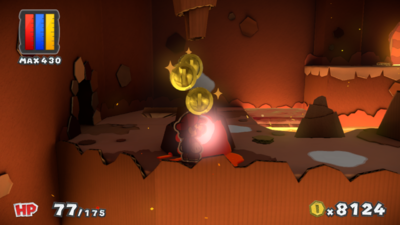
| |
  Coins, Ice Flower Battle Card |
Optional | 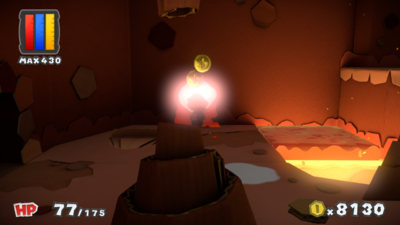
| |
  Coins, Blazehammer Battle Card |
Optional | 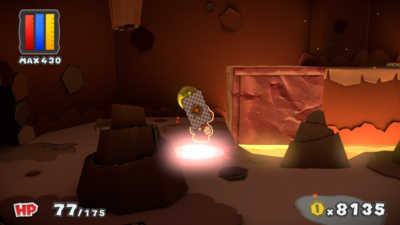
| |
 Coins |
Optional | 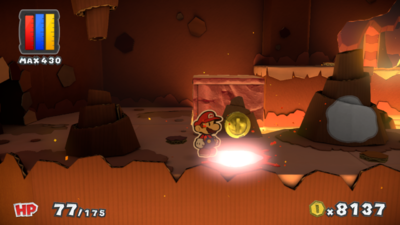
| |
  Coins, Fire Flower Battle Card |
Optional | 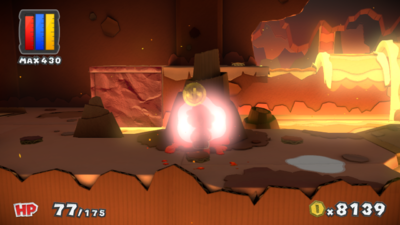
| |
 Coins |
Optional | 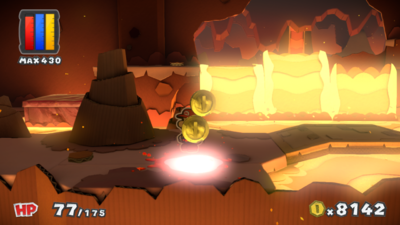
| |
  Coins, Blazehammer Battle Card |
Optional | 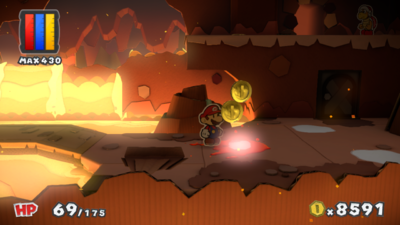
| |
 Coins |
Optional | 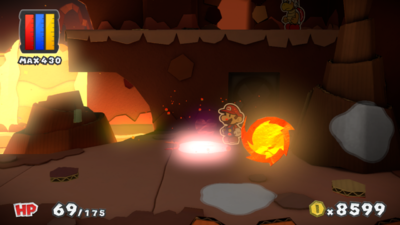
| |
 Coins |
Optional | 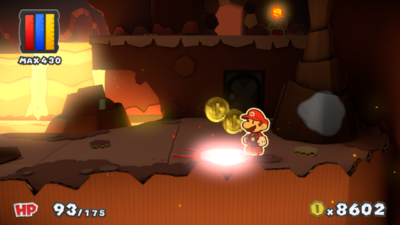
| |
  Coins, Big Ice Flower Battle Card |
Optional | 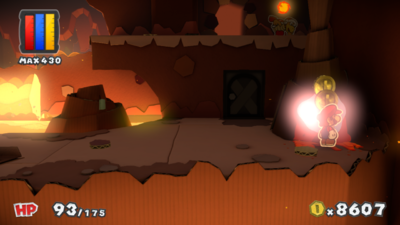
| |
| The Crimson Tower | 24 Colorless spots (22 environment, 2 Toads) | |||
| None | Required | 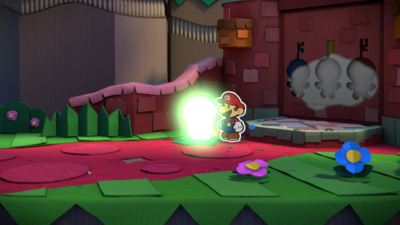
| |
| None | Required | 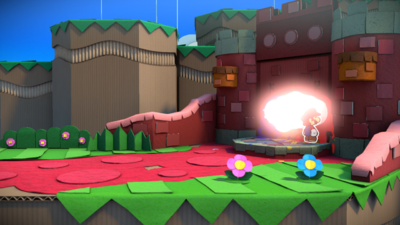
| |
| Required: Return with the Chosen Toads |
 Coins |
Optional | 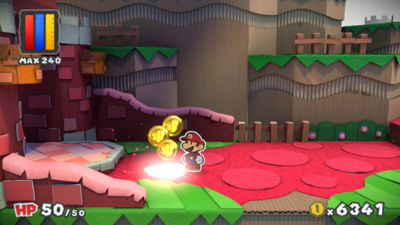
|
| Required: Return with the Chosen Toads |
None | Required | 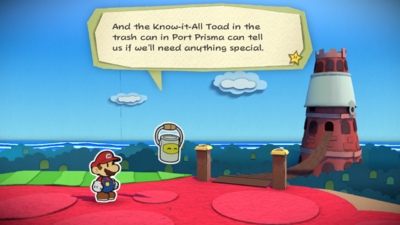
|
| Required: Return with the Chosen Toads |
  Coins, Worn-Out Jump Battle Card |
Optional | 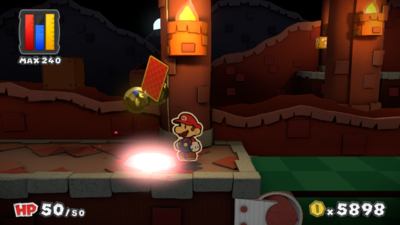
|
| Required: Return with the Chosen Toads |
 Coins |
Optional | 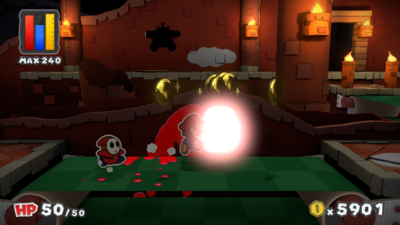
|
| Required: Return with the Chosen Toads |
  Coins, Hammer Battle Card |
Optional | 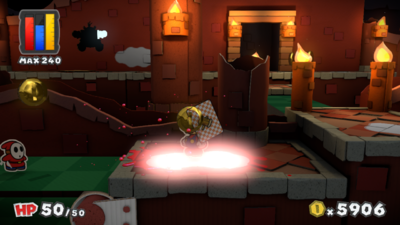
|
| Required: Return with the Chosen Toads |
 Coins |
Optional | 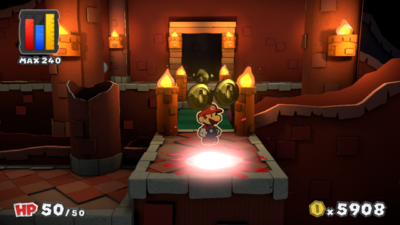
|
| Required: Return with the Chosen Toads |
 Coins |
Optional | 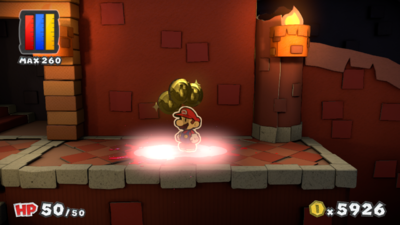
|
| Required: Return with the Chosen Toads |
  Coins, Worn-Out Hammer Battle Card |
Optional | 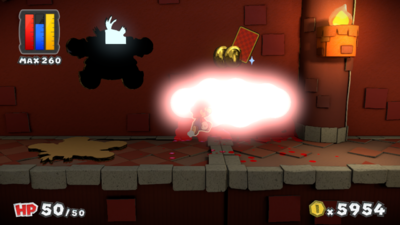
|
| Required: Return with the Chosen Toads |
  Coins, Jump Battle Card |
Optional | 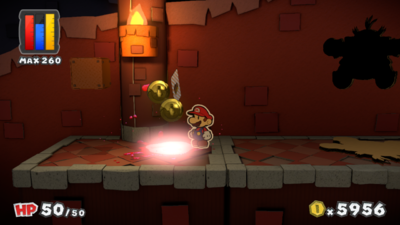
|
| Required: Return with the Chosen Toads |
  Coins, Worn-Out Jump x3 Battle Card |
Optional | 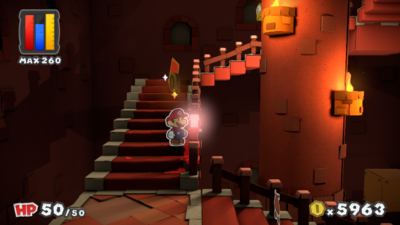
|
| Required: Return with the Chosen Toads |
 Coins |
Optional | 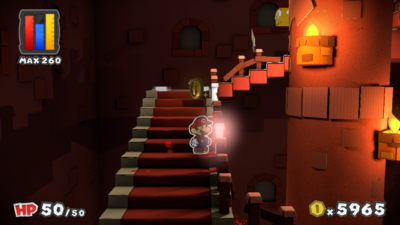
|
| Required: Return with the Chosen Toads |
  Coins, Worn-Out Hammer x3 Battle Card |
Optional | 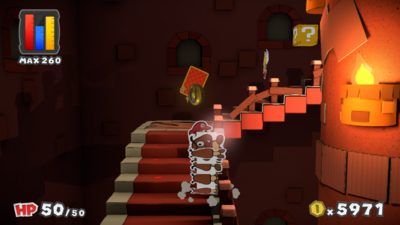
|
| Required: Return with the Chosen Toads |
  Coins, Worn-Out Hammer x5 Battle Card |
Optional | 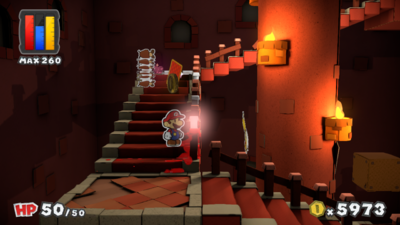
|
| Required: Return with the Chosen Toads |
 Coins |
Optional | 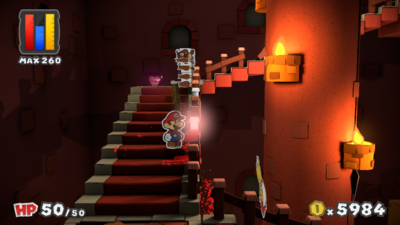
|
| Required: Return with the Chosen Toads |
  Coins, KO Hammer Battle Card |
Optional | 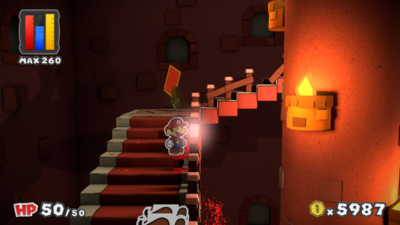
|
| Required: Return with the Chosen Toads |
 Coins |
Optional | 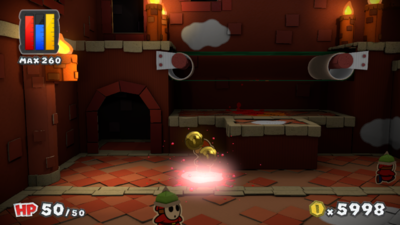
|
| Required: Return with the Chosen Toads |
 Coins |
Optional | 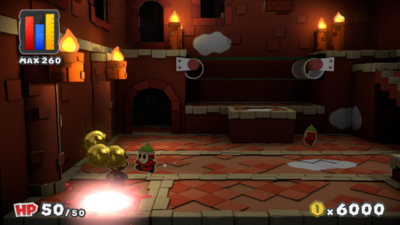
|
| Required: Return with the Chosen Toads |
  Coins, Worn-Out Jump Battle Card |
Optional | 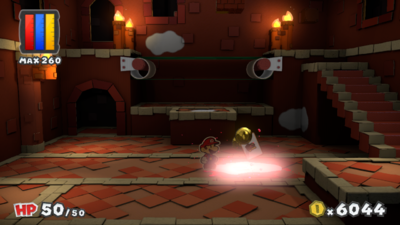
|
| Required: Return with the Chosen Toads |
  Coins, Hammer Battle Card |
Optional | 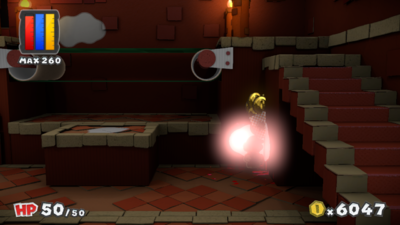
|
| Required: Return with the Chosen Toads |
  Coins, Jump Battle Card |
Optional | 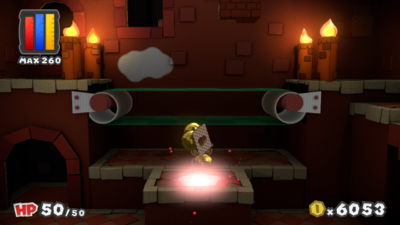
|
| Required: Return with the Chosen Toads |
  Coins, Hopslipper Battle Card |
Optional | 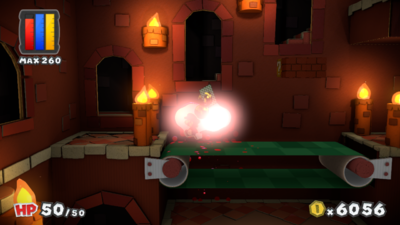
|
| Required: Return with the Chosen Toads |
None | Optional | 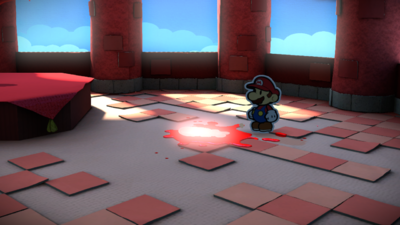
|
Yellow courses[edit]
There are a total of 190 Colorless spots to fill in the yellow courses:
- Daffodil Peak has 53 Colorless spots - 51 environment, 2 Toads
- Sunglow Ridge has 44 Colorless spots - 39 environment, 5 Toads
- Château Chanterelle has 8 Colorless spots from environment
- Mustard Café has 54 Colorless spots - 53 environment, 1 Toad
- The Golden Coliseum has 31 Colorless spots from environment
| Location | Drop | Necessity | Image |
|---|---|---|---|
| Daffodil Peak | 53 Colorless spots (51 environment, 2 Toads) | |||
 Coins |
Optional | 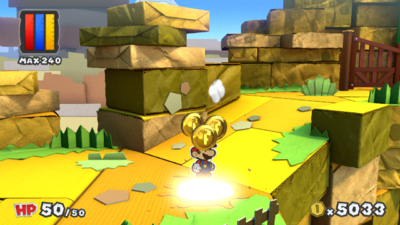
| |
 Coins |
Optional | 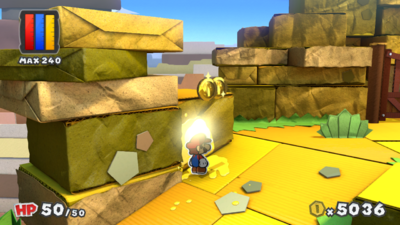
| |
 Coins |
Optional | 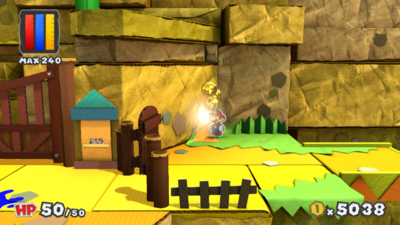
| |
 Coins |
Required | 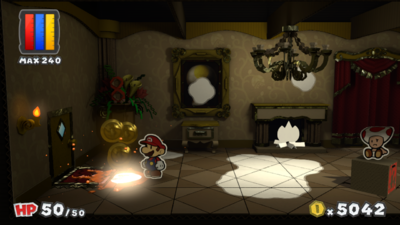
| |
 Coins |
Required | 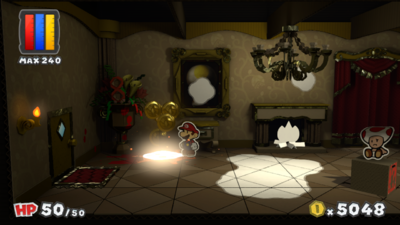
| |
  Coins, Rainbow Globs of Paint, Mushroom Battle Card |
Required | 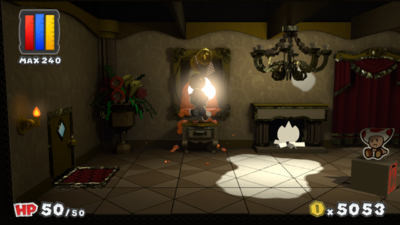
| |
 Coins |
Required | 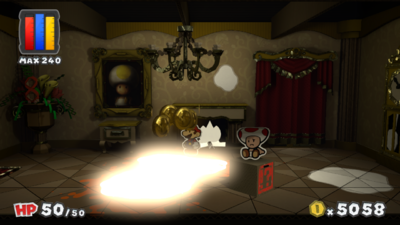
| |
  Coins, Rainbow Globs of Paint, Fire Flower Battle Card |
Required | 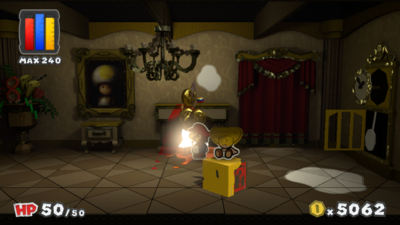
| |
 Coins |
Required | 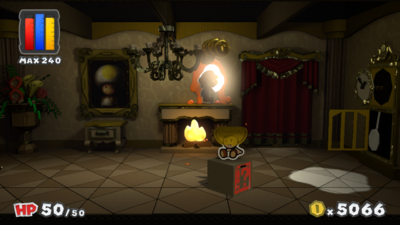
| |
 Coins |
Required | 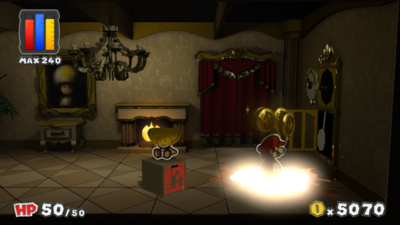
| |
 Coins |
Required | 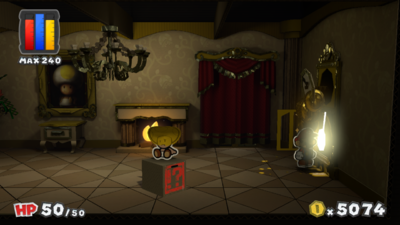
| |
 Coins |
Required | 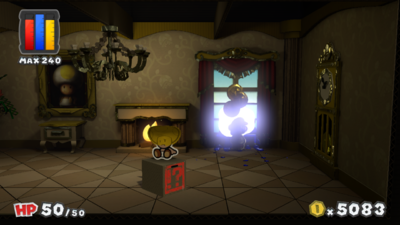
| |
 Coins |
Required | 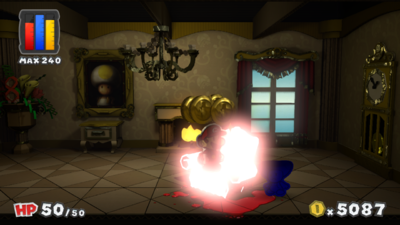
| |
  Coins, Worn-Out Hammer Battle Card |
Optional | 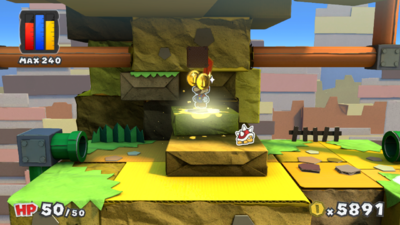
| |
 Coins |
Optional | 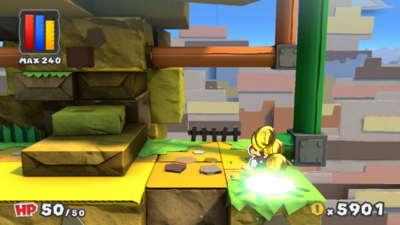
| |
 Coins |
Optional | 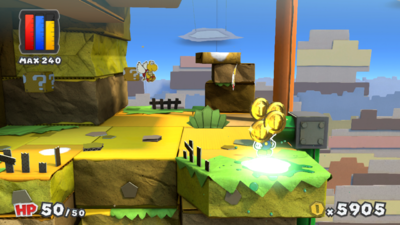
| |
  Coins, Worn-Out Jump Battle Card |
Optional | 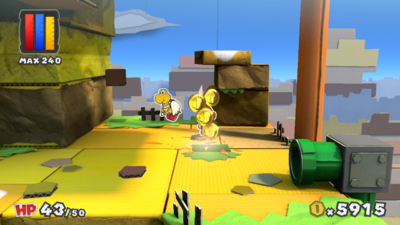
| |
 Coins |
Optional | 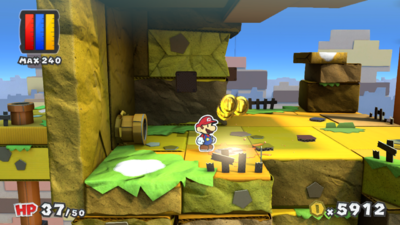
| |
 Coins |
Optional | 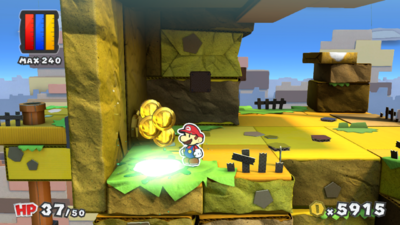
| |
 Coins |
Optional | 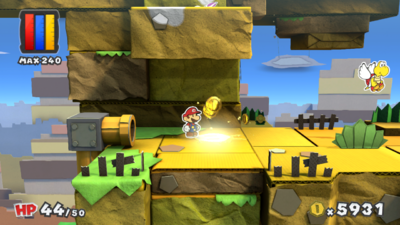
| |
 Coins |
Optional | 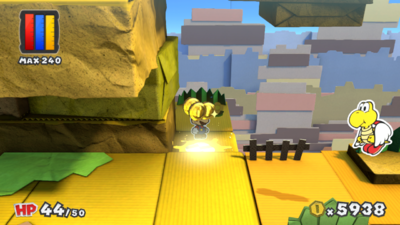
| |
 Coins |
Optional | 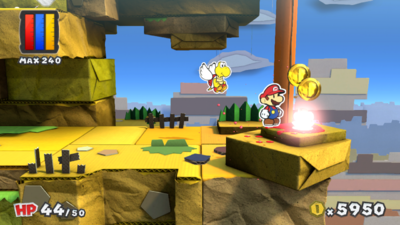
| |
  Coins, Worn-Out Hammer x3 Battle Card |
Optional | 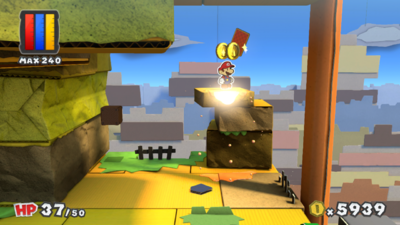
| |
| None | Optional | 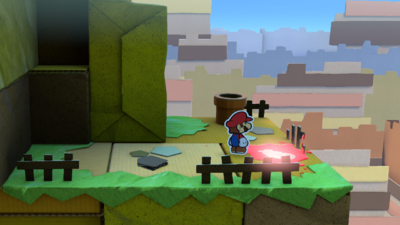
| |
 Coins |
Optional | 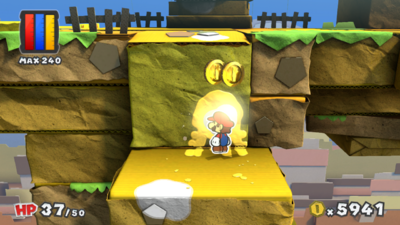
| |
  Coins, Worn-Out Hammer Battle Card |
Optional | 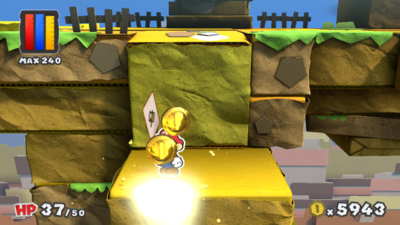
| |
 Coins |
Optional | 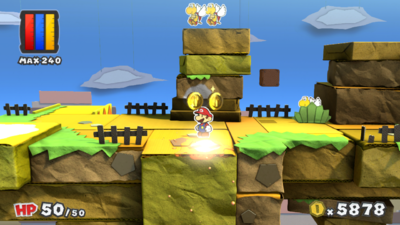
| |
 Coins |
Optional | 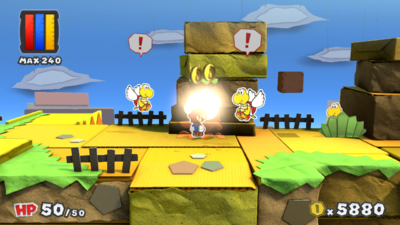
| |
  Coins, Hammer Battle Card |
Optional | 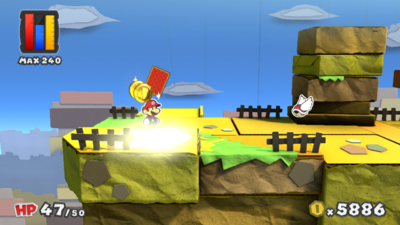
| |
 Coins |
Optional | 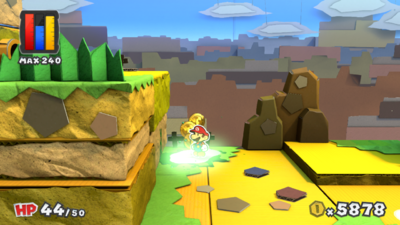
| |
 Coins |
Optional | 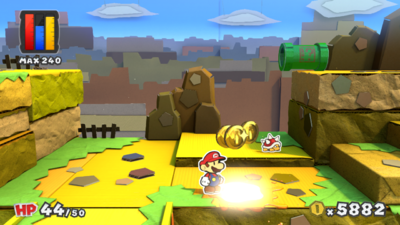
| |
  Coins, Worn-Out Hammer Battle Card |
Optional | 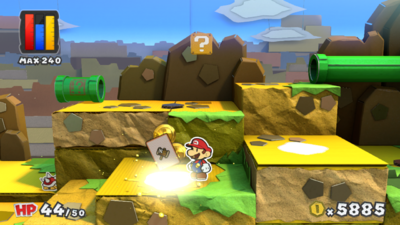
| |
 Coins |
Optional | 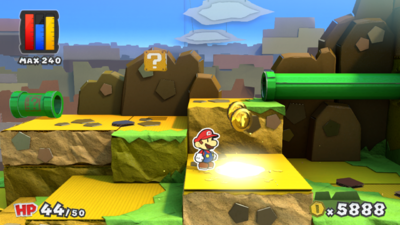
| |
  Coins, Hopslipper Battle Card |
Optional | 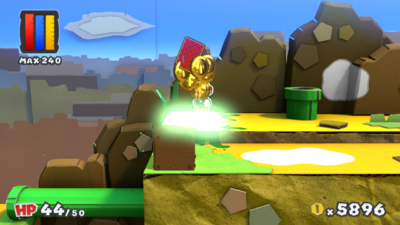
| |
 Coins |
Optional | 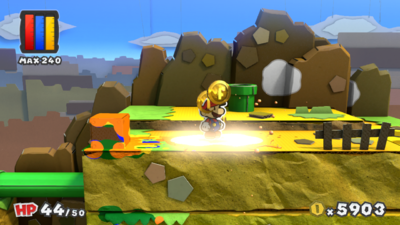
| |
  Coins, Worn-Out Jump x3 Battle Card |
Optional | 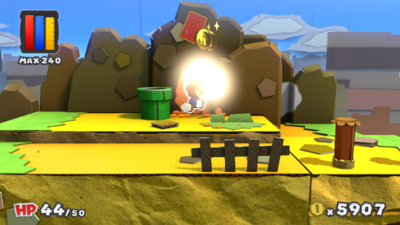
| |
 Coins |
Optional | 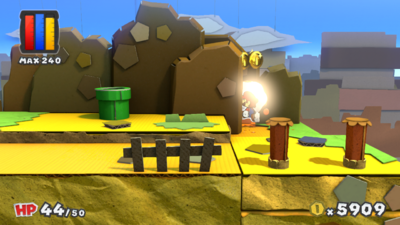
| |
 Coins |
Optional | 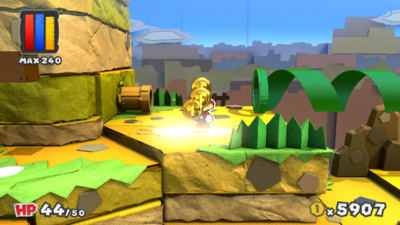
| |
 Coins |
Optional | 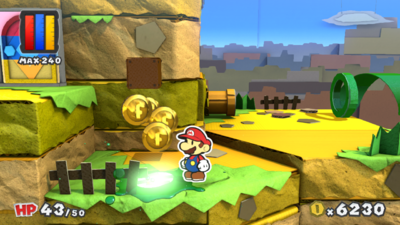
| |
  Coins, Jump Battle Card |
Optional | 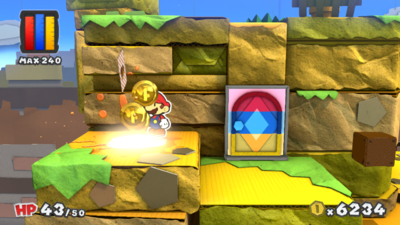
| |
 Coins |
Optional | 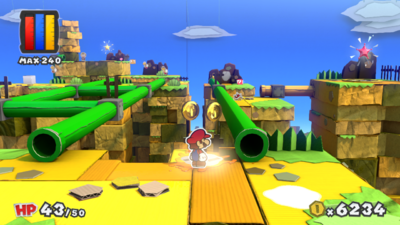
| |
 Coins |
Optional | 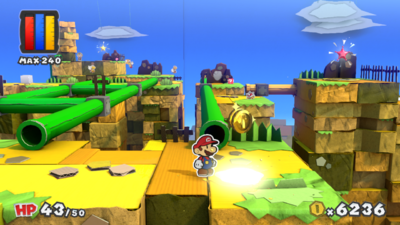
| |
   Coins, Hammer or Jump Battle Card |
Optional | 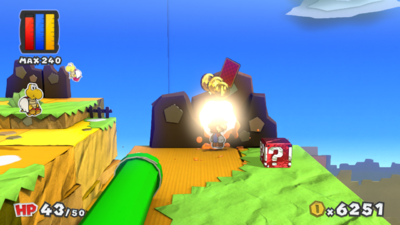
| |
  Coins, 1-Up Mushroom Battle Card |
Optional | 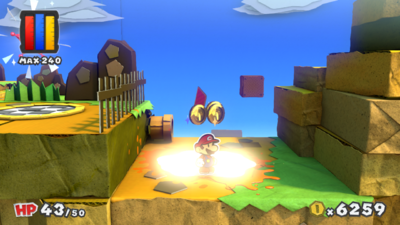
| |
 Coins |
Optional | 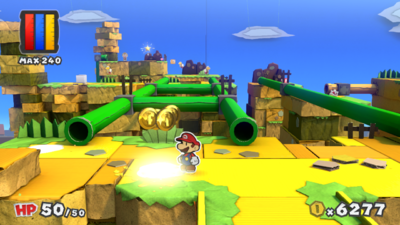
| |
 Coins |
Optional | 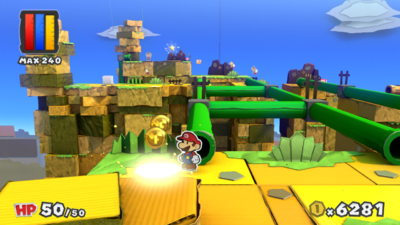
| |
 Coins |
Optional | 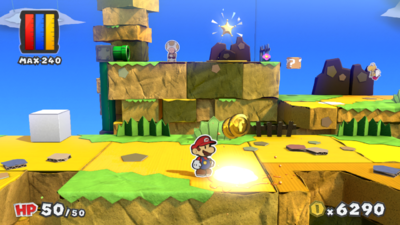
| |
  Coins, Worn-Out Jump Battle Card |
Optional | 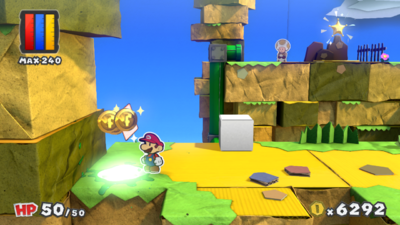
| |
 Coins |
Required | 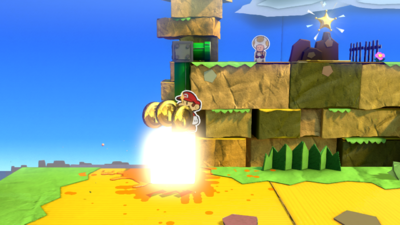
| |
  Coins, Worn-Out Jump Battle Card |
Optional | 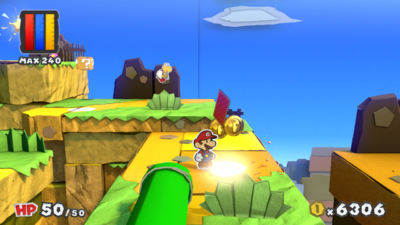
| |
  Coins, Worn-Out Hammer Battle Card |
Optional | 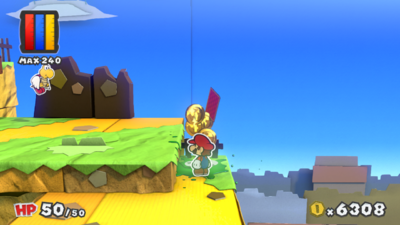
| |
 Coins |
Optional | 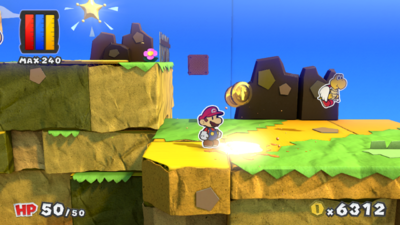
| |
| Required: Collect the yellow Mini Paint Star. |
None | Required | 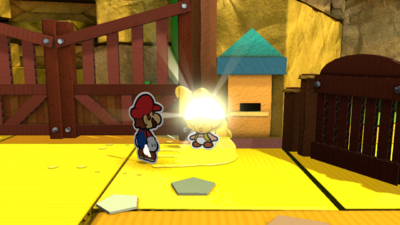
|
| None | Required | 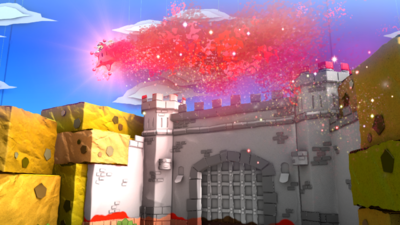
| |
 Coins |
Optional | 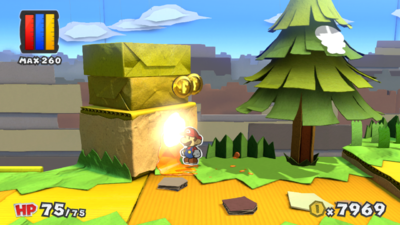
| |
  Coins, Worn-Out Jump Battle Card |
Optional | 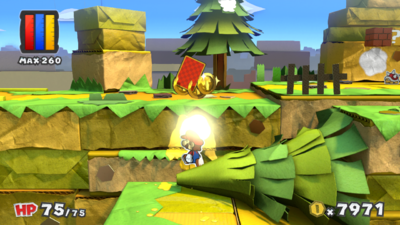
| |
 Coins |
Optional | 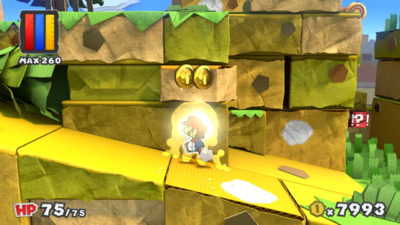
| |
  Coins, Worn-Out Hammer Battle Card |
Optional | 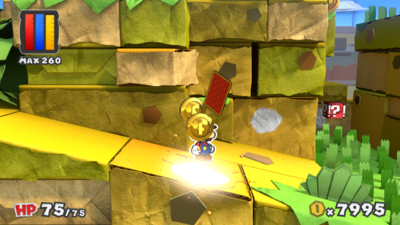
| |
  Coins, Hammer Battle Card |
Optional | 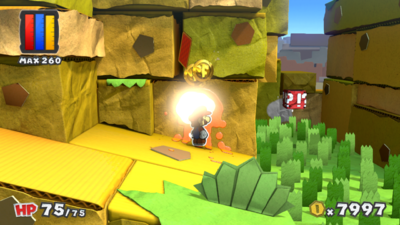
| |
  Coins, Worn-Out Hammer x3 Battle Card |
Optional | 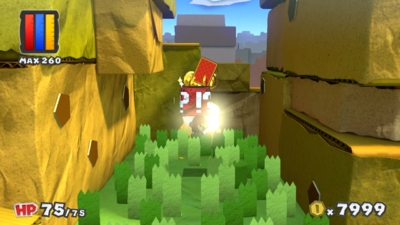
| |
| None | Optional | 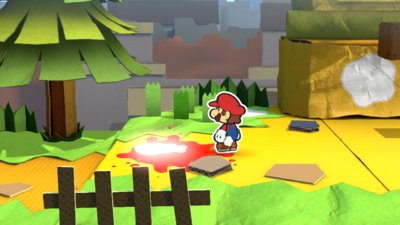
| |
 Coins |
Optional | 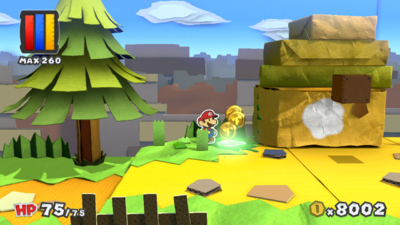
| |
 Coins |
Optional | 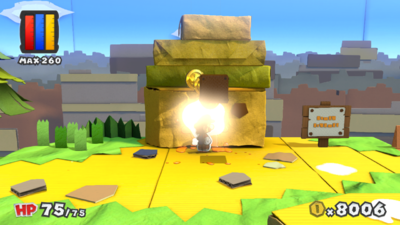
| |
 Coins |
Optional | 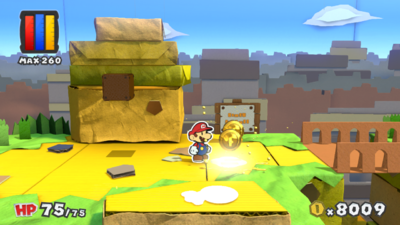
| |
| None | Optional | 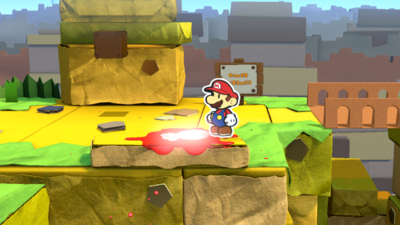
| |
  Coins, Fire Flower Battle Card |
Optional | 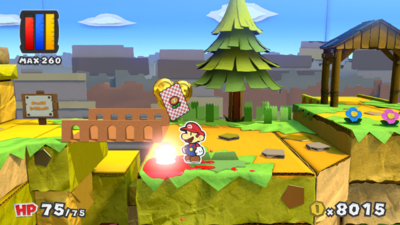
| |
 Coins, Rainbow Globs of Paint |
Optional | 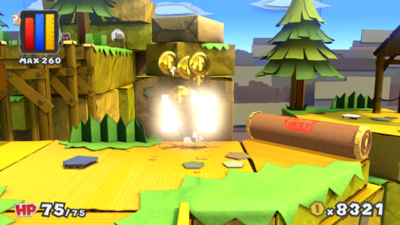
| |
  Coins, Jump Battle Card |
Optional | 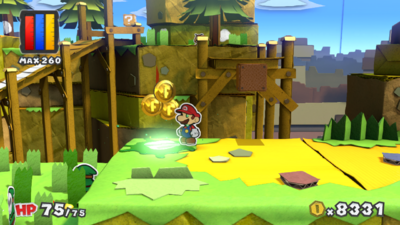
| |
   Coins, Worn-Out Hammer x3 and Worn-Out Jump x3 Battle Cards |
Optional | 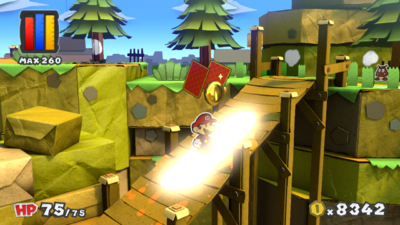
| |
 Coins |
Optional | 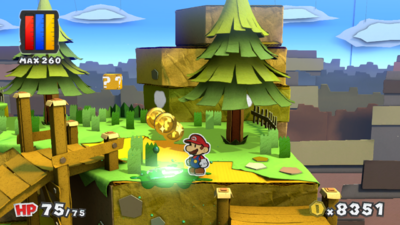
| |
 Coins |
Optional | 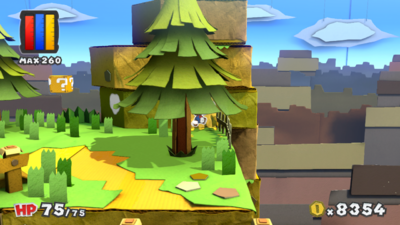
| |
 Coins |
Optional | 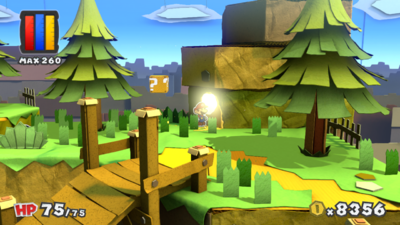
| |
 Coins |
Required | 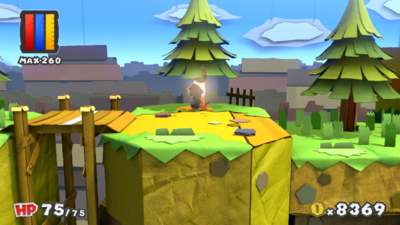
| |
  Coins, Hammer Battle Card |
Optional | 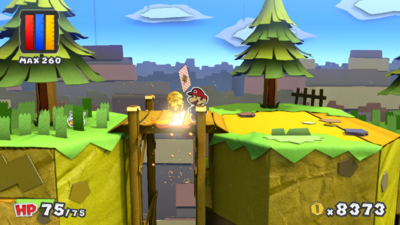
| |
 Coins |
Optional | 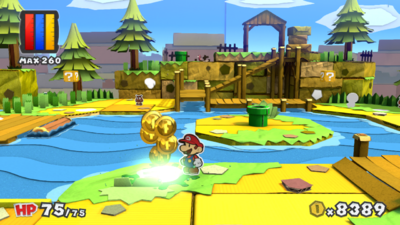
| |
 Coins |
Optional | 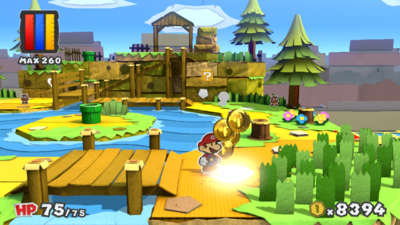
| |
 Coins |
Optional | 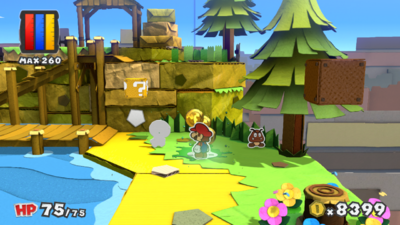
| |
| None | Optional | 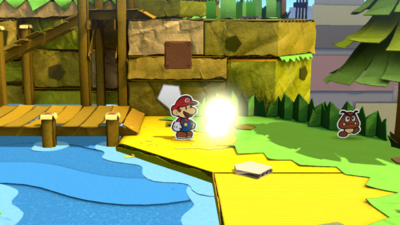
| |
  Coins, Worn-Out Hammer Battle Card |
Optional | 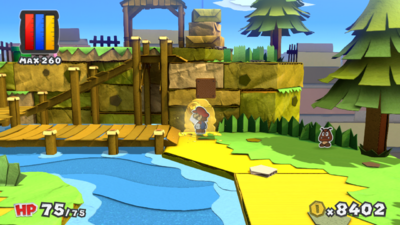
| |
  Coins, Worn-Out Jump Battle Card |
Optional | 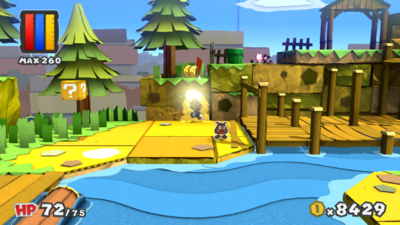
| |
 Coins |
Optional | 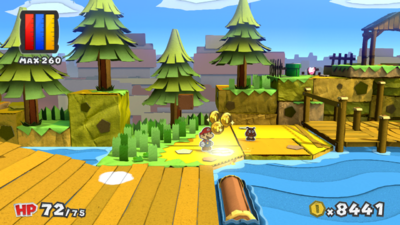
| |
  Coins, Jump Battle Card |
Optional | 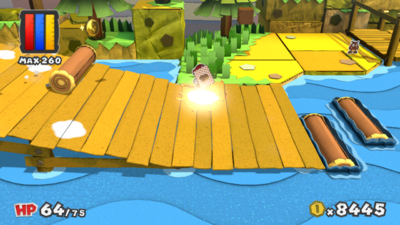
| |
  Coins, Worn-Out Hammer x3 Battle Card |
Optional | 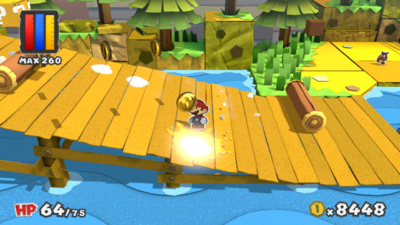
| |
  Coins, Hopslipper Battle Card |
Optional | 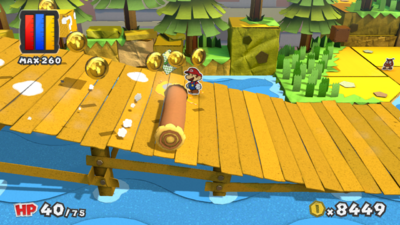
| |
 Coins |
Optional | 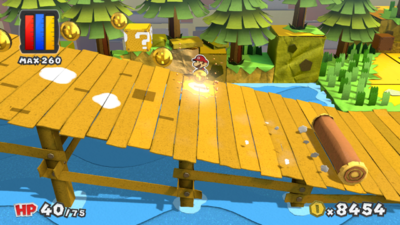
| |
  Coins, Worn-Out Jump x3 Battle Card |
Optional | 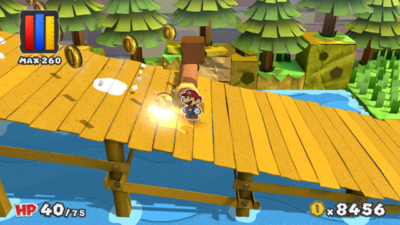
| |
 Coins |
Optional | 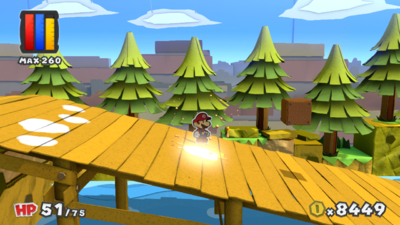
| |
 Coins |
Optional | 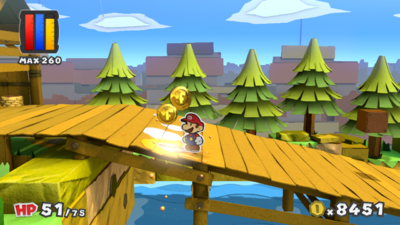
| |
  Coins, Worn-Out Jump x3 Battle Card |
Optional | 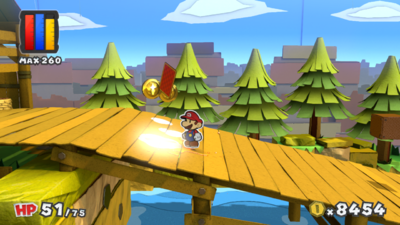
| |
 Coins |
Optional | 
| |
  Coins, Worn-Out Hammer x3 Battle Card |
Optional | 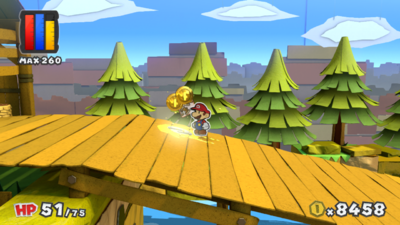
| |
| None | Optional | 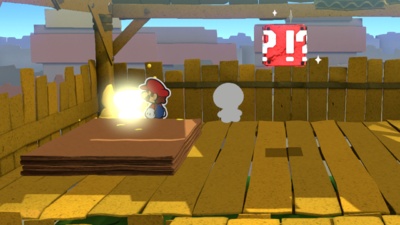
| |
| None | Optional | 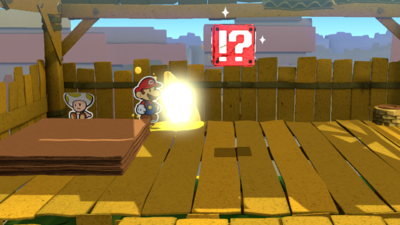
| |
  Coins, Hopslipper Battle Card |
Optional | 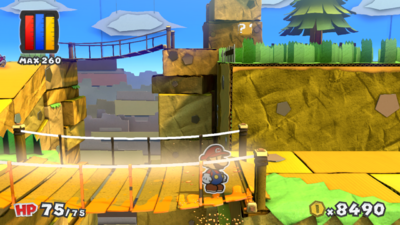
| |
 Coins Rainbow Globs of Paint  KO Hammer Battle Card |
Optional | 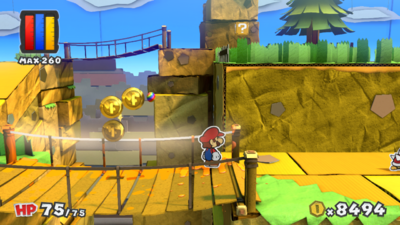
| |
 Coins |
Optional | 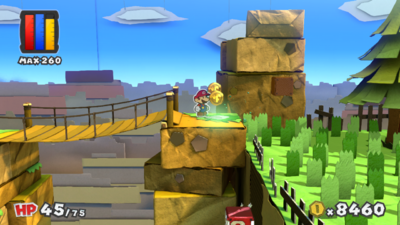
| |
 Coins |
Optional | 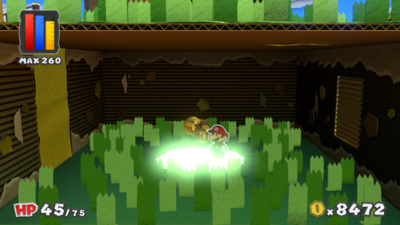
| |
| Château Chanterelle | 8 Colorless spots from environment | |||
  Coins, Jump Battle Card |
Optional | 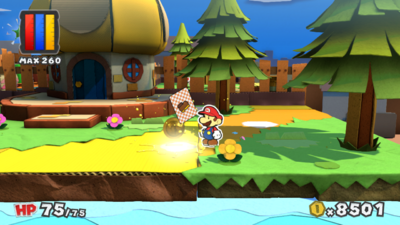
| |
 Coins |
Optional | 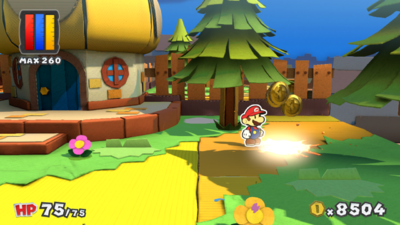
| |
 Coins |
Optional | 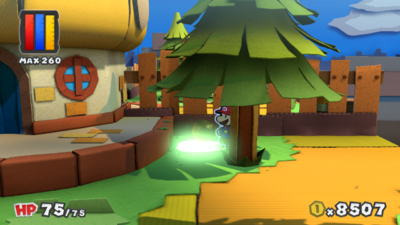
| |
 Coins |
Optional | 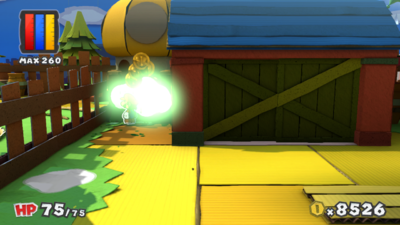
| |
 Coins |
Optional | 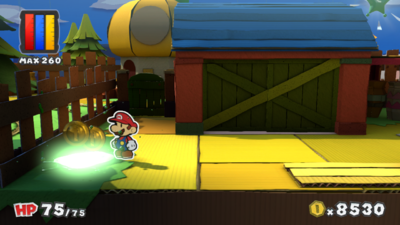
| |
  Coins, Mushroom Battle Card |
Optional | 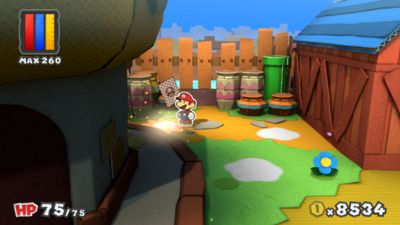
| |
 Coins |
Optional | 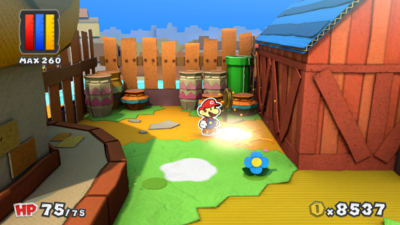
| |
  Coins, Hammer Battle Card |
Optional | 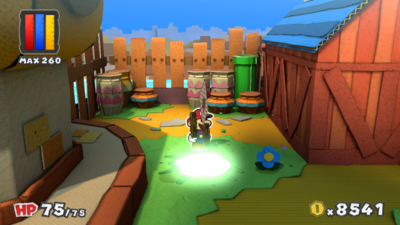
| |
| Mustard Café | 54 Colorless spots (53 environment, 1 Toad) | |||
  Coins, Eekhammer Battle Card |
Optional | 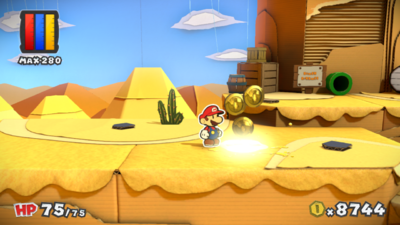
| |
 Coins |
Optional | 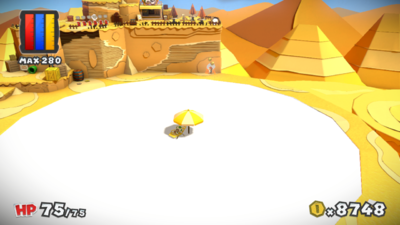
| |
  Coins, Worn-Out Jump x5 Battle Card |
Optional | 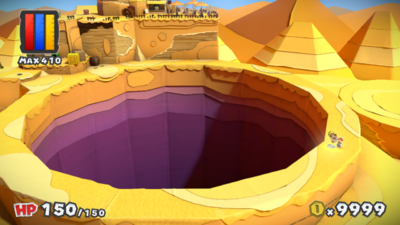
| |
 Coins |
Optional | 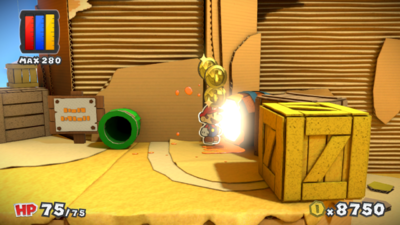
| |
 Coins |
Optional | 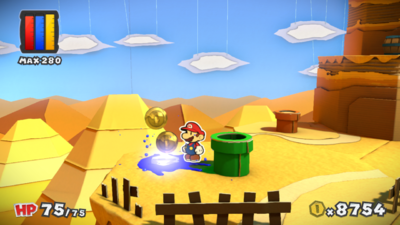
| |
 Coins |
Optional | 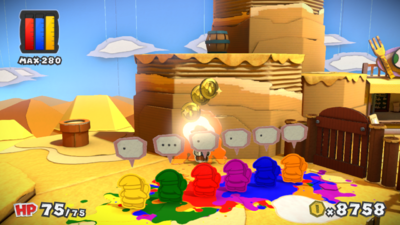
| |
 Coins |
Optional | 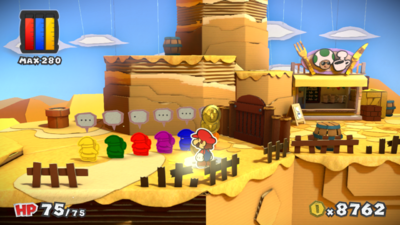
| |
| Required: Collect the purple Big Paint Star. |
None | Required | 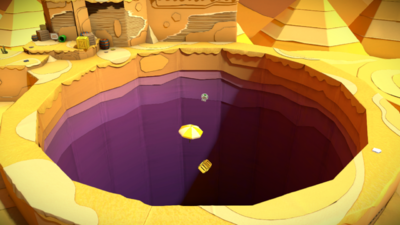
|
| Required: Collect the purple Big Paint Star. |
 Coins |
Required | 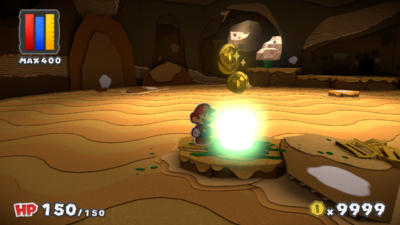
|
| Required: Collect the purple Big Paint Star. |
 Coins |
Optional | 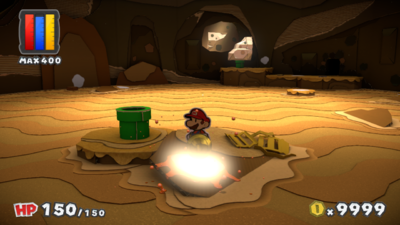
|
| Required: Collect the purple Big Paint Star. |
  Coins, Iron Jump x2 Battle Card |
Optional | 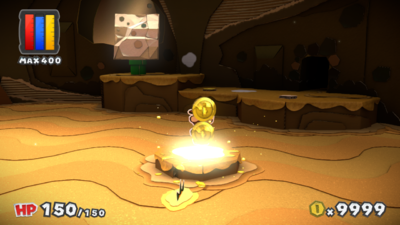
|
| Required: Collect the purple Big Paint Star. |
  Coins, KO Hammer Battle Card |
Optional | 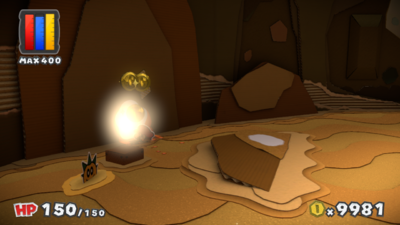
|
| Required: Collect the purple Big Paint Star. |
  Coins, Hammer x2 Battle Card |
Optional | 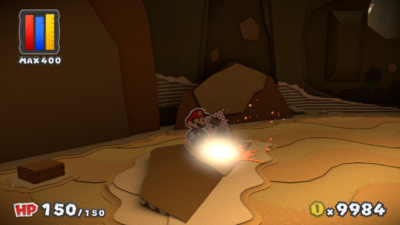
|
| Required: Collect the purple Big Paint Star. |
 Coins |
Optional | 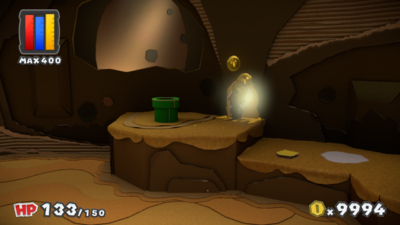
|
| Required: Collect the purple Big Paint Star. |
 Coins |
Optional | 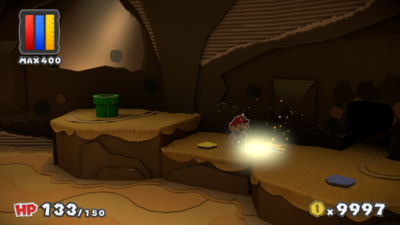
|
| Required: Collect the purple Big Paint Star. |
 Coins |
Optional | 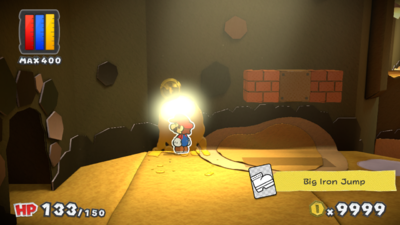
|
| Required: Collect the purple Big Paint Star. |
 Coins |
Optional | 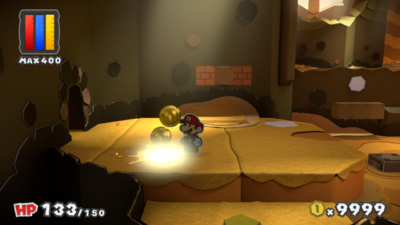
|
| Required: Collect the purple Big Paint Star. |
 Coins |
Optional | 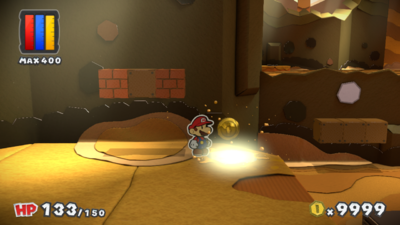
|
| Required: Collect the purple Big Paint Star. |
  Coins, Big Mushroom Battle Card |
Optional | 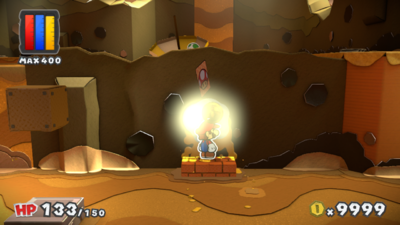
|
| Required: Collect the purple Big Paint Star. |
 Coins |
Optional | 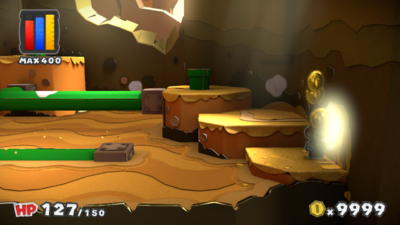
|
| Required: Collect the purple Big Paint Star. |
 Coins |
Optional | 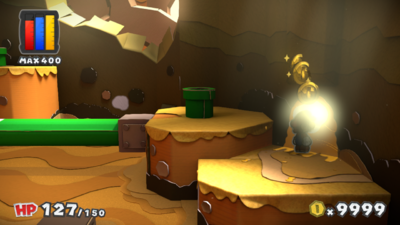
|
| Required: Collect the purple Big Paint Star. |
 Coins |
Required | 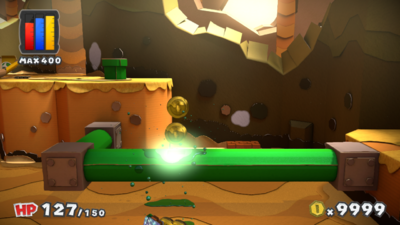
|
| Required: Collect the purple Big Paint Star. |
  Coins, Colorless Iron Jump Battle Card |
Optional | 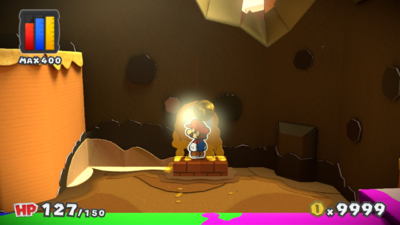
|
| Required: Collect the purple Big Paint Star. |
 Coins |
Optional | 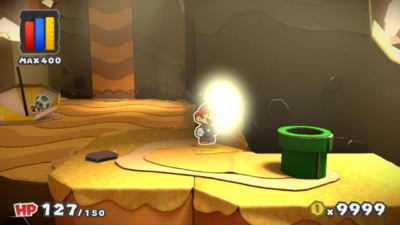
|
| Required: Collect the purple Big Paint Star. |
  Coins, 1-Up Mushroom Battle Card |
Optional | 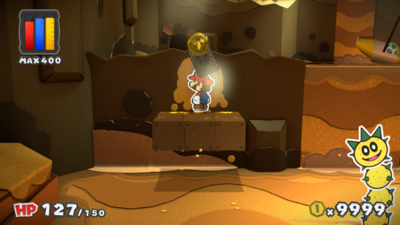
|
| Required: Collect the purple Big Paint Star. |
 Coins |
Optional | 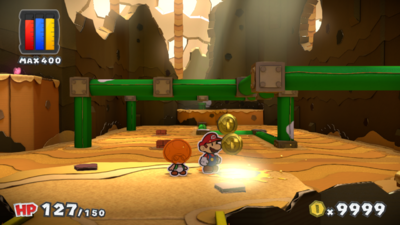
|
| Required: Collect the purple Big Paint Star. |
 Coins |
Optional | 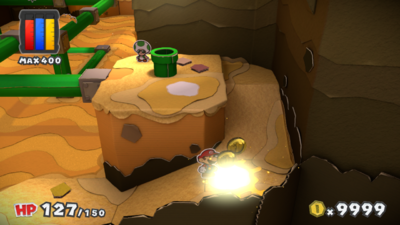
|
| Required: Collect the purple Big Paint Star. |
 Coins |
Optional | 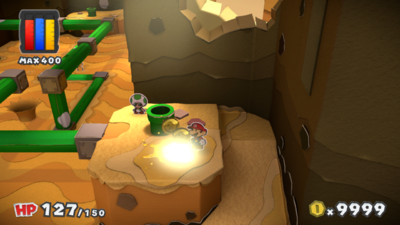
|
| Required: Collect the purple Big Paint Star. |
 Coins |
Required | 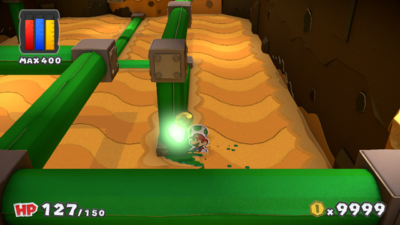
|
| Required: Collect the purple Big Paint Star. |
 Coins |
Required | 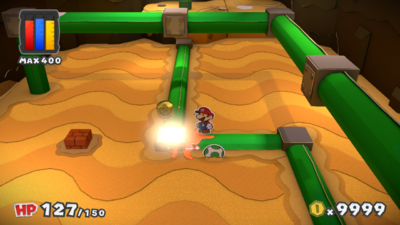
|
| Required: Collect the purple Big Paint Star. |
 Coins |
Required | 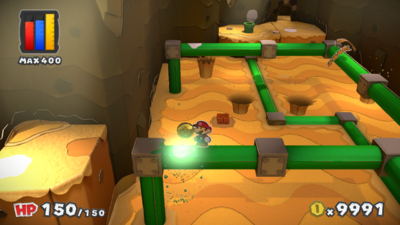
|
| Required: Collect the purple Big Paint Star. |
  Coins, POW Block Battle Card |
Optional | 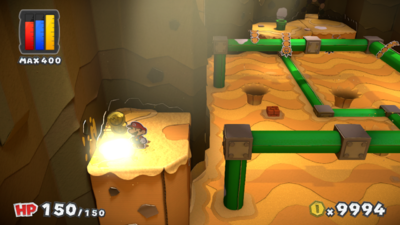
|
| Required: Collect the purple Big Paint Star. |
 Coins |
Optional | 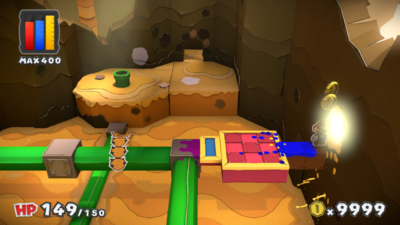
|
| Required: Collect the purple Big Paint Star. |
 Coins |
Required | 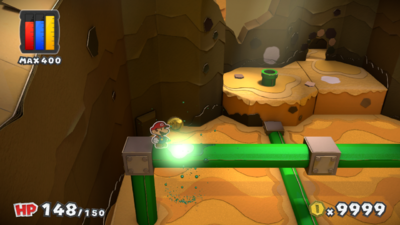
|
| Required: Collect the purple Big Paint Star. |
 Coins |
Required | 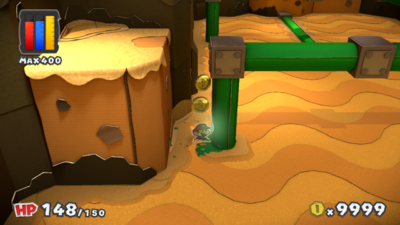
|
| Required: Collect the purple Big Paint Star. |
  Coins, Line Jump Battle Card |
Optional | 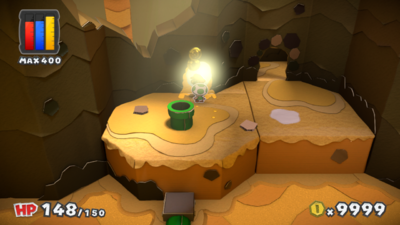
|
| Required: Collect the purple Big Paint Star. |
 Coins |
Optional | 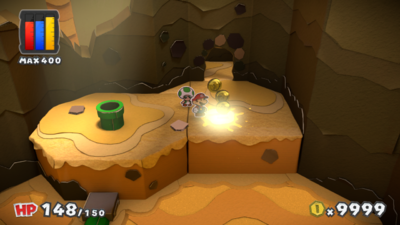
|
| Required: Collect the purple Big Paint Star. |
 Coins |
Optional | 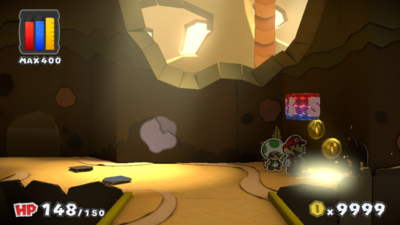
|
| Required: Collect the purple Big Paint Star. |
 Coins |
Optional | 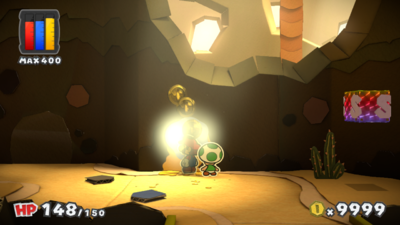
|
| Required: Collect the purple Big Paint Star. |
 Coins |
Required | 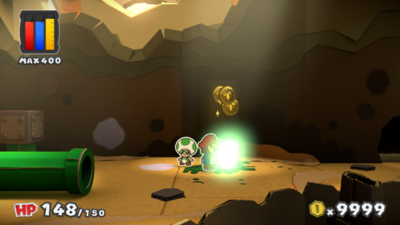
|
| Required: Collect the purple Big Paint Star. |
  Coins, KO Hammer Battle Card |
Optional | 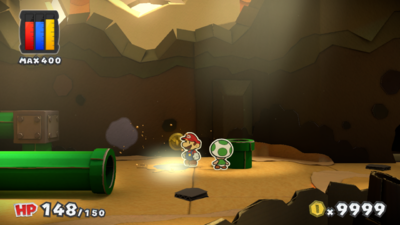
|
| Required: Collect the purple Big Paint Star. |
 Coins |
Optional | 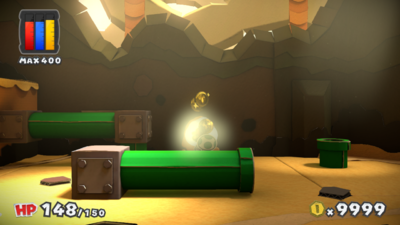
|
| Required: Collect the purple Big Paint Star. |
 Coins |
Optional | 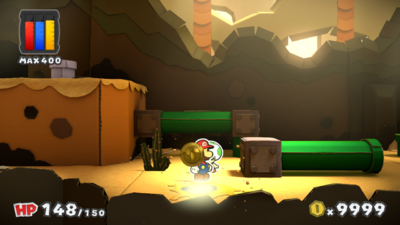
|
| Required: Collect the purple Big Paint Star. |
  Coins, Spin Jump Battle Card |
Optional | 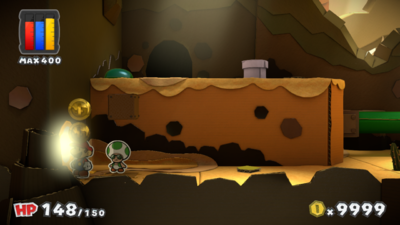
|
| Required: Collect the purple Big Paint Star. |
 Coins |
Required | 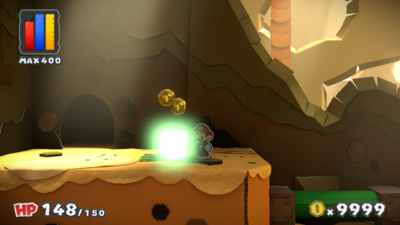
|
| Required: Collect the purple Big Paint Star. |
 Coins |
Optional | 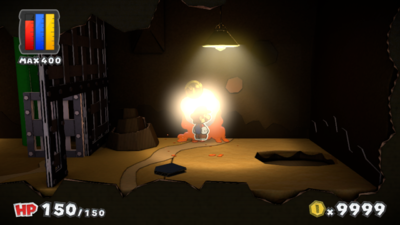
|
| Required: Collect the purple Big Paint Star. |
 Coins |
Optional | 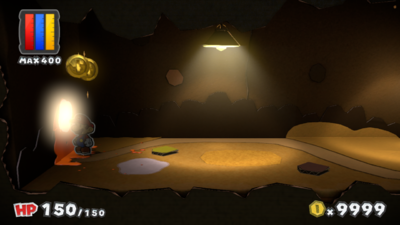
|
| Required: Collect the purple Big Paint Star. |
 Coins |
Optional | 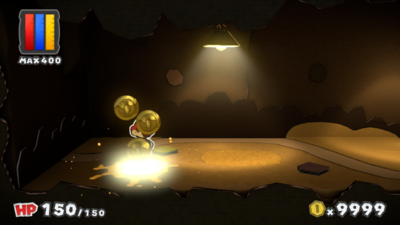
|
| Required: Collect the purple Big Paint Star. |
 Coins |
Optional | 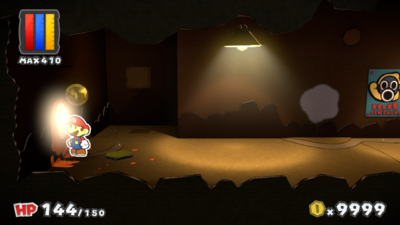
|
| Required: Collect the purple Big Paint Star. |
  Coins, Worn-Out Hammer x5 Battle Card |
Optional | 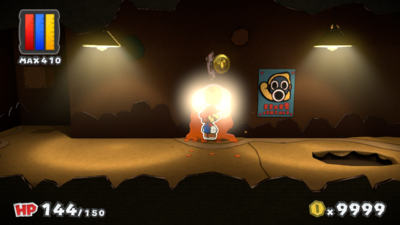
|
| Required: Collect the purple Big Paint Star. |
  Coins, POW Block Battle Card |
Optional | 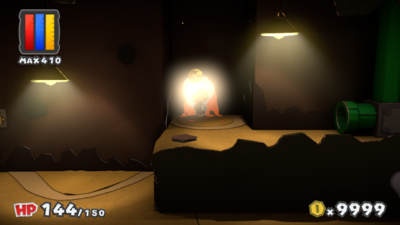
|
| Required: Collect the purple Big Paint Star. |
  Coins, Hurlhammer Battle Card |
Optional | 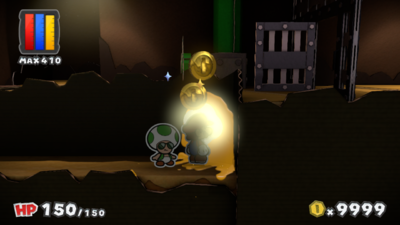
|
| Required: Collect the purple Big Paint Star. |
 Coins |
Optional | 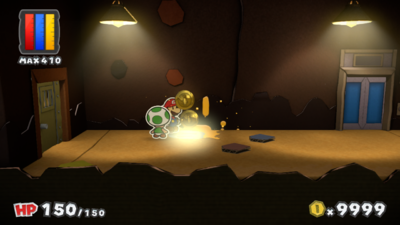
|
| Required: Collect the purple Big Paint Star. |
None | Optional | 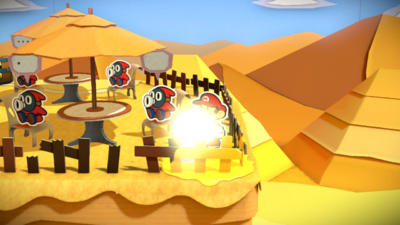
|
| The Golden Coliseum | 31 Colorless spots from environment | |||
  Coins, Iron Jump Battle Card |
Optional | 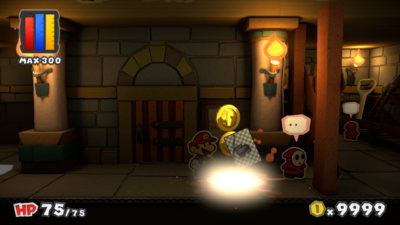
| |
  Coins, Worn-Out Hammer x3 Battle Card |
Optional | 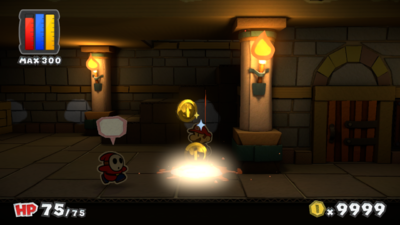
| |
  Coins, Jump Battle Card |
Optional | 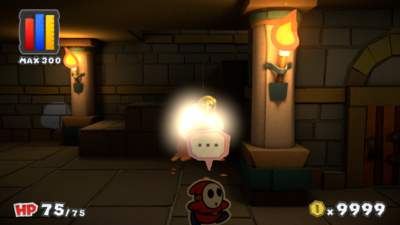
| |
 Coins |
Optional | 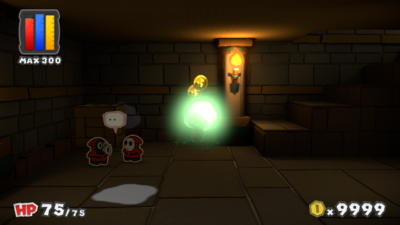
| |
 Coins |
Optional | 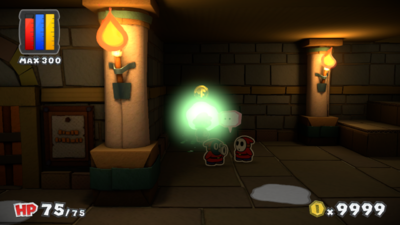
| |
 Coins |
Optional | 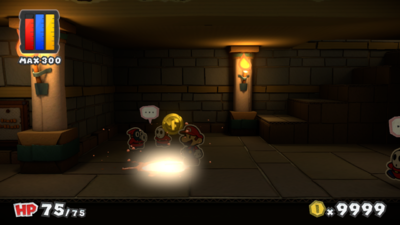
| |
 Coins |
Optional | 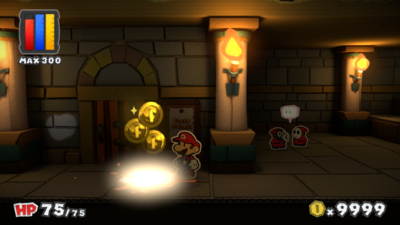
| |
  Coins, Hammer Battle Card |
Optional | 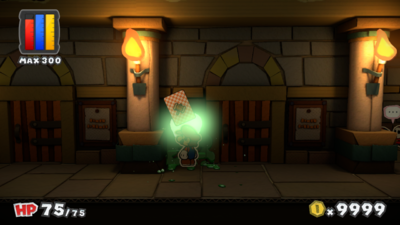
| |
 Coins |
Optional | 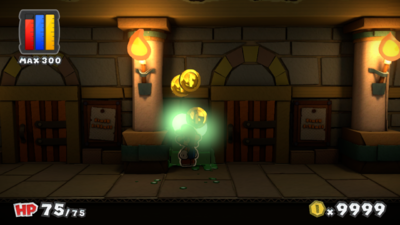
| |
 Coins |
Optional | 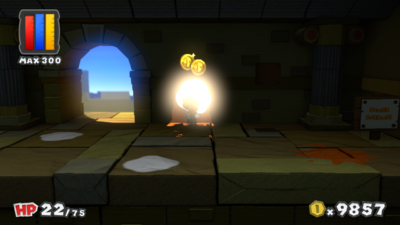
| |
 Coins |
Optional | 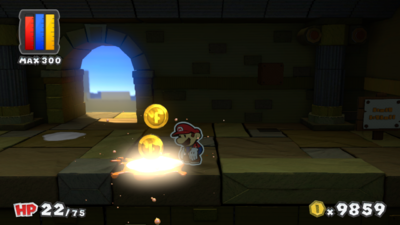
| |
 Coins |
Optional | 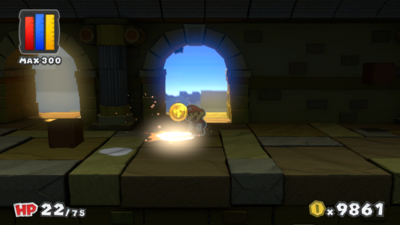
| |
 Coins |
Optional | 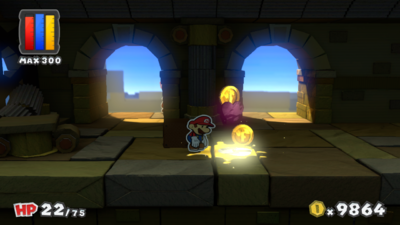
| |
 Coins |
Optional | 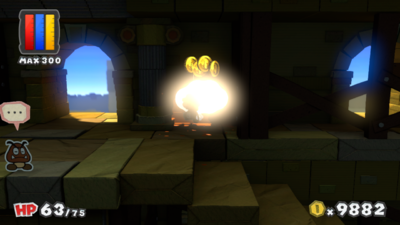
| |
  Coins, Jump Battle Card |
Optional | 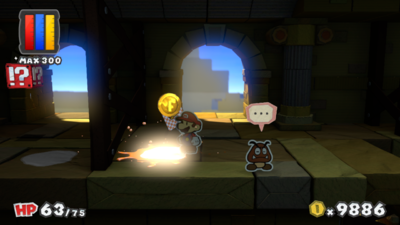
| |
 Coins |
Optional | 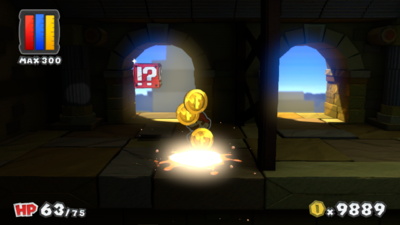
| |
 Coins |
Optional | 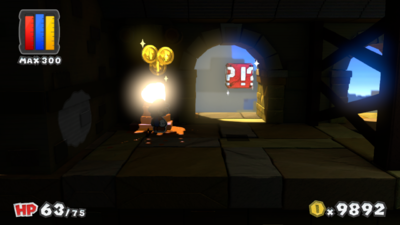
| |
 Coins |
Optional | 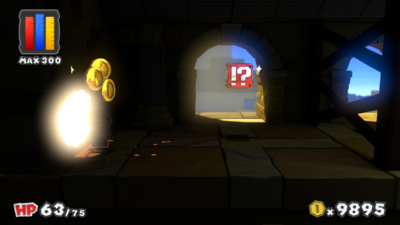
| |
 Coins |
Optional | 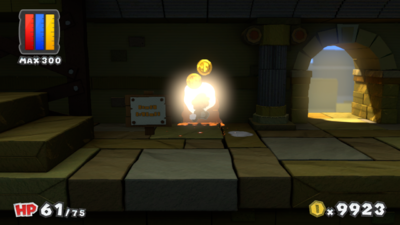
| |
 Coins |
Optional | 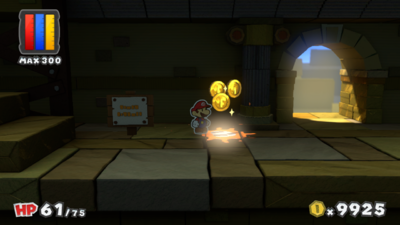
| |
 Coins |
Optional | 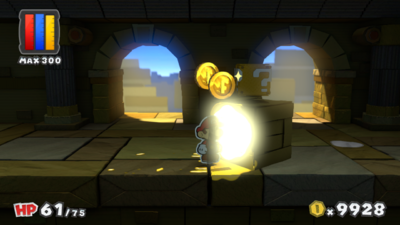
| |
  Coins, 1-Up Mushroom Battle Card |
Optional | 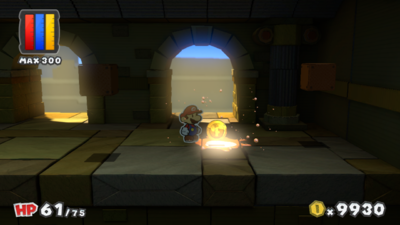
| |
 Coins |
Optional | 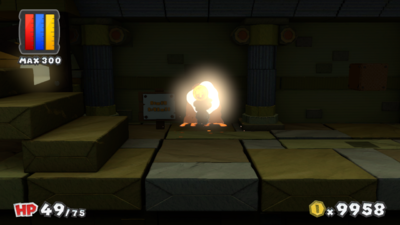
| |
 Coins |
Optional | 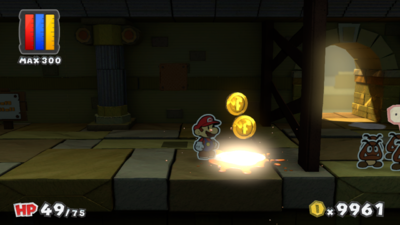
| |
  Coins, Worn-Out Jump x3 Battle Card |
Optional | 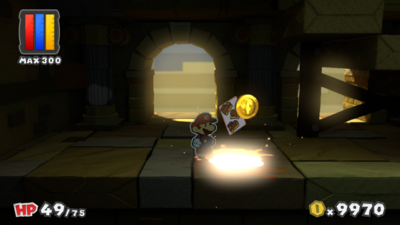
| |
  Coins, Hammer Battle Card |
Optional | 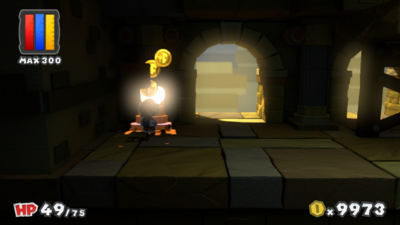
| |
 Coins |
Optional | 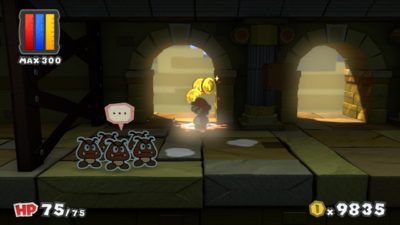
| |
 Coins |
Optional | 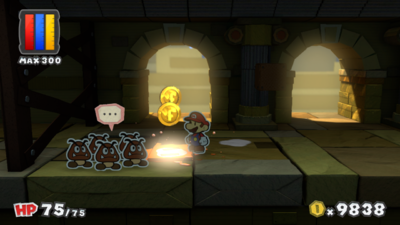
| |
 Coins |
Optional | 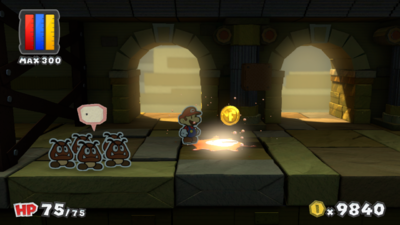
| |
 Coins |
Optional | 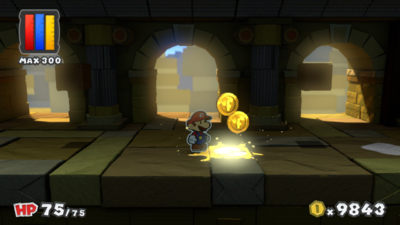
| |
 Coins |
Optional | 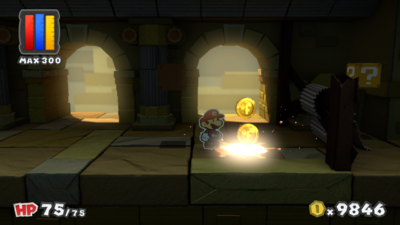
| |
Blue courses[edit]
There are a total of 115 Colorless spots to fill in the blue courses:
- Indigo Underground has 39 Colorless spots - 38 environment, 1 Toad
- Bloo Bay Beach has 38 Colorless spots from environment
- Dark Bloo Inn has 14 Colorless spots - 13 environment, 1 Toad
- Cobalt Base has 3 Colorless spots from environment
- Fort Cobalt has 21 Colorless spots from environment
| Location | Drop | Necessity | Image |
|---|---|---|---|
| Indigo Underground | 39 Colorless spots (38 environment, 1 Toad) | |||
 Coins |
Optional | 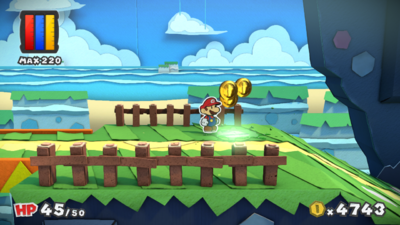
| |
  Coins, Worn-Out Jump Battle Card |
Optional | 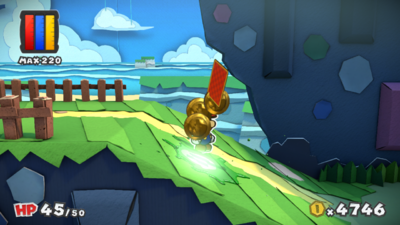
| |
 Coins |
Optional | 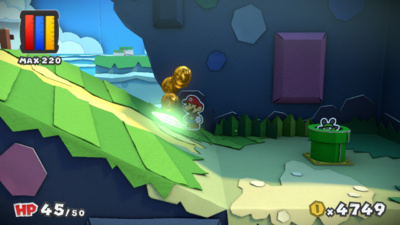
| |
  Coins, Spike Hemlet Battle Card |
Optional | 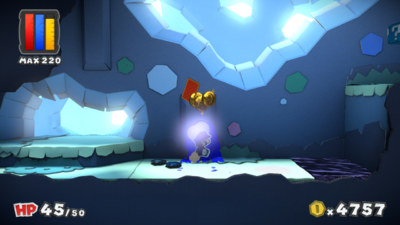
| |
 Coins |
Optional | 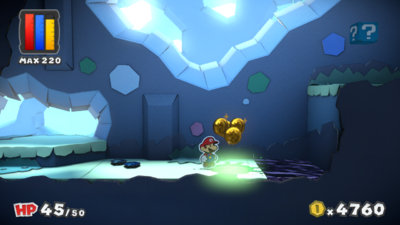
| |
  Coins, Spike Hemlet Battle Card |
Optional | 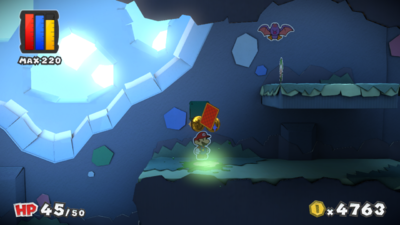
| |
  Coins, Worn-Out Jump x3 Battle Card |
Optional | 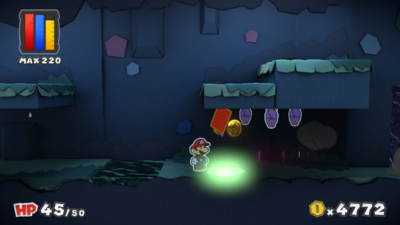
| |
 Coins |
Optional | 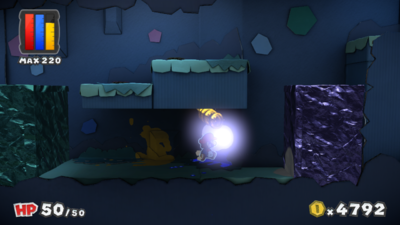
| |
 Coins |
Required | 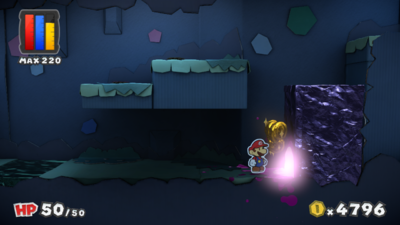
| |
 Coins |
Optional | 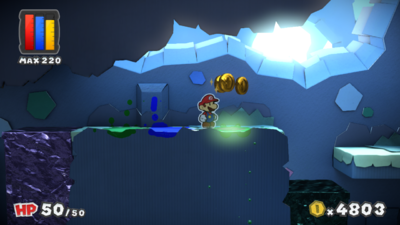
| |
  Coins, Worn-Out Hammer Battle Card |
Optional | 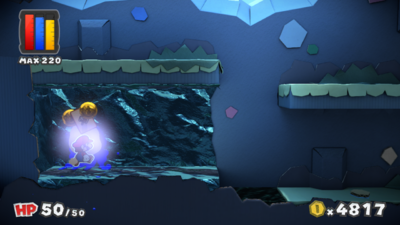
| |
 Coins |
Optional | 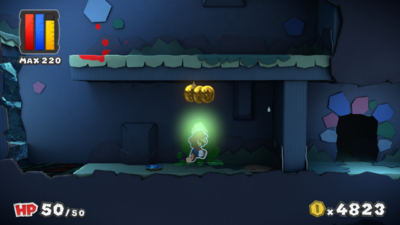
| |
 Coins |
Optional | 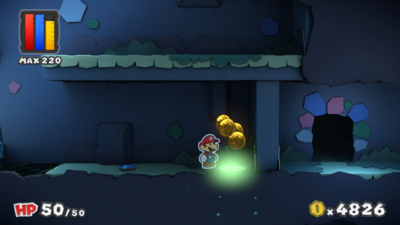
| |
 Coins |
Optional | 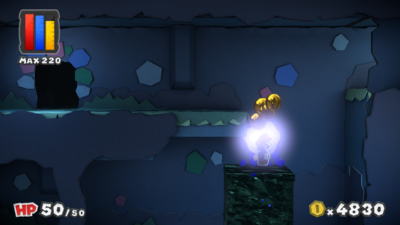
| |
  Coins, Jump Battle Card |
Optional | 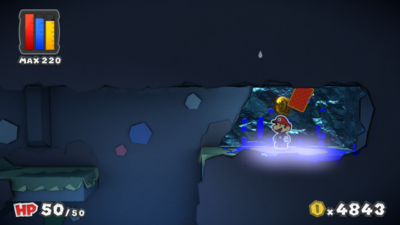
| |
 Coins |
Optional | 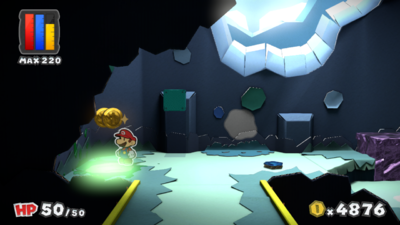
| |
 Coins |
Optional | 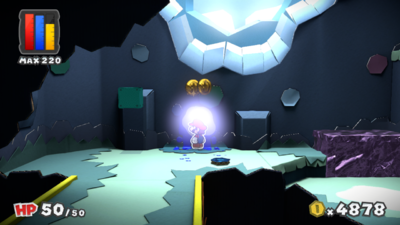
| |
  Coins, Worn-Out Hammer Battle Card |
Optional | 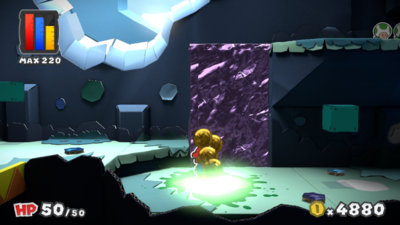
| |
 Coins |
Optional | 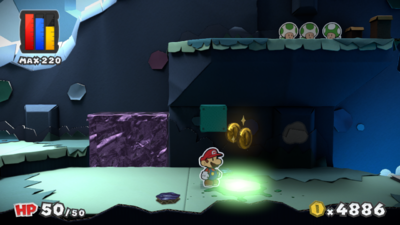
| |
 Coins |
Optional | 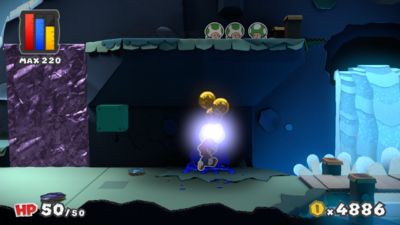
| |
 2x 2x Coins, 2 Fire Flower Battle Cards |
Optional | 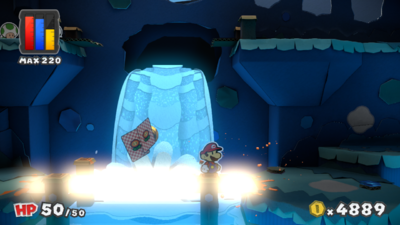
| |
 Coins |
Optional | 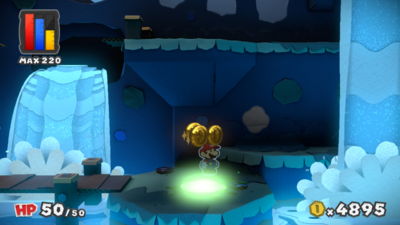
| |
 Coins |
Optional | 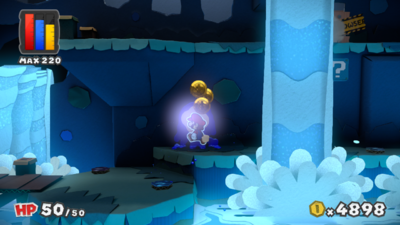
| |
 Coins |
Optional | 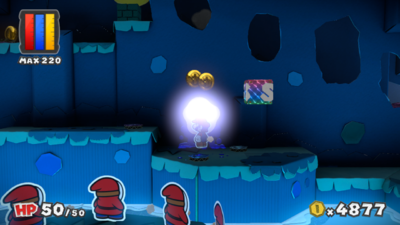
| |
 Coins |
Optional | 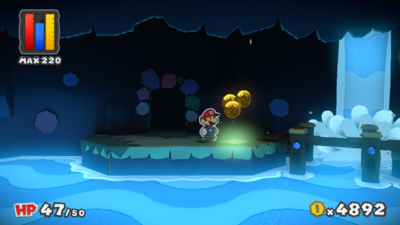
| |
 Coins |
Optional | 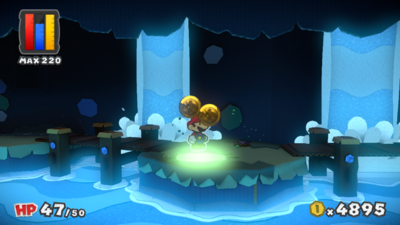
| |
 Coins |
Optional | 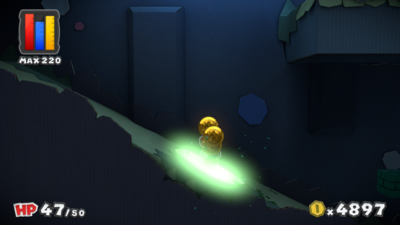
| |
  Coins, Worn-Out Jump x3 Battle Card |
Optional | 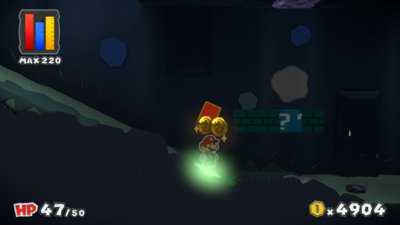
| |
 Coins |
Optional | 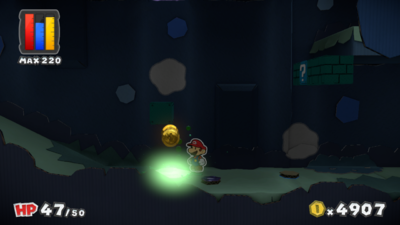
| |
  Coins, Fire Flower Battle Card |
Optional | 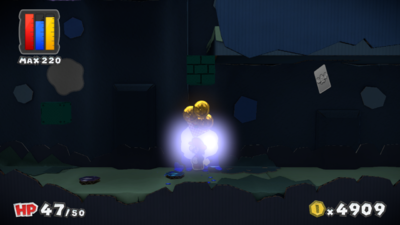
| |
 Coins |
Optional | 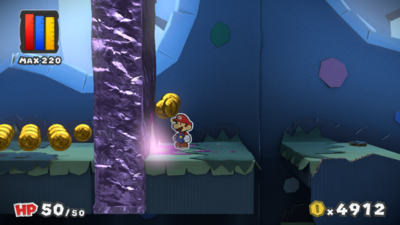
| |
  Coins, Jump Battle Card |
Optional | 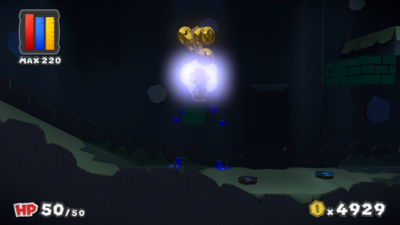
| |
  Coins, Fire Flower Battle Card |
Optional | 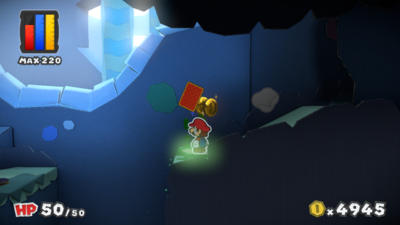
| |
 Coins |
Optional | 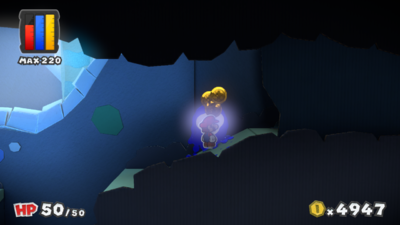
| |
| None | Required | 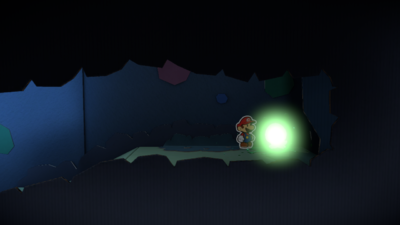
| |
 Coins |
Required | 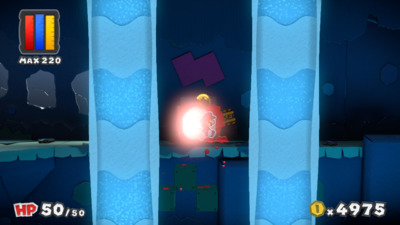
| |
 Coins |
Optional | 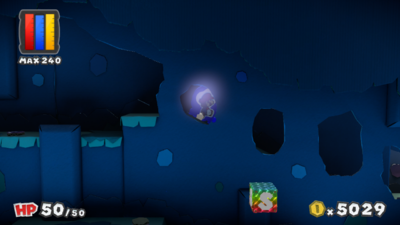
| |
  Coins, Hammer Battle Card |
Optional | 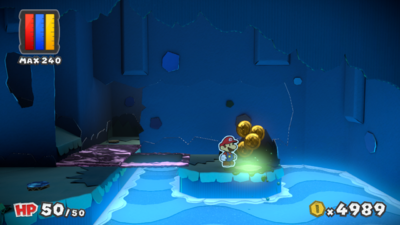
| |
  Coins, Worn-Out Hammer x3 Battle Card |
Optional | 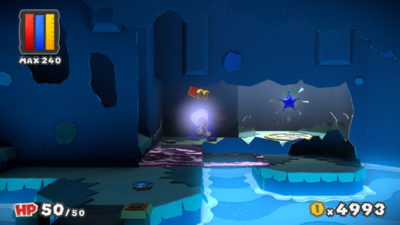
| |
| Bloo Bay Beach | 38 Colorless spots from environment | |||
 Coins |
Optional | 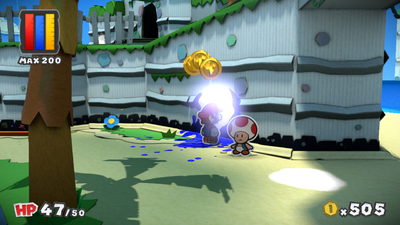
| |
 Coins |
Optional | 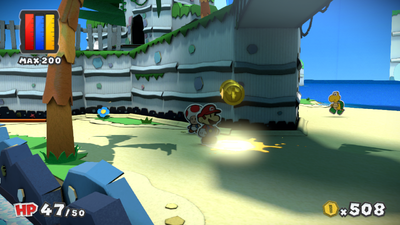
| |
 Coins |
Optional | 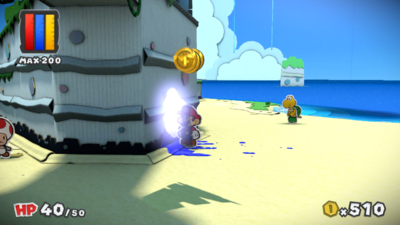
| |
 Coins |
Optional | 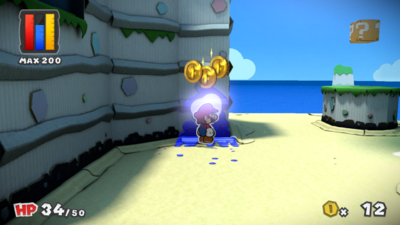
| |
 Coins |
Optional | 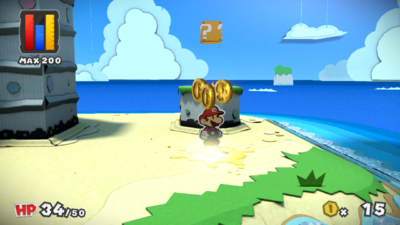
| |
  Coins, Worn-Out Hammer Battle Card |
Optional | 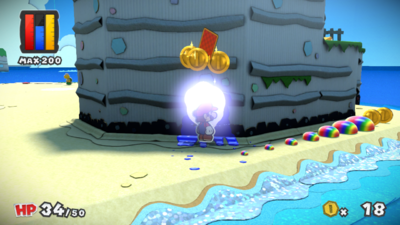
| |
 Coins |
Optional | 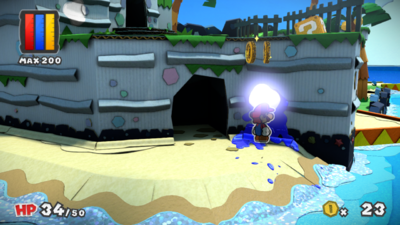
| |
  Coins, Worn-Out Hammer Battle Card |
Optional | 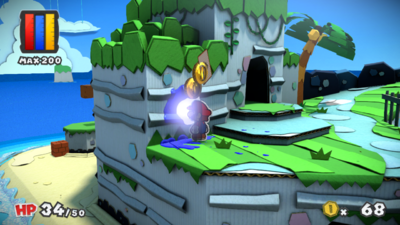
| |
 Coins |
Optional | 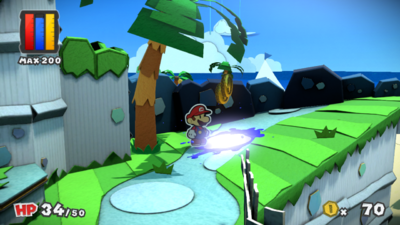
| |
 Coins |
Optional | 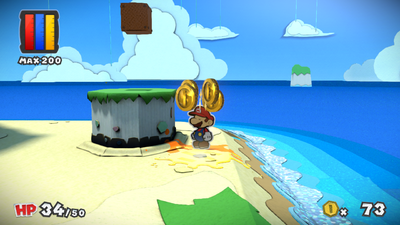
| |
  Coins, Worn-Out Jump x3 Battle Card |
Optional | 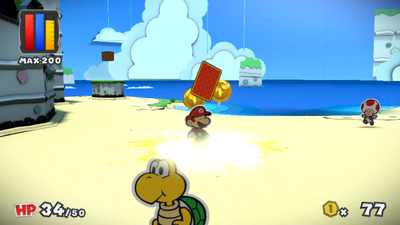
| |
 Coins |
Optional | 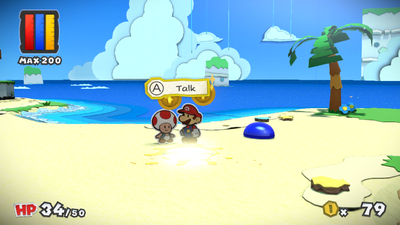
| |
 Coins |
Optional | 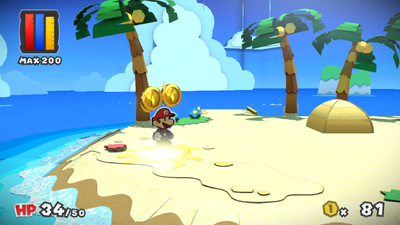
| |
 Coins |
Optional | 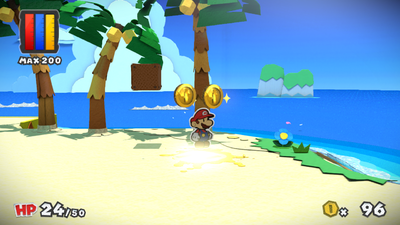
| |
  Coins, Worn-Out Hammer Battle Card |
Optional | 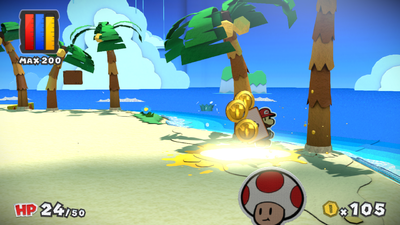
| |
 Coins |
Optional | 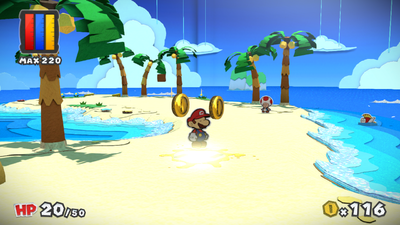
| |
 Coins |
Optional | 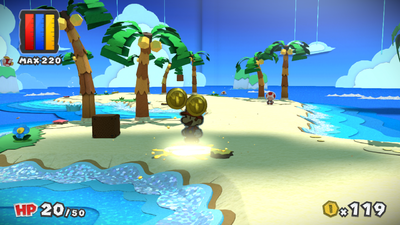
| |
  Coins, Worn-Out Jump x3 Battle Card |
Optional | 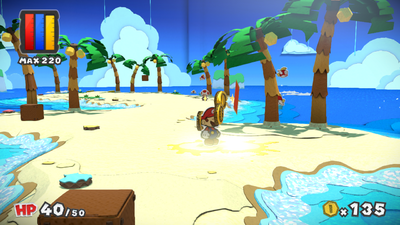
| |
 Coins |
Optional | 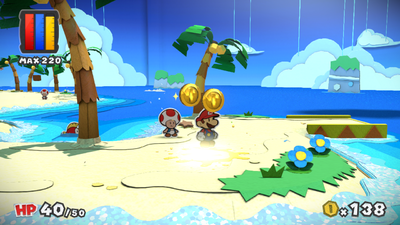
| |
 Coins |
Optional | 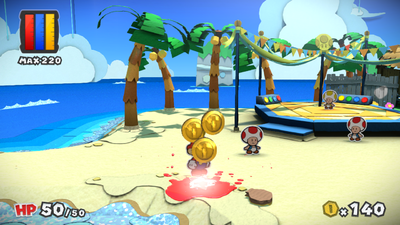
| |
 Coins |
Optional | 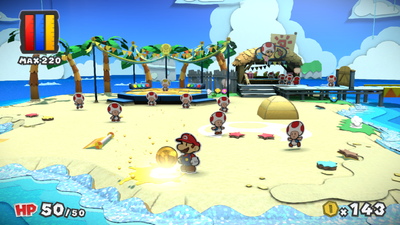
| |
 Coins Rainbow Globs of Paint   Any combination of 4 Cards from 1-Up Mushroom and Mushroom |
Optional | 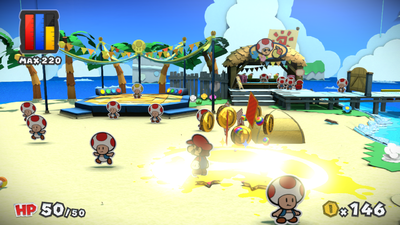
| |
 Coins |
Optional | 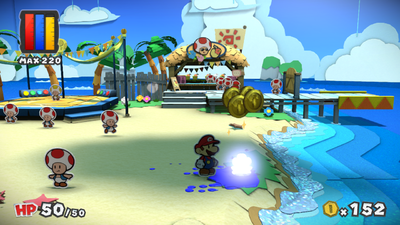
| |
 Coins |
Optional | 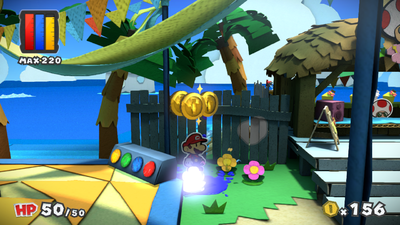
| |
 Coins |
Optional | 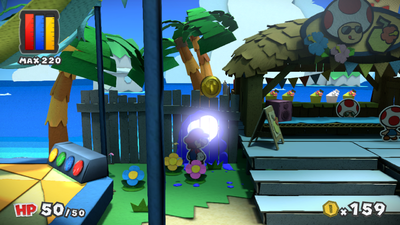
| |
 Coins, Rainbow Globs of Paint |
Optional | 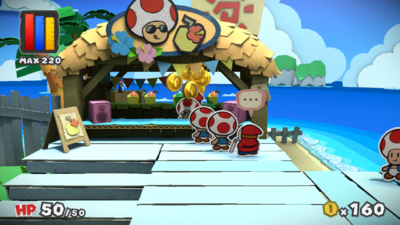
| |
 Coins |
Optional | 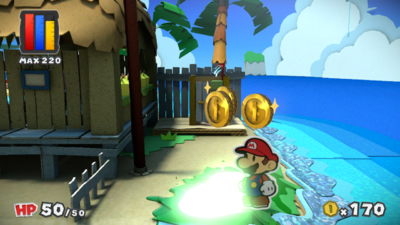
| |
 Coins |
Optional | 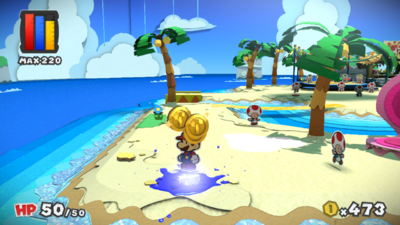
| |
 Coins |
Optional | 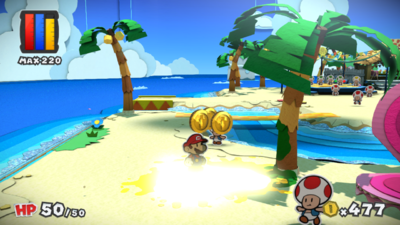
| |
  Coins, Hammer Battle Card |
Optional | 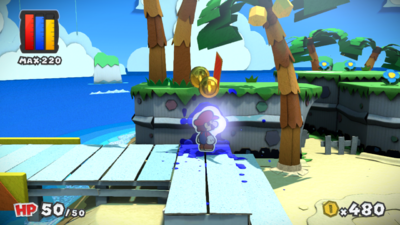
| |
  Coins, Jump Battle Card |
Optional | 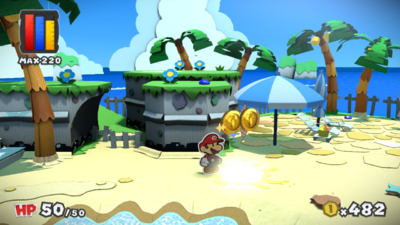
| |
  Coins, Jump Battle Card |
Optional | 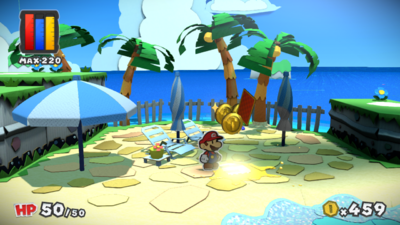
| |
 Coins |
Required | 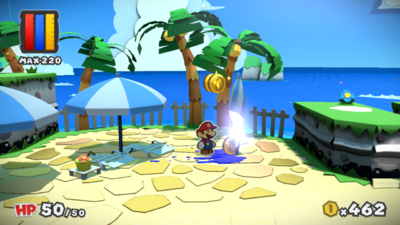
| |
  Coins, KO Hammer Battle Card |
Optional | 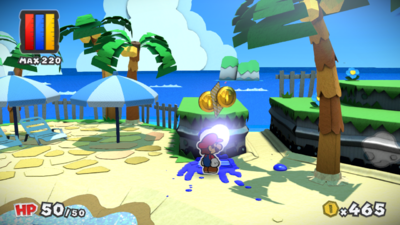
| |
  Coins, Hammer Battle Card |
Optional | 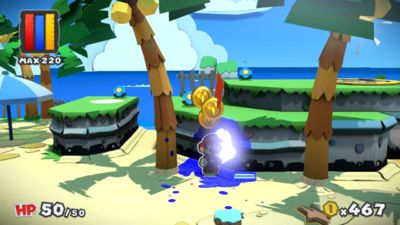
| |
  Coins, Eekhammer Battle Card |
Optional | 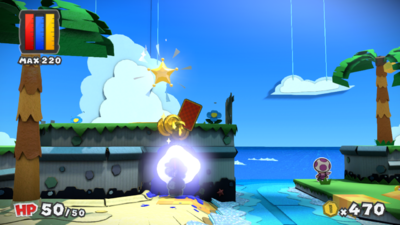
| |
  Coins, Hopslipper Battle Card |
Optional | 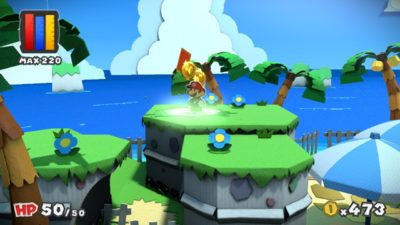
| |
  Coins, Line Jump Battle Card |
Optional | 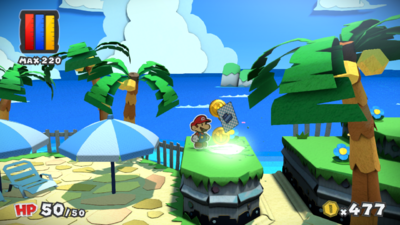
| |
| Dark Bloo Inn | 14 Colorless spots (13 environment, 1 Toad) | |||
| None | Optional | 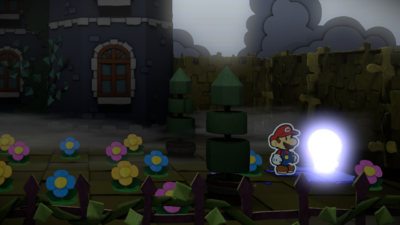
| |
 Coins |
Optional | 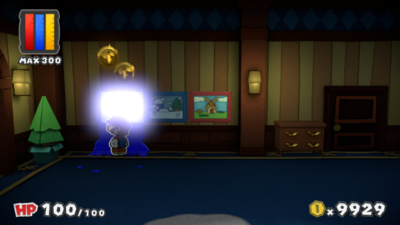
| |
 Coins |
Optional | 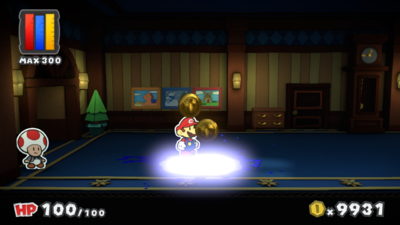
| |
 Coins |
Required | 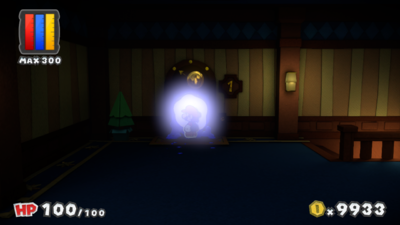
| |
 Coins |
Optional | 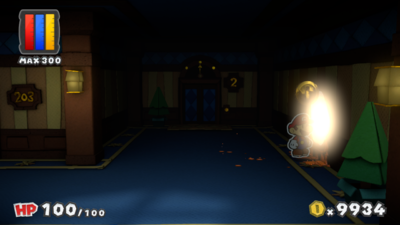
| |
 Coins |
Optional | 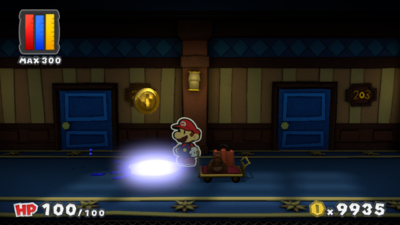
| |
 Coins |
Optional | 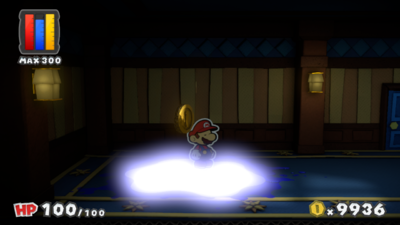
| |
 Coins |
Optional | 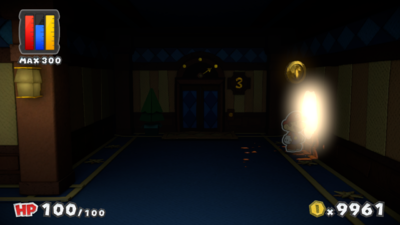
| |
 Coins |
Optional | 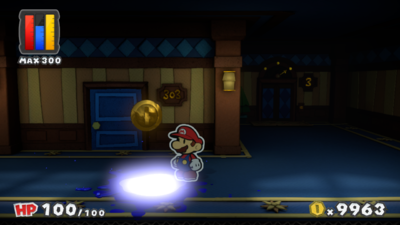
| |
 Coins |
Optional | 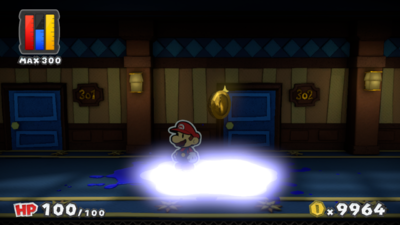
| |
 Coins |
Required | 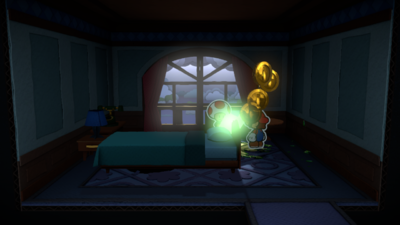
| |
| None | Required | 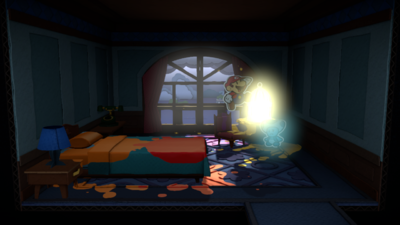
| |
 Coins |
Optional | 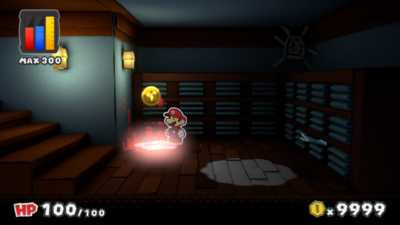
| |
 Coins |
Optional | 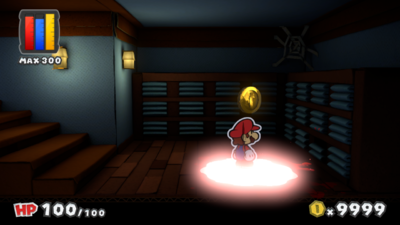
| |
| Cobalt Base | 3 Colorless spots from environment | |||
 Coins, Rainbow Globs of Paint |
Optional | 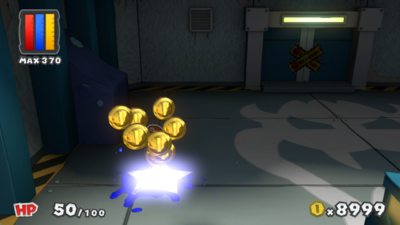
| |
 Coins, Rainbow Globs of Paint |
Optional | 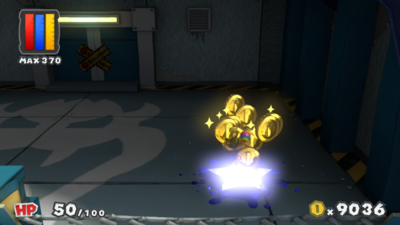
| |
 Coins Rainbow Globs of Paint     Combination of 3 Cards from Huge Hammer, Huge Eekhammer, Huge KO Hammer and Huge Hurlhammer |
Optional | 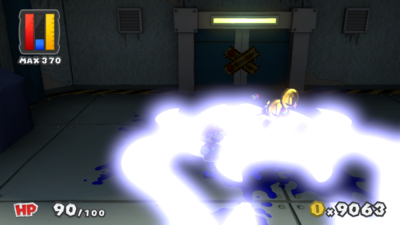
| |
| Fort Cobalt | 21 Colorless spots from environment | |||
  Coins, Jump Battle Card |
Optional | 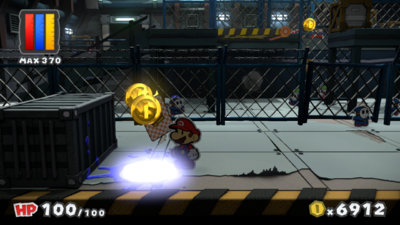
| |
  Coins, Worn-Out Hammer x5 Battle Card |
Optional | 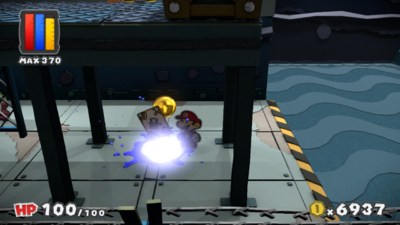
| |
 Coins |
Optional | 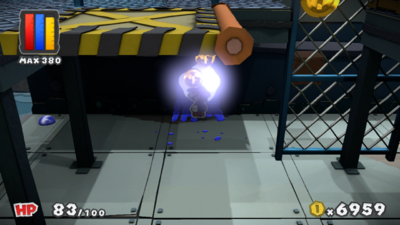
| |
 Coins |
Optional | 
| |
  Coins, Hammer Battle Card |
Optional | 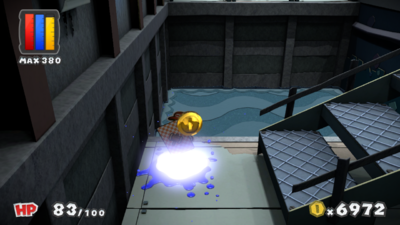
| |
 Coins |
Optional | 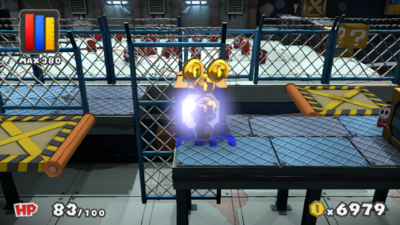
| |
 Coins |
Optional | 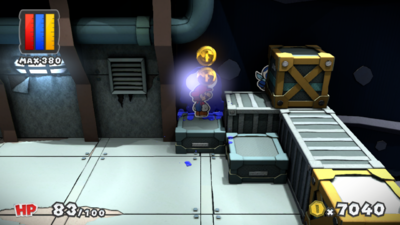
| |
  Coins, POW Block Battle Card |
Optional | 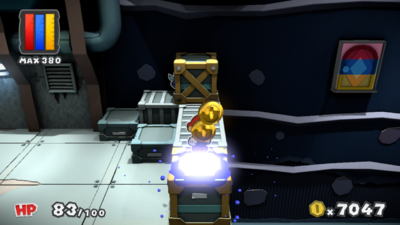
| |
 Coins |
Optional | 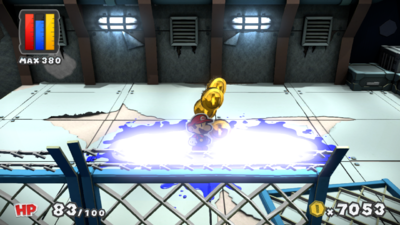
| |
  Coins, Tail Battle Card |
Optional | 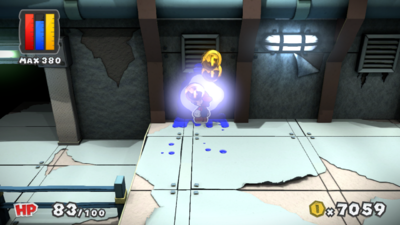
| |
 Coins     Any combination of 3 Cards from Jump x2, Hammer x2, Big Jump and Big Hammer |
Optional | 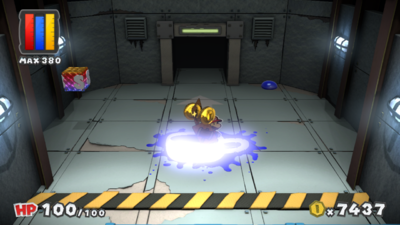
| |
 Coins    Any combination of 3 Cards from Mushroom, POW Block and Tail |
Optional | 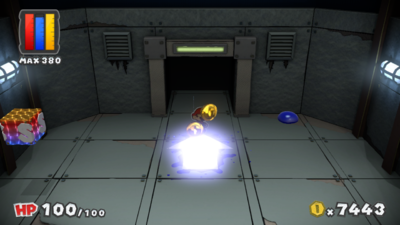
| |
  Coins, Worn-Out Jump x3 Battle Card |
Optional | 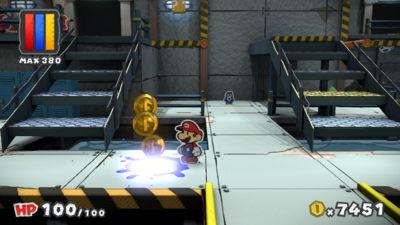
| |
 Coins |
Optional | 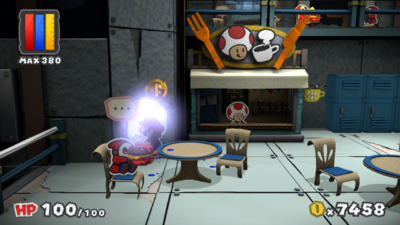
| |
  Coins, Tail Battle Card |
Optional | 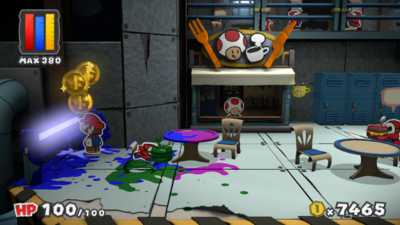
| |
 Coins |
Optional | 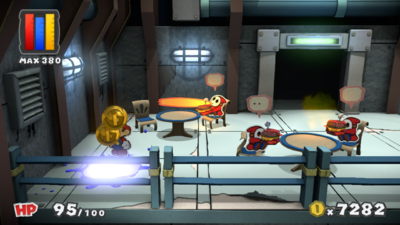
| |
 Coins |
Optional | 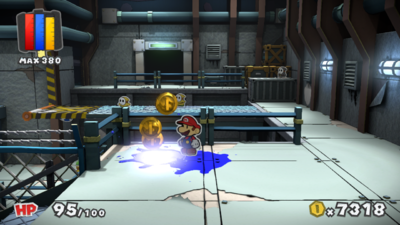
| |
  Coins, Hopslipper Battle Card |
Optional | 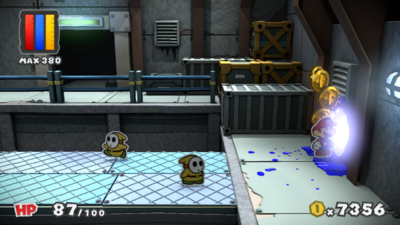
| |
 Coins |
Required | 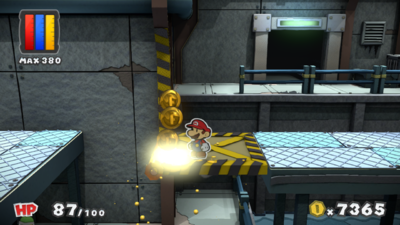
| |
  Coins, POW Block Battle Card |
Optional | 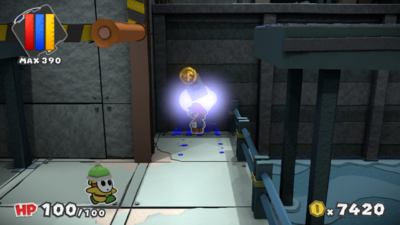
| |
 Coins |
Optional | 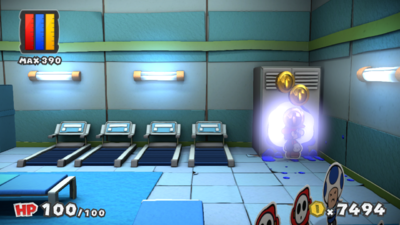
| |
Purple courses[edit]
There are a total of 181 Colorless spots to fill in the purple courses:
- Plum Park has 38 Colorless spots - 35 environment, 3 Toads
- Violet Passage has 10 Colorless spots from environment
- Vortex Island has 56 Colorless spots - 51 environment, 5 Toads
- Lighthouse Island has 35 Colorless spots - 34 environment, 1 Toad
- Fortune Island has 42 Colorless spots from environment
Note: The patches of grass and hedges are filled with yellow paint before restoring Plum Park, and green paint after squeezing the Teapot.
| Location | Drop | Necessity | Image |
|---|---|---|---|
| Plum Park | 38 Colorless spots (35 environment, 3 Toads) | |||
 Coins |
Optional | 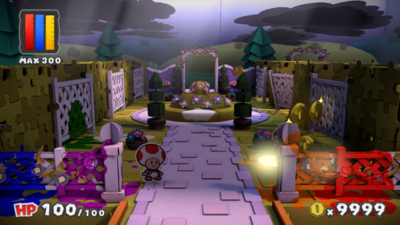
| |
  Coins, Jump Battle Card |
Optional | 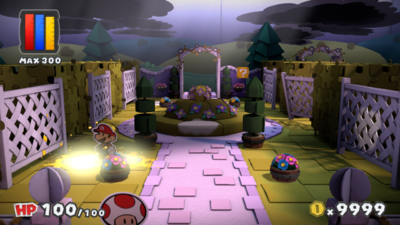
| |
  Coins, Hammer Battle Card |
Optional | 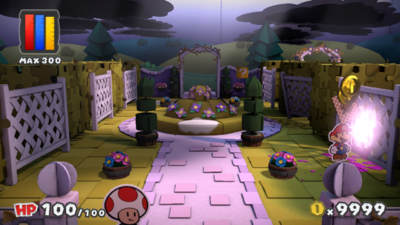
| |
  Coins, Hopslipper Battle Card |
Optional | 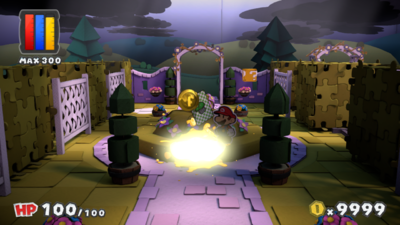
| |
 Coins |
Optional | 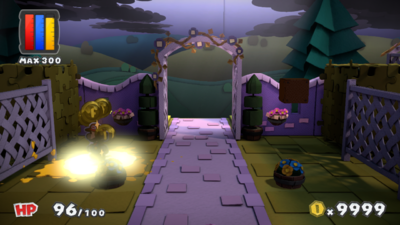
| |
  Coins, Eekhammer Battle Card |
Optional | 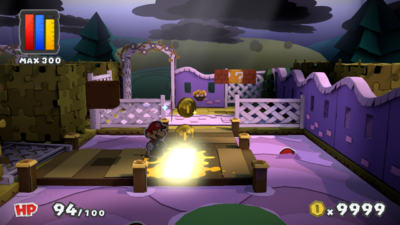
| |
 Coins |
Optional | 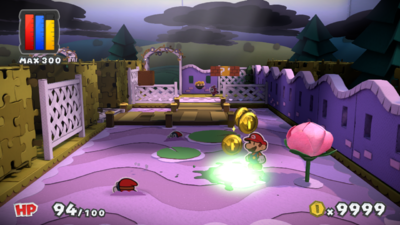
| |
 Coins |
Optional | 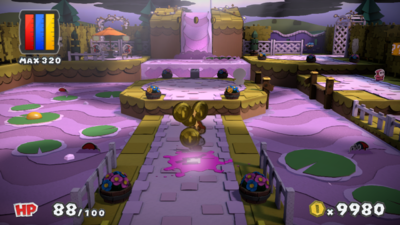
| |
  Coins, Worn-Out Hammer x5 Battle Card |
Optional | 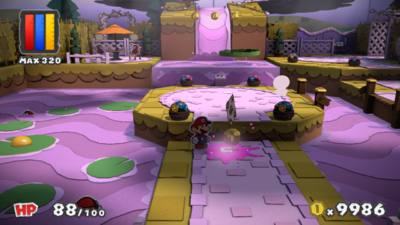
| |
 Coins |
Optional | 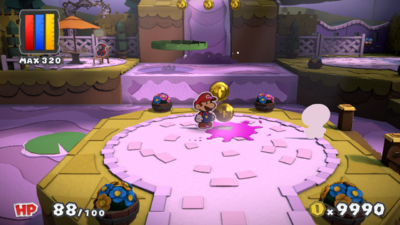
| |
| None | Optional | 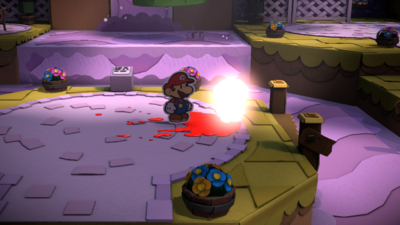
| |
 Thing Replica/1-Up Mushroom Battle Card |
Optional | 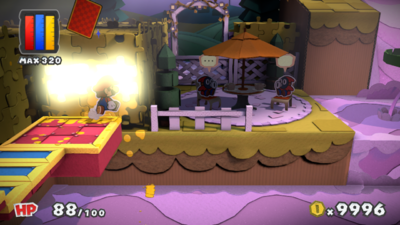
| |
| None | Optional | 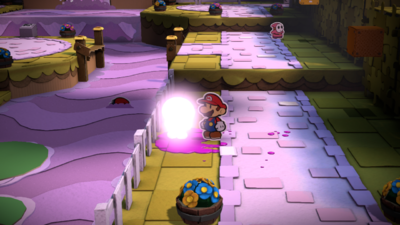
| |
  Coins, Jump Battle Card |
Optional | 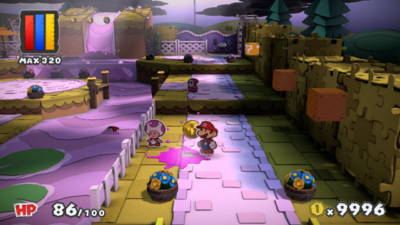
| |
 Coins |
Optional | 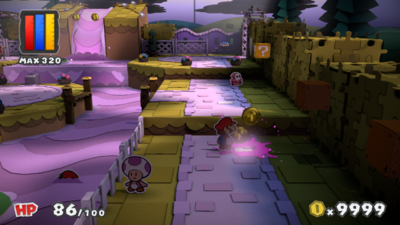
| |
 Coins |
Optional | 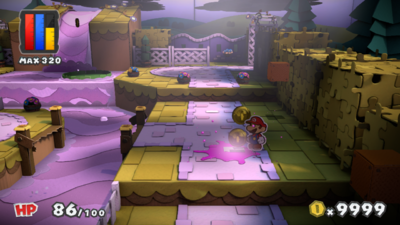
| |
  Coins, Worn-Out Jump x3 Battle Card |
Optional | 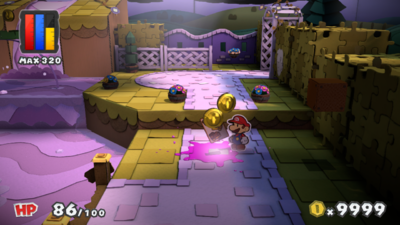
| |
  Coins, Hammer Battle Card |
Optional | 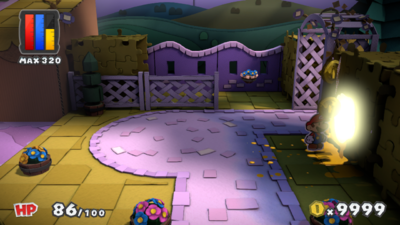
| |
 Coins |
Optional | 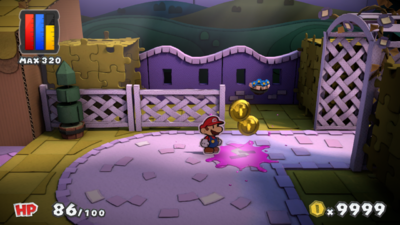
| |
 Coins |
Optional | 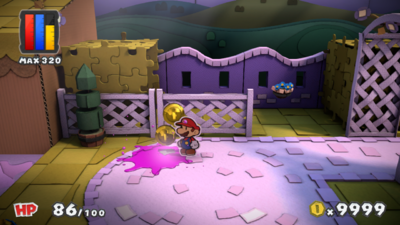
| |
 Coins |
Optional | 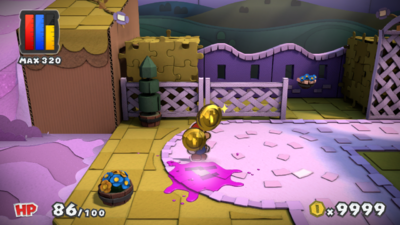
| |
 Coins |
Optional | 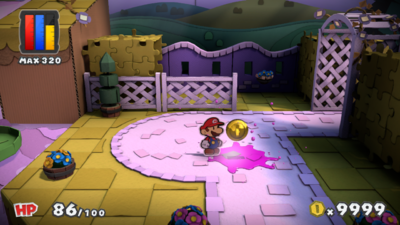
| |
 Coins |
Optional | 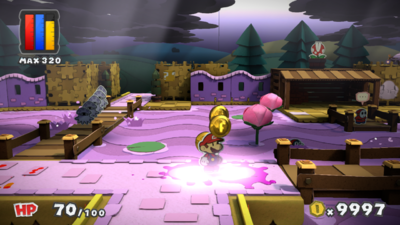
| |
 Coins |
Optional | 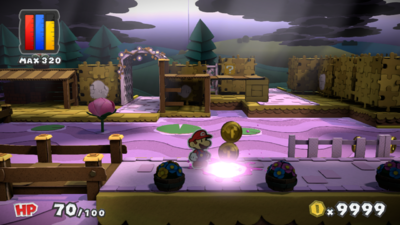
| |
  Coins, Hammer Battle Card |
Optional | 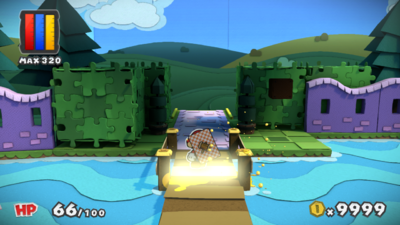
| |
 Coins |
Optional | 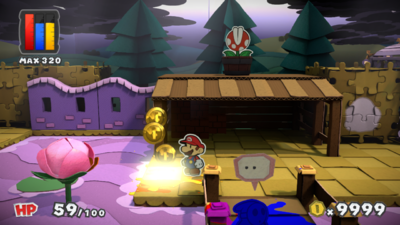
| |
  Coins, Worn-Out Hammer x3 Battle Card |
Optional | 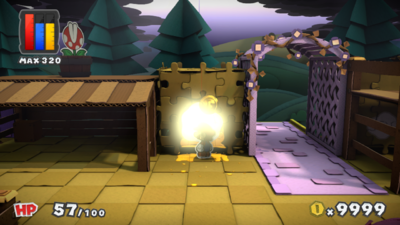
| |
  Coins, Hammer Battle Card |
Optional | 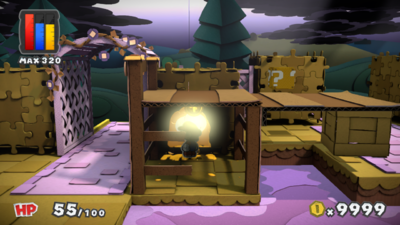
| |
 Coins    Any combination of 3 Cards from Big Mushroom, Fire Flower and Ice Flower |
Optional | 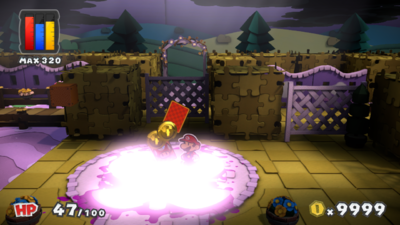
| |
 Coins |
Optional | 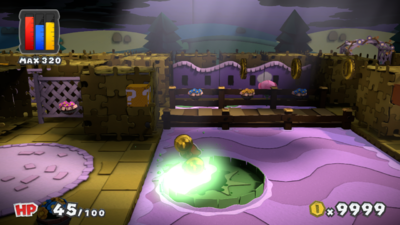
| |
 Coins |
Optional | 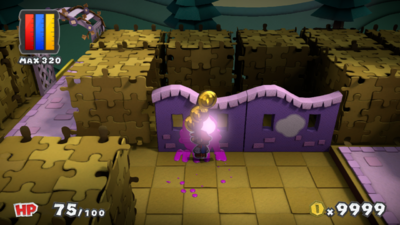
| |
  Coins, Jump Battle Card |
Optional | 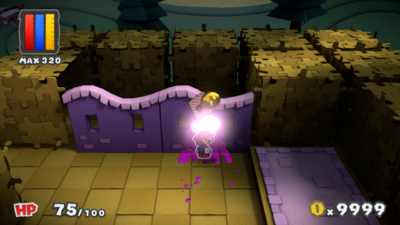
| |
 Coins |
Optional | 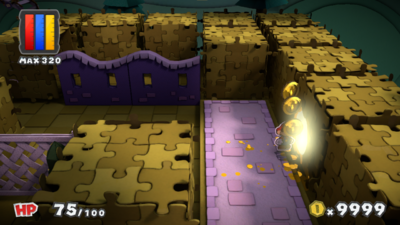
| |
| None | Optional | 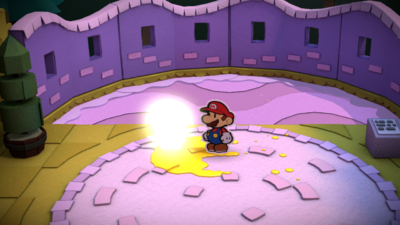
| |
 Coins |
Optional | 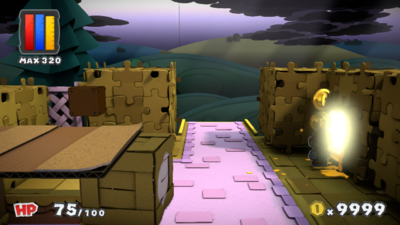
| |
 Coins |
Required | 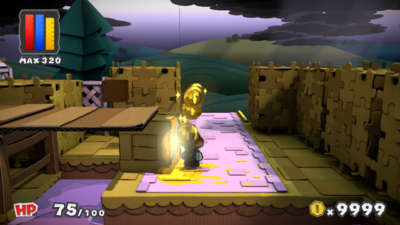
| |
 Coins |
Optional | 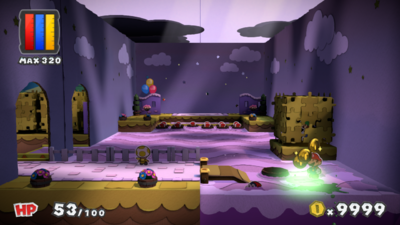
| |
| Required: Restore the Fountain of Purity. |
 Coins |
Optional | 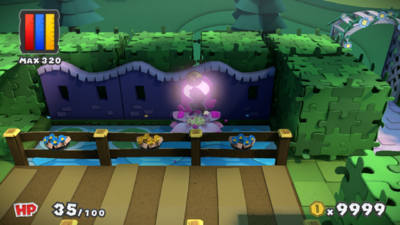
|
| Violet Passage | 10 Colorless spots from environment | |||
  Coins, Worn-Out Hammer x3 Battle Card |
Optional | 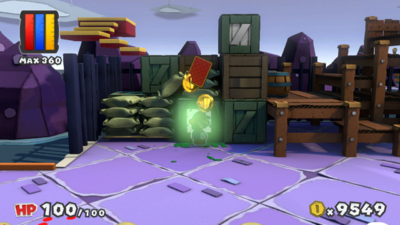
| |
 Coins |
Optional | 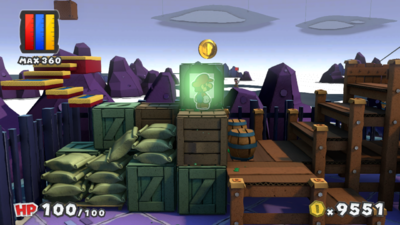
| |
 Coins |
Optional | 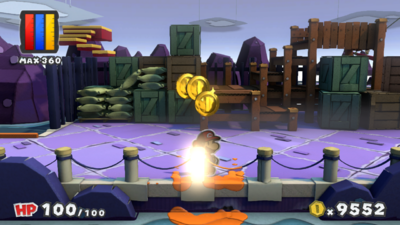
| |
  Coins, Jump Battle Card |
Optional | 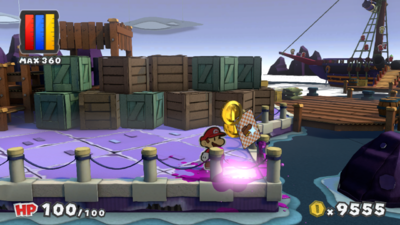
| |
  Coins, Purple Globs of Paint, Thing Replica/1-Up Mushroom Battle Card |
Optional | 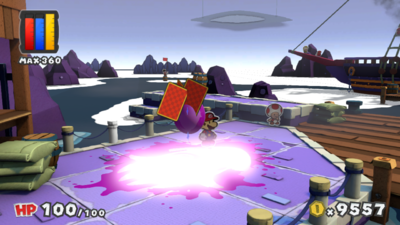
| |
  Coins, Worn-Out Jump x3 Battle Card |
Optional | 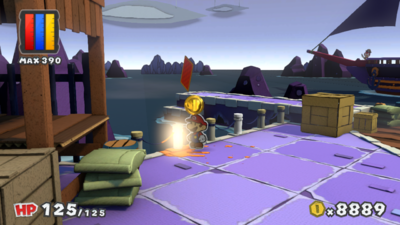
| |
 Coins |
Optional | 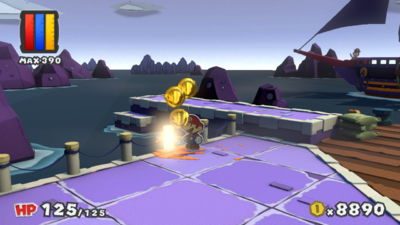
| |
  Coins, KO Hammer Battle Card |
Optional | 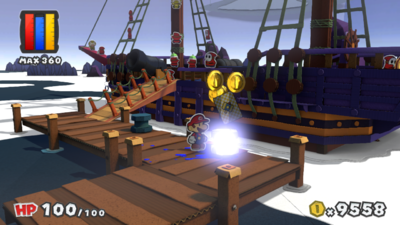
| |
| Required: Collect the blue Big Paint Star. |
None | Required | 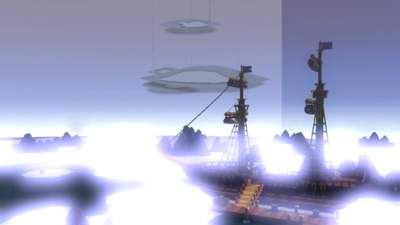
|
| Required: Collect the blue Big Paint Star. |
 Coins |
Required | 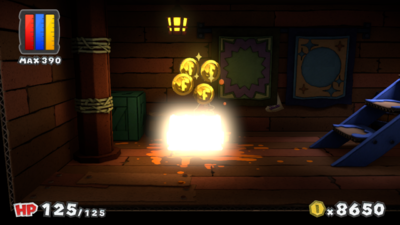
|
| Vortex Island | 56 Colorless spots (51 environment, 5 Toads) | |||
| None | Optional | 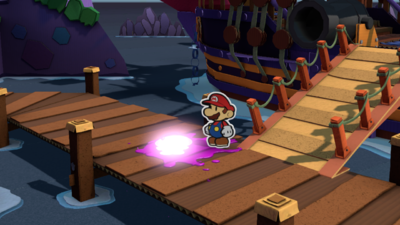
| |
 Coins |
Optional | 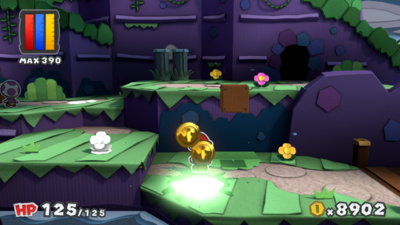
| |
  Coins, Ice Flower Battle Card |
Optional | 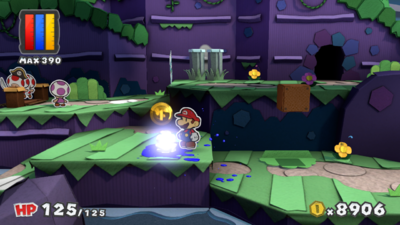
| |
 Coins |
Optional | 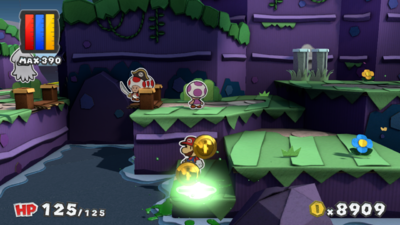
| |
 Coins |
Optional | 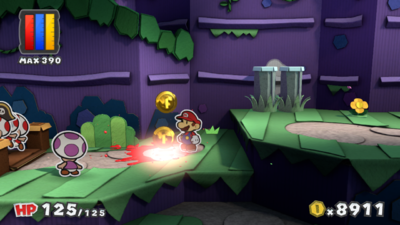
| |
 Coins |
Optional | 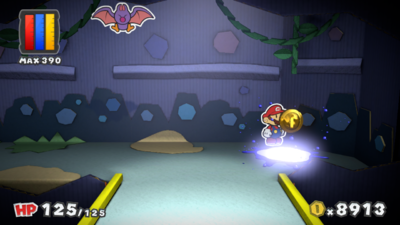
| |
  Coins, Jump Battle Card |
Optional | 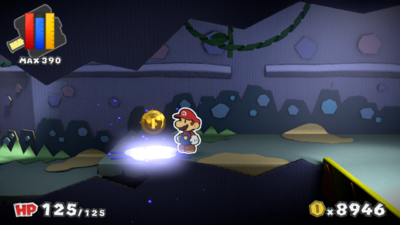
| |
 Coins |
Optional | 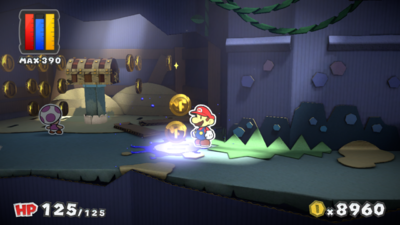
| |
 Coins |
Optional | 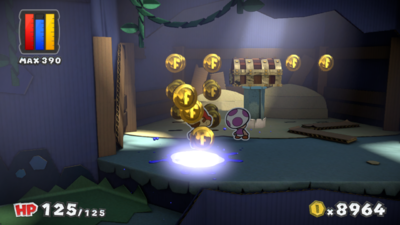
| |
  Coins, Line Jump Battle Card |
Optional | 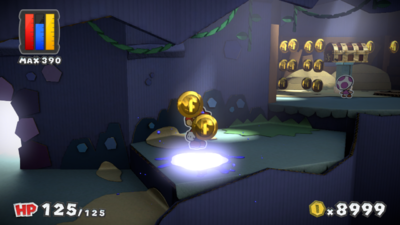
| |
 Coins |
Optional | 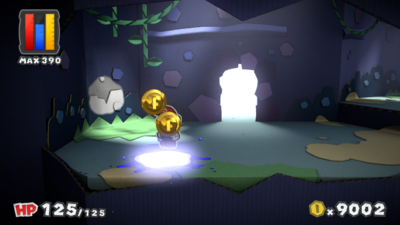
| |
  Coins, Worn-Out Jump x5 Battle Card |
Optional | 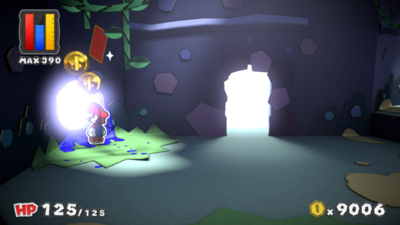
| |
 Coins |
Optional | 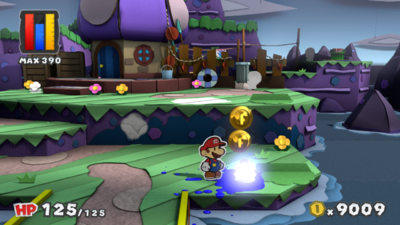
| |
 Coins |
Optional | 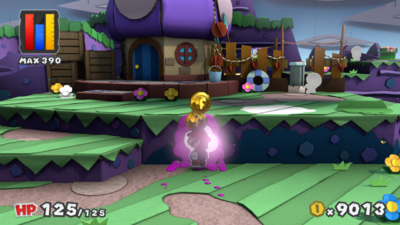
| |
 Coins |
Optional | 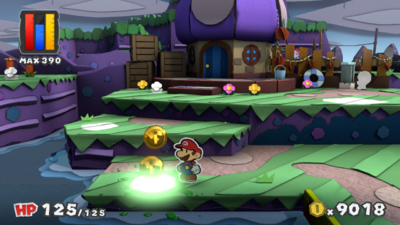
| |
 Coins |
Optional | 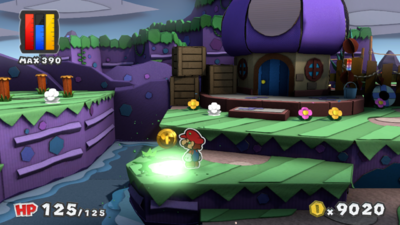
| |
  Coins, Ice Flower Battle Card |
Optional | 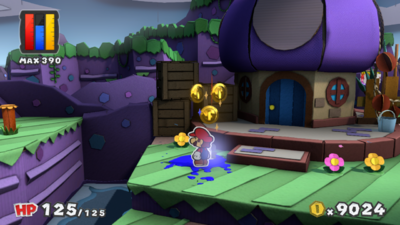
| |
  Coins, Worn-Out Jump x3 Battle Card |
Optional | 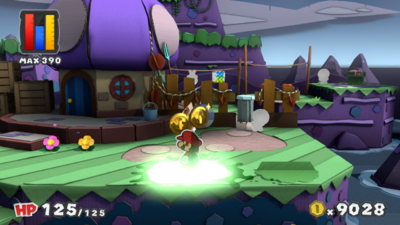
| |
| None | Optional | 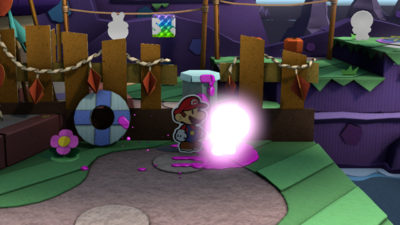
| |
| None | Required | 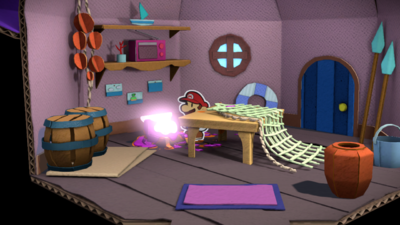
| |
| None | Optional | 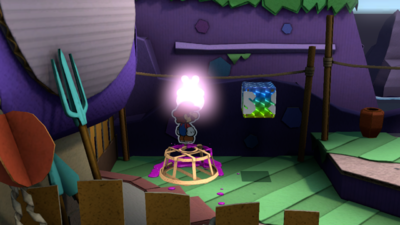
| |
| None | Optional | 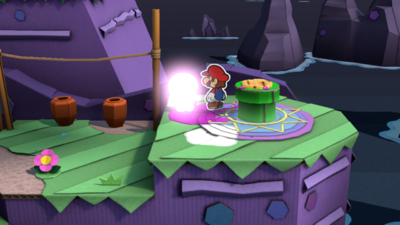
| |
 Coins |
Required | 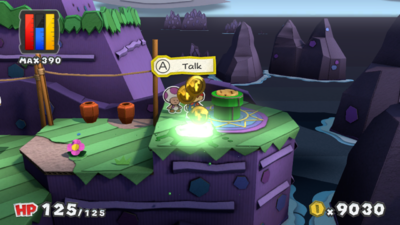
| |
  Coins, Fire Flower Battle Card |
Optional | 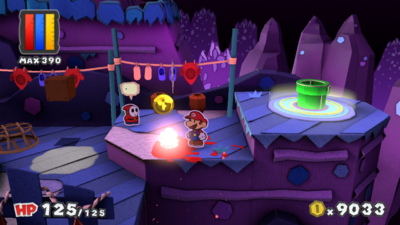
| |
 Coins |
Optional | 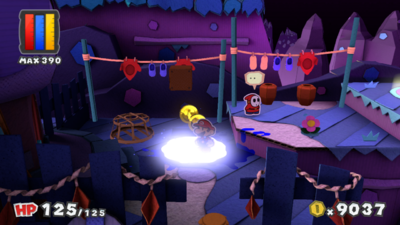
| |
  Coins, Big Fire Flower Battle Card |
Optional | 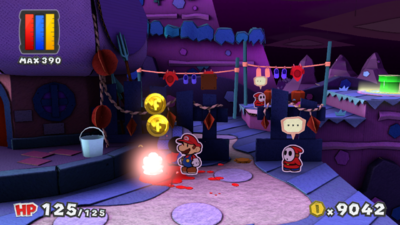
| |
 Coins |
Optional | 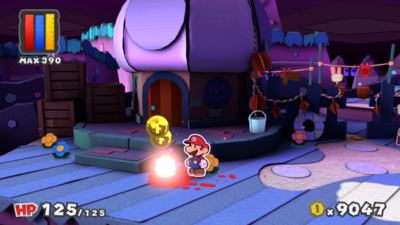
| |
  Coins, Big Jump Battle Card |
Optional | 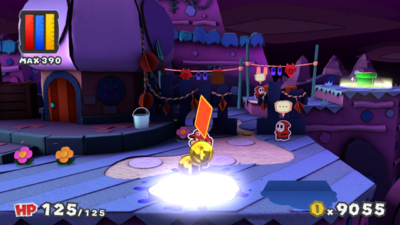
| |
  Coins, Line Jump Battle Card |
Optional | 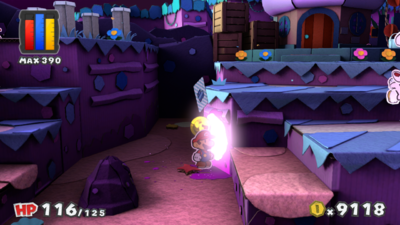
| |
  Coins, Hurlhammer Battle Card |
Optional | 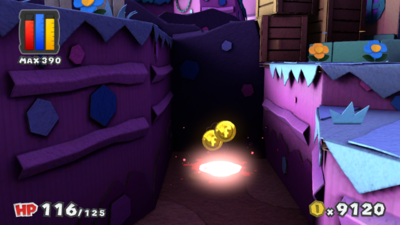
| |
 Coins |
Optional | 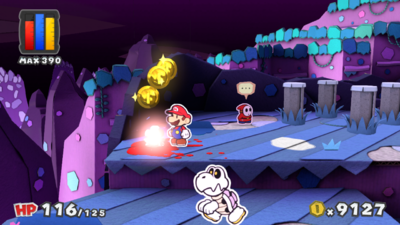
| |
 Coins |
Optional | 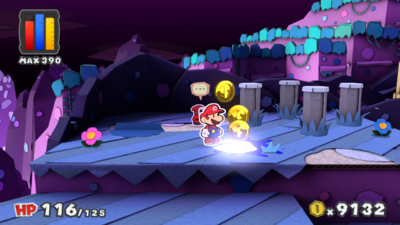
| |
  Coins, Fire Flower Battle Card |
Optional | 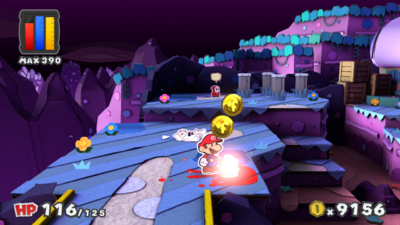
| |
  Coins, Worn-Out Hammer x5 Battle Card |
Optional | 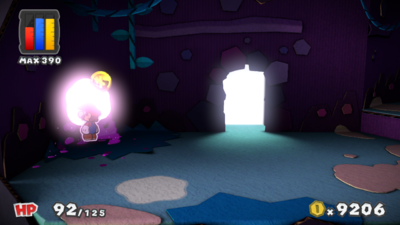
| |
 Coins |
Optional | 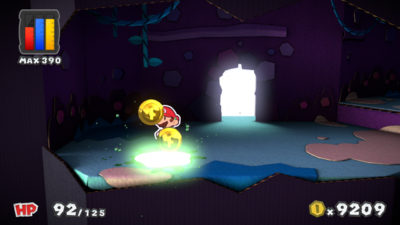
| |
  Coins, Eekhammer x2 Battle Card |
Optional | 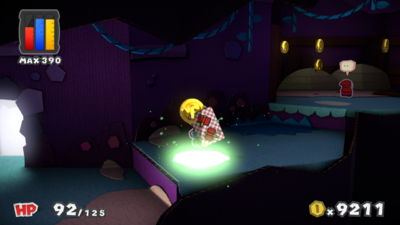
| |
 Coins |
Optional | 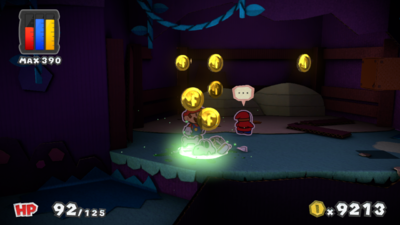
| |
 Coins |
Optional | 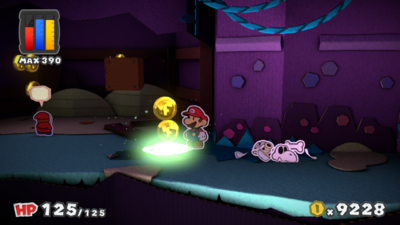
| |
  Coins, Hammer Battle Card |
Optional | 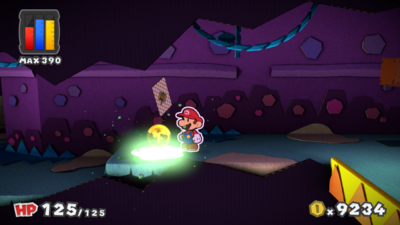
| |
 Coins |
Optional | 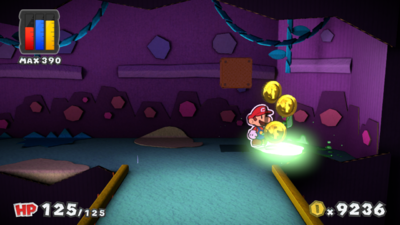
| |
 Coins |
Optional | 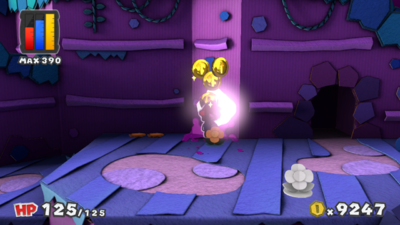
| |
 Coins |
Optional | 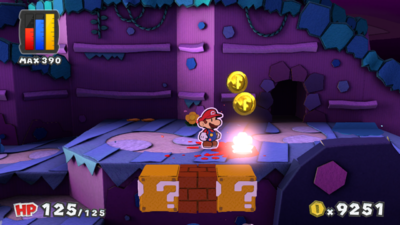
| |
 Coins |
Optional | 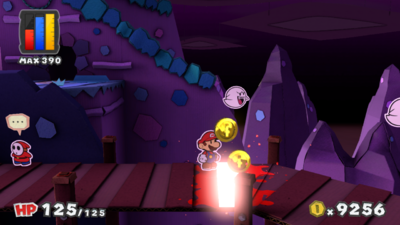
| |
 Coins |
Optional | 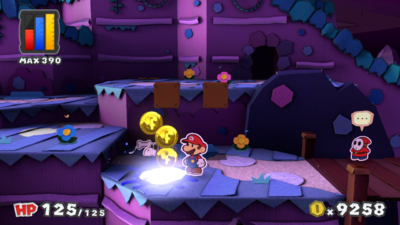
| |
 Coins |
Optional | 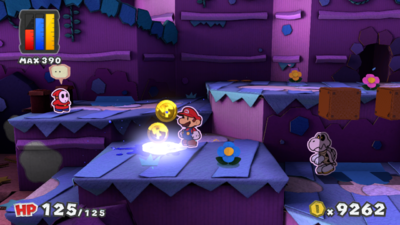
| |
 Coins |
Optional | 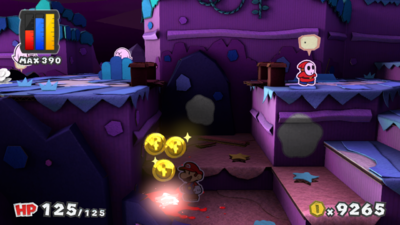
| |
 Coins |
Optional | 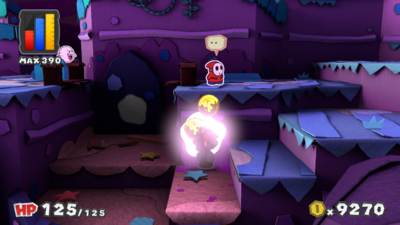
| |
  Coins, Worn-Out Jump x3 Battle Card |
Optional | 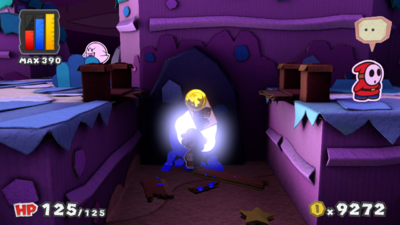
| |
  Coins, Fire Flower Battle Card |
Optional | 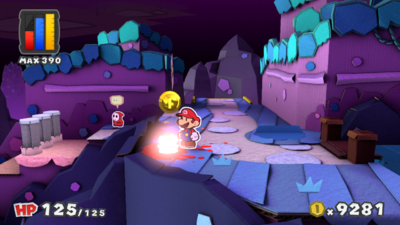
| |
  Coins, Hurlhammer Battle Card |
Optional | 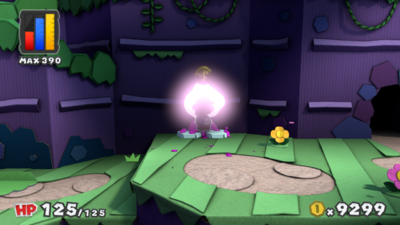
| |
  Coins, POW Block Battle Card |
Optional | 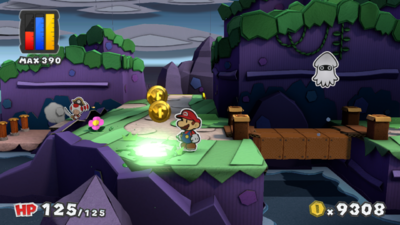
| |
 Coins |
Optional | 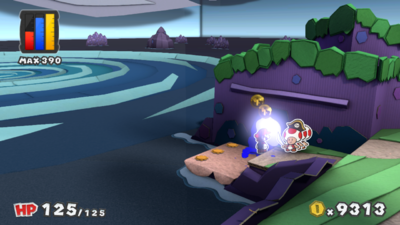
| |
  Coins, Big Ice Flower Battle Card |
Optional | 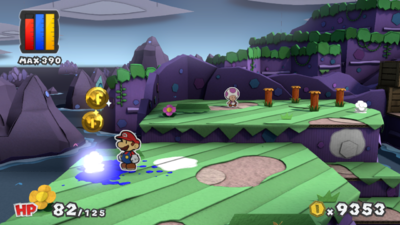
| |
 Coins |
Optional | 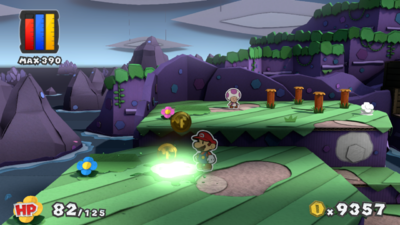
| |
  Coins, Hammer Battle Card |
Optional | 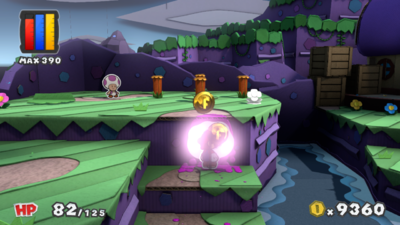
| |
 Coins |
Optional | 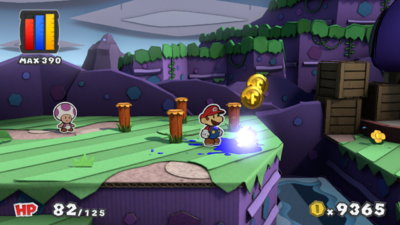
| |
| Lighthouse Island | 35 Colorless spots (34 environment, 1 Toad) | |||
  Coins, Hopslipper Battle Card |
Optional | 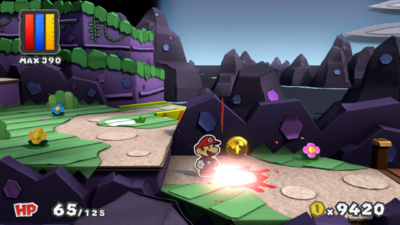
| |
 Coins |
Optional | 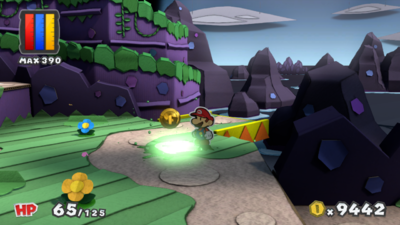
| |
  Coins, Worn-Out Jump x5 Battle Card |
Optional | 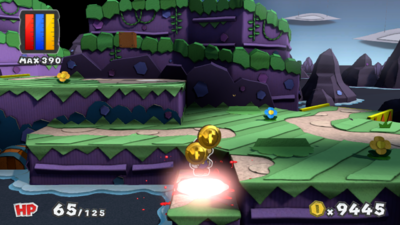
| |
 Coins |
Optional | 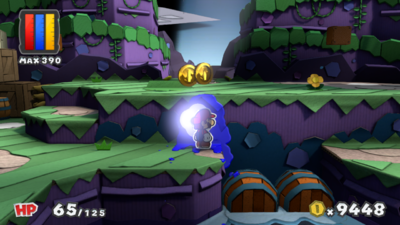
| |
 Coins |
Optional | 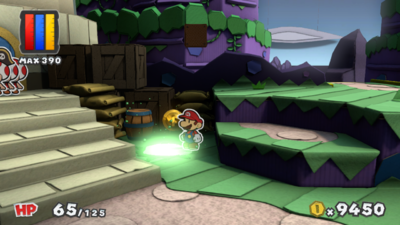
| |
 Coins |
Optional | 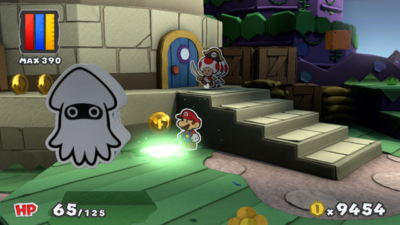
| |
 Coins |
Optional | 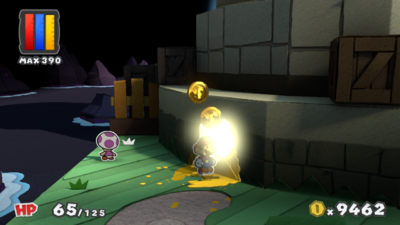
| |
 Coins |
Optional | 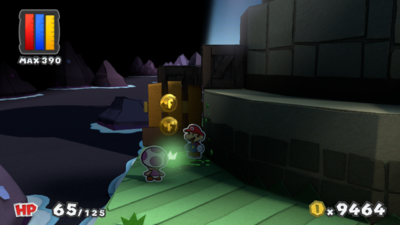
| |
  Coins, Jump x2 Battle Card |
Optional | 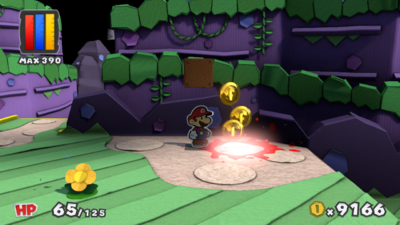
| |
| None | Required | 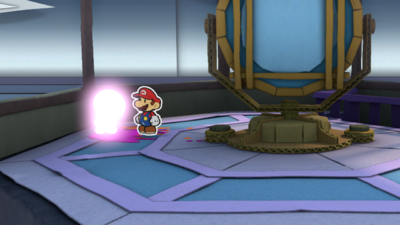
| |
 Coins |
Optional | 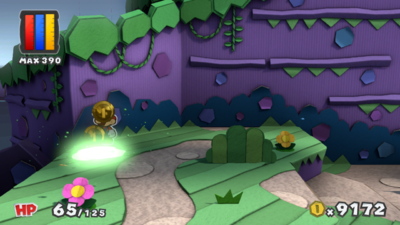
| |
  Coins, Hopslipper Battle Card |
Optional | 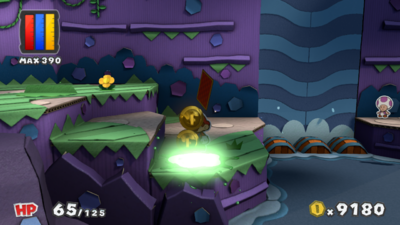
| |
 Coins |
Optional | 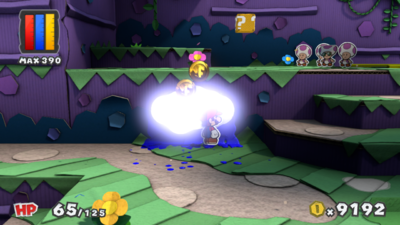
| |
 Coins |
Optional | 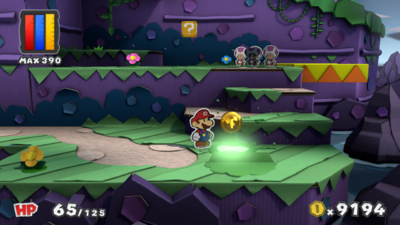
| |
 Coins |
Optional | 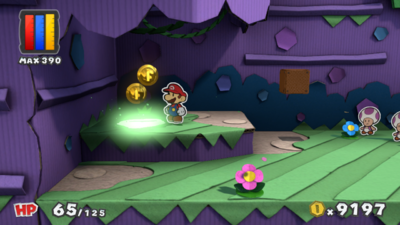
| |
 Coins |
Optional | 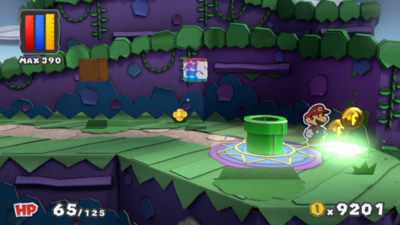
| |
 Coins |
Optional | 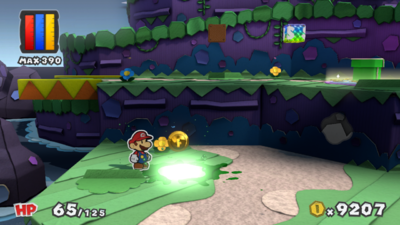
| |
 Coins |
Optional | 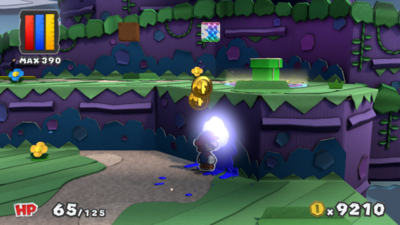
| |
 Coins |
Optional | 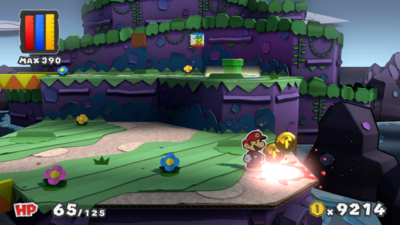
| |
 Coins |
Optional | 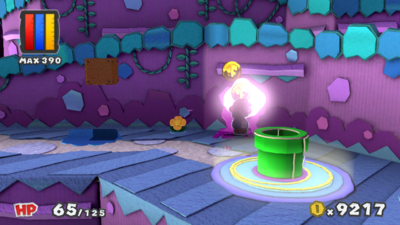
| |
 Coins |
Optional | 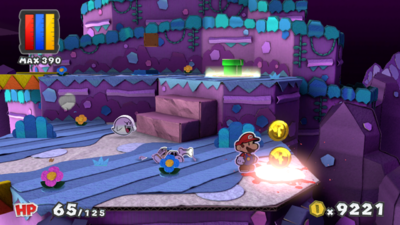
| |
 Coins |
Optional | 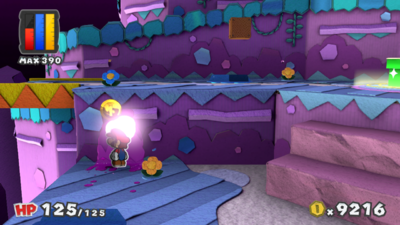
| |
 Coins |
Optional | 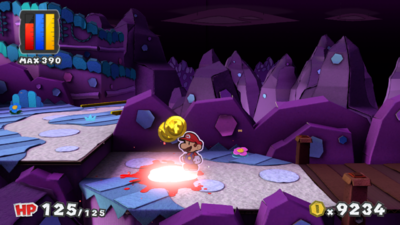
| |
  Coins, Hopslipper Battle Card |
Optional | 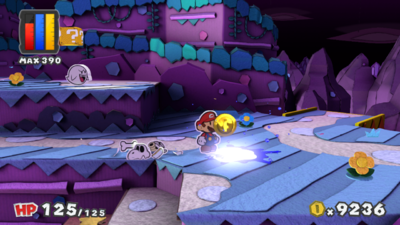
| |
 Coins |
Optional | 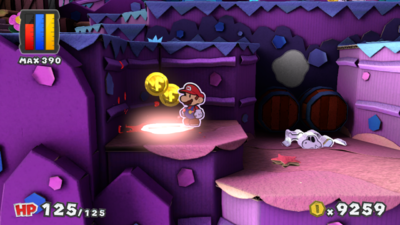
| |
  Coins, Hurlhammer Battle Card |
Optional | 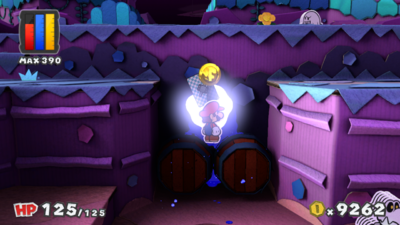
| |
 Coins |
Optional | 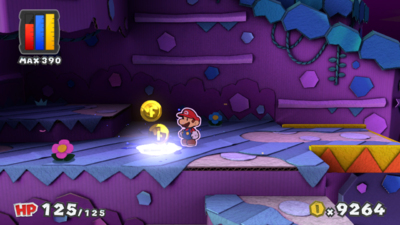
| |
  Coins, Hopslipper Battle Card |
Optional | 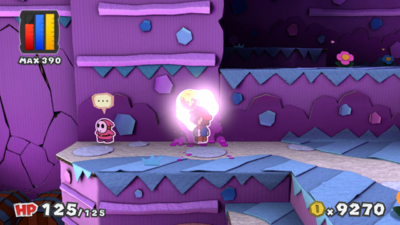
| |
 Coins |
Optional | 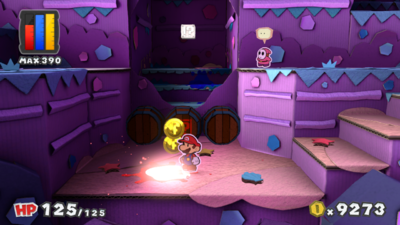
| |
| None | Required | 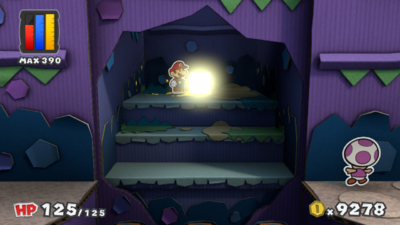
| |
 Coins |
Optional | 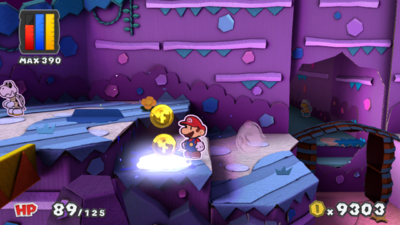
| |
 Coins |
Optional | 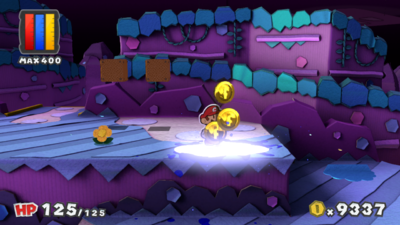
| |
 Coins |
Optional | 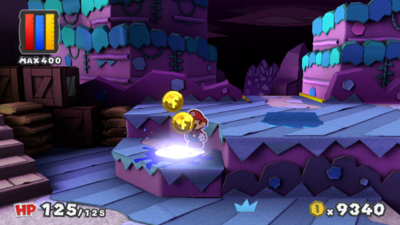
| |
  Coins, Hopslipper Battle Card |
Optional | 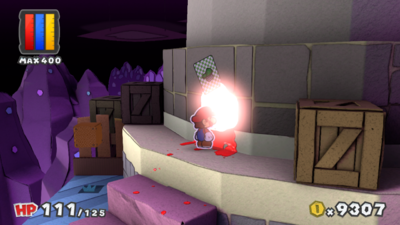
| |
 Coins |
Optional | 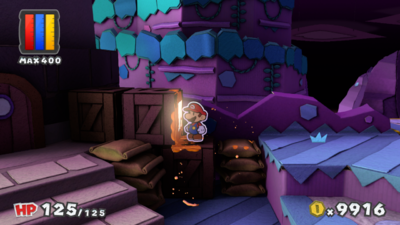
| |
| Fortune Island | 42 Colorless spots from environment | |||
 Coins |
Optional | 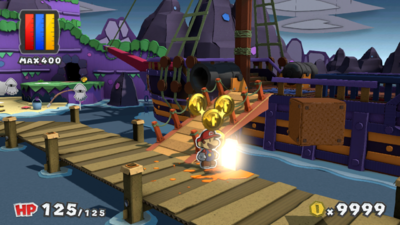
| |
  Coins, Worn-Out Jump x5 Battle Card |
Optional | 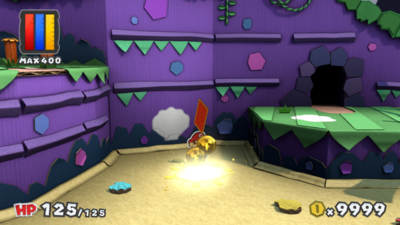
| |
 Coins |
Optional | 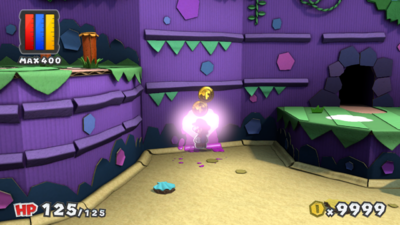
| |
 Coins |
Optional | 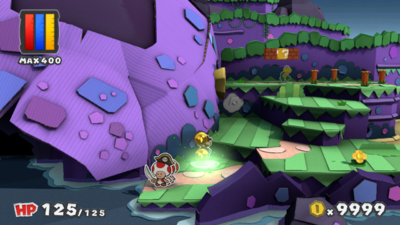
| |
 Coins |
Optional | 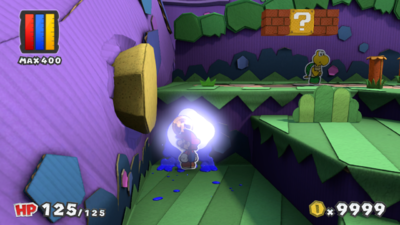
| |
 Coins |
Optional | 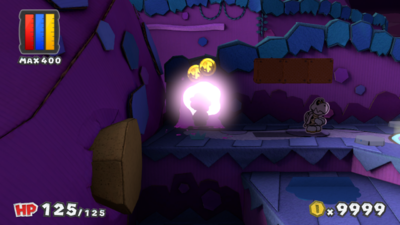
| |
 Coins |
Optional | 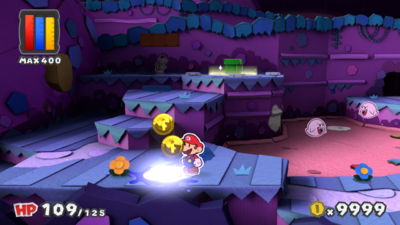
| |
  Coins, Worn-Out Hammer x5 Battle Card |
Optional | 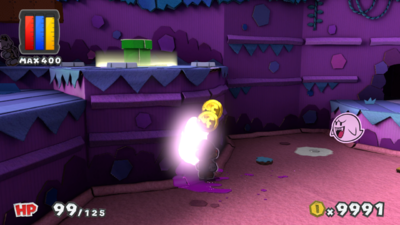
| |
  Coins, POW Block Battle Card |
Optional | 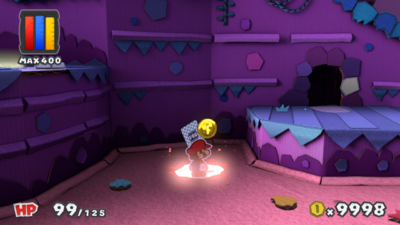
| |
 Coins |
Optional | 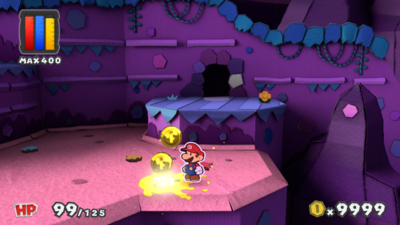
| |
 Coins |
Optional | 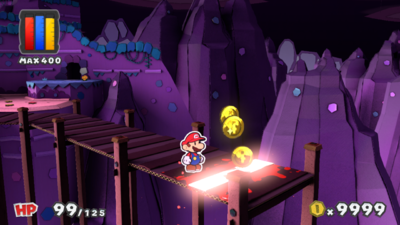
| |
 Coins |
Optional | 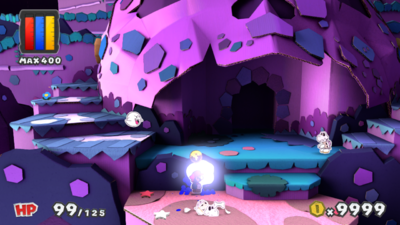
| |
 Coins |
Optional | 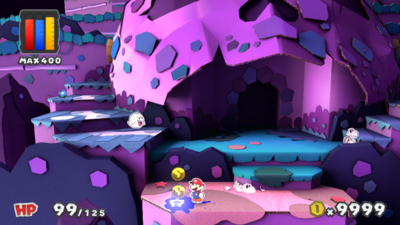
| |
  Coins, KO Hammer Battle Card |
Optional | 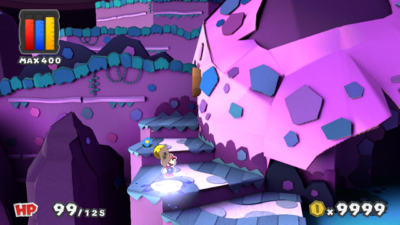
| |
  Coins, 1-Up Mushroom Battle Card |
Optional | 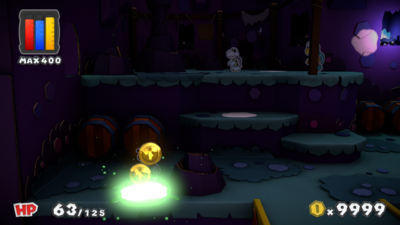
| |
 Coins |
Optional | 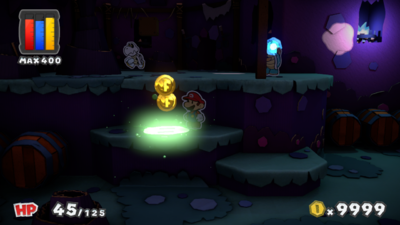
| |
 Coins |
Optional | 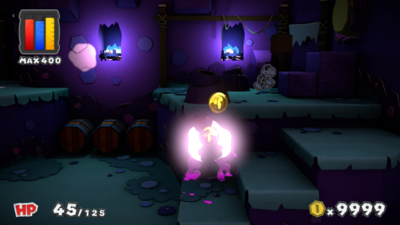
| |
 Coins |
Optional | 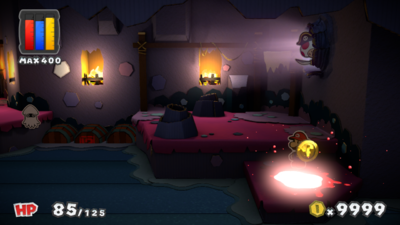
| |
  Coins, Hopslipper Battle Card |
Optional | 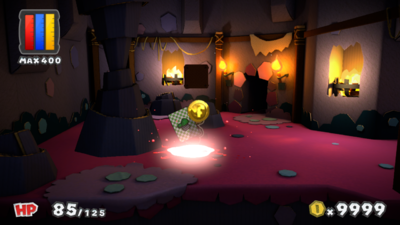
| |
 Coins |
Optional | 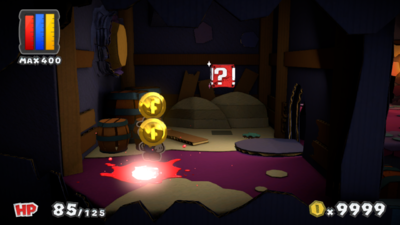
| |
 Coins |
Optional | 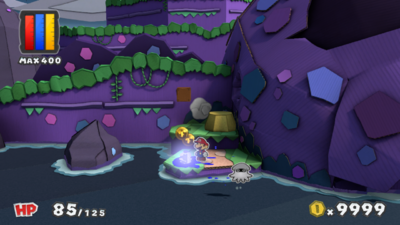
| |
  Coins, Iron Jump Battle Card |
Optional | 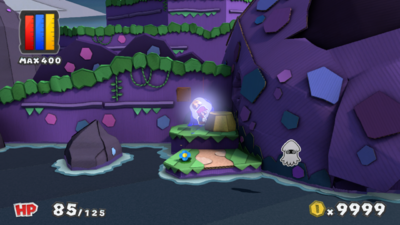
| |
 Coins |
Optional | 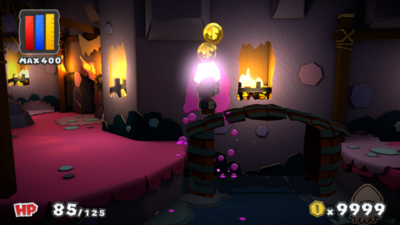
| |
 Coins |
Optional | 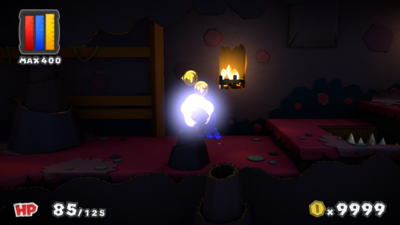
| |
  Coins, Worn-Out Jump x3 Battle Card |
Optional | 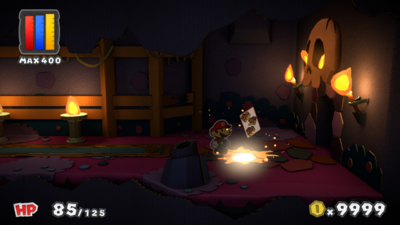
| |
 Coins |
Optional | 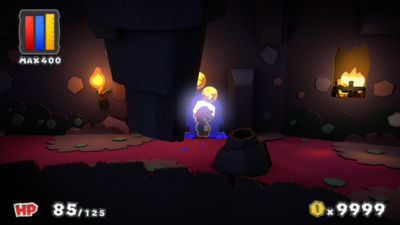
| |
  Coins, Jump x2 Battle Card |
Optional | 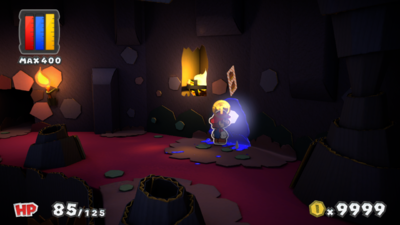
| |
 Coins |
Required | 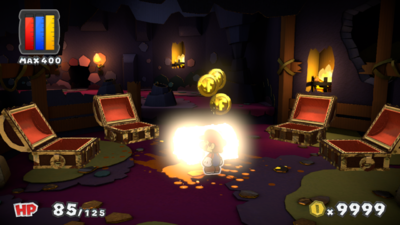
| |
 Coins |
Optional | 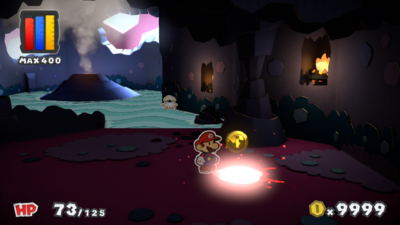
| |
 Coins |
Optional | 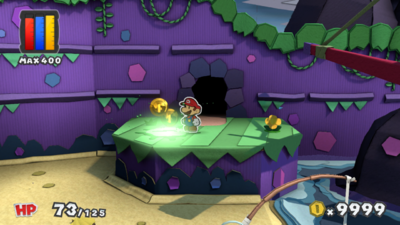
| |
 Coins |
Optional | 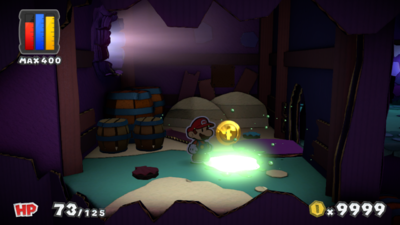
| |
 Coins |
Optional | 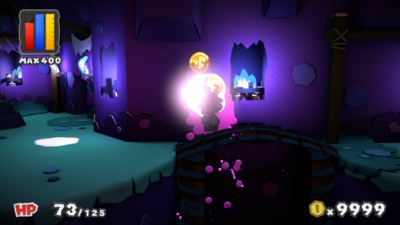
| |
  Coins, Eekhammer Battle Card |
Optional | 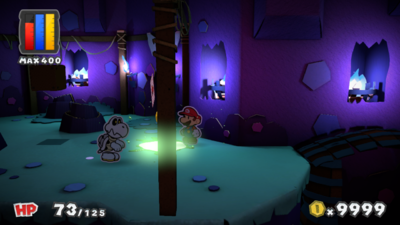
| |
 Coins |
Optional | 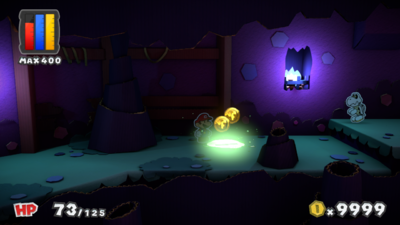
| |
  Coins, Worn-Out Hammer x3 Battle Card |
Optional | 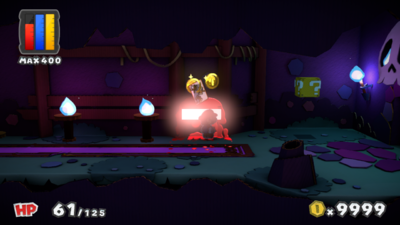
| |
 Coins |
Optional | 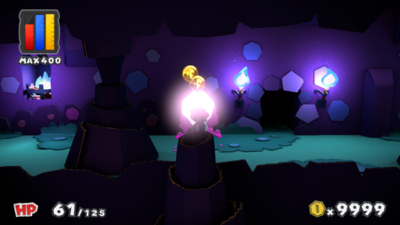
| |
  Coins, Hammer x2 Battle Card |
Optional | 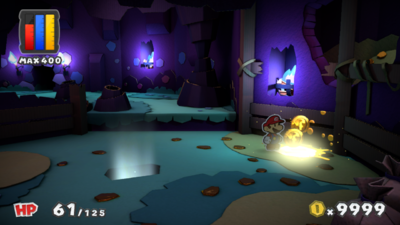
| |
 Coins |
Optional | 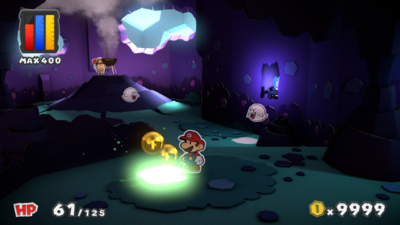
| |
 Coins |
Optional | 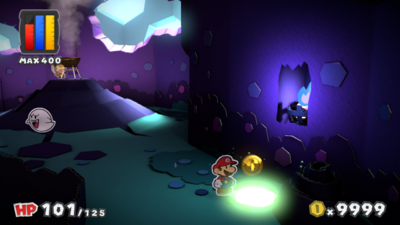
| |
 Coins |
Optional | 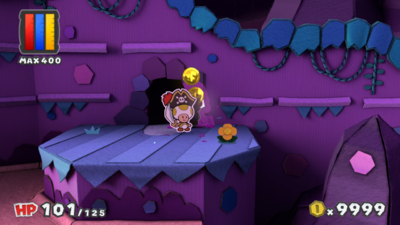
| |
 Coins |
Optional | 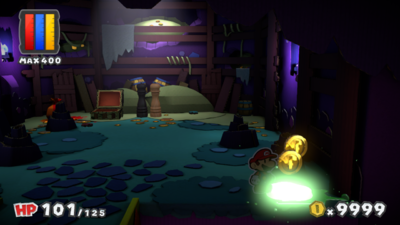
| |
 Coins |
Optional | 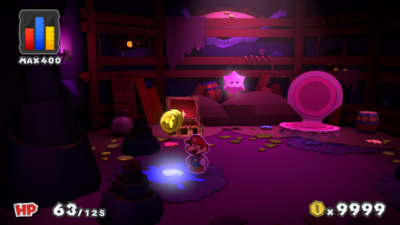
| |
Orange courses[edit]
There are a total of 125 Colorless spots to fill in the orange courses:
- Marmalade Valley has 37 Colorless spots from environment
- Kiwano Temple has 37 Colorless spots from environment
- Toad Trainworks has 29 Colorless spots - 28 environment, 1 Toad
- Tangerino Grill has 8 Colorless spots from environment
- Sunset Express has 14 Colorless spots from environment
| Location | Drop | Necessity | Image |
|---|---|---|---|
| Marmalade Valley | 37 Colorless spots from environment | |||
 Coins |
Optional | 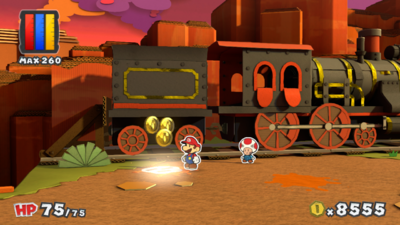
| |
 Coins |
Optional | 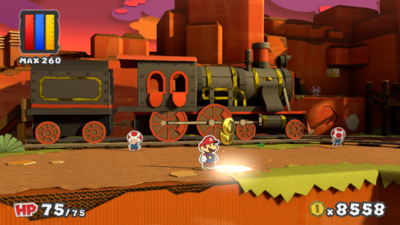
| |
 Coins |
Optional | 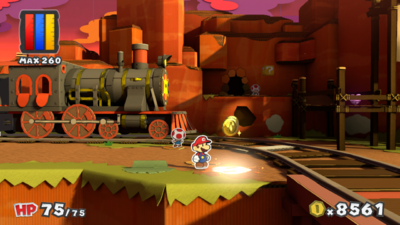
| |
  Coins, Jump Battle Card |
Optional | 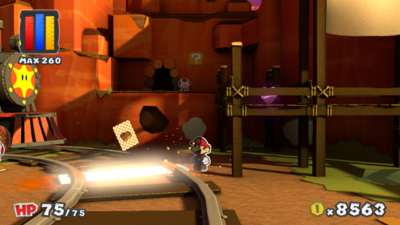
| |
 Coins |
Optional | 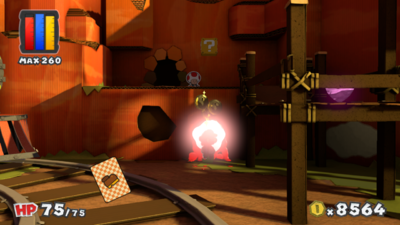
| |
 Coins |
Optional | 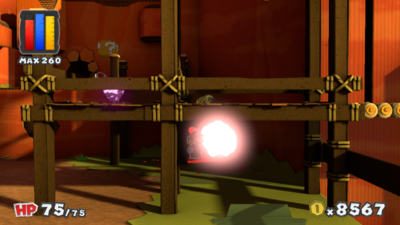
| |
  Coins, Hopslipper Battle Card |
Optional | 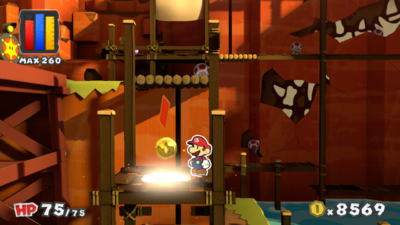
| |
 Coins |
Optional | 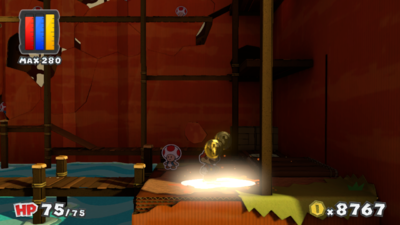
| |
  Coins, Worn-Out Hammer x3 Battle Card |
Optional | 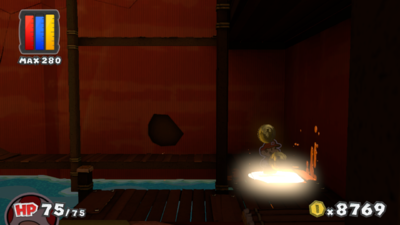
| |
 Coins |
Optional | 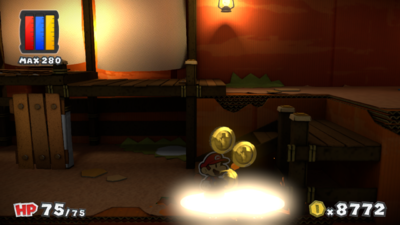
| |
 Coins |
Optional | 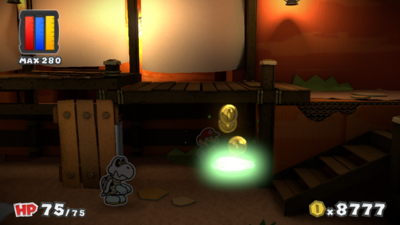
| |
  Coins, Eekhammer Battle Card |
Optional | 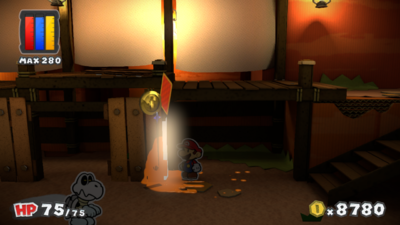
| |
 Coins |
Optional | 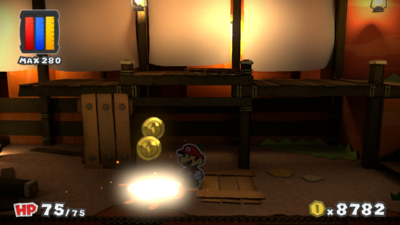
| |
 Coins |
Optional | 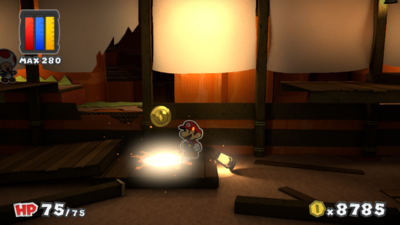
| |
  Coins, Jump Battle Card |
Optional | 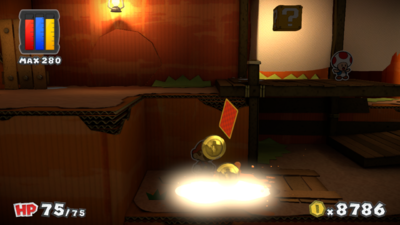
| |
 Coins |
Optional | 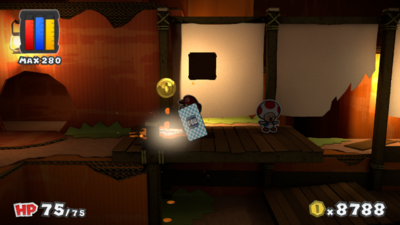
| |
 Coins |
Optional | 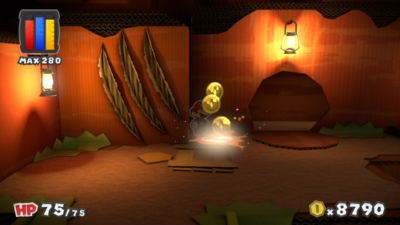
| |
 Coins |
Optional | 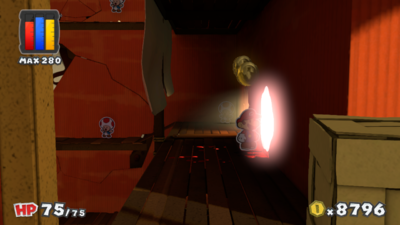
| |
 Coins |
Optional | 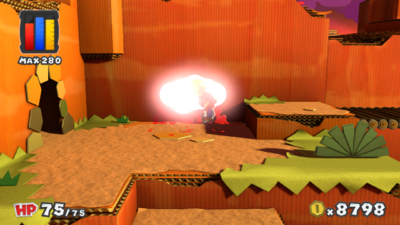
| |
  Coins, Jump Battle Card |
Optional | 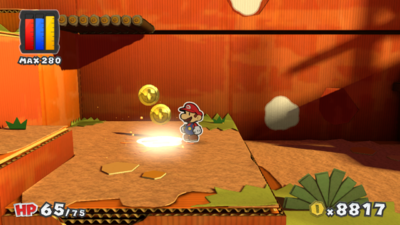
| |
 Coins |
Optional | 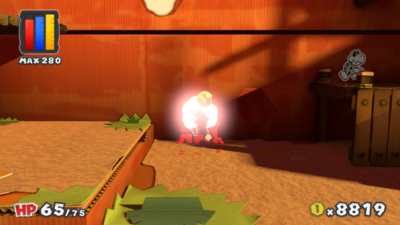
| |
 Coins |
Optional | 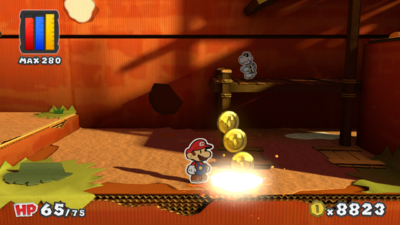
| |
 Coins |
Optional | 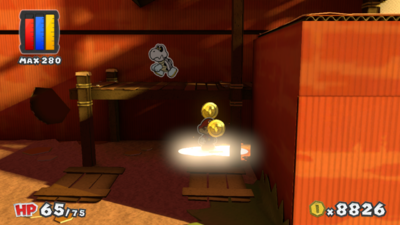
| |
 Coins |
Optional | 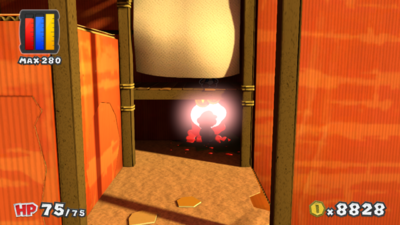
| |
  Coins, Hammer Battle Card |
Optional | 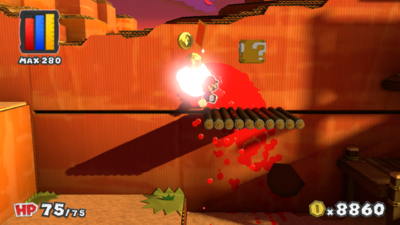
| |
  Coins, KO Hammer Battle Card |
Optional | 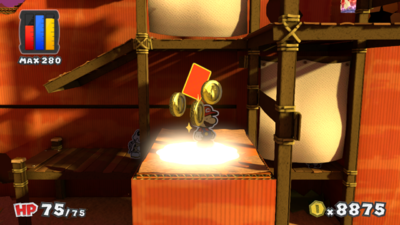
| |
 Coins |
Optional | 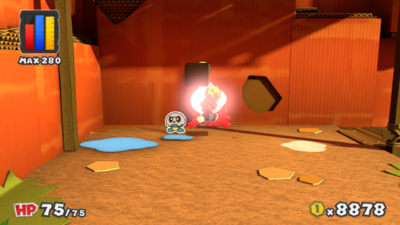
| |
 Coins |
Optional | 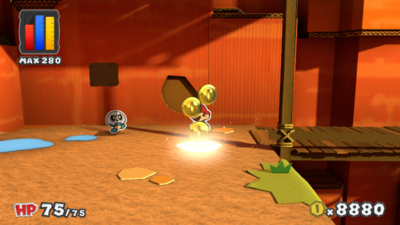
| |
  Coins, Jump Battle Card |
Optional | 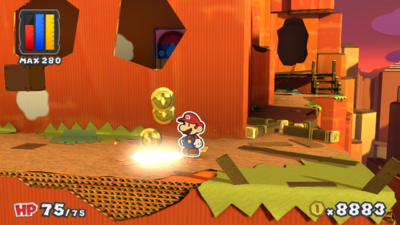
| |
 Coins |
Optional | 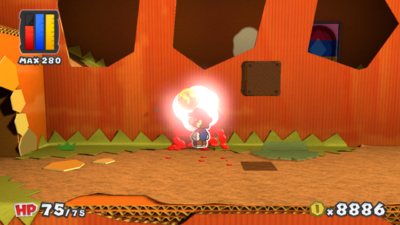
| |
 Coins |
Optional | 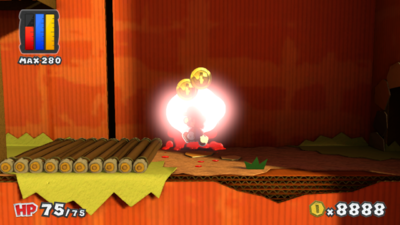
| |
 Coins |
Optional | 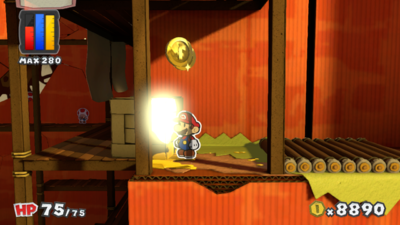
| |
  Coins, Worn-Out Hammer x5 Battle Card |
Optional | 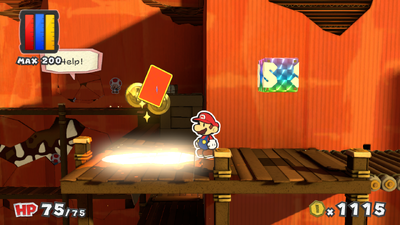
| |
 Coins |
Optional | 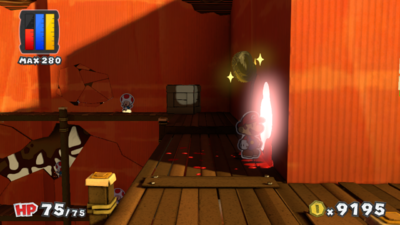
| |
  Coins, Worn-Out Hammer x3 Battle Card |
Optional | 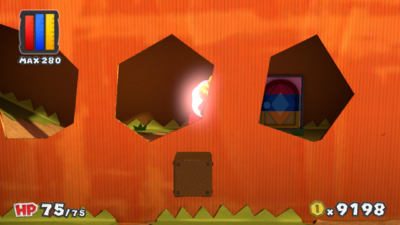
| |
  Coins, Hammer Battle Card |
Required | 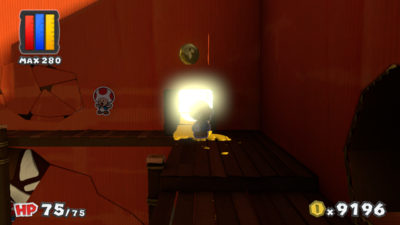
| |
| Required: Collect the orange Big Paint Star. |
None | Required | 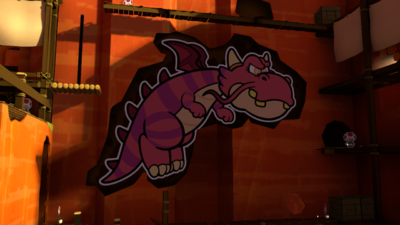
|
| Kiwano Temple | 37 Colorless spots from environment | |||
  Coins, Worn-Out Hammer x5 Battle Card |
Optional | 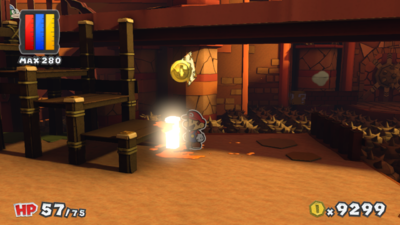
| |
 Coins |
Optional | 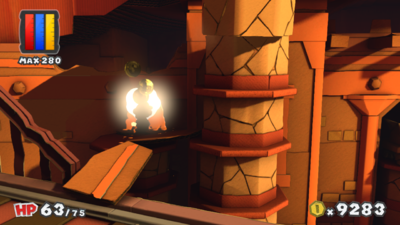
| |
  Coins, Worn-Out Hammer x3 Battle Card |
Optional | 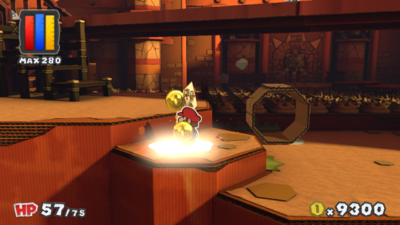
| |
 Coins |
Optional | 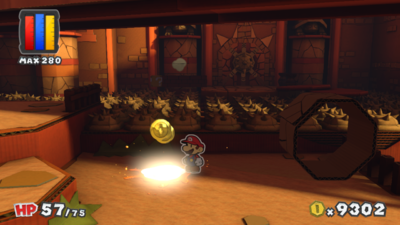
| |
 Coins |
Optional | 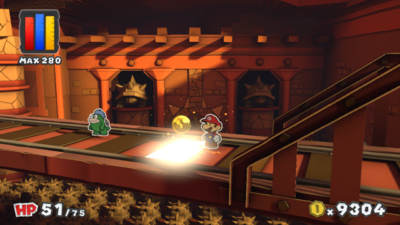
| |
 Coins |
Optional | 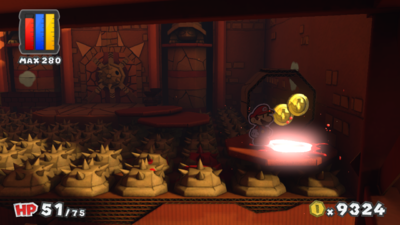
| |
  Coins, KO Hammer Battle Card |
Optional | 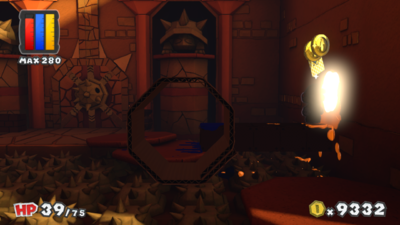
| |
  Coins, Hammer Battle Card |
Optional | 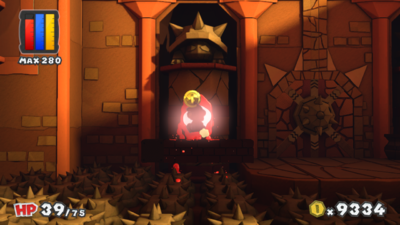
| |
 Coins |
Optional | 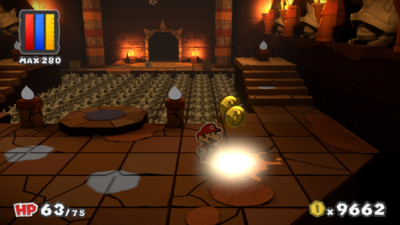
| |
 Coins |
Optional | 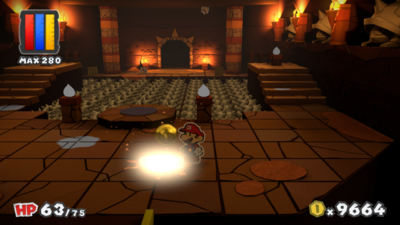
| |
 Coins |
Optional | 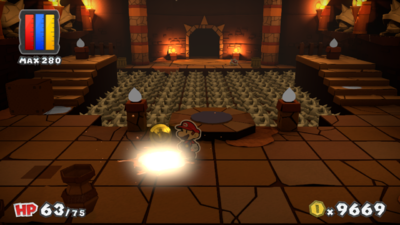
| |
 Coins |
Optional | 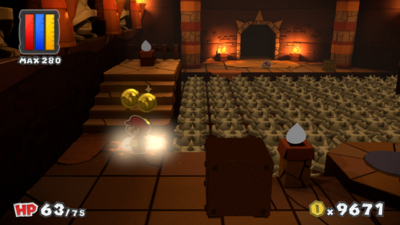
| |
 Coins |
Optional | 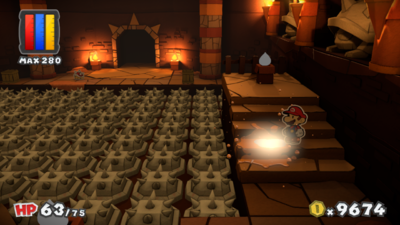
| |
  Coins, Rainbow Globs of Paint, Blazehammer Battle Card |
Required | 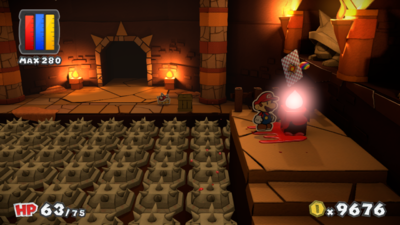
| |
  Coins, Rainbow Globs of Paint, Fire Flower Battle Card |
Required | 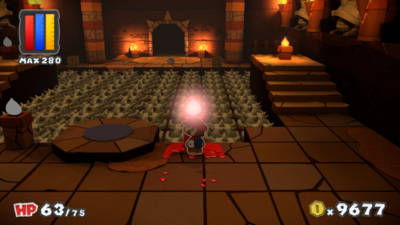
| |
  Coins, Rainbow Globs of Paint, Blazehammer Battle Card |
Required | 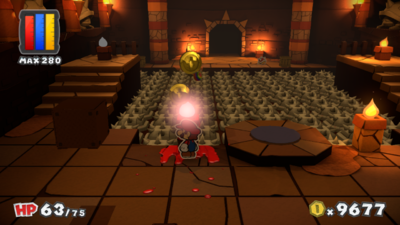
| |
  Coins, Rainbow Globs of Paint, Fire Flower Battle Card |
Required | 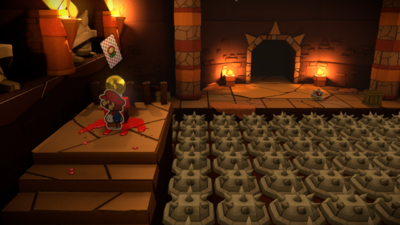
| |
  Coins, POW Block Battle Card |
Optional | 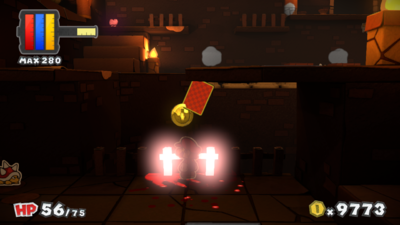
| |
  Coins, POW Block Battle Card |
Optional | 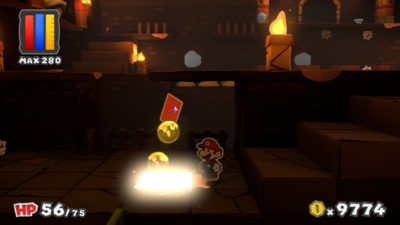
| |
 Coins |
Optional | 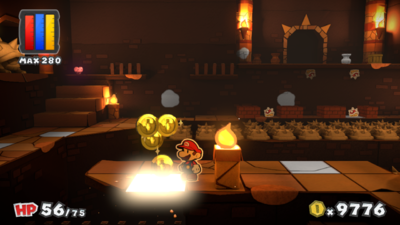
| |
 Coins |
Optional | 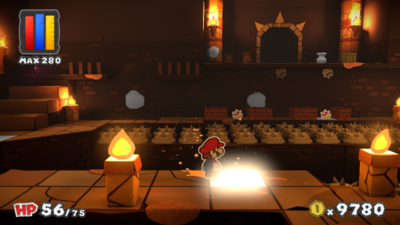
| |
 Coins |
Optional | 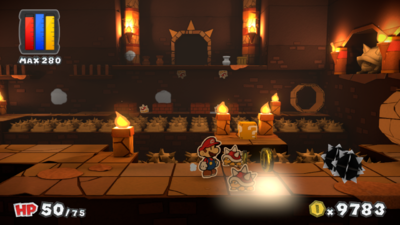
| |
 Coins |
Optional | 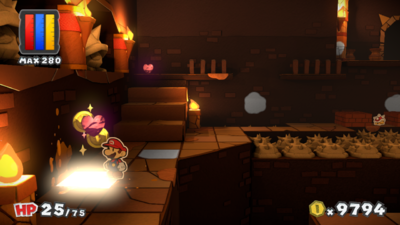
| |
  Coins, POW Block Battle Card |
Optional | 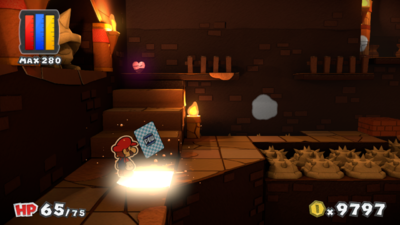
| |
 Coins |
Optional | 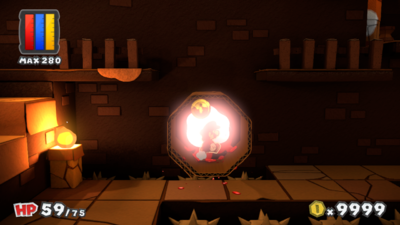
| |
  Coins, KO Hammer Battle Card |
Optional | 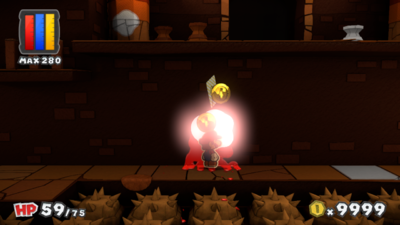
| |
 Coins |
Optional | 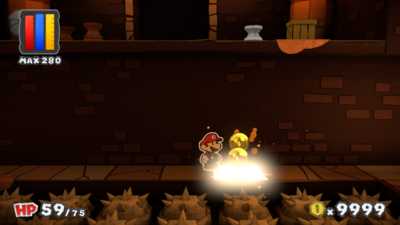
| |
  Coins, Iron Jump Battle Card |
Optional | 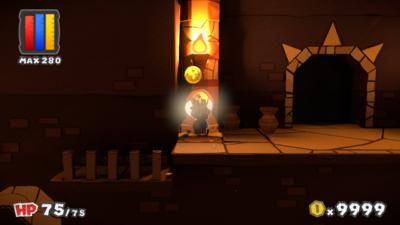
| |
  Coins, Iron Jump Battle Card |
Optional | 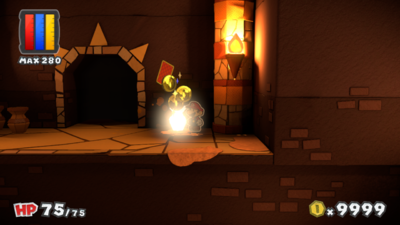
| |
  Coins, Worn-Out Hammer x3 Battle Card |
Optional | 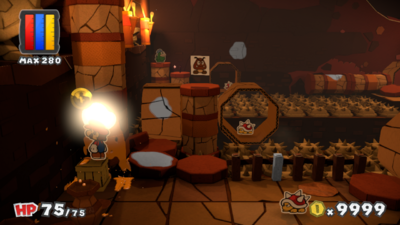
| |
 Coins |
Optional | 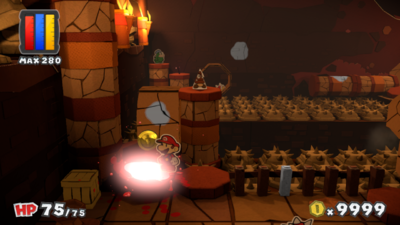
| |
 Coins |
Required | 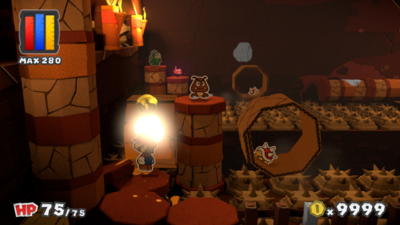
| |
  Coins, Iron Jump Battle Card |
Optional | 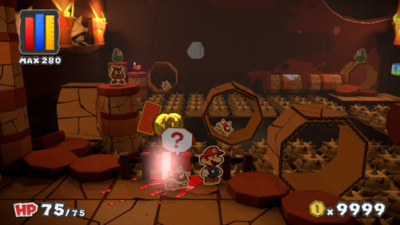
| |
 Coins |
Optional | 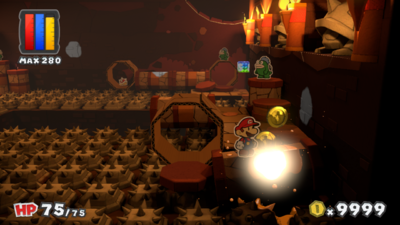
| |
  Coins, Hammer Battle Card |
Optional | 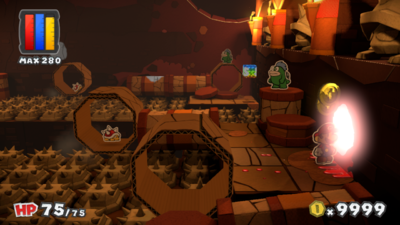
| |
 Coins |
Optional | 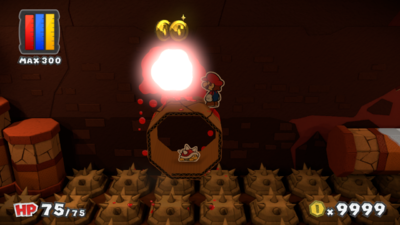
| |
 Coins |
Optional | 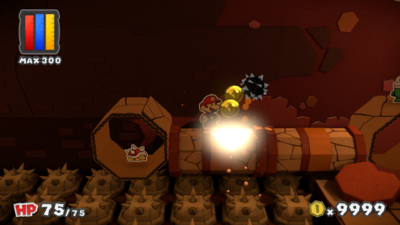
| |
| Toad Trainworks | 29 Colorless spots (28 environment, 1 Toad) | |||
 Coins     Any combination of 3 Cards from 1-Up Mushroom, Mushroom, Big Mushroom and Big Spin Jump |
Optional | 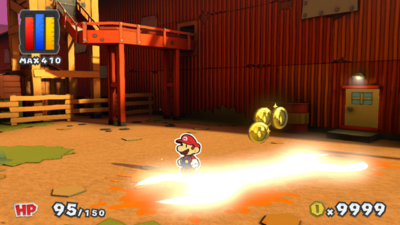
| |
  Coins, Worn-Out Jump x5 Battle Card |
Optional | 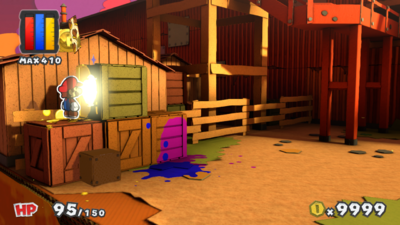
| |
 Coins |
Optional | 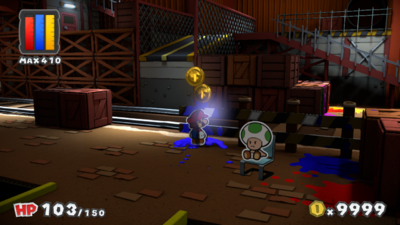
| |
 Coins |
Optional | 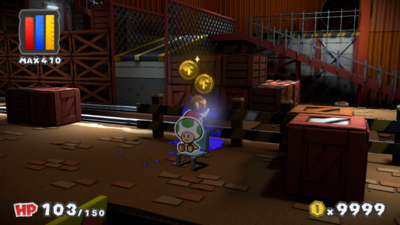
| |
 Coins |
Optional | 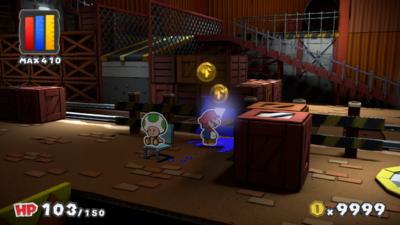
| |
  Coins, Eekhammer Battle Card |
Optional | 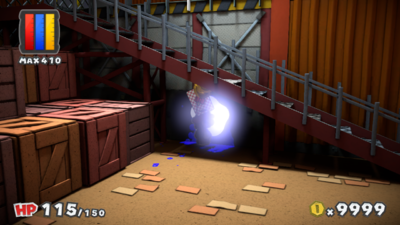
| |
 Coins |
Optional | 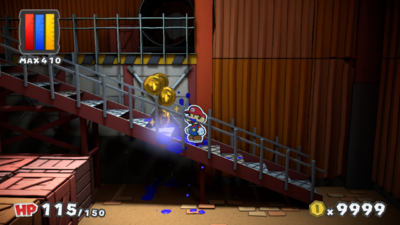
| |
  Coins, Jump x2 Battle Card |
Optional | 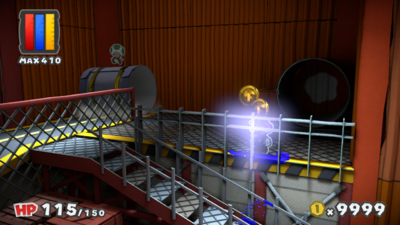
| |
 Coins |
Optional | 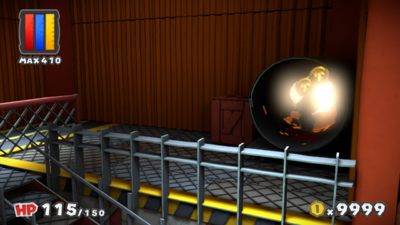
| |
  Coins, Worn-Out Hammer x3 Battle Card |
Optional | 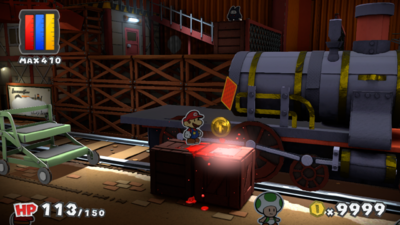
| |
 Coins |
Optional | 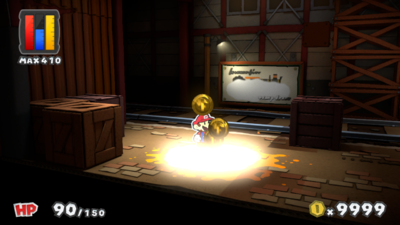
| |
| Required: Bring the broken Sunset Express in from Kiwano Temple. |
None | Required | 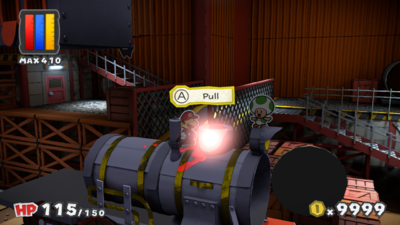
|
| Required: Bring the broken Sunset Express in from Kiwano Temple. |
 Coins |
Optional | 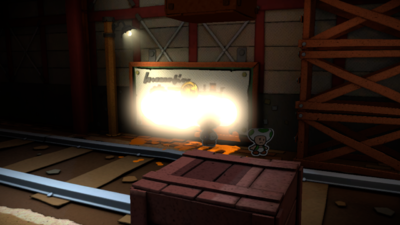
|
| Required: Bring the broken Sunset Express in from Kiwano Temple. |
  Coins, Hammer Battle Card |
Optional | 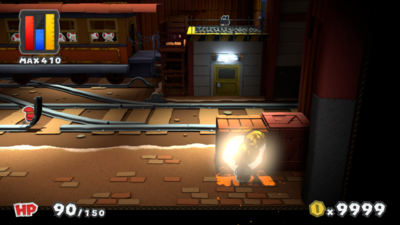
|
| Required: Bring the broken Sunset Express in from Kiwano Temple. |
 Coins |
Optional | 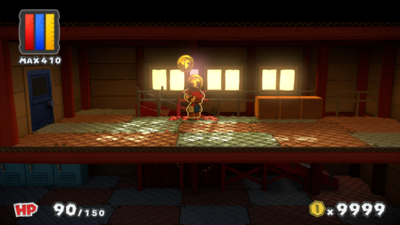
|
| Required: Bring the broken Sunset Express in from Kiwano Temple. |
 Coins |
Optional | 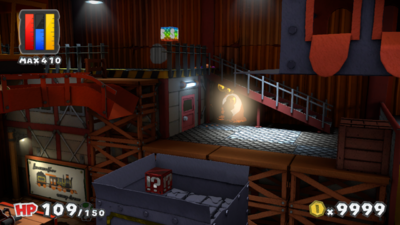
|
| Required: Bring the broken Sunset Express in from Kiwano Temple. |
 Coins |
Optional | 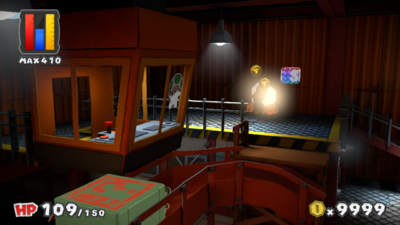
|
| Required: Bring the broken Sunset Express in from Kiwano Temple. |
None | Required | 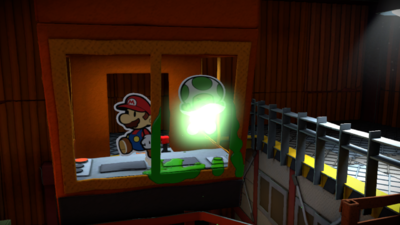
|
| Required: Bring the broken Sunset Express in from Kiwano Temple. |
 Coins |
Optional | 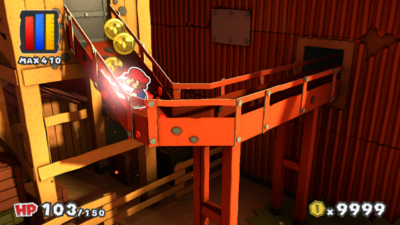
|
| Required: Bring the broken Sunset Express in from Kiwano Temple. |
 Coins |
Optional | 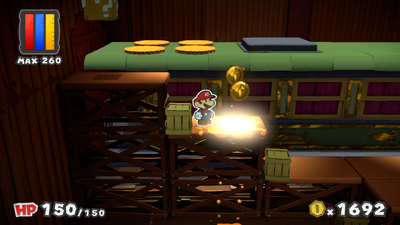
|
| Required: Bring the broken Sunset Express in from Kiwano Temple. |
 Coins |
Optional | 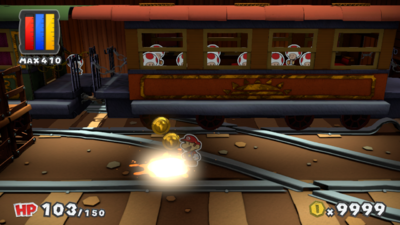
|
| Required: Bring the broken Sunset Express in from Kiwano Temple. |
  Coins, Hopslipper Battle Card |
Optional | 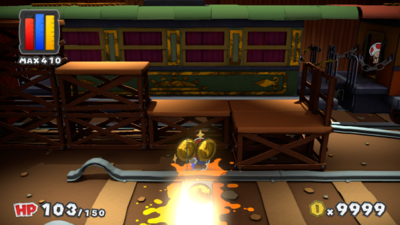
|
| Required: Bring the broken Sunset Express in from Kiwano Temple. |
  Coins, Jump Battle Card |
Optional | 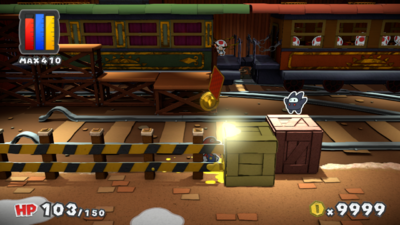
|
| Required: Bring the broken Sunset Express in from Kiwano Temple. |
 Coins |
Optional | 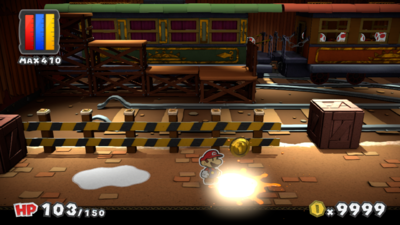
|
| Required: Bring the broken Sunset Express in from Kiwano Temple. |
 Coins |
Optional | 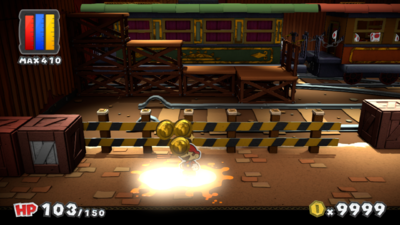
|
| Required: Bring the broken Sunset Express in from Kiwano Temple. |
 Coins |
Optional | 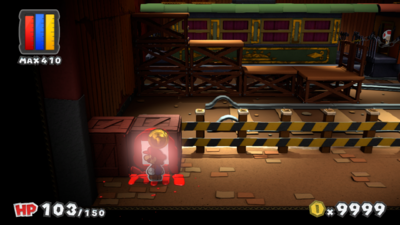
|
| Required: Bring the broken Sunset Express in from Kiwano Temple. |
 Coins |
Optional | 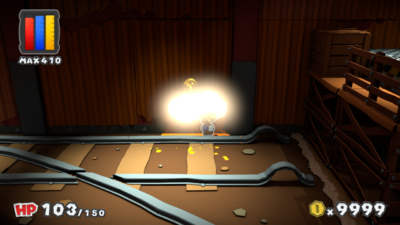
|
| Required: Bring the broken Sunset Express in from Kiwano Temple. |
  Coins, KO Hammer Battle Card |
Optional | 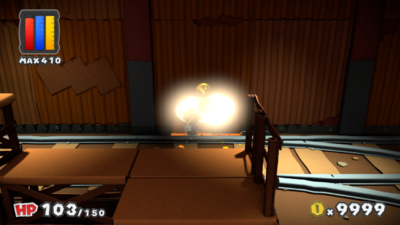
|
| Required: Bring the broken Sunset Express in from Kiwano Temple. |
  Coins, Worn-Out Jump x3 Battle Card |
Optional | 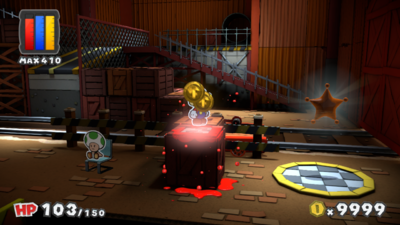
|
| Tangerino Grill | 8 Colorless spots from environment | |||
 Coins |
Optional | 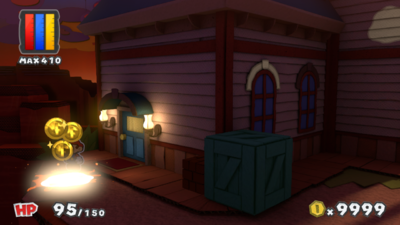
| |
 Coins |
Optional | 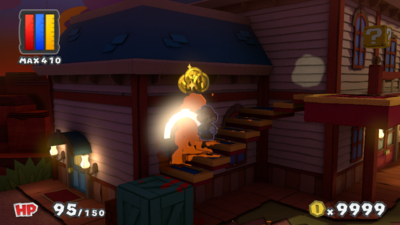
| |
 Coins |
Optional | 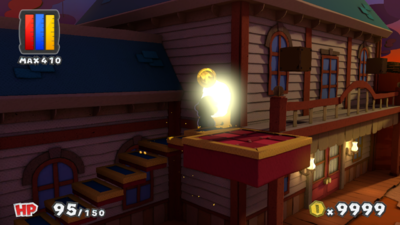
| |
  Coins, Eekhammer Battle Card |
Optional | 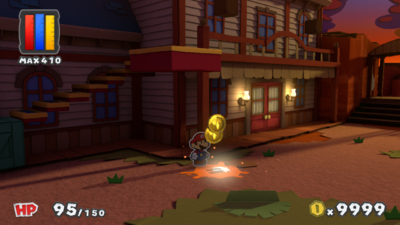
| |
  Coins, Hammer Battle Card |
Optional | 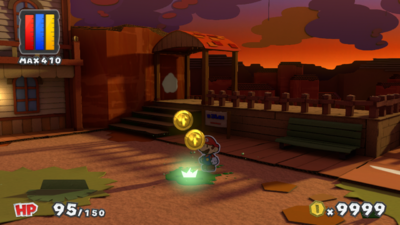
| |
 Coins |
Optional | 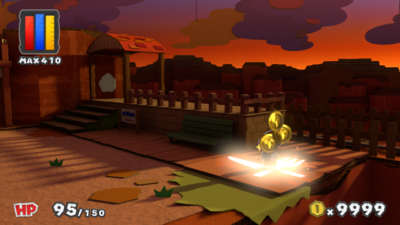
| |
 Coins |
Optional | 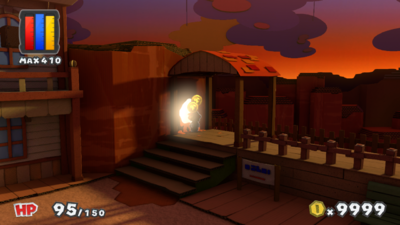
| |
| Required: Bring and feed the Sunset Express passengers. |
 Coins |
Optional | 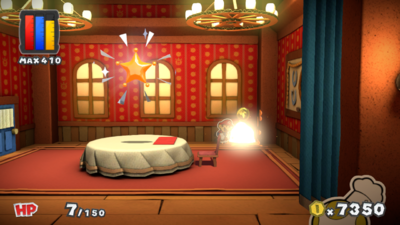
|
| Sunset Express | 14 Colorless spots from environment | |||
  Coins, Hammer x2 Battle Card |
Optional | 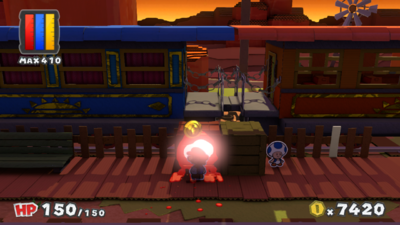
| |
  Coins, Iron Jump Battle Card |
Optional | 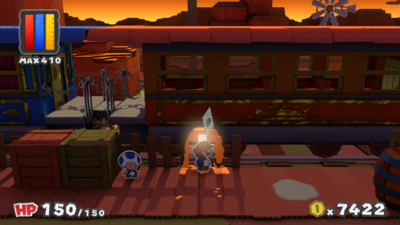
| |
 Coins |
Optional | 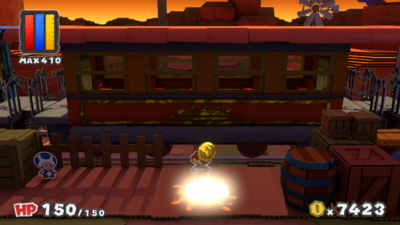
| |
 Coins |
Optional | 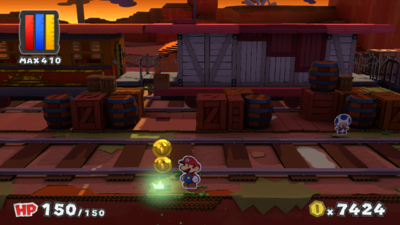
| |
  Coins, Blazehammer Battle Card |
Optional | 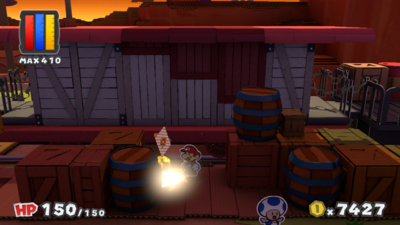
| |
 Coins |
Optional | 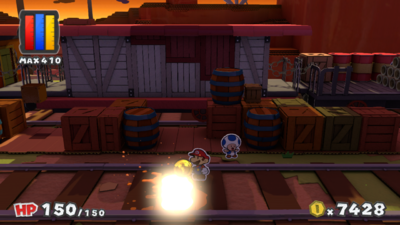
| |
 2x 2x Coins, 2 Big Mushroom Battle Cards |
Optional | 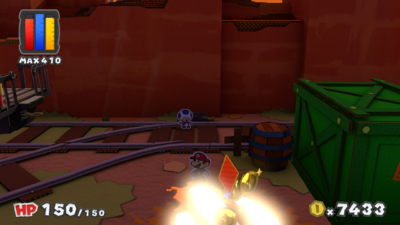
| |
  Coins, Big Fire Flower Battle Card |
Optional | 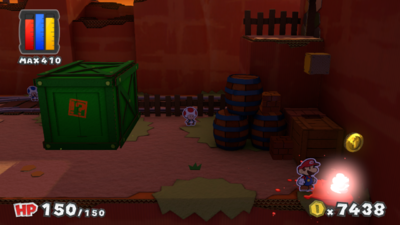
| |
 Coins |
Optional | 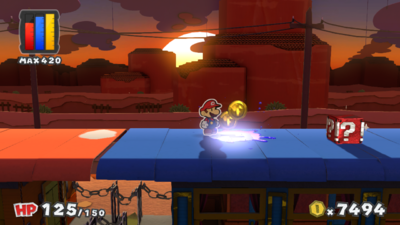
| |
  Coins, Hurlhammer Battle Card |
Optional | 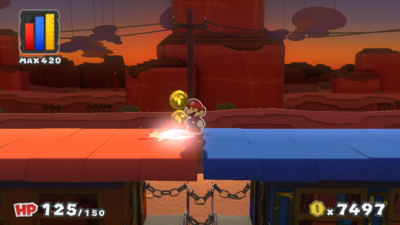
| |
 Coins |
Required | 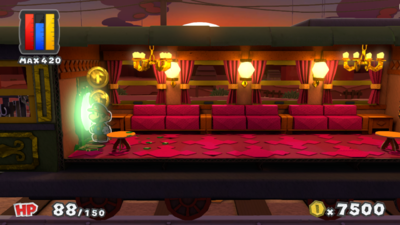
| |
 Coins |
Optional | 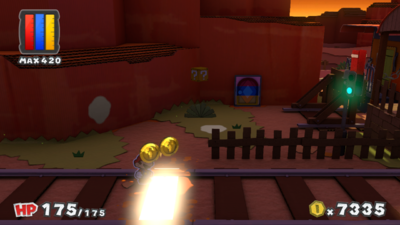
| |
 Coins |
Optional | 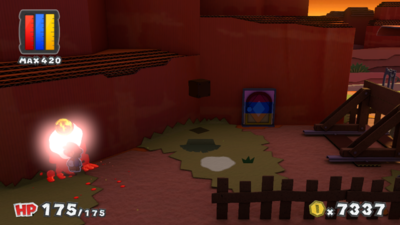
| |
 Coins |
Optional | 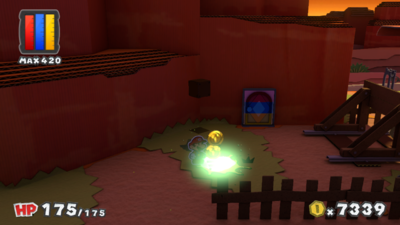
| |
Green courses[edit]
There are a total of 113 Colorless spots to fill in the green courses:
- Mondo Woods has 19 Colorless spots from environment
- Sacred Forest has 47 Colorless spots - 46 enviroment, 1 Toad
- Green Energy Plant has 1 Colorless spot from environment
- Mossrock Theater has 34 Colorless spots - 31 environment, 3 Toads
- The Emerald Circus has 12 Colorless spots from environment
| Location | Drop | Necessity | Image |
|---|---|---|---|
| Mondo Woods | 19 Colorless spots from environment | |||
 Coins |
Optional | 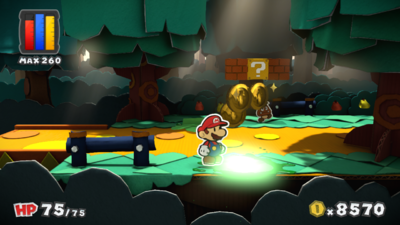
| |
 Coins |
Optional | 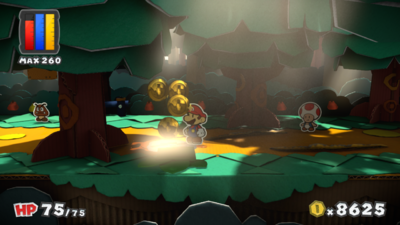
| |
  Coins, Big Jump Battle Card |
Optional | 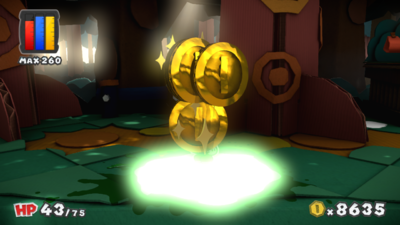
| |
 Coins |
Optional | 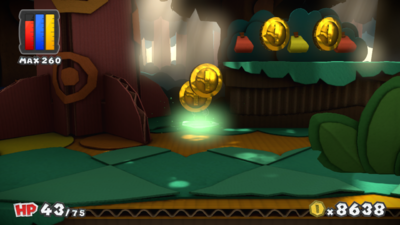
| |
 Coins |
Optional | 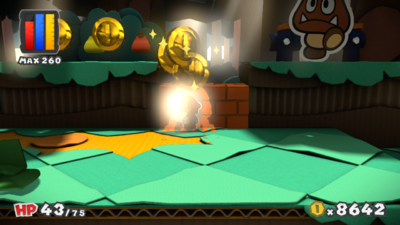
| |
 Coins |
Optional | 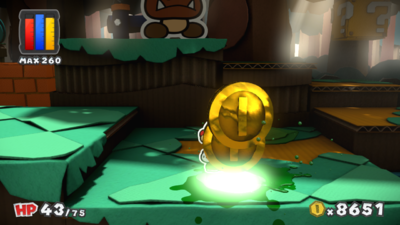
| |
  Coins, Big Eekhammer Battle Card |
Optional | 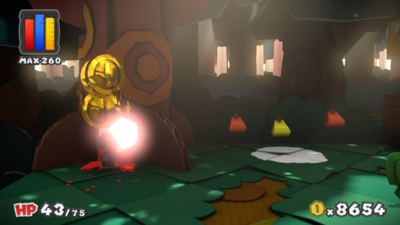
| |
  Coins, Big Hammer Battle Card |
Optional | 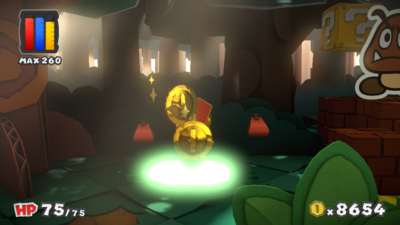
| |
 Coins |
Optional | 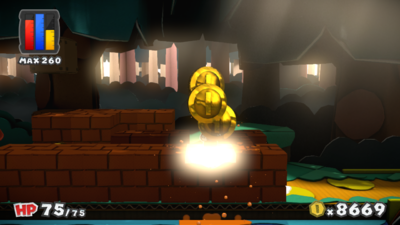
| |
 Coins |
Optional | 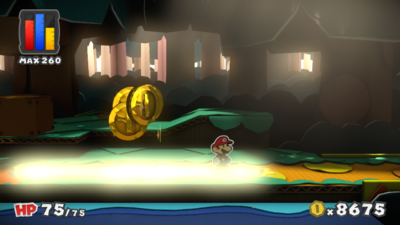
| |
 Coins |
Optional | 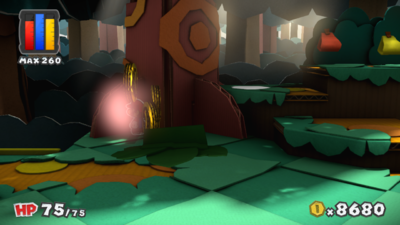
| |
 Coins |
Optional | 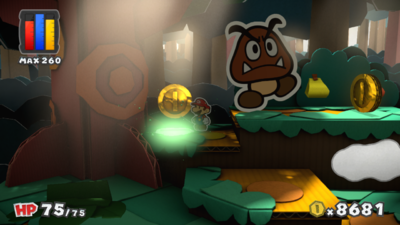
| |
  Coins, Big Jump Battle Card |
Optional | 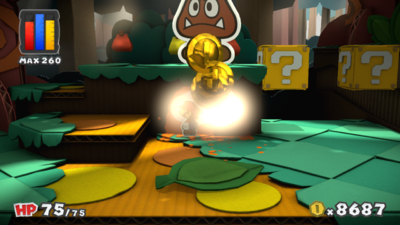
| |
 Coins |
Optional | 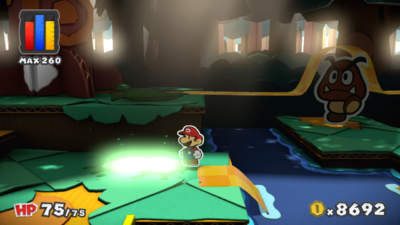
| |
  Coins, Big Hammer Battle Card |
Optional | 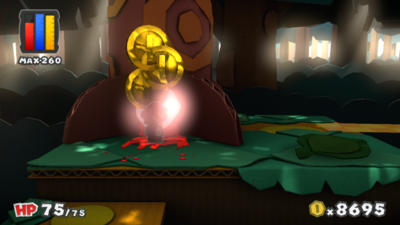
| |
 Coins |
Optional | 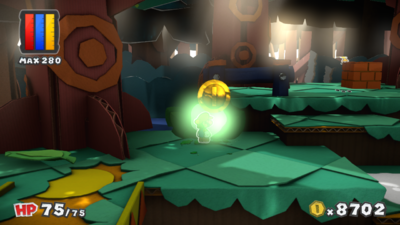
| |
 Coins |
Optional | 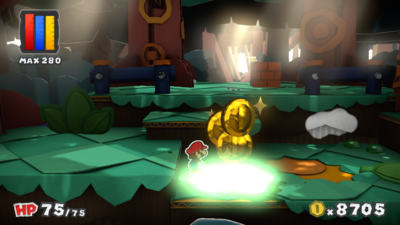
| |
  Coins, Big Hammer Battle Card |
Optional | 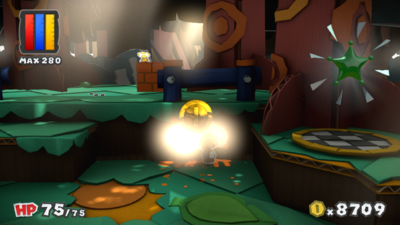
| |
| Required: Collect the yellow Big Paint Star. |
None | Required | 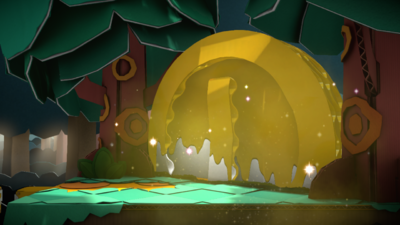
|
| Sacred Forest | 47 Colorless spots (46 enviroment, 1 Toad) | |||
 Coins |
Optional | 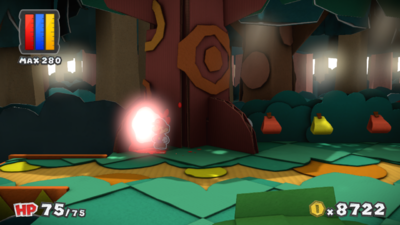
| |
| None | Optional | 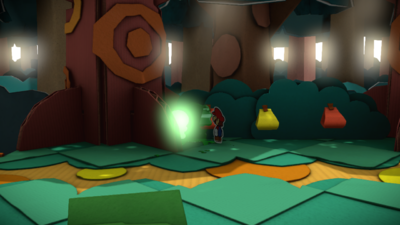
| |
 Coins |
Optional | 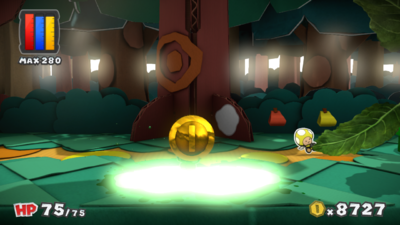
| |
  Coins, Big Jump Battle Card |
Optional | 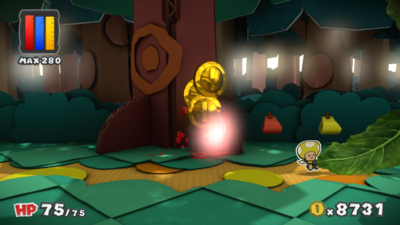
| |
| Required: Return with Yellow Rescue Squad members. |
  Coins, Jump Battle Card |
Optional | 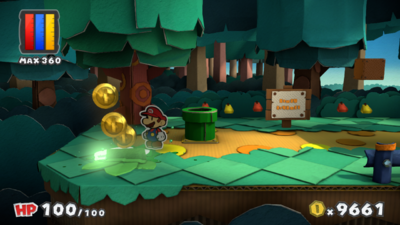
|
| Required: Return with Yellow Rescue Squad members. |
  Coins, Hammer Battle Card |
Optional | 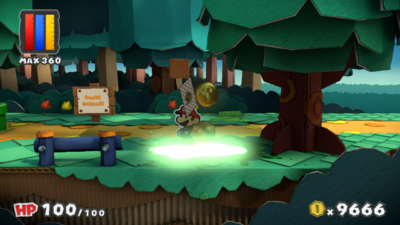
|
| Required: Return with Yellow Rescue Squad members. |
 Coins |
Optional | 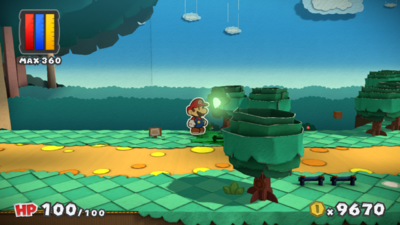
|
| Required: Return with Yellow Rescue Squad members. |
  Coins, Worn-Out Jump Battle Card |
Optional | 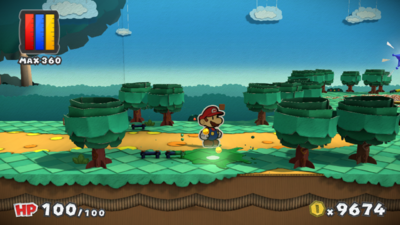
|
| Required: Return with Yellow Rescue Squad members. |
 Coins |
Optional | 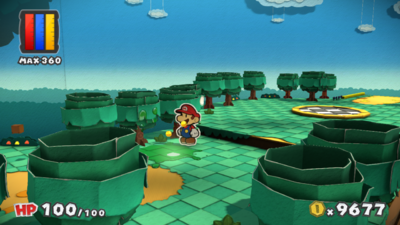
|
| Required: Return with Yellow Rescue Squad members. |
 Coins |
Optional | 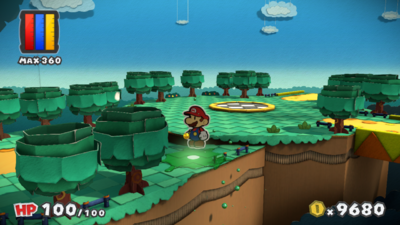
|
| Required: Return with Yellow Rescue Squad members. |
  Coins, Worn-Out Hammer Battle Card |
Optional | 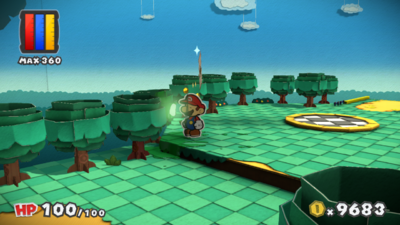
|
| Required: Return with Yellow Rescue Squad members. |
  Coins, Worn-Out Jump Battle Card |
Optional | 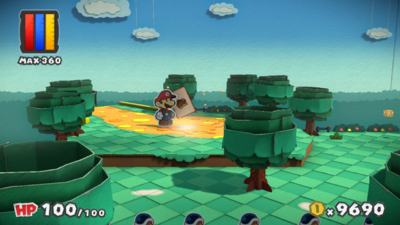
|
| Required: Return with Yellow Rescue Squad members. |
 Coins |
Optional | 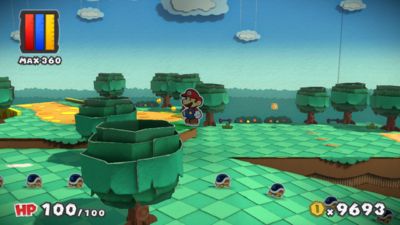
|
| Required: Return with Yellow Rescue Squad members. |
 Coins |
Optional | 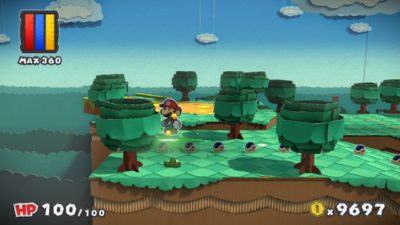
|
| Required: Return with Yellow Rescue Squad members. |
  Coins, Worn-Out Hammer x5 Battle Card |
Optional | 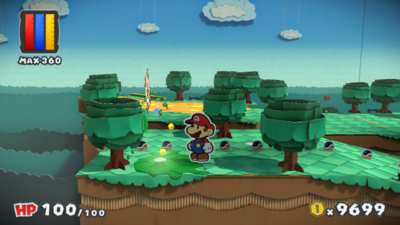
|
| Required: Return with Yellow Rescue Squad members. |
 Coins |
Optional | 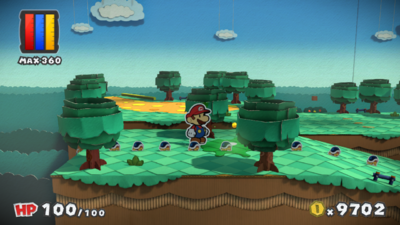
|
| Required: Return with Yellow Rescue Squad members. |
  Coins, Worn-Out Hammer Battle Card |
Optional | 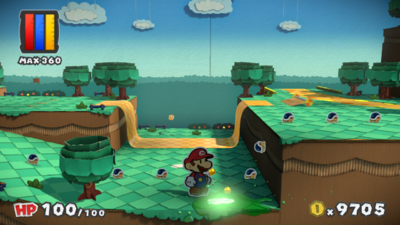
|
| Required: Return with Yellow Rescue Squad members. |
 Coins |
Optional | 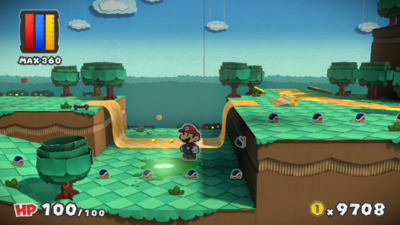
|
| Required: Return with Yellow Rescue Squad members. |
 Coins |
Optional | 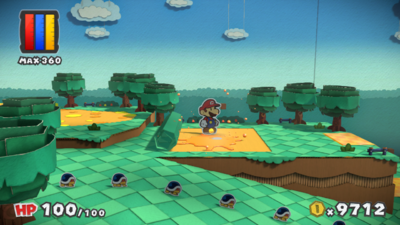
|
| Required: Return with Yellow Rescue Squad members. |
 Coins |
Optional | 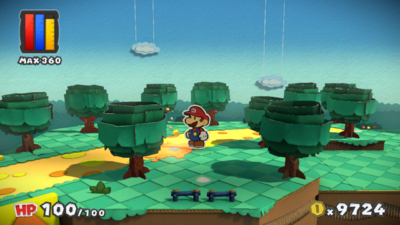
|
| Required: Return with Yellow Rescue Squad members. |
 Coins |
Optional | 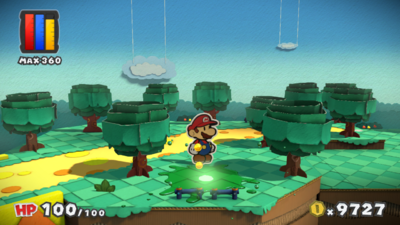
|
| Required: Return with Yellow Rescue Squad members. |
  Coins, Worn-Out Jump x3 Battle Card |
Optional | 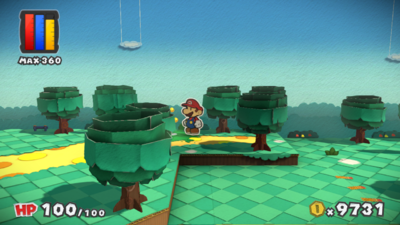
|
| Required: Return with Yellow Rescue Squad members. |
 Coins |
Optional | 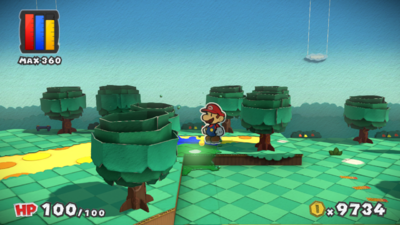
|
| Required: Return with Yellow Rescue Squad members. |
 Coins |
Optional | 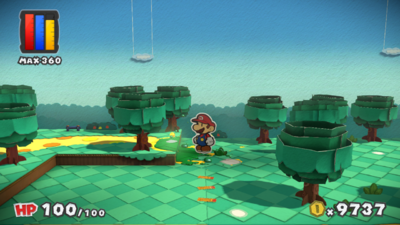
|
| Required: Return with Yellow Rescue Squad members. |
 Coins |
Optional | 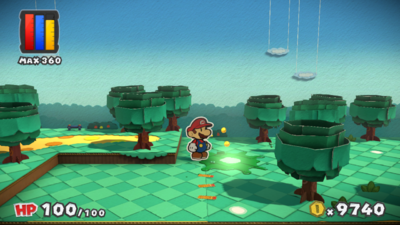
|
| Required: Return with Yellow Rescue Squad members. |
  Coins, Worn-Out Jump Battle Card |
Optional | 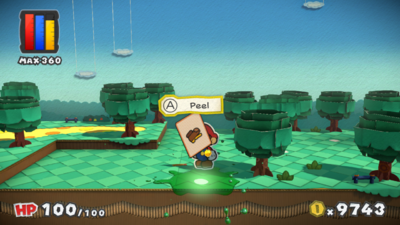
|
| Required: Return with Yellow Rescue Squad members. |
 Coins |
Optional | 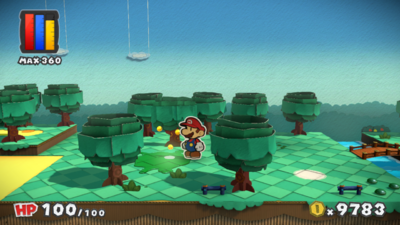
|
| Required: Return with Yellow Rescue Squad members. |
  Coins, Worn-Out Jump Battle Card |
Optional | 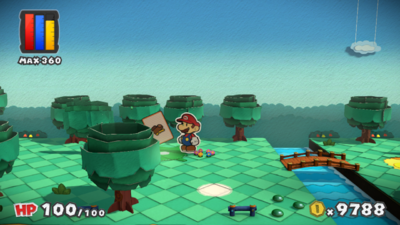
|
| Required: Return with Yellow Rescue Squad members. |
  Coins, Worn-Out Hammer Battle Card |
Optional | 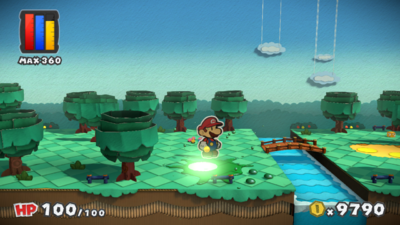
|
| Required: Return with Yellow Rescue Squad members. |
 Coins |
Optional | 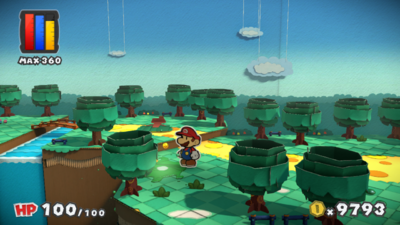
|
| Required: Return with Yellow Rescue Squad members. |
 Coins |
Optional | 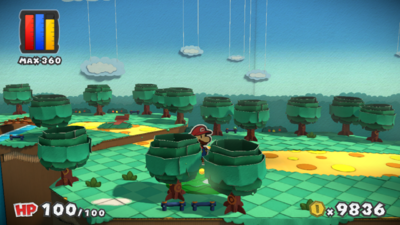
|
| Required: Return with Yellow Rescue Squad members. |
  Coins, Worn-Out Jump x5 Battle Card |
Optional | 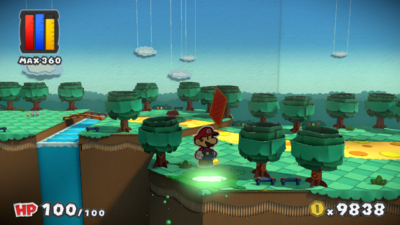
|
| Required: Return with Yellow Rescue Squad members. |
  Coins, Worn-Out Hammer x3 Battle Card |
Optional | 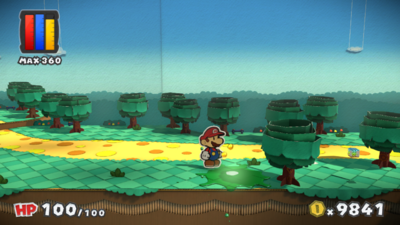
|
| Required: Return with Yellow Rescue Squad members. |
 Coins |
Optional | 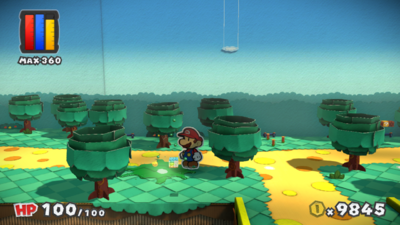
|
| Required: Return with Yellow Rescue Squad members. |
 Coins |
Optional | 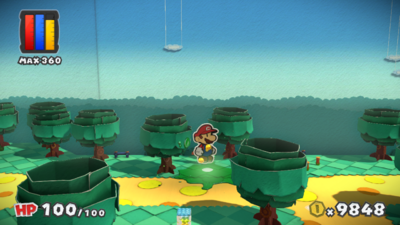
|
| Required: Return with Yellow Rescue Squad members. |
 Coins |
Optional | 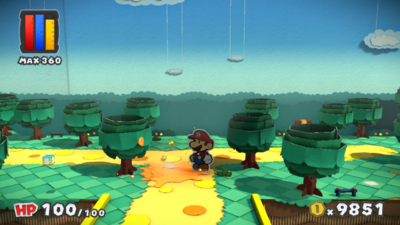
|
| Required: Return with Yellow Rescue Squad members. |
  Coins, Worn-Out Jump x3 Battle Card |
Optional | 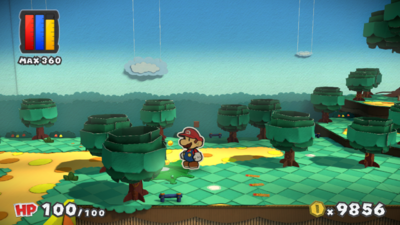
|
| Required: Return with Yellow Rescue Squad members. |
 Coins |
Optional | 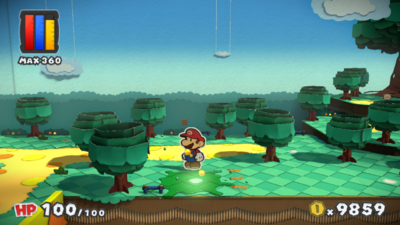
|
| Required: Return with Yellow Rescue Squad members. |
  Coins, Worn-Out Hammer x3 Battle Card |
Optional | 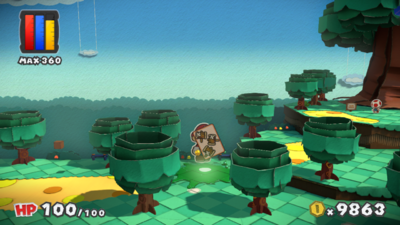
|
| Required: Return with Yellow Rescue Squad members. |
 Coins |
Optional | 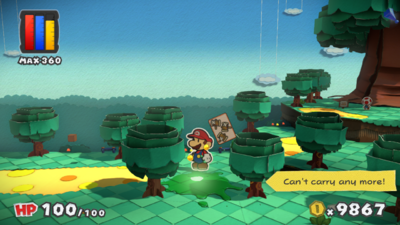
|
| Required: Return with Yellow Rescue Squad members. |
  Coins, Worn-Out Hammer Battle Card |
Optional | 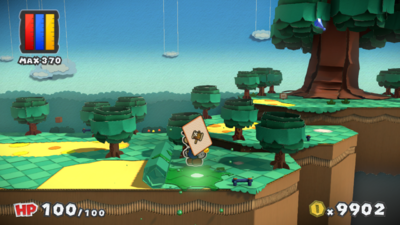
|
| Required: Return with Yellow Rescue Squad members. |
 Coins |
Optional | 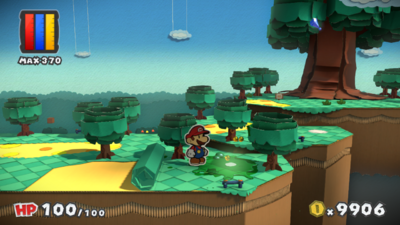
|
| Required: Return with Yellow Rescue Squad members. |
  Coins, Worn-Out Jump Battle Card |
Optional | 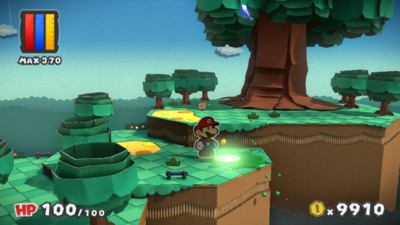
|
| Required: Return with Yellow Rescue Squad members. |
 Coins |
Optional | 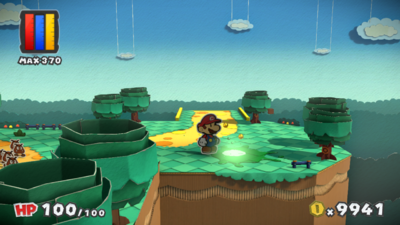
|
| Required: Return with Yellow Rescue Squad members. |
 Coins |
Optional | 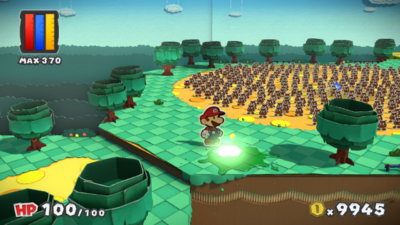
|
| Required: Return with Yellow Rescue Squad members. |
 Coins |
Optional | 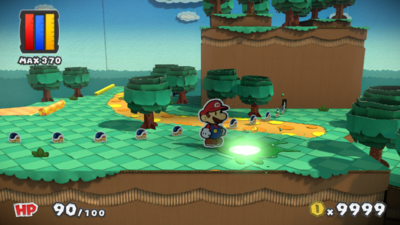
|
| Required: Return with Yellow Rescue Squad members. |
  Coins, Worn-Out Jump x3 Battle Card |
Optional | 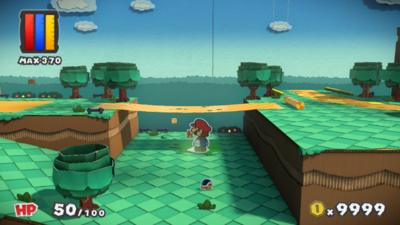
|
| Green Energy Plant | 1 Colorless spot from environment | |||
 Coins |
Optional | 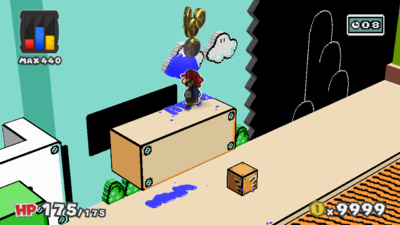
| |
| Mossrock Theater | 34 Colorless spots (31 environment, 3 Toads) | |||
 Coins |
Optional | 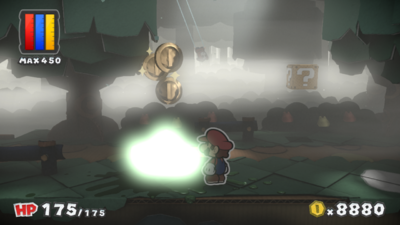
| |
  Coins, Iron Jump x2 Battle Card |
Optional | 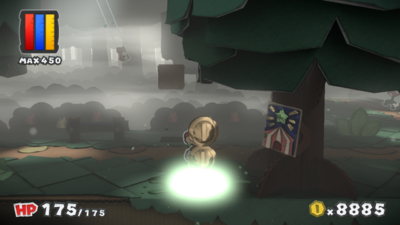
| |
 Coins |
Optional | 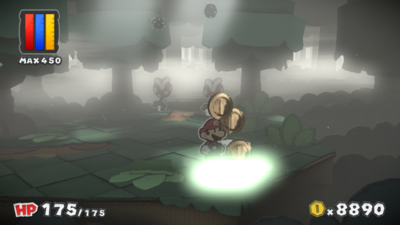
| |
| None | Optional | 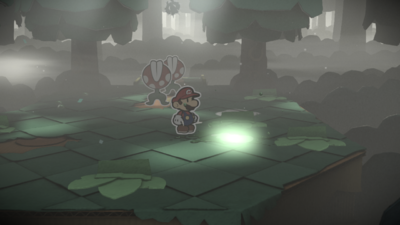
| |
 Coins |
Optional | 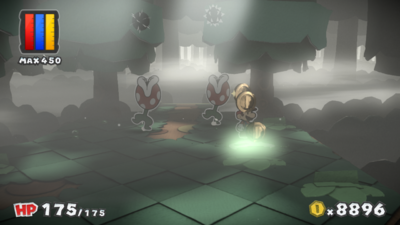
| |
  Coins, Jump x2 Battle Card |
Optional | 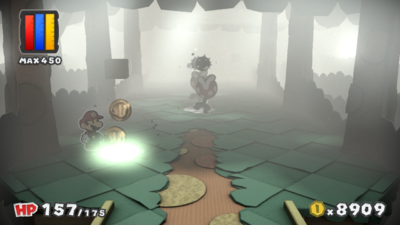
| |
  Coins, Hopslipper x2 Battle Card |
Optional | 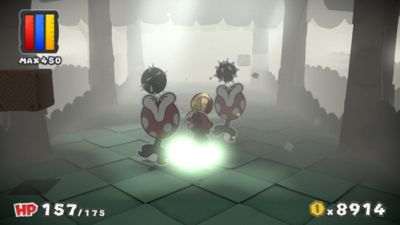
| |
  Coins, Hopslipper x2 Battle Card |
Optional | 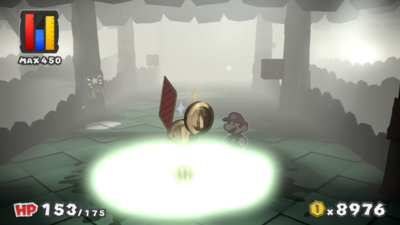
| |
 Coins |
Optional | 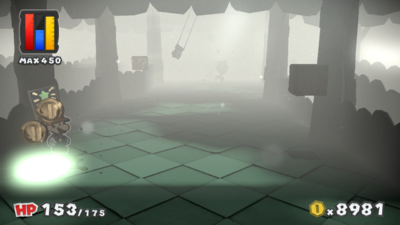
| |
  Coins, Hammer x2 Battle Card |
Optional | 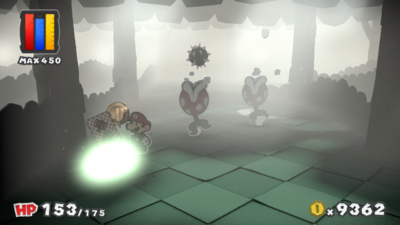
| |
 Coins |
Optional | 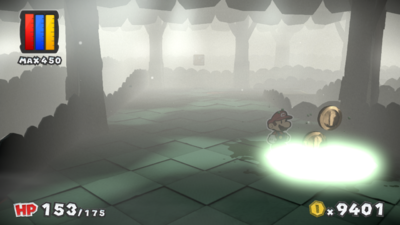
| |
  Coins, Eekhammer x2 Battle Card |
Optional | 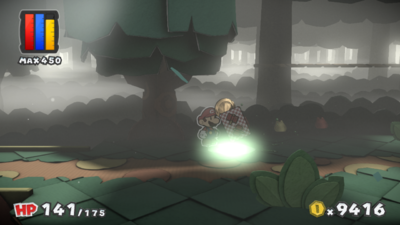
| |
 Coins |
Optional | 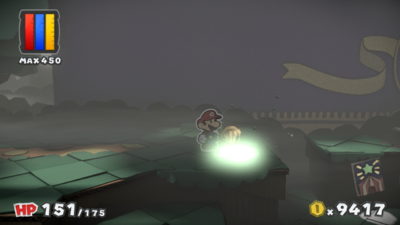
| |
 Coins |
Optional | 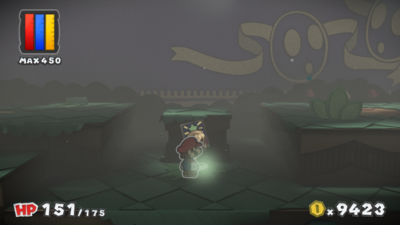
| |
  Coins, Big Hopslipper Battle Card |
Optional | 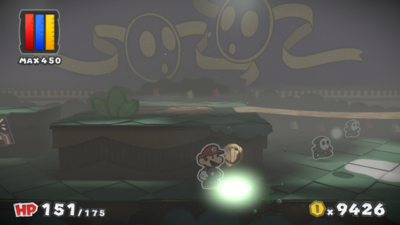
| |
  Coins, 1-Up Mushroom Battle Card |
Optional | 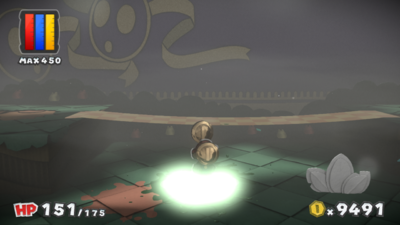
| |
  Coins, Hurlhammer x2 Battle Card |
Optional | 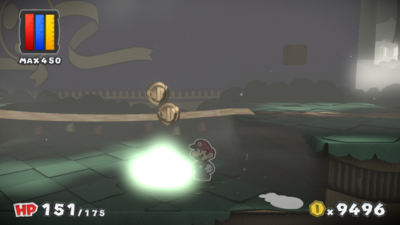
| |
| None | Optional | 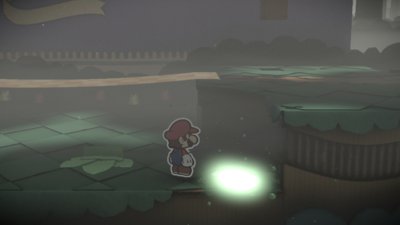
| |
 Coins |
Optional | 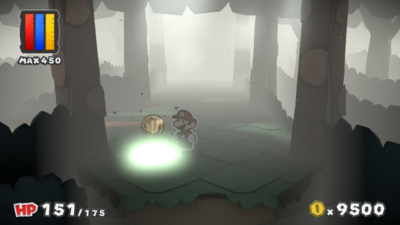
| |
  Coins, Hurlhammer x2 Battle Card |
Optional | 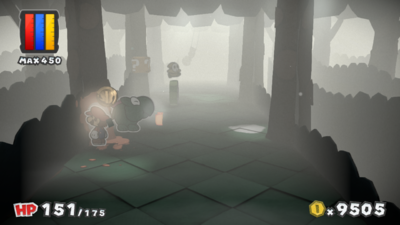
| |
 Coins |
Optional | 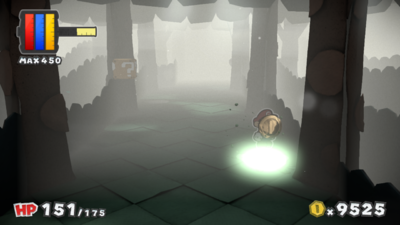
| |
  Coins, Jump x3 Battle Card |
Optional | 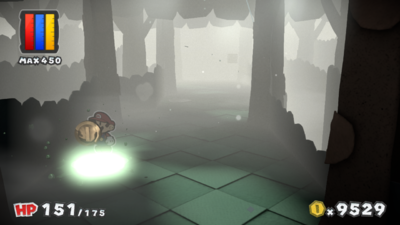
| |
 Coins |
Optional | 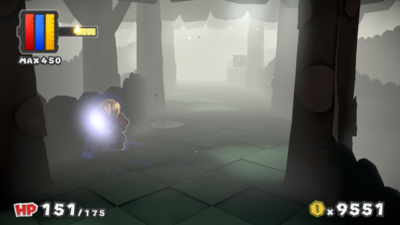
| |
 Coins |
Optional | 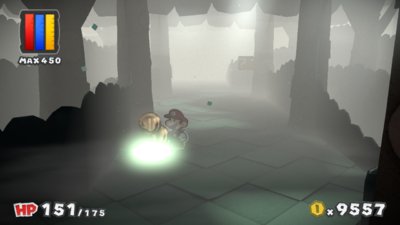
| |
 Coins |
Optional | 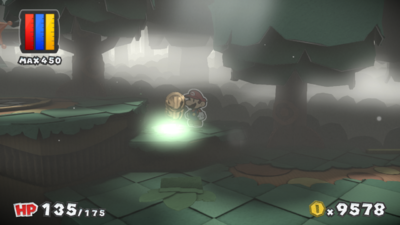
| |
| None | Optional | 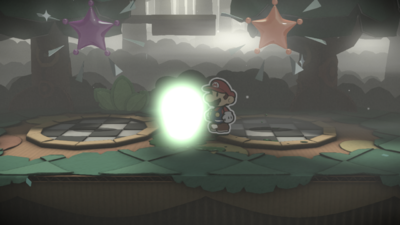
| |
  Coins, Eekhammer x2 Battle Card |
Optional | 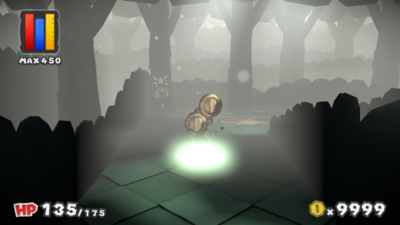
| |
 Coins |
Optional | 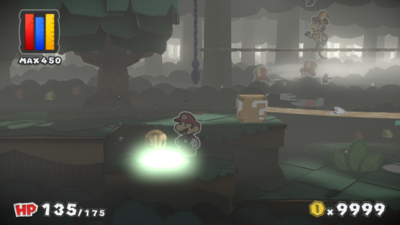
| |
 Coins |
Optional | 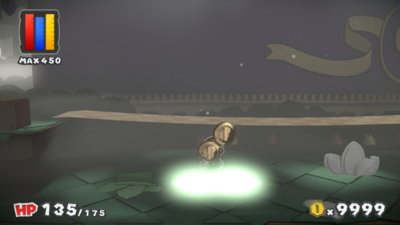
| |
 Coins |
Optional | 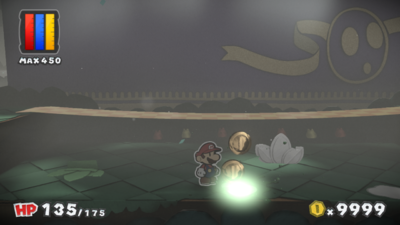
| |
  Coins, Big Iron Jump Battle Card |
Optional | 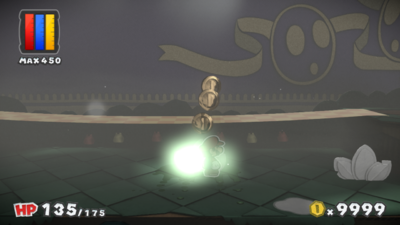
| |
  Coins, Jump x2 Battle Card |
Optional | 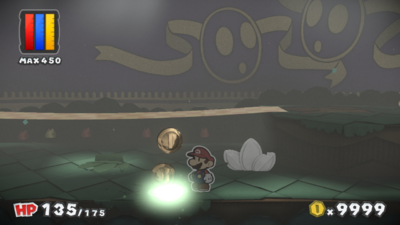
| |
 Coins |
Optional | 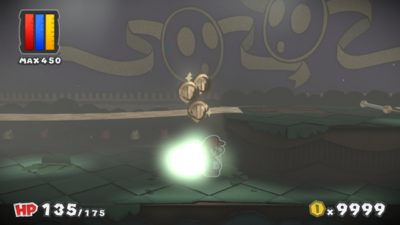
| |
   Coins, Big KO Hammer and POW Block Battle Cards |
Optional | 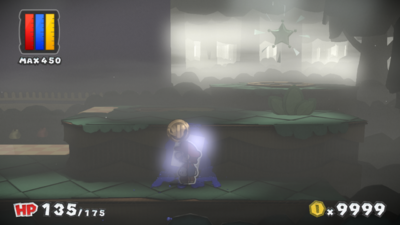
| |
| The Emerald Circus | 12 Colorless spots from environment | |||
 Coins |
Optional | 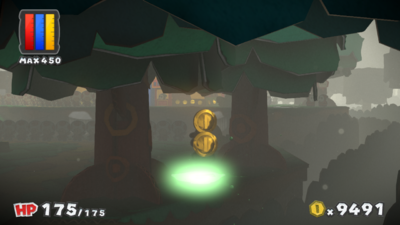
| |
 Coins |
Optional | 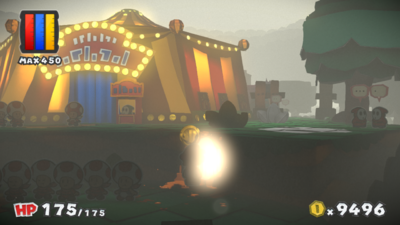
| |
 Coins |
Optional | 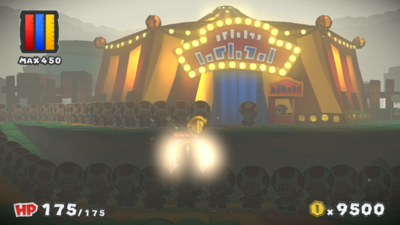
| |
  Coin, Jump x3 Battle Card |
Optional | 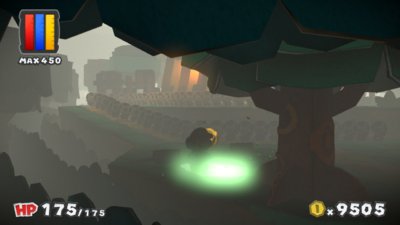
| |
  Coins, Hurlhammer x2 Battle Card |
Optional | 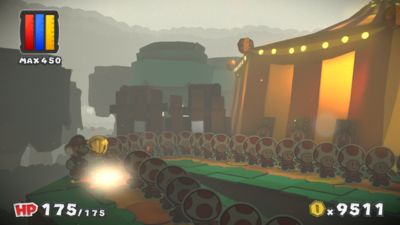
| |
 Coins |
Optional | 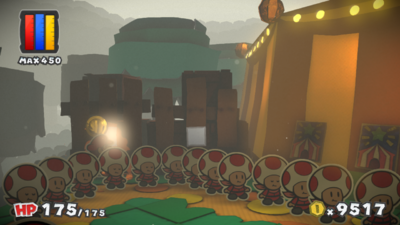
| |
  Coins, Big Mushroom Battle Card |
Optional | 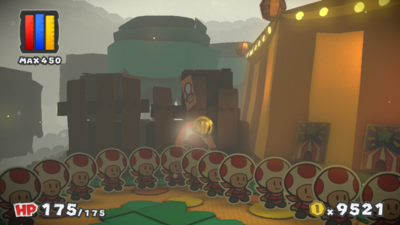
| |
  Coins, Hammer x3 Battle Card |
Optional | 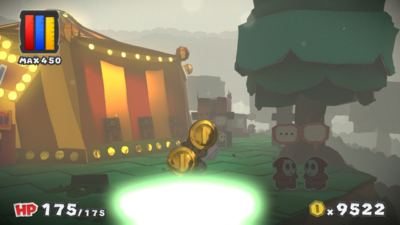
| |
 Coins |
Optional | 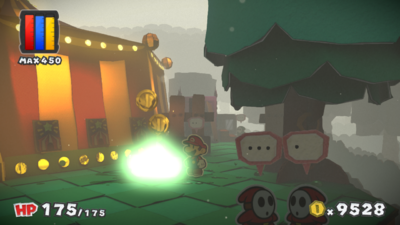
| |
  Coins, POW Block Battle Card |
Optional | 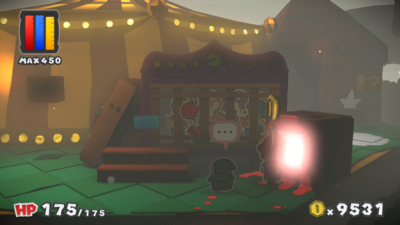
| |
| Required: Return with Red Rescue Squad members. |
 Coins |
Optional | 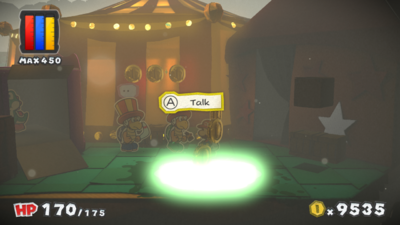
|
| Required: Return with Red Rescue Squad members. |
 Coins |
Optional | 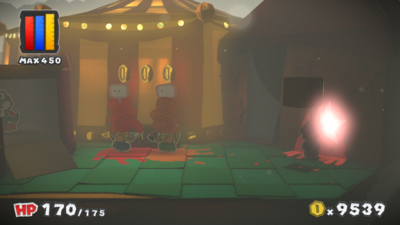
|
Black Bowser's Castle[edit]
There is only 1 enviromental Colorless spot to fill in Black Bowser's Castle.
| Location | Drop | Necessity | Image |
|---|---|---|---|
| Black Bowser's Castle | 1 enviromental Colorless Spot | |||
| None | Required | 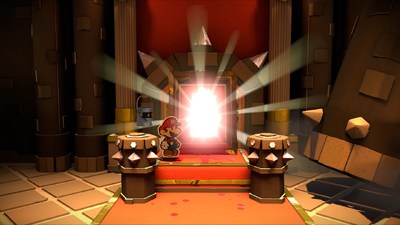
| |
Other colorable places[edit]
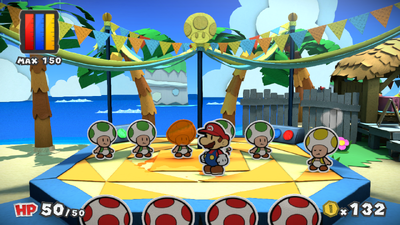
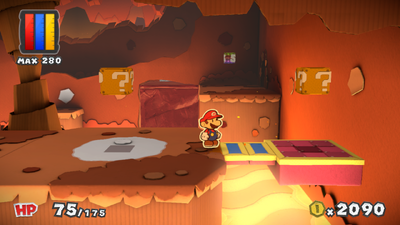
There are 19 places where Mario can use the paint but are different enough that they can't be considered Colorless Spots and therefore aren't included in the Colorless Spot % count. They are sorted in the order that Mario can color them:
| Location | Description | Necessity | Location Image (unrevealed) | Location Image (revealed) |
|---|---|---|---|---|
| Bloo Bay Beach | In the Oceanfest area, before the Toad Shuffle, after the Toad with messed up head is given the Blissful Beach Key. | Required | 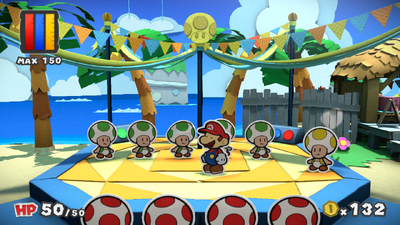
|
|
| Bloo Bay Beach | In the Blissful Beach area, at the east end of the area. The place is signified by a small transparent platform. Coloring it in creates stairs leading to 4 Coins and a ? Block. | Optional | 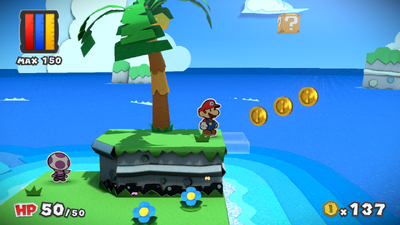
|
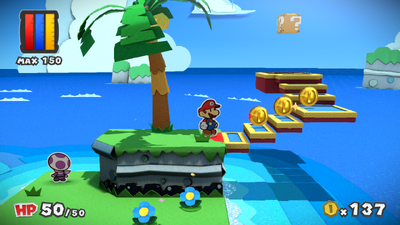
|
| Sunglow Ridge | In the area with the rolling logs, in the southeast part of the area. The place is signified by a small transparent platform. Coloring it in creates a platform leading to a ? Block. | Optional | 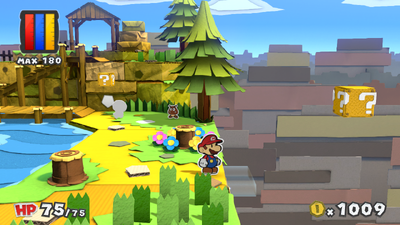
|
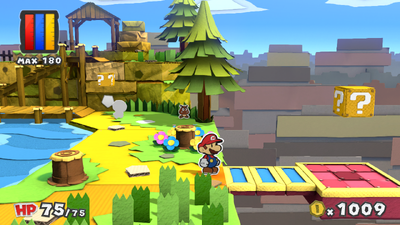
|
| Mondo Woods | In the area where Kamek makes one Goomba huge, in the southeast part of the area. The place is signified by a small transparent platform. Coloring it in creates stairs leading to a huge ? Block. | Optional | 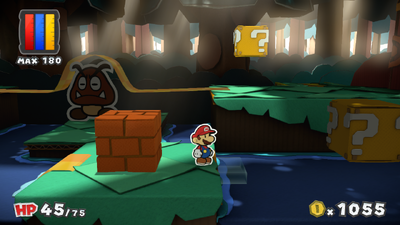
|
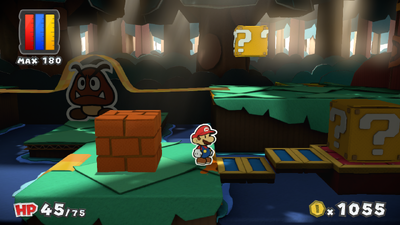
|
| Dark Bloo Inn | In the library, at the big orange book. | Required | 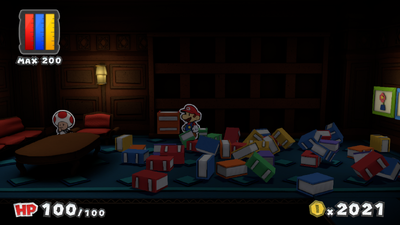
|
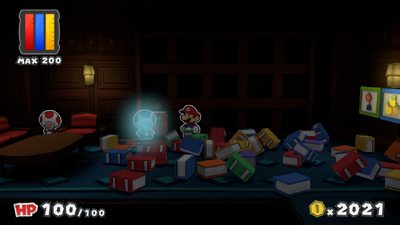
|
| Dark Bloo Inn | In the second floor hallway, at the suitcase cart. | Required | 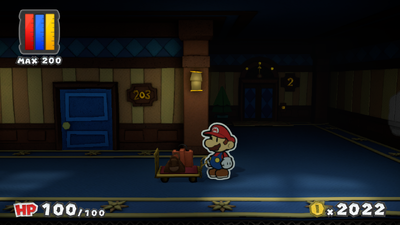
|
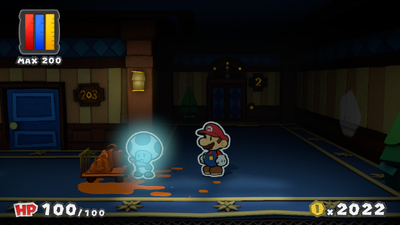
|
| Dark Bloo Inn | In the room 203, at the balcony. | Required | 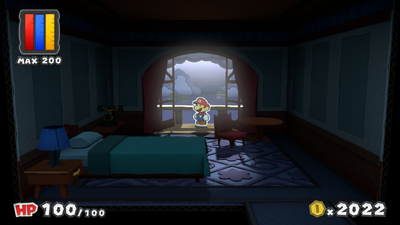
|
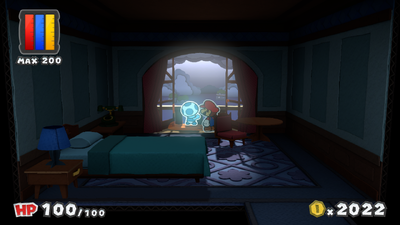
|
| Dark Bloo Inn | In the room 301, on the telephone. Appears only after the room has been tidied up. | Required | 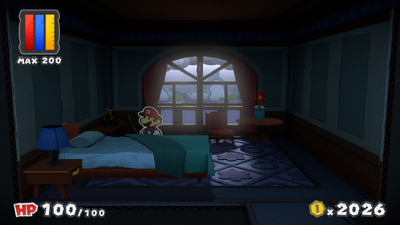
|
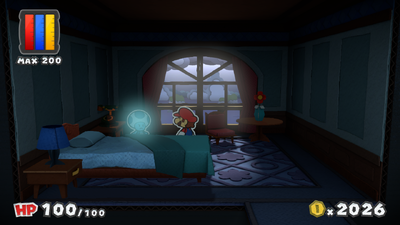
|
| Dark Bloo Inn | In the room 202, accessible from the hole in the room 302. Signified by a footprints that appear in front of the table. | Required | 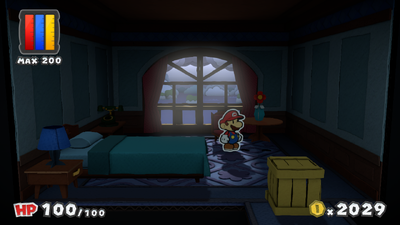
|
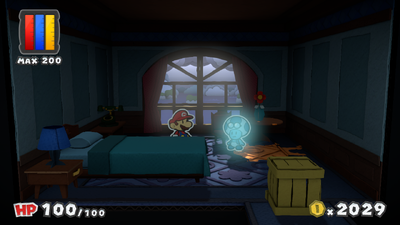
|
| Dark Bloo Inn | In the room 303, in front of the birdcage. | Required | 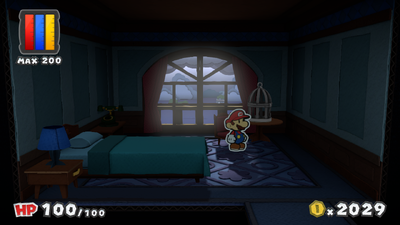
|
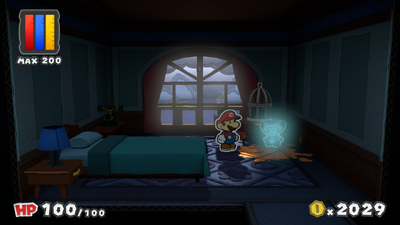
|
| Dark Bloo Inn | In the room 303, on the table. | Optional | 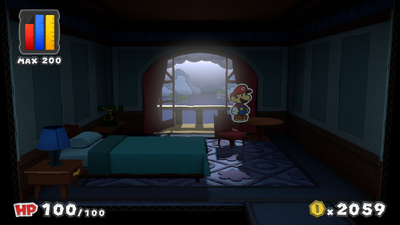
|
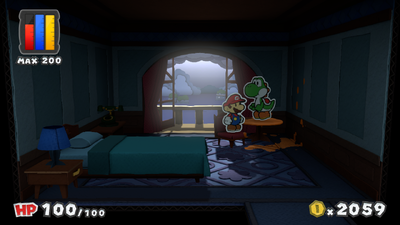
|
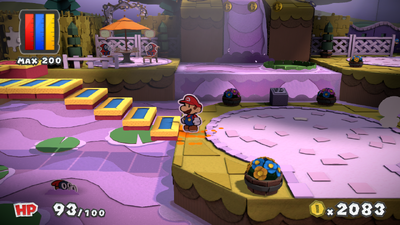
| Plum Park | In the waterfall area, found left of the central peninsula. Coloring it in creates stairs leading to a Colorless Spot. | Optional | 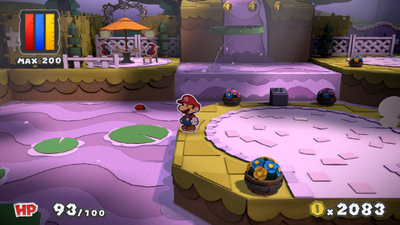
|
|
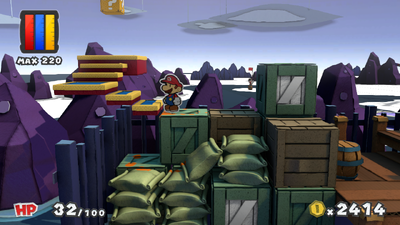
| Violet Passage | In the dock area, in the northwest. Coloring it in creates stairs leading to a ? Block. | Optional | 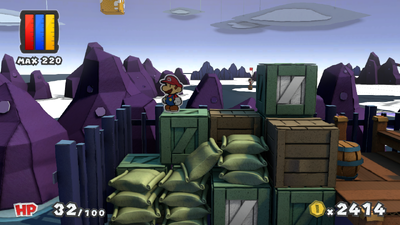
|
|
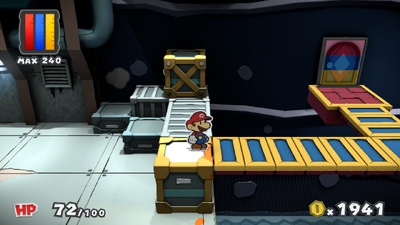
| Fort Cobalt | In the first area, in the northeast of the top part of the area. Coloring it in creates a platform leading to a Spinning Door. | Optional | 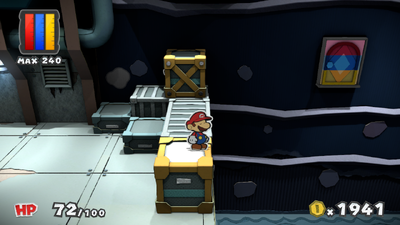
|
|
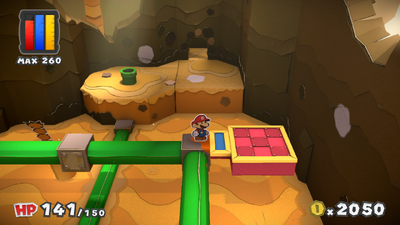
| Mustard Café | In the third underground area, at the northeast part of the pipes. Coloring it in creates a platform leading to 2 Hidden Blocks, which in turn lead to a Colorless Spot. | Optional | 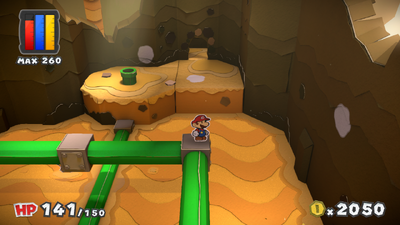
|
|
| Tangerino Grill | In the outside scene, right of the green crate. Coloring it in creates stairs leading to a balcony containing 2 ? Blocks, with two Colorless Spots on the wall before that. | Optional | 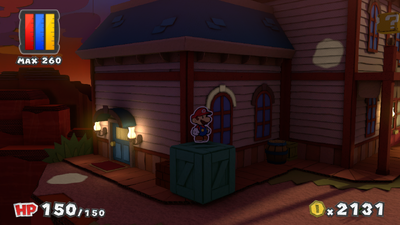
|
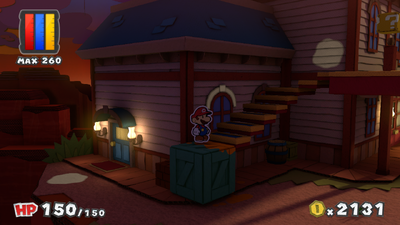
|
| Redpepper Crater | In the main part of the second area, at the east end of the south island. Coloring it in creates a platform leading to a ? Block. | Optional | 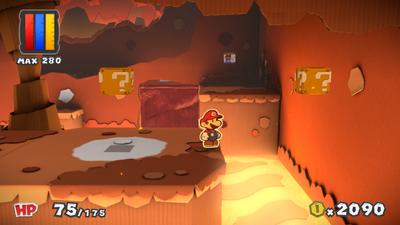
|
|
| Redpepper Crater | Same area, in the north of the part, on the left. Coloring it in creates stairs leading to a top left moving platform. | Optional | 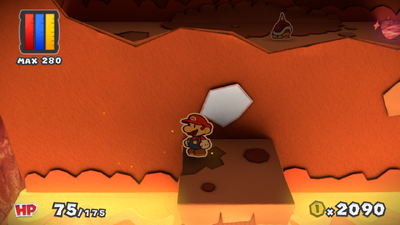
|
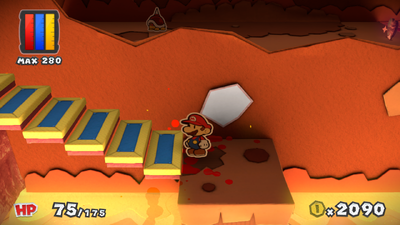
|
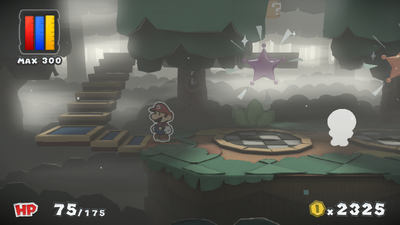
| Mossrock Theater | In the area with two small Paint Stars, at the west end. Coloring it in creates stairs leading to a ? Block. | Optional | 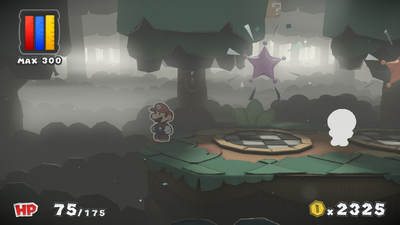
|
|
Statistics[edit]
This chart shows the number of colorless spots for each location, with the total amount at the bottom.
| Location | Colorless spots from parts of areas | Colorless spots from Toads | Total |
|---|---|---|---|
| Port Prisma | 64 | 16 | 80 |
| Ruddy Road | 39 | 1 | 40 |
| Cherry Lake | 29 | 0 | 29 |
| Redpepper Volcano | 13 | 0 | 13 |
| Redpepper Crater | 19 | 0 | 19 |
| The Crimson Tower | 22 | 2 | 24 |
| Daffodil Peak | 51 | 2 | 53 |
| Sunglow Ridge | 39 | 5 | 44 |
| Château Chanterelle | 8 | 0 | 8 |
| Mustard Café | 53 | 1 | 54 |
| The Golden Coliseum | 31 | 0 | 31 |
| Indigo Underground | 38 | 1 | 39 |
| Bloo Bay Beach | 38 | 0 | 38 |
| Dark Bloo Inn | 13 | 1 | 14 |
| Cobalt Base | 3 | 0 | 3 |
| Fort Cobalt | 21 | 0 | 21 |
| Plum Park | 35 | 3 | 38 |
| Violet Passage | 10 | 0 | 10 |
| Vortex Island | 51 | 5 | 56 |
| Lighthouse Island | 34 | 1 | 35 |
| Fortune Island | 42 | 0 | 42 |
| Marmalade Valley | 37 | 0 | 37 |
| Kiwano Temple | 37 | 0 | 37 |
| Toad Trainworks | 28 | 1 | 29 |
| Tangerino Grill | 8 | 0 | 8 |
| Sunset Express | 14 | 0 | 14 |
| Mondo Woods | 19 | 0 | 19 |
| Sacred Forest | 46 | 1 | 47 |
| Green Energy Plant | 1 | 0 | 1 |
| Mossrock Theater | 31 | 3 | 34 |
| The Emerald Circus | 12 | 0 | 12 |
| Black Bowser's Castle | 1 | 0 | 1 |
| Total | 887 | 43 | 930 |
Names in other languages[edit]
| Language | Name | Meaning | Notes |
|---|---|---|---|
| Japanese | Iro-nuke |
Color omission | |
| Dutch | Kleurloze plek[2] | Colorless spot | |
| French | Tache blanche[3][4] | Blank spot | |
| German | Farblos-Fleck[5] | Colorless spot | |
| Italian | Zona scolorita[6] | Faded area | |
| Portuguese (European) | Zona sem cor[7] | Colorless zone | |
| Russian | Белое пятно[8] Beloye pyatno |
White spot | |
| Spanish (Latin American) | Zona desteñida[9] | Faded zone | |
| Spanish (European) | Zona incolora[10] | Colorless zone |
References[edit]
- ^ 「(area)の
色 ヌケを100%修復 しました!」– Message for filling in all colorless spots in an area (October 13, 2016). Paper Mario: Color Splash. Nintendo (Japanese). - ^ "(area): alle kleurloze plekken hersteld!" – Message for filling in all colorless spots in an area (October 7, 2016). Paper Mario: Color Splash. Nintendo of Europe (Dutch).
- ^ « Les taches blanches de (area) ont été repeintes à 100 %! » – Message for filling in all colorless spots in an area (October 7, 2016). Paper Mario: Color Splash. Nintendo of America (Canadian French).
- ^ « (area) : taches blanches repeintes à 100 % ! » – Message for filling in all colorless spots in an area (October 7, 2016). Paper Mario: Color Splash. Nintendo of Europe (French).
- ^ „(area)-Farblos-Flecken zu 100 % restauriert!“ – Message for filling in all colorless spots in an area (October 7, 2016). Paper Mario: Color Splash. Nintendo of Europe (German).
- ^ «Guarda, al centro di quella grande zona scolorita c'è qualcuno. Andiamo a vedere!» – Hint from Huey at Mustard Café (October 7, 2016). Paper Mario: Color Splash. Nintendo of Europe (Italian).
- ^ «Restauraste todas as zonas sem cor do nível (area).» – Message for filling in all colorless spots in an area (October 7, 2016). Paper Mario: Color Splash. Nintendo of Europe (European Portuguese).
- ^ «(area): закрашены все белые пятна!» – Message for filling in all colorless spots in an area (October 7, 2016). Paper Mario: Color Splash. Nintendo of Europe (Russian).
- ^ "¡Restauraste al 100 % todas las zonas desteñidas de (area)!" – Message for filling in all colorless spots in an area (October 7, 2016). Paper Mario: Color Splash. Nintendo of America (Latin American Spanish).
- ^ «¡Has pintado todas las zonas incoloras de: (area)!» – Message for filling in all colorless spots in an area (October 7, 2016). Paper Mario: Color Splash. Nintendo of Europe (European Spanish).
See also[edit]
- Cutout
- List of blocks in Paper Mario: Color Splash
- List of hidden blocks in Paper Mario: Color Splash
