Gallery:Super Mario 3D World: Difference between revisions
Nintendo101 (talk | contribs) (→Artwork: Reorganization) |
Nintendo101 (talk | contribs) (→Artwork: Integration) |
||
| Line 176: | Line 176: | ||
</gallery> | </gallery> | ||
===Items | ===Items=== | ||
<gallery> | <gallery> | ||
Coin Artwork - Super Mario 3D World.png|[[Coin]] | Coin Artwork - Super Mario 3D World.png|[[Coin]] | ||
Coin Stack Artwork - Super Mario 3D World.png|[[Coin pile]] | Coin Stack Artwork - Super Mario 3D World.png|[[Coin pile]] | ||
Red Coin SM3DW Prima.jpg|[[Red Coin]] | |||
Blue Coin SM3DW Prima.jpg|[[Blue Coin]] | |||
Green Star Coin SM3DW Prima.jpg|[[Green Star Coin]] | |||
Green Star Artwork - Super Mario 3D World.png|[[Green Star]] | |||
Key Coin SM3DW Prima.jpg|[[Key Coin]] | Key Coin SM3DW Prima.jpg|[[Key Coin]] | ||
Plus Clock Artwork - Super Mario 3D World.png|[[+ Clock]] | |||
Stamp Artwork - Super Mario 3D World.png|[[List of stamps in Super Mario 3D World|Stamp]] | Stamp Artwork - Super Mario 3D World.png|[[List of stamps in Super Mario 3D World|Stamp]] | ||
1-Up Mushroom Artwork - Super Mario 3D World.png|[[1-Up Mushroom]] | 1-Up Mushroom Artwork - Super Mario 3D World.png|[[1-Up Mushroom]] | ||
Bomb SM3DW Prima.jpg|[[Bomb]] | |||
Kick Bomb SM3DW Prima.jpg|[[Kick Bomb]] | |||
Baseball Artwork - Super Mario 3D World.png|[[Baseball (object)|Baseball]] | Baseball Artwork - Super Mario 3D World.png|[[Baseball (object)|Baseball]] | ||
Green Shell Artwork - Super Mario 3D World.png|[[Green Shell]] | Green Shell Artwork - Super Mario 3D World.png|[[Green Shell]] | ||
Gold Shell SM3DW Prima.jpg|[[Gold Shell]] | |||
Piranha Plant Artwork - Super Mario 3D World.png|[[Potted Piranha Plant]] | Piranha Plant Artwork - Super Mario 3D World.png|[[Potted Piranha Plant]] | ||
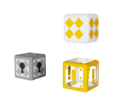
Propeller Box Artwork - Super Mario 3D World.png|[[Propeller Box]] | Propeller Box Artwork - Super Mario 3D World.png|[[Propeller Box]] | ||
| Line 192: | Line 198: | ||
Light Box Artwork - Super Mario 3D World.png|[[Light Box]] | Light Box Artwork - Super Mario 3D World.png|[[Light Box]] | ||
Shiny Question Block Artwork - Super Mario 3D World.png|[[Coin Box|? Box]] | Shiny Question Block Artwork - Super Mario 3D World.png|[[Coin Box|? Box]] | ||
Goomba Hat Artwork - Super Mario 3D World.png|[[Goomba Mask]] | |||
Ice Skate SM3DW artwork.png|[[Ice Skate]] | Ice Skate SM3DW artwork.png|[[Ice Skate]] | ||
</gallery> | |||
===Power-ups=== | |||
<gallery> | |||
Super Mushroom Artwork - Super Mario 3D World.png|[[Super Mushroom]] | Super Mushroom Artwork - Super Mario 3D World.png|[[Super Mushroom]] | ||
Fire Flower Artwork - Super Mario 3D World.png|[[Fire Flower]] | Fire Flower Artwork - Super Mario 3D World.png|[[Fire Flower]] | ||
| Line 213: | Line 223: | ||
Question Block Artwork - Super Mario 3D World.png|[[? Block]] | Question Block Artwork - Super Mario 3D World.png|[[? Block]] | ||
Assist Block Artwork - Super Mario 3D World.png|[[Assist Block]] | Assist Block Artwork - Super Mario 3D World.png|[[Assist Block]] | ||
Big Block SM3DW Prima.jpg|[[Big Block]] | |||
Used Block Artwork - Super Mario 3D World.png|[[Empty Block|Block]] | Used Block Artwork - Super Mario 3D World.png|[[Empty Block|Block]] | ||
Brick Block Artwork - Super Mario 3D World.png|[[Brick Block]] | Brick Block Artwork - Super Mario 3D World.png|[[Brick Block]] | ||
Cat Wheel SM3DW Prima.jpg|[[Cat Wheel]] | |||
SM3DW Chain Link.jpg|[[Chain-Link]] | |||
Character Switch SM3DW Prima.jpg|[[Character Switch]] | |||
Checkpoint Flag SM3DW Prima.jpg|[[Checkpoint Flag]] | |||
Clear Pipe Artwork - Super Mario 3D World.png|[[Clear Pipe]] | Clear Pipe Artwork - Super Mario 3D World.png|[[Clear Pipe]] | ||
Clear Pipe Coins Artwork - Super Mario 3D World.png|Clear Pipe | Clear Pipe Coins Artwork - Super Mario 3D World.png|Clear Pipe | ||
SM3DW Clear Pipe Cannon.jpg|[[Clear Pipe Cannon]] | |||
Cloud Cannon SM3DW Prima.jpg|[[Cloud Cannon]] | Cloud Cannon SM3DW Prima.jpg|[[Cloud Cannon]] | ||
Color Panel SM3DW Prima.jpg|[[Color Panel]] | |||
Crate SM3DW Prima.jpg|[[Crate]] | |||
Dash Panel SM3DW Prima.jpg|[[Dash Panel]] | |||
Donut Block SM3DW Prima.jpg|[[Donut Block]] | |||
SM3DW Gift Box.jpg|[[Gift Box]] | |||
Goal Pole SM3DW Prima.jpg|[[Goal Pole]] | |||
Coin Ring SM3DW Prima.jpg|[[Coin ring|Gold Ring]] | |||
Grass Artwork - Super Mario 3D World.png|Grass | Grass Artwork - Super Mario 3D World.png|Grass | ||
Green Star Ring SM3DW Prima.jpg|[[Green Star Ring]] | |||
SM3DW Jump Panel.jpg|[[Jump Panel]] | |||
Long Question Block Artwork - Super Mario 3D World.png|Long ? Block | Long Question Block Artwork - Super Mario 3D World.png|Long ? Block | ||
SM3DW Multi-Vator.jpg|[[Multi-Vator]] | |||
Mushroom Trampoline SM3DW Prima.jpg|[[Mushroom Trampoline]] | |||
Mystery Box SM3DW Prima.jpg|[[Mystery Box]] | |||
P Panel SM3DW Prima.jpg|[[P Panel]] | |||
P Switch SM3DW Prima.jpg|[[P Switch]] | |||
POW Block Artwork - Super Mario 3D World.png|[[POW Block]] | POW Block Artwork - Super Mario 3D World.png|[[POW Block]] | ||
SM3DW Propeller Platform.jpg|[[Propeller Platform]] | |||
Red-Blue Panel SM3DW Prima.jpg|[[Red-Blue Panel]] | |||
Red Ring SM3DW Prima.jpg|[[Red Ring]] | |||
Rock Block SM3DW Prima.jpg|[[Rock Block]] | |||
Rotating Panel SM3DW Prima.jpg|[[Rotating Panel]] | |||
Roulette Block SM3DW Prima.jpg|[[Roulette Block]] | |||
SM3DW Slot Block.jpg|[[Slot Block]] | |||
Springboard SM3DW Prima.jpg|[[Springboard]] | |||
SM3DW Switch Block.jpg|[[Switch Block]] | |||
Switch Panel SM3DW Prima.jpg|[[Switch Panel]] | |||
Switchboard SM3DW Prima.jpg|[[Switchboard]] | |||
Warp Pipe Artwork - Super Mario 3D World.png|[[Warp Pipe]] | Warp Pipe Artwork - Super Mario 3D World.png|[[Warp Pipe]] | ||
</gallery> | </gallery> | ||
Revision as of 00:47, January 4, 2024
This is a gallery of images for the game Super Mario 3D World. For the Nintendo Switch port's gallery, see Gallery:Super Mario 3D World + Bowser's Fury.
Logos
English logo
Japanese logo


Artwork
Key artwork
Box artwork
Box artwork
Box artwork
Splash artwork
Splash artwork
Splash artwork
Japanese splash artwork

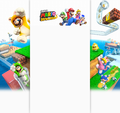
My Nintendo wallpaper released for the Super Mario Bros. 35th Anniversary (2020)
My Nintendo wallpaper released for the Super Mario Bros. 35th Anniversary (2020)


_-_Super_Mario_3D_World.png)


Playable characters
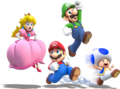
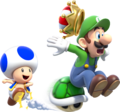
Mario, Luigi, Peach, and Toad
Mario, Luigi, Peach, and Toad
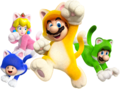
Cat Mario, Cat Luigi, Cat Peach, and Cat Toad
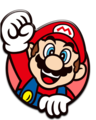
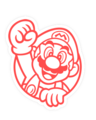
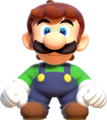
Mario
Mario
Mario walking
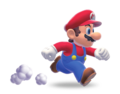
Mario running
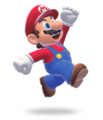
Mario jumping
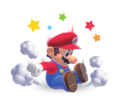
Mario crouching
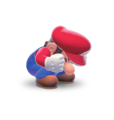
Mario performing a ground pound
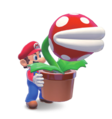
Mario (with Potted Piranha Plant)
Mario (with Cannon Box)
Fire Mario
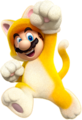
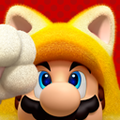
Cat Mario
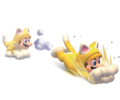
Cat Mario pouncing
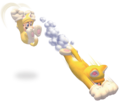
Cat Mario performing a claw dive
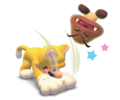
Cat Mario clawing a Goomba
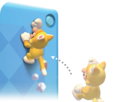
Cat Mario climbing a wall
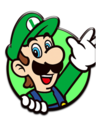
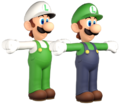
Luigi
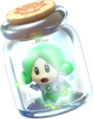
Luigi in a Bubble
Cat Luigi

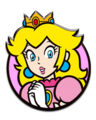
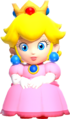
Peach
Fire Peach
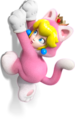
Cat Peach
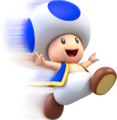
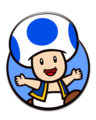
Toad
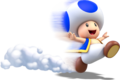
Toad
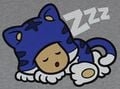
Cat Toad
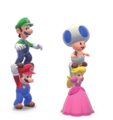
Toad striking Luigi for his crown

_-_Super_Mario_3D_World.png)


_-_Super_Mario_3D_World.png)
_-_Super_Mario_3D_World.png)


_-_Super_Mario_3D_World.png)


_-_Super_Mario_3D_World.png)


_-_Super_Mario_3D_World.png)


_-_Super_Mario_3D_World.png)

_-_Super_Mario_3D_World.png)

_-_Super_Mario_3D_World.png)


_-_Super_Mario_3D_World.png)


Non-playable characters
Sprixie Princess (World 1)
Sprixie Princess (World 1)
Sprixie Princess (World 2)
Sprixie Princess (World 3)
Sprixie Princess (World 4)

Sprixie Princess (World 5)
Sprixie Princess (World 6)
Sprixie Princess (World Castle)


Enemies and obstacles
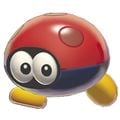
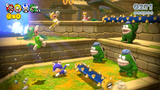
Biddybud (Red)
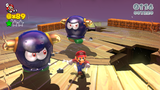
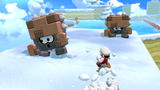
Cat Banzai Bills
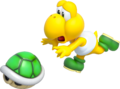
Koopa Troopa chasing its shell
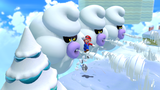
Lava Bubble (Blue)
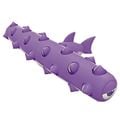
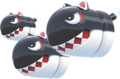
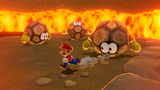
Rammerhead (big)
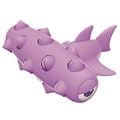
Rammerhead (small)


Bosses
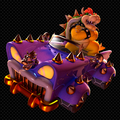
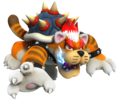
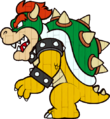
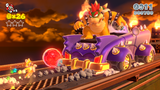
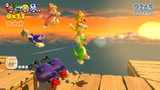
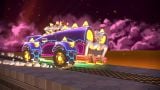
Bowser and his Muscle Car
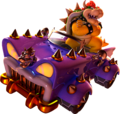
Bowser and his Muscle Car

Boom Boom and Pom Pom on The Bullet Bill Express
Meowser


Items


_-_Super_Mario_3D_World.png)


Power-ups

Fireball
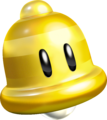
Super Bell


_-_Super_Mario_3D_World.png)


_-_Super_Mario_3D_World.png)


Objects
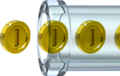
Clear Pipe

Grass

Long ? Block


Concept art

Splash artwork
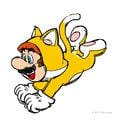
Cat Mario


Sprites and models
Sprites
Miiverse and Wii U Menu icon
Mario's selected character icon
Mario's unselected character icon
Luigi's selected character icon

Luigi's unselected character icon
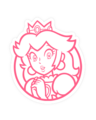
Peach's selected character icon
Peach's unselected character icon
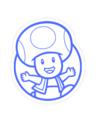
Toad's selected character icon
Toad's unselected character icon
Rosalina's selected character icon
Rosalina's unselected character icon
Illustration of Bowser kidnapping the Sprixie Princesses


Models
Mario's idle
Luigi and Fire Luigi
Small Luigi
Small Peach

Small Toad
Small Rosalina
A wooden cutout of Bowser from Shadow-Play Alley.
Lucky Bell
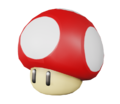
Super Mushroom
Assist Block
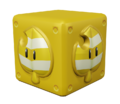
Warp Box
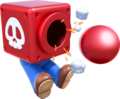
Kick Bomb

.webp)

_-_Super_Mario_3D_World.png)
_-_Super_Mario_3D_World.png)
_-_Super_Mario_3D_World.png)
_-_Super_Mario_3D_World.png)
_-_Super_Mario_3D_World.png)


Screenshot crops
Peach inside of a shell


Worlds
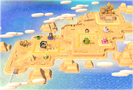
World 1
World 2
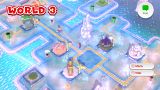
World 3
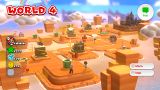
World 4
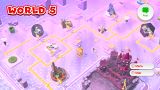
World 5

World 6

World Castle (World 7)
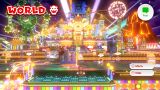
World Bowser (World 8)
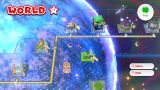
World Star (World 9)
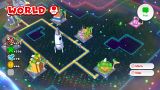
World Mushroom (World 10)

World Flower (World 11)
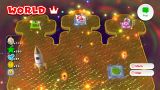
World Crown (World 12)


Screenshots
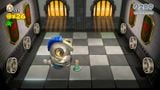
The title screen

The title screen with Luigi Bros. unlocked

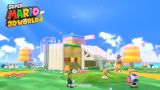
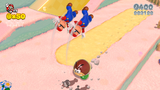
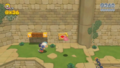
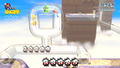
The characters going through a pipe leading to the first world of the Sprixie Kingdom
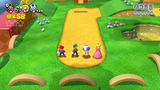
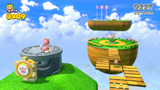
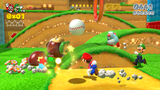
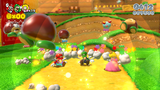
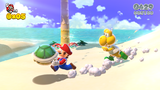
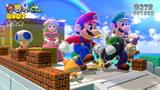
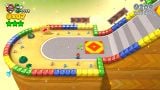
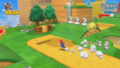
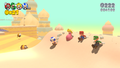
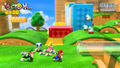
All four characters standing idle in Really Rolling Hills
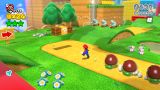
Mario running alone in Really Rolling Hills

All four characters in their Cat form

The characters riding Plessie in 1-4 Plessie's Plunging Falls
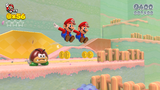
Cat Mario running up a wall while being chased by Galoombas
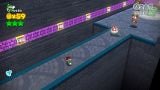
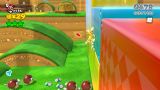
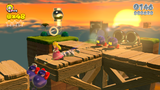
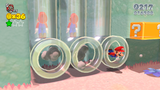
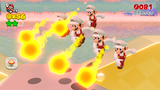
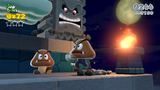
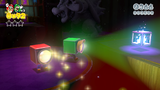
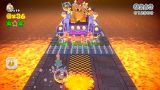
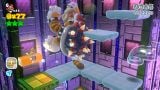
5-5 featuring several red POW Blocks
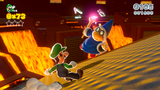
Fire Princess Peach clearing the level alone
Mario going through a Clear Pipe
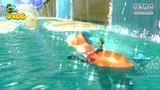
Luigi riding Plessie
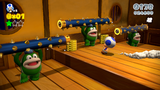
Toad running across Charvaarghs
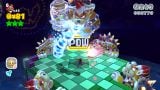
Mario fighting Bowser in Bowser's Highway Showdown
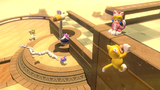
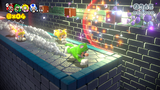
Cat Mario in Shadow-Play Alley

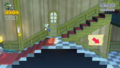
Luigi seeing Captain Toad afraid of the cardboard Bowser in Shadow Play Alley
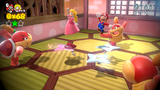
Princess Peach in Sprawling Savanna with Ant Troopers
Cat Peach in Mount Beanpole
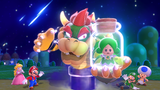
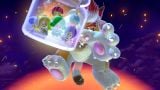
Bowser captures the Sprixie Princess during the game's intro
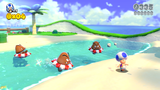
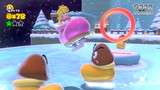
Toad in Pipeline Lagoon with Goombas on their tubes
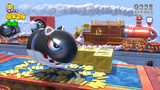
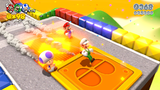
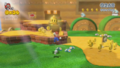
Mario in Bowser's Bullet Bill Brigade
Double Mario in Double Cherry Pass
Double Mario doing a long jump
Double Mario doing a backwards jump
Double Mario running into Blocksteppers
Double Mario shooting fireballs
A player playing the game on the gamepad
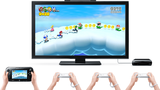
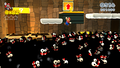
4 players playing the game
Mario and the other characters in Conkdor Canyon in their Cat Form

Mario and Luigi in Fort Fire Bros
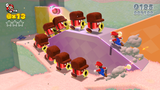
All four players in Spike's Lost City
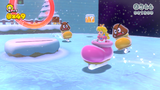
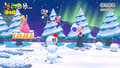
Princess Peach riding a Ice Skate
Princess Peach jumping in an Ice Skate
Four players in Sunshine Seaside
Mario and Luigi in Really Rolling Hills
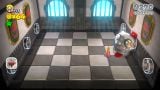
Toad with Spikes in Hands on Hall
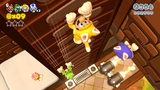
Luigi wearing a Goomba Mask
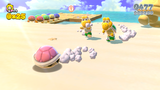
Princess Peach in a Koopa Shell
Mario in Spiky Spike Bridge with Parabones
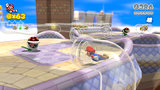
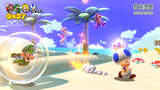
Mario with a Propeller Box in Snowball Park
Mario, Luigi, and Princess Peach doing a powerful ground pound
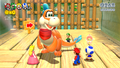
Mario and Co. in Bob-ombs Below
Toad fighting Prince Bully
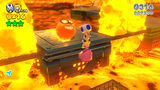
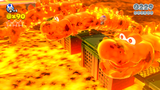
Princess Peach holding Toad in Simmering Lava Lake
Mario and Princess Peach battling Pom Pom
Princess Peach battling Prince Bully
Rosalina rebattling Prince Bully
Luigi with the Goomba Mask on his head
Luigi with a Magikoopa
Mario in his cat form with Ant Troopers in Ant Trooper Hill
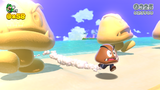
Mario stealing a Koopa Shell from a Beach Koopa
Mario running in Spiky Spike Bridge with Parabones

Luigi in Hands on Hall
Mario ground pounding Luigi in Switch Scramble Circus
Mario and his Co. in World 6-6
Mario and his Co. in Sprawling Savanna with Ant Troopers
Mario with Bullies in Spooky Seasick Wreck
A screenshot showing the online use of the Miis
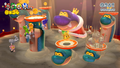
The gang in Mega form
Mario and Luigi using the Light Box
Fire Princess Peach being approached by a Cat Banzai Bill
Mario and Co. in Mount Must Dash
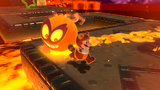
Mario battling Motley Bossblob
Mario with Walleyes
Mario dodging some Ty-Foos
A Splorch following Mario
Mario in Brolder Blockade
Mario, Luigi, and Toad in Mount Must Dash
Mario holding a trampoline
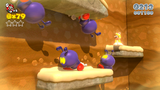
Mario surrounded by Madpoles
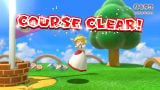
Rosalina in her fire form completes a course
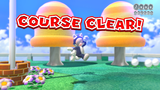
Rosalina, in her Cat Form, completes a course
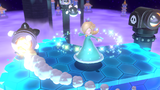
Rosalina performing a Spin Attack. An Octoomba is next to her.
Tanooki Rosalina
Rosalina confronting some Cat Bullet Bills
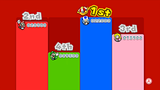
The rankings for the players
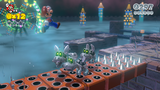
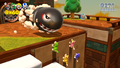
Bowser racing up in the Koopa Chase Lv2
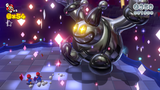
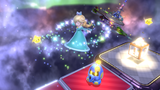
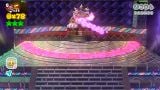
Rosalina battling Bowser
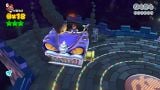
The wreckage of the Koopa Chase Lv2
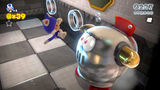
Cat Mario battling Meowser
Cat Mario about to hit Meowser with a POW Block
Mario facing multiple Meowsers
Meowser claws for the Sprixie Princesses shortly before being blown up
Cat Mario poses with the Sprixie Princesses
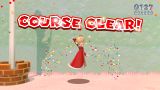
Fire Princess Peach, Super Mario, Luigi, and Toad clear a level
Toad with 2 Bullys in Spooky Seasick Wreck
World 6-6


Pre-release
Mario running in the E3 demo version of Really Rolling Hills
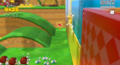
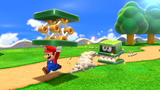
An early screenshot of Really Rolling Hills; the Arrow Sign in the background is integrated into the wall in the final game
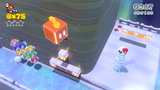
Mario finding a Super Bell in a ? Block in Really Rolling Hills; the ? Block is not present in the final version of the course
Luigi in Shifty Boo Mansion with a Boo and Arrow Sign that are both not found in the final game
Princess Peach and a Chargin' Chuck in Spike's Lost City; Chargin' Chucks are not in the final version of the course
The playable characters and a Snow Pokey in Snowball Park; there are no mountains in the background, unlike the final game
The playable characters in A Banquet with Hisstocrat; Hisstocrat lacks the blue gradient on his scales from the final game
A section of Cakewalk Flip with Stingbies; the Stingbies were replaced by a Ring Burner in the final game
The playable characters in their cat forms in Bullet Bill Base; the characters' shadows are darker than the final game
The playable characters in Really Rolling Hills
The playable characters in their cat forms at the end of Really Rolling Hills
The playable characters approaching Plessie and a Sprixie in Plessie's Plunging Falls
Mario in a Clear Pipe about to collect a Green Star in Clear Pipe Cruise
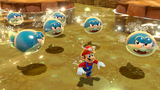
Mario avoiding a Fuzzy Horde in Fuzzy Time Mine


Box art

North American box art (Front)

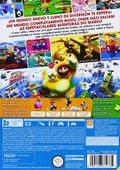
North American box art (Back)
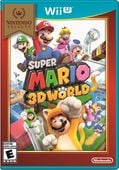
Nintendo Selects North American box art
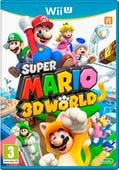
United Kingdom box art
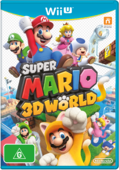
Australian box art
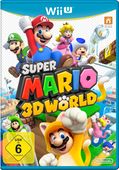
German box art
Spanish (PAL) box art (Back)
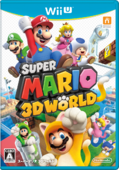
Japanese box art (Front)
Japanese box art (Back)
Russian box art
Super Mario 3D World Deluxe Set bundle


Stamps
Completed Stamp Collection
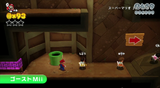
Making a Miiverse post with Stamps.
Making a Miiverse post with Stamps.
Stamp Collection.
Stamp background.

Silhouettes of various stamps
Mario Stamp
Cat Mario Stamp
Sprixie Stamp

Super Bell Stamp

Boo Stamp

Double Cherry Stamp

Super Mushroom Stamp


Miscellaneous
UK website background

Prima Games Official Guide Front Cover (Collector's Edition)
Prima Games Official Guide Back Cover (Collector's Edition)
Calendar included with the Prima Games Official Guide (Collector's Edition)
Webpage background
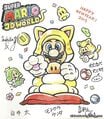
2015 nengajō for Nintendo Dream based on the game
Figure created by Nintendo to convey the design philosophy behind the 3D Super Mario games (2017)
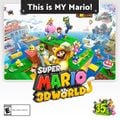
"This is MY Mario!" promotional online asset for the Super Mario Bros. 35th Anniversary (2020)

Promotional pin representing Super Mario 3D World, released for the Super Mario Bros. 35th Anniversary (2020)
Promotional display of the entire Super Mario series released from 1985 to 2020, for the Super Mario Bros. 35th Anniversary (2020)


| Super Mario 3D World / Super Mario 3D World + Bowser's Fury / Bowser's Fury | ||
|---|---|---|
| Playable characters | Mario • Luigi1,2 • Peach1,2 • Toad1,2 • Rosalina1,2 • Captain Toad1,2 • Bowser Jr.3 • Hint Toad2 • Banktoad2 • Yellow Toad2 | |
| Non-playable characters | Kittens3 • Mii1 • Neko Parent3 • Plessie • Rabbits (Mega Rabbits) • Sprixie Princesses1,2 • Sprixies1,2 • Toads • Toadette3 | |
| Worlds1,2 | Sprixie Kingdom • World 1 • World 2 • World 3 • World 4 • World 5 • World 6 • World Castle • World Bowser • World Star • World Mushroom • World Flower • World Crown | |
| Lake Lapcat locations3 | Fur Step Island • Scamper Shores • Pounce Bounce Isle • Fort Flaptrap • Slipskate Slope • Clawswipe Colosseum • Trickity Tower • Crisp Climb Castle • Risky Whisker Island • Pipe Path Tower • Roiling Roller Isle • Mount Magmeow • Lucky Isle | |
| Bosses | Bowser (Meowser1,2 · Fury Bowser3 · Giant Bowser3) • Boom Boom • Pom Pom • Hisstocrat1,2 • Boss Brolder1,2 • King Ka-thunk1,2 • Prince Bully • Motley Bossblob1,2 | |
| Items and objects | + Clock1,2 • ? Block • 1-Up Mushroom1,2 • Arrow platform1,2 • Arrow Sign • Assist Block1,2 • Baseball • Beep Block1,2 • Big Block1,2 • Blue Coin • Brick Block • Board1,2 • Bomb • Boomerang Flower • Cage3 • Cannon Box1,2 • Cat Shine3 • Cat Shine Shard3 • Cat Wheel • Chain-Link • Character Switch1,2 • Checkpoint Flag1,2 • Clear Pipe • Clear Pipe Cannon • Cloud Cannon • Cloud Lift • Cog1,2 • Coin • Coin Block • Coin Box • Coin pile • Color Panel1,2 • Crate • Crystal Block1,2 • Dark1,2 • Dash Panel • Double Cherry • Elevator1,2 • Fire Flower • Fling Pole3 • Floating couch1,2 • Flower1,2 • Fluff1,2 • Fury Block3 • Fury Sun3 • Giga Bell3 • Goal Pole1,2 • Gold Ring • Goomba Mask1,2 • Gong1,2 • Graffiti3 • Green Coin1,2 • Green Star1,2 • Green Star Ring1,2 • Ground-Pound Switch3 • Grumblump1,2 • Hexagon1,2 • Hidden Block • Ice Skate • Illusion1,2 • Invincibility Bell2,3 • Invincibility Leaf • Item storage • Jump Panel • Key Coin • Kick Bomb • Lift1,2 • Light Box1,2 • Lighthouse3 • Lucky Bell • Mega ? Block • Mega Mushroom1,2 • Multi-Vator1,2 • Mushroom Trampoline • Mystery Box1,2 • Plessie Medal3 • P Panel1,2 • P Switch1,2 • Pixel Luigi1, 2 • Potted Piranha Plant • POW Block • Propeller Box • Propeller Platform1 • Red-Blue Panel • Red Coin1,2 • Red POW Block1,2 • Red Ring1,2 • Rising pillar1,2 • Rock Block1,2 • Rotating Panel1,2 • Seagull3 • Searchlight1,2 • Shelf1,2 • Slamming block1,2 • Sliding door1,2 • Slot Block1,2 • Small birds1,2 • Snowball • Springboard1,2 • Stamp1,2 • Super Star • Super Bell • Super Jump Panel3 • Super Leaf • Super Mushroom • Switch Block1,2 • Switch Panel1,2 • Switchboard • Timer Gate3 • Touchstone1,2 • Trapeze1,2 • Tree • Turning Floor • Warp Box1,2 • Warp Box (With Key)1,2 • Warp Pipe • World Warp Pipe1, 2 • Zipline lift1,2 | |
| Moves | Crawl • Crouch • Crouch Jump • Dash • Dive2,3 • Ground Pound • Ground Pound Jump2,3 • Jump • Long Jump • Roll • Shell dash • Side Somersault • Slide • Spin Jump • Swim • Synchro Ground-Pound1,2 • Wall Jump | |
| Forms | Small Mario • Super Mario • Fire Mario • Cat Mario (Lucky Cat Mario · Giga Cat Mario3 · White Cat Mario2,3) • Double Mario • Tanooki Mario (White Tanooki Mario) • Boomerang Mario • Mega Mario • Invincible Mario | |
| Enemies and obstacles | Ant Trooper1,2 • Baddie Box1,2 • Banzai Bill1,2 • Banzai Bill Cannon1,2 • Beach Koopa • Biddybud • Big Boo1,2 • Big Ant Trooper1,2 • Big Galoomba1,2 • Bill Blaster • Blockstepper • Blooper1,2 • Blurker1,2 • Bob-omb • Boo1,2 • Boomerang Bro • Brolder1,2 • Bullet Bill • Bully • Cannon1,2 • Cannonball1,2 • Cat Banzai Bill1,2 • Cat Bullet Bill • Cat Goomba1,2 • Chargin' Chuck1,2 • Charvaargh1,2 • Cheep Cheep • Coin Coffer • Conkdor • Disaster Neko3 • Falling spike3 • Fire Bar1,2 • Fire Bro • Fire Piranha Plant • Fizzlit1,2 • Flopter • Fury Shadow3 • Fuzzler • Fuzzy • Fuzzy Horde1,2 • Galoomba1,2 • Goomba • Goomba Tower • Hammer Bro • Hop-Chop1,2 • Horned Ant Trooper1,2 • Innertube Goomba • Ka-thunk1,2 • Koopa Troopa • Lava Bubble1,2 • Madpole1,2 • Magikoopa • Mega Piranha Plant • Mini Goomba1,2 • Octoomba1,2 • Para-Biddybud • Parabones1,2 • Peepa1,2 • Piranha Creeper • Piranha Plant • Porcupuffer1,2 • Rammerhead • Ring Burner1,2 • Skating Goomba • Skipsqueak • Snow Pokey • Spike • Spike ball1,2 • Spike Block1,2 • Spike Trap • Spiked roller • Spiny1,2 • Spiny Skipsqueak1,2 • Splorch1,2 • Splotchy goop3 • Splounder • Stingby • Thwomp1,2 • Ty-foo1,2 • Walleye1,2 | |
| Miscellaneous | Captain Toad's Adventures1,2 • Enemy Battles1,2 • Mystery House1,2 • Luigi Bros.1,2 • Luigi sightings1,2 • Sprixie House1,2 • Lucky House1,2 • Snapshot Mode2,3 • Stamps | |
| Further info | Cat Shine names3 • Completion (Super Mario 3D World + Bowser's Fury) • Gallery (Super Mario 3D World + Bowser's Fury · Bowser's Fury) • Glitches (Super Mario 3D World + Bowser's Fury) • Media (Bowser's Fury) • Pre-release and unused content • Playable characters' statistics (Bowser's Fury) • Staff (Super Mario 3D World + Bowser's Fury) • Super Mario 3D World Original Soundtrack | |
| Related Play Nintendo activities: Can’t-miss games • What does THAT thing do? • Cute-throat enemies • Power-up trivia quiz! • Power-up personality quiz! • Colorful cat-tastrophe! | ||