Chomp Ruins
- Not to be confused with Thwomp Ruins.
| Level | |||||||
|---|---|---|---|---|---|---|---|
| Chomp Ruins | |||||||
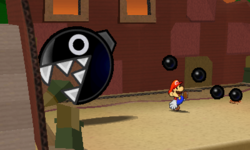 A Big Chain Chomp escaping and surprising Mario | |||||||
| Level code | 5-4 | ||||||
| World | World 5 | ||||||
| Game | Paper Mario: Sticker Star | ||||||
| Boss | Big Chain Chomp | ||||||
| |||||||
Chomp Ruins is the fourth level of World 5 in Paper Mario: Sticker Star. It is a ruined temple located on a large waterfall. Despite its name, there is only one Chain Chomp in the level; specifically, a Big Chain Chomp.
Layout[edit]
The level starts out with Mario riding on a raft, presumably from the previous level. The raft crashes into a dock, dropping Mario off at the base of the ruins. When replaying the level, the raft is available and stepping onto it lets Mario leave the stage. There are some stairs with Bomps hidden in the walls that can knock down Mario to a lower level patrolled by Spear Guys. On this lower platform is a raft hooked to a stake via a chain. Hammering the stake from the right causes the raft to move over to an area with a Megaflash Eekhammer sticker. If Mario chooses to not take this raft, he can walk across a bridge instead.
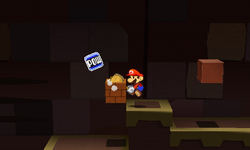
Once back on the path, there is a door leading to the first section of the ruins. Inside the door is a room with a ramp that can take Mario to a second floor, however, Mario can already get to that floor via stairs outside the room. Those stairs are guarded by a Hammer Bro. The ramp can be pulled off via Paperize, and it flips over in Mario's album. Paperizing the ramp back into the room makes the ramp lead to a different door, allowing Mario to reach a second room. At the beginning, there are a few trap doors that can drop Mario down into a lower level should he stand on top of them. Using the hammer on the trap doors also opens them. The lower level contains a Spike Top and Piranha Plant that Mario may fall on top of. Avoiding the trap doors leads to a vertical saw blade, which slides across the path and up the back wall. Touching the blades inflicts 10 damage, but Mario can pass by safely while the saw is moving upward. Next, Mario finds a set of horizontal saw blades chained to the ground. Hammering the stake nearby allows the blades to move. Mario can go past these blades by allowing the obstacle to cross over a small hole in the floor. By waiting in the hole until the blades move back to their original position, Mario can jump out and move forward. A third group of horizontal saw blades block the next part of the hallway, and are evaded in the same way. After dodging the saw blades, there are some stairs that can be climbed up to get to a higher level. Some Hidden Blocks can be revealed with the hammer, which allow Mario to jump on top of the third set of saw blades. This set and the previous set of saw blades can be ridden, which takes Mario to a door leading outside.
The exit leads to the waterfall, where some Bowser Tape can be found that reveals a bridge to more steps leading to a higher bridge guarded by Bomps hiding within the waterfall. If Mario is pushed off the bridge by the Bomps, he falls into a lower area where he can quickly climb back up to try again. However, the player must be careful in said area since there are three Spike Tops around, and Mario can easily land on a Spike Top and get hit by the First Strike. After crossing the bridge, there are more steps that lead up to another set of rooms.
On the third floor, the left path is blocked by a pink void and a horizontal set of saw blades. Dropping down from the main path allows more Bowser Tape to be pulled to reveal some stairs. Mario can jump across a set of Bomps before they withdraw into the wall, but if Mario falls he lands on a platform with a Piranha Plant and a Spear Guy. By crossing the Bomps, Mario can reach a door which takes him to a small room with two more Bomps. One of the Bomps is stuck in the wall, but this wall can be pulled out of the level via Paperization. The wall rotates 180 degrees in Mario's album, such that when the wall is put back into the level the Bomp is positioned higher up and allowed to leave the wall. By jumping onto the Bomps, ? Blocks, and Brick Blocks, Mario can reach some higher ground. By exiting the room through the nearby door, Mario is able to pick up Ruin Floor scrap. That scrap goes into the void in the left path on the third floor, allowing Mario to use the trap door (which can only be activated with the Hammer) on the scrap to drop down to safe ground, allowing the saw blades to be dodged. Mario can exit this floor by climbing some stairs to reach the door. There are two Hammer Bros on the stairs.
Once outside, Mario can use a Save Block and a health restoring heart. A raised bridge can be lowered by using the Hammer on the stake attached to it with a chain. The bridge takes Mario across a second waterfall, and a set of stairs leads up to the top of the ruins. There, Mario finds a sleeping Big Chain Chomp. In battle, the Chain Chomp stays asleep for three turns. If Mario pounds the Chain Chomp's stake into the ground before battling, the Chain Chomp's lunging attack launches it out of the battle after hitting Mario. This ends the battle, and causes the Chain Chomp to bounce around and knock over a wall in the back of the area before bouncing away. This reveals the Comet Piece.
Kersti's comments[edit]
- I can't believe there are ruins like these so deep in the jungle...
Enemies[edit]
- Spear Guys
- Bomps (Obstacles)
- Piranha Plants
- Hammer Bros.
- Spike Tops
- Big Chain Chomp (boss)
Items[edit]
Other items not included here are peelable Stickers.
Blocks[edit]
| Item | Icon | Location | Image |
|---|---|---|---|
| Megaflash Eekhammer | 
|
In the outside area, after the first bridge in the foreground. | 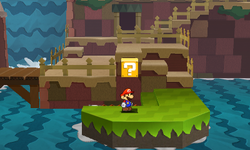
|
| Shiny Hammer | 
|
In the first inside scene, in the west on the lower part. | 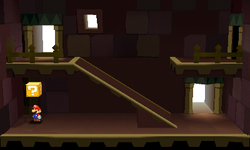
|
| Fire Flower | 
|
In the second inside scene, at the end of the middle part. | 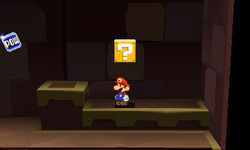
|
| Big Shiny Clone Jump | 
|
Same scene, in the secret room found in the first lower part near the entrance. | 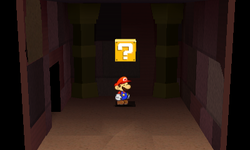
|
| 2x Baahammer, Chillhammer |   
|
Same scene, in the secret room found in the second lower part near the end of the middle part. | 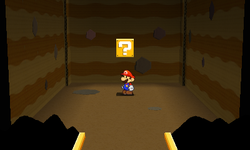
|
| 2x Iron Jump, Shiny Iron Jump 2x Baahammer, Chillhammer |
     
|
Back outside, above the bridge created by peeling of Bowser Tape. | 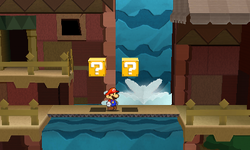
|
| Flashy Shell | 
|
Above the last of the five Bomps emerging from the waterfall. | 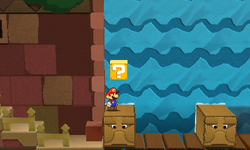
|
| Megaflash Baahammer Megaflash Hurlhammer Megaflash Hopslipper |
|
In the third inside scene, there is a pipe hidden in the east of the lower part. Going through the pipe leads to the secret room with 3 ? Blocks. | 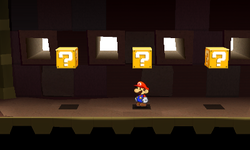
|
| Shiny Jump Coin Fire Flower Coin |
  |
In the fourth inside scene, left and above the first Bomp. | 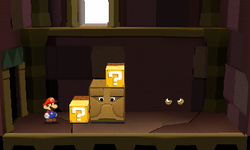
|
Field[edit]
| Item | Icon | Location | Image |
|---|---|---|---|
| Air Conditioner | In the scene behind the Secret Door. | 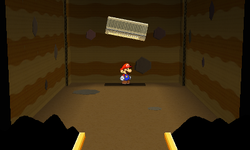
| |
| D-Cell Battery | In the outside scene, in the part reached from the room where Bomp scrap was used, behind the wall which has to be knocked out first. | 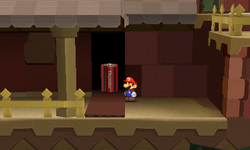
| |
| Heart | In the second inside scene, above the third set of sawblades. | 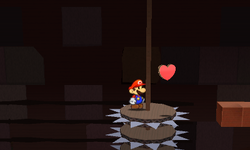
| |
| 2 in the secret room found in the second lower part near the end of the middle part of the second inside scene. | 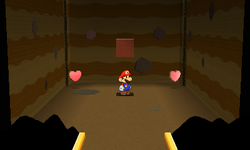
| ||
| Ruin Floor | 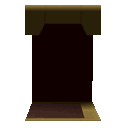
|
In the outside scene, in the part reached from the room where Bomp scrap was used, at the end. | 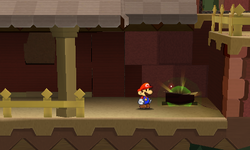
|
| Teapot | In the scene reached from behind the waterfall, found at the top of the outside scene. | 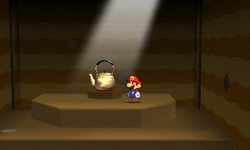
|
Hidden blocks[edit]
| Item | Icon | Location | Image (Unrevealed) | Image (Revealed) |
|---|---|---|---|---|
| Coin (all 3) | In the second inside scene, near the end of the middle part. Required to progress. | 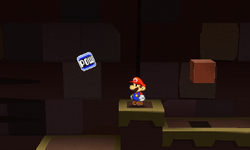
|
 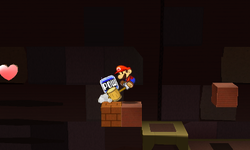 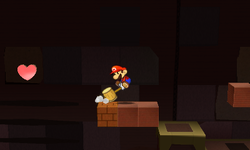
| |
| Coin | In the outside area, left of the last Bomp emerging from the waterfall. | 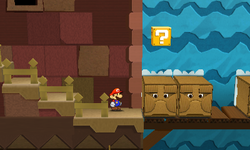
|
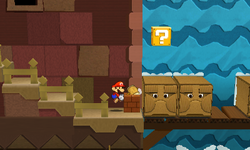
| |
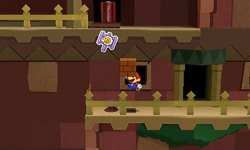
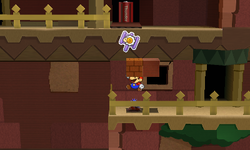
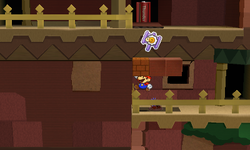
| Coin (all 3) | Going up the stairs from the previous block, another three are found above the flower. These three act as platform to get the Big Shiny Baahaamer sticker. | 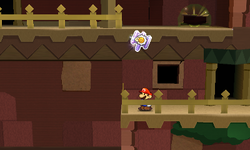
|
| |
| Coin (all 3) | In the last part of the outside area, there is a flower left of the waterfall. Three blocks can be created in fron of the waterfall. | 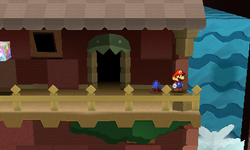
|
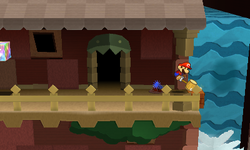 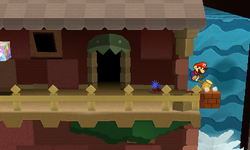 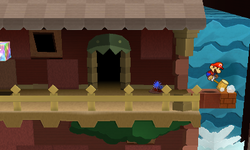
|
Paperization spots[edit]
| Scrap/Sticker | Icon | Location | Necessity | Image |
|---|---|---|---|---|
| Ruin Slope | 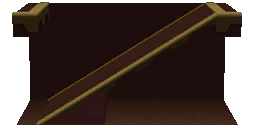
|
In the first inside scene. Paperize is used twice here: first to take Ruin Slope scrap and turn it the right way, second to put it back. | Required | 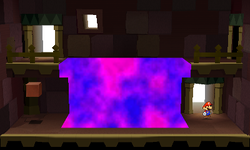
|
| Secret Door | 
|
In the right upper part of second inside scene. | Optional | 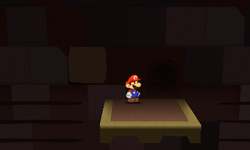
|
| Bomp | 
|
In the fourth inside scene, right of the Bomp. | Required | 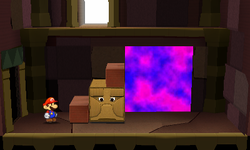
|
| Ruin Floor | 
|
In the third inside scene, left of the entrance. | Required | 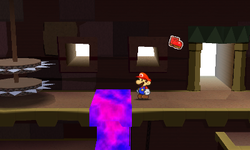
|
Names in other languages[edit]
| Language | Name | Meaning | Note(s) | Ref. |
|---|---|---|---|---|
| Japanese | ワンワン遺跡 Wanwan Iseki |
Chain Chomp Ruins | [?] | |
| Chinese | 汪汪遗迹 (Simplified) 汪汪遺跡 (Traditional) Wāngwāng Yíjì |
Chain Chomp Ruins | [?] | |
| French (Canadian) | Ruines de Boulouf | Chain Chomp Ruins | [?] | |
| French (European) | Machu Pichomp | Pun on "Machu Picchu" and "Chomp" | [?] | |
| German | Kettenhund-Ruinen | Chain Chomp Ruins | [?] | |
| Italian | Rovine Categnaccio | Chain Chomp Ruins | [?] | |
| Spanish | Ruinas de Chomp Cadenas | Chain Chomp Ruins | [?] |
Notes[edit]
- Goombella had done research on ancient civilizations that lived in this place according to a scrap of paper in Shy Guy Jungle.