User:RHG1951
From the Super Mario Wiki, the Mario encyclopedia
Jump to navigationJump to search
Hi, I'm RHG1951. You may know me for such classics as:
- Getting Paper Mario: Sticker Star to featured status
- Most of the Thing articles
- Taking care of pictures stuck in Category:Quality requested
- De-stubbing NES Remix 2
- Adding most of the commands for Listen to the Doctor!
- Improving Fortune Street and making its media page.
- Adding the flavor text for the WarioWare, Inc.: Mega Party Game$! minigames
- Adding the French translations for the WarioWare Gold microgames
- Adding top quotes on pages
Projects I will get to eventually
- Get the following to featured status
- Super Mario RPG: Legend of the Seven Stars (relatively easy)
- New Super Mario Bros. Wii (medium)
- Fortune Street (difficult)
- Make the articles for Sticker and Battle Card (Paper Mario: Color Splash)
- Upload images for List of Luigi sightings in NES Remix 2
- Take images of the Super Mario Chess pieces
- Find the elusive "Toadsworth is Peach's father" citation
Wario Table
| Character | Special ability |
|---|---|
 Wario |
"Dashes and hovers with a cool jet pack—oh yeah!" |
 Mona |
"Zooms around on her scooter and throws a boomerang in any direction." |
 Jimmy T. |
"Thrusts his hips in multiple directions—sounds painful!" |
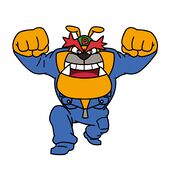 Dribble |
"Blasts shots from the right side." |
 Spitz (2-player mode only) |
"Blasts shots from the left side." |
 Kat |
"Jumps continuously and throws shuriken to the right." |
 Ana (2-player mode only) |
"Jumps continuously and throws shuriken to the left." |
 Orbulon |
"Vacuums objects into a spaceship." |
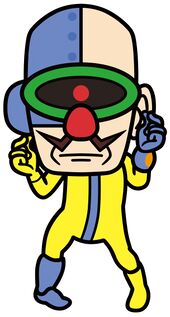 Dr. Crygor |
N/A |
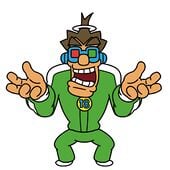 18-Volt |
"Shoots powerful discs." |
 Ashley |
"Casts spooky spells and rides a broom." |
 Mike |
"Glides through the air and blasts music notes straight up." |
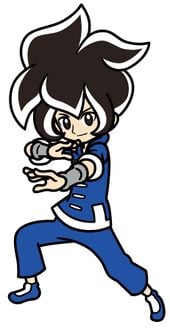 Young Cricket |
"Runs and leaps high into the air. You know—like a cricket?" |
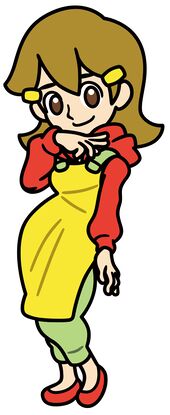 5-Volt |
"Teleports anywhere and creates a shockwave." |
Squares
Scraps
| Scrap | Location | Purpose |
|---|---|---|
 Wooden Bridge |
Warm Fuzzy Plains | Cross a river and continue with the level. |
 Decalburg Fountain |
Decalburg | Rescue the Sticker Museum curator. |
 Comet Piece |
Water's Edge Way | Complete the level. |
 Green Warp Pipe |
Hither Thither Hill | Progress through the level. |
 White Gate |
Whammino Mountain | Access the sticker shop and progress through the level. |
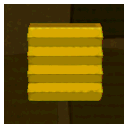 Block Switch |
Goomba Fortress | Rotate a turntable. |
 Ship's Wheel |
Surfshine Harbor | Repair the boat at Surfshine Harbor. |
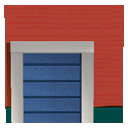 Warehouse Door |
Surfshine Harbor | Access a portion of the warehouse. |
 Tablet Pieces |
Drybake Desert, Yoshi Sphinx, Damp Oasis | Restore Drybake Stadium. |
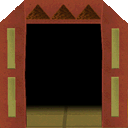 Stone Entry |
Drybake Stadium | Progress through the level. |
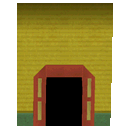 Tower Outer Wall |
Drybake Stadium | Progress through the level. |
 Tree Stump |
Loop Loop River | Access a Comet Piece. |
Trial Course
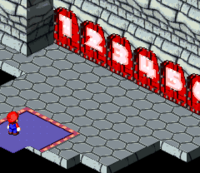
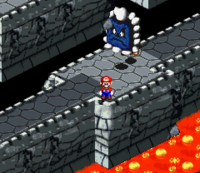
The Trial Course is a section of Bowser's Keep in Super Mario RPG: Legend of the Seven Stars. Once the player has completed the fourth trial, it leads to a tall room with a Save Block at the bottom.
Trials
| Trial | Image | Description |
|---|---|---|
| 3 | ||
|
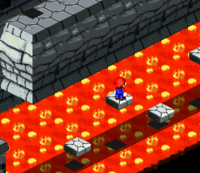
lava | |
|
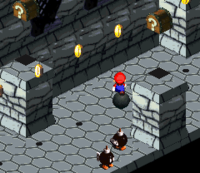
bowling ball | |
|
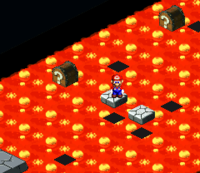
lava again | |
|
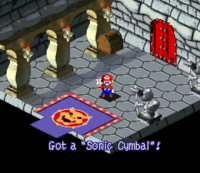
At the end, there is a Treasure Box which contains the Sonic Cymbal, Mallow's most powerful weapon. |


