The 'Shroom:Issue 121/Strategy Wing
Director Notes
Written by: Meta Knight (talk)
Welcome to this month's edition of Strategy Wing! Due to personal circumstances, Mario Calendar will be absent this month and next month. Additionally, as I said in my Staff Notes, Issue 123 in June will be focusing on everything Wario! I'm saying this here too so that any writers for this team can plan ahead with their sections. If you want to write a guest submission you can do that as well. I think that it will be a lot of fun! There isn't much else to announce this month though, thanks to everyone for reading and writing. We couldn't have done it without you. I hope you will enjoy this issue.
Section of the Month
Thanks to everyone that voted! Congratulations to Yoshi876 (talk) for winning again! Thanks to DragonFreak (talk) and Paper Yoshi (talk) for their sections as well.
| STRATEGY WING SECTION OF THE MONTH | ||||
|---|---|---|---|---|
| Place | Section | Votes | % | Writer |
| 1st | Pokédex Power | 8 | 29.63% | Yoshi876 |
| 2nd | Galactic Expedition | 6 | 22.22% | Meta Knight |
| 3rd | Isaac Synergies | 4 | 14.81% | DragonFreak |
| 3rd | Mario Kart: Wheel Tips Corner | 4 | 14.81% | Yoshi876 |
Yoshi876 takes a look at some fishy parts, chocolate tracks and more!
[read more]
DragonFreak takes a look at how THE BABY functions in Isaac and shares tips!
[read more]
Mario Kart: Wheel Tips Corner
Hello 'Shroom racers! And welcome to Mario Kart Wheel Tips Corner, here I plan to give you just some extra tips to help you with your racing, or just some changes in a track that might catch you off guard if you aren't prepared for them. Lights are out, let's start racing.
Kool Karts
You can't race if you don't have a Kart to do it in, so in this section I'll give you some facts about a Kart, Bike, ATV or even tires and gliders that you can use hopefully for racing success.
In this edition of Kool Karts, we've gone fishing and caught ourselves the Cheep Charger, a Kart that can only be used by the small characters in Mario Kart Wii.
The Cheep Charger excels in acceleration, handling, drift, and mini-turbo, whilst lacking in speed, and weight. Its off-road stat is alright, but overall it's nothing special. So what does this mean for using it? Despite the fact you have good handling and drift, I'd advise staying in the center of the track. This is because of how low your speed is. Other heavier Karts will soon catch up to you, and if you're anywhere near the edge of the track, a bash from them will send you off, and as your off-road is average, it will take a little while to get back on track, by which time you probably will have lost quite a bit of time.
What's Changed?
Retro tracks are now a huge portion of the Mario Kart games, typically amounting to half the courses in the game. But usually these courses change some things up, so in this section I'll help you find out "What's Changed" in the retro tracks.
Although Mario Kart DS introduced retro tracks, they didn't really change them up that much: case in point, Choco Mountain. Everything about the layout of this track has remained identical to its Nintendo 64 incarnation, the only two changes are a graphical upheaval, and the removal of banister that protected players in Time Trials and 50cc.
Ace Shortcut
In this small section I give you a way to shave a few seconds off your time, whether you know about it or not. Be warned, most of these shortcuts will require a Mushroom.
This issue I bring you a shortcut from Music Park (Melody Motorway for some).
This shortcut can be used in both of its appearances, and doesn't require the use of a Super Mushroom. Just after the section with the Bouncing Notes, steer to the left, and you can use the side-rail to bounce over a tambourine and skip the corner.
Isaac Synergies
Written By: DragonFreak (talk)
Greetings all you springtime readers of the ‘Shroom! DragonFreak here happy to announce that Winter is over! No more snow!! Sorry if you like snow, but I can’t stand it. Something about shoveling two feet of it at least once every week for six months out of the year makes me resent it. Snow does not synergize well with DragonFreak.
But do you know what does synergize well with DragonFreak? Dr. Fetus, my spotlight item of the month. The concept of this item is simple: your tears are replaced with bombs! And you thought Princess Peach’s voice being replaced with bombs was strange. Actually that still may be stranger. Nevertheless, you can do some crazy synergies with Dr. Fetus.
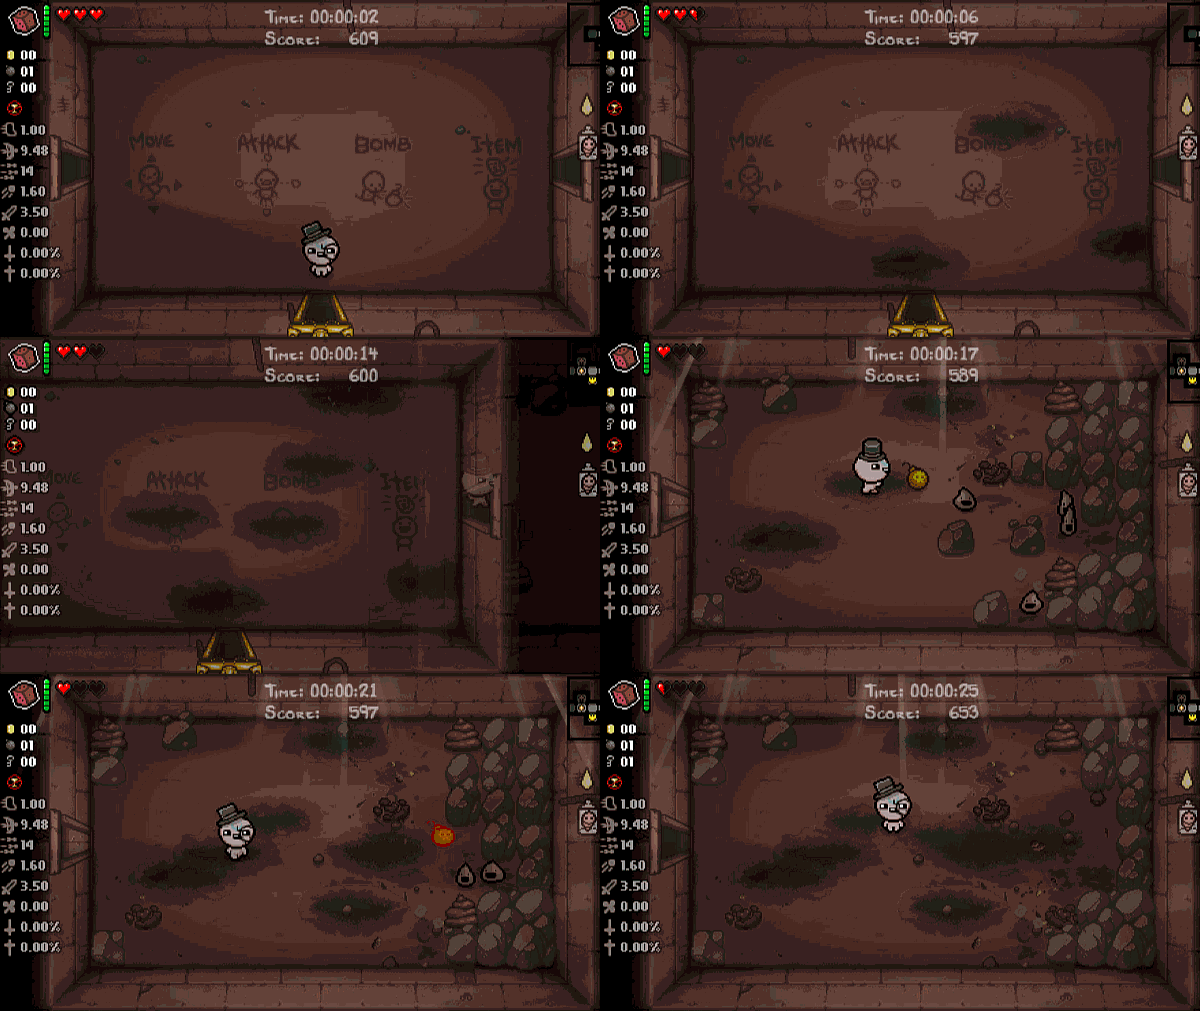
First up when using Dr. Fetus, bomb control can be a troublesome thing. Which is why I have the policy of keep your enemies close, but your bombs closer. By combining Dr. Fetus and My Reflection, an item that boomerangs your tears, or in this case bombs, right back to you. This way, you’ll always be within shooting distance of your bombs. Add a range reducing item like Number One to this synergy and your bombs will be so close always that you can touch them.
| Dr Fetus + My Reflection + Number One |
|---|
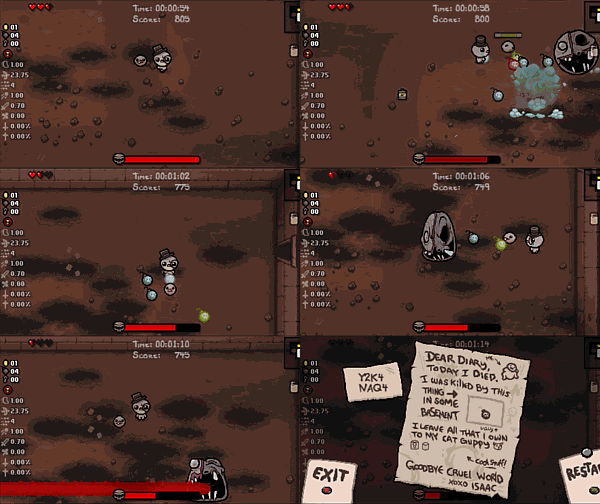
One downside of Dr. Fetus is that you can only shoot so that one or two bombs at a time are on the screen. Perhaps you wanted to shoot out eight or ten bombs at nearly the same time. Well when you pick up Soy milk with Dr. Fetus you can. Soy Milk is an extremely interesting item that I will no doubtedly be covering in this section eventually. It reduces your damage by 80% but greatly increases your rate of fire. Putting this in Dr. Fetus terms, you will be able to shoot five or more bombs per second. Granted the damage of all the bombs are reduced, but it completely makes up for the terrifying stream of bombs you will be producing.
| Dr. Fetus + Soy Milk |
|---|
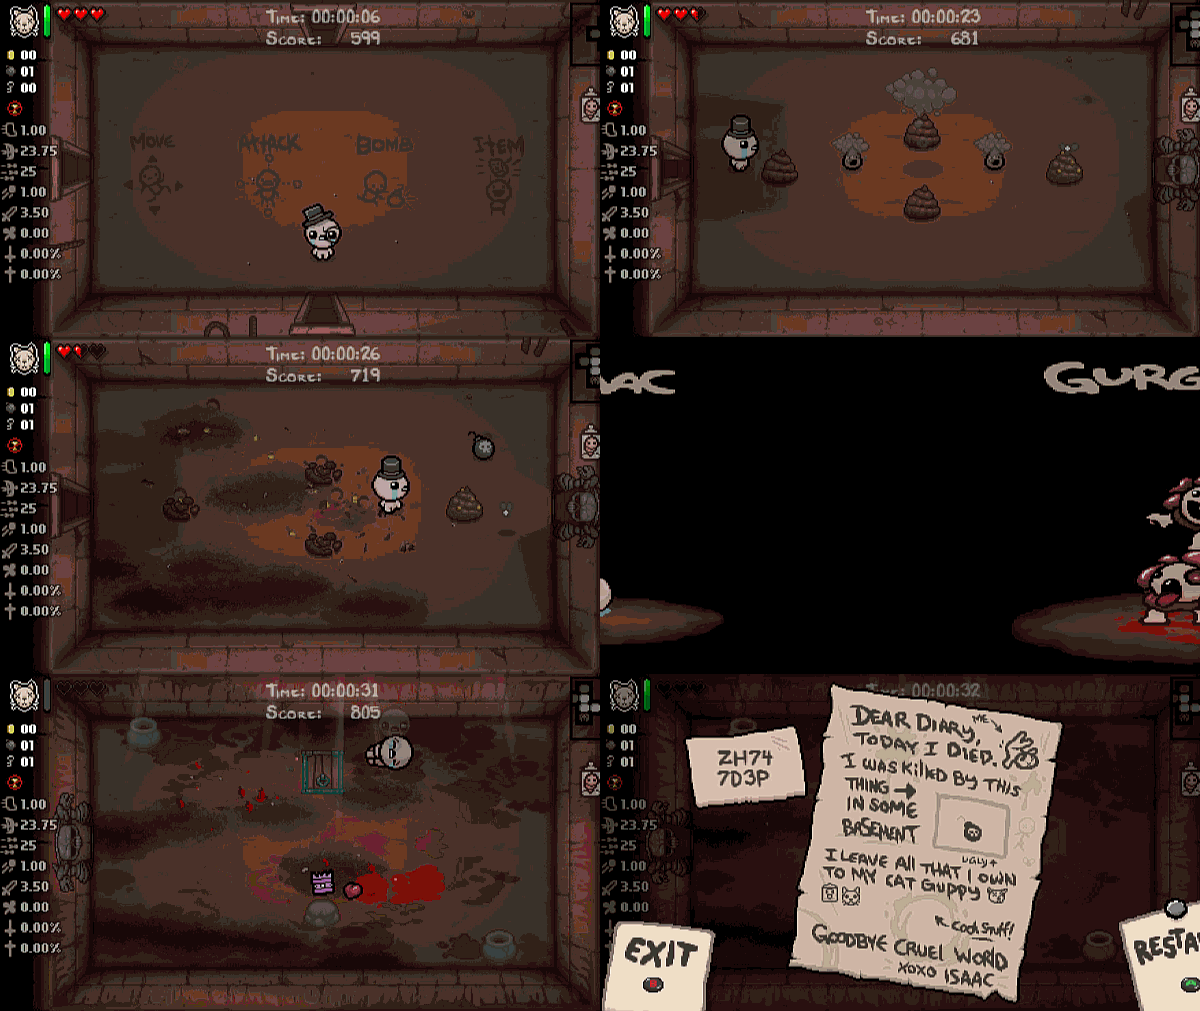
There is one more synergy that I want to show off, and I’ve saved the best for last. When you have Dr. Fetus, and you pick up the common activated item Tammy’s Head, you can deal massive damage at once. Tammy’s Head, when used, shoots your tears in ten different directions at once. Yes, this will do what you think will do with Dr. Fetus. You will spawn ten, full-powered bombs to rain destruction upon enemies and bosses. You’ll be completely unstoppable and no enemy could touch you.
| Dr. Fetus + Tammy’s Head |
|---|
I hope you enjoyed my bombtastic synergies this month. Just remember, don’t get fooled by those pesky troll bombs.
Party Trick!
Written By: ![]() Meta Knight (talk)
Meta Knight (talk)
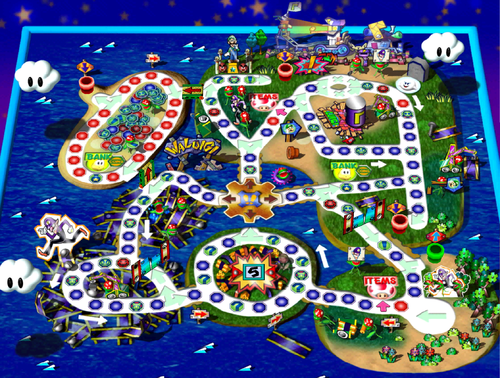
![]() Welcome to this month's Party Trick! This month we have a request from Henry Tucayo Clay (talk), who suggested to do Waluigi's Island from Mario Party 3!
Welcome to this month's Party Trick! This month we have a request from Henry Tucayo Clay (talk), who suggested to do Waluigi's Island from Mario Party 3!
This board has a lot of things involved. There are a lot of tricks and traps throughout the map, so let's take this one step at a time. The first thing to note is that the difficulty level is listed as 3 stars out of 3. Players start in the bottom right corner where there is a large arrow pointing left. It's to the right of the item shop. One thing that is a central theme to this board is that it's tricky. There are pipes all across the map. There is a pattern to this though. There is a red pipe in the top left island, a red pipe on the right side of the map, and a red pipe in the top-center. Each of the red pipes will take you back to the green pipe to the right of the map above the start. You can use this to plan your route. Need a quick way back to the start? Use the pipes to navigate there.
Another way that you can get back to the start is a little less practical. At the top of the map and to the right, there is a branching path with two X marks. When you come across here, you will have to choose with path to take. However, it is a 50-50 chance that you will succeed. If you pick the wrong path, you will get sent back near the start. Although, maybe if you are trying to get to the start you could intentionally choose the wrong path. Another thing that might be useful is if you have a dice manipulating item like a Mushroom, and you want don't want to go back to start, maybe save the item in case you accidentally get sent back. Then it will not have been wasted and it will serve another purpose. There's no strategy for actually getting what you want unfortunately, it's just luck.
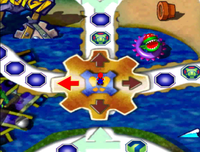
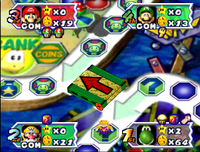
One other feature of navigation on this board is the junction in the center. This is an Action Time event, when triggered, there will be a cursor rotating through different arrows, and you will press the A button to jump on the platform and stop the cursor. Then you will move in the direction it is on. Sometimes the cursor moves fast, and other times it moves slowly. Now matter the speed though, it seems that whenever you hit the A button, that is what you will land on even though it still rotates as your character is jumping on the platform. For instance, if I want to go right, I should press A when the arrow is on right. The character will jump up and by the time he stops the cursor, it should be on the direction I want if I hit the right arrow. If you went the wrong way, don't sweat it! Did you know you can use a Reverse Mushroom on yourself and go backwards? If you go backwards across the junction, you won't have to jump to choose a direction, and might get to just pick instead.
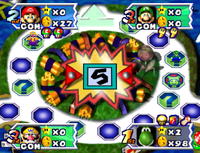
Next let's take a look at the circular structure in the bottom-center of the map. This has a bunch of dynamite and a counter. It starts at 5, but if someone lands on one of the 6 Happening Spaces that are around the dynamite, the counter will go down. When the counter reaches 0, everyone on the ring surrounding the dynamite will feel the explosion and lose all of your coins. Try to stay away from the dynamite if you can so that you don't get hit. Another thing that might be helpful is if you can, don't be around a bunch of people. If you are the only one by the ring, then other people aren't as likely to land on it. I've seen turns where the counter was 3, and 3 of the players landed on Happening Spaces, triggering the explosion. This can give you a huge advantage if you manage to get someone else to lose their coins though, so if the counter is at a high number, perhaps it won't be so bad to lower the counter. Plan ahead and make sure you don't get blown up!
The last thing we'll look at is the island in the top left. To get to the island you will need to go across one of the drawbridges. However, only one will be up at a time. To get the drawbridge to switch to the other side, you will have to land on one of the Happening Spaces by either drawbridge. The island itself is interesting though. There are 18 spaces on this island, one of which is a Koopa Bank. The rest of them though is completely random! All of them will be the same space, but it will change depending on the turn. This can be pretty hectic for a number of reasons. Need an item? No problem, here's 17 Item Spaces for you to land on. The same applies for Blue Spaces, Red Spaces, Battle Spaces, Chance Spaces, Bowser Spaces, and Game Guy Spaces. The randomness makes it hard to predict when a certain space will appear, but if you need something specific, then this area is a great place to go to so that you can land on it.
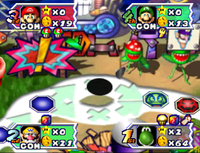
For our minigame, Tucayo has requested to do Ridiculous Relay. Ridiculous Relay is a 1-vs-3 minigame in Mario Party 3. In this game, the one player is on a glider and has to avoid obstacles in a long stretch of land, while the other players use swimming mechanisms with specific button combinations in order to get across. If you're the one player, you'll have to watch and dodge obstacles. Stay in the center of the screen so that you can see what's coming after you. You can always speed up to the right near the end of the race when nothing is after you so that you can get ahead. If you are on the three player team, it is important to know what segment you will have. The segments are always in the same order. The first player alternates the A and B buttons. The second player has a button combination that is easy to pull off, but looks confusing. For this one, you also alternate the A and B buttons, but with a different pattern. The second player has to tilt the analog up or down with the button as well. The combo is Up+A, Down+A, Up+B, Down+B. With practice it should be easy. The third player just taps the A button as fast as possible. Again, knowing what segment you are on is important because you can know what to do right away. If you're waiting for your segment to show up, get ready and pay attention to when it's your turn to play. This minigame certainly is ridiculous, but can be a lot of fun.
That's all for this month's Party Trick! Have a minigame or board you'd like me to do? Send me a message on my talk page or message me on the forums and you could be mentioned in next month's edition!
Pokédex Power
Hello everyone, it's me, Yoshi876 again with a new edition of Pokédex Power, a section that walks you through the Pokédex entries of all 802 Pokémon, and as we can only focus on one every month, I think it's fair to say that we'll be here a while, or roughly 66 more years. And that's so long as no more Pokémon are added
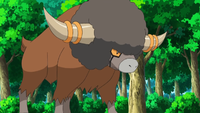
Now as promised last issue, I'm going to be focusing on a Pokémon that doesn't have an entry in Sun and Moon: Bouffalant. Now I'm not going to lie, I don't like Boufflant that much, mainly because of how it was introduced. Black and White only focused on having new Pokémon, whereas I would have preferred it to have kept with the trend of previous games and how Pokémon from them in it as well, I also would have liked to see what happened in Gen IV happen, Pokémon with one or no evolutions getting an extra one. Tauros would have been an obvious evolution to or from Bouffalant, and when I first saw it, I thought it would be. Alas my dreams were dashed, and we're stuck with it. Anyway, let's take a look at its Pokédex.
Generation V
| Pokémon Black | Their fluffy fur absorbs damage, even if they strike foes with a fierce headbutt. |
| Pokémon White | They charge wildly and headbutt everything. Their headbutts have enough destructive force to derail a train. |
| Pokémon Black 2 | They are known to charge so wildly that if a train were to enter their territory, they would send it flying. |
| Pokémon White 2 | They are known to charge so wildly that if a train were to enter their territory, they would send it flying. |
So from the opening we can tell what a wild and unruly Pokémon this one is, and we can get a sense of its power, but other than that there's nothing really here to look at. I assume that they are aware that Bouffalant can derail a train as an incident like that has happened in the past, but nothing in the games supports that theory. The Pokémon Black entry interesting, however. It praises Bouffalant's fur for protecting it from damage, and yet Bouffalant doesn't have that impressive of a defence stat, in fact it's on par with its HP, and lacks behind its attack stat. Another interesting thing is that Bouffalant can't learn any moves to boost its defence, although through Egg Moves it can boost its special defence. In my opinion, the Pokédex would have been better suited to stating its wild charges, instead of bringing its defence into the equation
Generation VI
| Pokémon X | They charge wildly and headbutt everything. Their headbutts have enough destructive force to derail a train. |
| Pokémon Y | Their fluffy fur absorbs damage, even if they strike foes with a fierce headbutt. |
| Pokémon Omega Ruby | They charge wildly and headbutt everything. Their headbutts have enough destructive force to derail a train. |
| Pokémon Alpha Sapphire | Their fluffy fur absorbs damage, even if they strike foes with a fierce headbutt. |
Yeah, let's be honest Gen VI like usual doesn't add anything new.
Conclusion
Bouffalant has serviceable Pokédex entries, but they're nothing special, and they don't make the Pokémon interesting. What would have been nice is if they ventured a bit into real-world territory. Bouffalant is based on a buffalo, perhaps there could have been an entry about how they were hunted to near extinction because of their meat, like how buffalo were in real life. Maybe base an entry around its meat, like how Miltank's does around its milk. And maybe have something based on its legs, as its Generation V sprite has it kicking back, it would be nice to know how much power it has in its legs.
| The 'Shroom: Issue 121 | |
|---|---|
| Staff sections | Staff Notes • The 'Shroom Spotlight |
| Features | Fake News • Fun Stuff • Palette Swap • Pipe Plaza • Critic Corner • Strategy Wing |

