List of Power Moons in the Seaside Kingdom
From the Super Mario Wiki, the Mario encyclopedia
Jump to navigationJump to search
This article is under construction. Therefore, please excuse its informal appearance while it is being worked on. We hope to have it completed as soon as possible.
This is a list of the 71 Power Moons that can be found in the Seaside Kingdom of Super Mario Odyssey.
| # | Power Moon | Location | Availability |
|---|---|---|---|
| 1 | 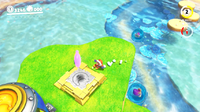 The Stone Pillar Seal |
This Power Moon can be found on top of a grassy platform in the middle of the area and can be reached by capturing a Gushen and floating up to it. Collecting it unplugs the first seal. | Available from the start. |
| 2 | 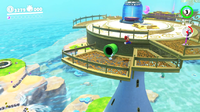 The Lighthouse Seal |
Mario must make it to the top of the Lighthouse in order to obtain this Power Moon. Collecting it unplugs the second seal. | Available from the start. |
| 3 | 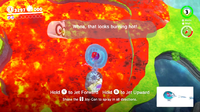 The Hot Spring Seal |
At the Hot Spring Island, Mario must capture a Gushen and spray the lava to make a safe path for him to collect the Power Moon, which is found underwater in the hot spring. Collecting it unplugs the third seal. | Available from the start. |
| 4 | 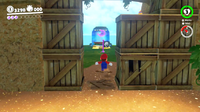 The Seal Above the Canyon |
Mario must make it through the Rolling Canyon area with the Spiked Shells and past the wall of crates to find this Power Moon. Collecting it unplugs the fourth and final seal. | Available from the start. |
| 5 | 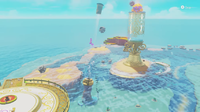 The Glass Is Half Empty! |
Mario must defeat Mollusque-Lanceur, after which he will be rewarded with a Multi Moon. | Available after breaking all four seals. |
| 6 | 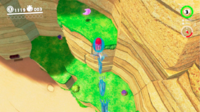 On the Cliff Overlooking the Beach |
To the right of the Odyssey near the two Goombas wearing pirate hats, the player can find this Power Moon on a high cliff. Mario must capture a Gushen in order to obtain it. | Available from the start. |
| 7 | 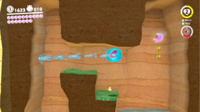 Ride the Jetstream |
The player can find a hidden alcove to the right of the Odyssey near the Binoculars. Mario must capture a Gushen and float up into the alcove and then right to find this Power Moon above a shallow pool of water. | Available from the start. |
| 8 | 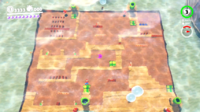 Ocean-Bottom Maze: Treasure |
Near the Glass Palace checkpoint, the player can find a set of four 8-Bit Pipes which all lead to an 8-Bit section flat on the underwater floor. Mario must make it successfully through this 8-Bit section to obtain the Power Moon. | Available from the start. |
| 9 | 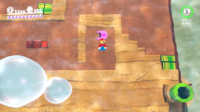 Ocean-Bottom Maze: Hidden Room |
In the same 8-Bit area as the "Ocean-Bottom Maze: Treasure" Power Moon, Mario must enter the bottom right 8-Bit Pipe. When he enters the section, he must kick a Koopa Troopa shell into a Brick Block that is blocking the entrance to a hidden alcove containing the Power Moon. | Available from the start. |
| 10 | 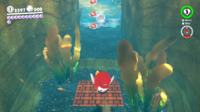 Underwater Highway Tunnel |
To the northwest of the Ocean Trench West checkpoint, the player can find three Cheep Cheeps swimming in front of a short tunnel. The player can capture one of the Cheep Cheeps and find a small hole covered by Brick Blocks. Mario must break through these blocks to find the Power Moon hidden inside the hole. | Available from the start. |
| 11 | 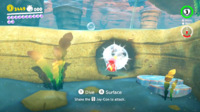 Shh! It's a Shortcut! |
Near the Ocean Trench East checkpoint, the player must capture a Cheep Cheep and then go a little to the left to find a hole with a path leading to the Power Moon inside. | Available from the start. |
| 12 | 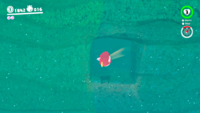 Gap in the Ocean Trench |
Near the Ocean Trench East checkpoint, the player must capture a Cheep Cheep and swim forward and down to see the Sphynx. A hole can be found on the right side wall near the Sphynx which leads to a path with the Power Moon at the end. | Available from the start. |
| 13 | 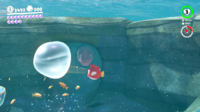 Slip Through the Nesting Spot |
Near the Hot Spring Island checkpoint, the player must capture a Cheep Cheep and find a hole to the northeastern side of the area. Mario must avoid the Maw-Rays inside the hole to obtain this Power Moon. | Available from the start. |
| 14 | 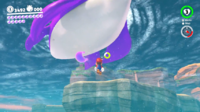 Merci, Dorrie! |
The player can find this Power Moon floating underneath the purple Dorrie that swims around the area. | Available from the start. |
| 15 | 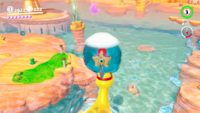 Bonjour, Dorrie! |
The player can find this Power Moon floating high above the yellow Dorrie that swims around the area. It can be obtained by capturing Glydon on the Lighthouse and flying into it or by capturing a Gushen and floating into it. | Available from the start. |
| 16 | 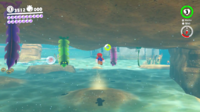 Under a Dangerous Ceiling |
Near the Ocean Trench East checkpoint, the player can find this Power Moon by ground pounding a glowing spot on a mound found among many Komboos walking on the ceiling above. | Available from the start. |
| 17 | 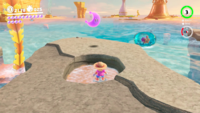 What the Waves Left Behind |
Near the Rolling Canyon checkpoint, the player can find this Power Moon in a circular hole among the gray rock path. Mario must defeat the Komboo protecting it and ground pound the spot to obtain it. | Available from the start. |
| 18 | 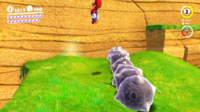 The Back Canyon: Excavate! |
On the left side of the Rolling Canyon checkpoint, the player can find this Power Moon by going on a few grassy platforms to find it hidden on a glowing spot with a Moonsnake rolling in its path. Mario must ground pound the glowing spot to obtain the Power Moon. | Available from the start. |
| 19 | 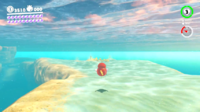 Bubblaine Northern Reaches |
Near the Ocean Trench East checkpoint, the player can find three small mounds along with a larger mound in the middle of the three. Mario must ground pound each mound which each has a glowing spot and then ground pound the large middle mound to obtain this Power Moon. Each time Mario pounds the mounds, a group of Komboos will appear. | Available from the start. |
| 20 | 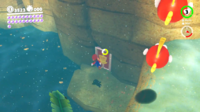 Wriggling on the Sandy Bottom |
Near the Lighthouse, the player can find two Cheep Cheeps swimming. Under them is a hidden door which leads to a bonus area. In this bonus area, Mario must ground pound the moving mound to obtain the Power Moon. | Available from the start. |
| 21 | 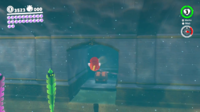 Glass Palace Treasure Chest |
The player can find this Power Moon underneath the Glass Palace in a treasure chest near three swimming Cheep Cheeps and a group of Komboos. | Available from the start. |
| 22 | 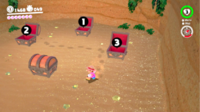 Treasure Trap Hidden in the Inlet |
Near the Beach House checkpoint, the player can find a small hole underneath the water in a river to the left of the checkpoint. Inside is an area with four treasure chests. Mario must open each treasure chest in the correct order to obtain this Power Moon. | Available from the start. |
| 23 | 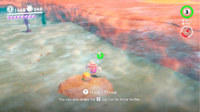 Sea Gardening: Inlet Seed |
In the small river to the left of the Beach House checkpoint, the player can find a seed sitting underwater on the ground. Mario must pick up the seed and bring it to one of the flower pots on the roof of the Beach House. He must wait for the Power Moon to sprout from a vine. | Available from the start. |
| 24 | 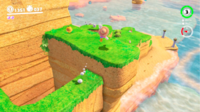 Sea Gardening: Canyon Seed |
At the end of the area near the "The Back Canyon: Excavate!" Power Moon, the player can find a seed. Mario must pick up the seed and bring it to one of the flower pots on the roof of the Beach House. He must wait for the Power Moon to sprout from a vine. | Available from the start. |
| 25 | 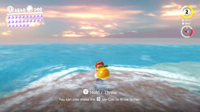 Sea Gardening: Hot-Spring Seed |
Near the Hot Spring Island checkpoint, the player can find a seed sitting on a rocky platform along with a Gushen. Mario must pick up the seed and bring it to one of the flower pots on the roof of the Beach House. He must wait for the Power Moon to sprout from a vine. | Available from the start. |
| 26 | 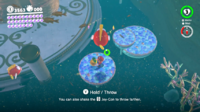 Sea Gardening: Ocean Trench Seed |
Near the Ocean Trench East checkpoint and sitting next to the Sphynx, the player can find a seed sitting underwater. Mario must pick up the seed and bring it to one of the flower pots on the roof of the Beach House. He must wait for the Power Moon to sprout from a vine. | Available from the start. |
| 27 | 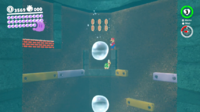 Seaside Kingdom Timer Challenge 1 |
Near the Hot Spring Island checkpoint, the player can find a hole underwater containing a Ground-Pound Switch. Mario must hit the switch and then quickly make it through a short 8-Bit section to obtain the Power Moon before the switch's effect wears off. | Available from the start. |
| 28 | 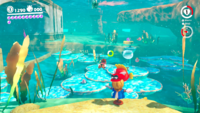 Seaside Kingdom Timer Challenge 2 |
Near the Glass Palace, the player can find a scarecrow underwater. Mario must throw Cappy onto the scarecrow and then quickly swim over to the Power Moon before the timer runs out. | Available from the start. |
| 29 | 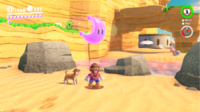 Found on the Beach! Good Dog! |
Near the Odyssey, the player can find a dog wearing a fedora. Mario must guide the dog around the area with the binoculars to find a glowing spot near the gray rocks. The dog will start trying to dig it up, but Mario must ground pound the spot to obtain the Power Moon. | Available from the start. |
| 30 | 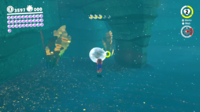 Moon Shards in the Sea |
Near the Rolling Canyon checkpoint, the player can find a scarecrow underwater. Throwing Cappy onto the scarecrow opens up a gate leading to a hidden underwater area. Mario must collect all five Moon Shards in the area while avoiding Maw-Rays to obtain this Power Moon. | Available from the start. |
| 31 | 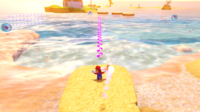 Taking Notes: Ocean Surface Dash |
Available from the start. | |
| 32 | 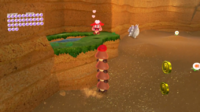 Love by the Seaside |
Available from the start. | |
| 33 |  Lighthouse Leaper |
Available from the start. | |
| 34 |  Good Job, Captain Toad! |
Available from the start. | |
| 35 |  Ocean Quiz: Good! |
Available from the start. | |
| 36 |  Shopping in Bubblaine |
Available from the start. | |
| 37 | 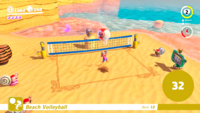 Beach Volleyball: Champ |
Available from the start. | |
| 38 | 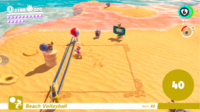 Beach Volleyball: Hero of the Beach! |
Available from the start. | |
| 39 | 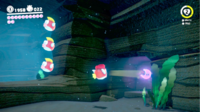 Looking Back in the Dark Waterway |
Available from the start. | |
| 40 | 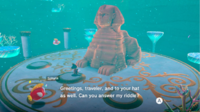 The Sphynx's Underwater Vault |
Available from the start. | |
| 41 | 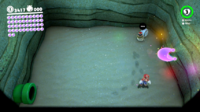 A Rumble on the Seaside Floor |
Available from the start. | |
| 42 | 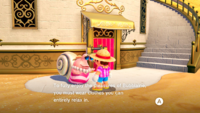 A Relaxing Dance |
Available from the start. | |
| 43 | 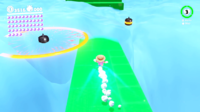 Wading in the Cloud Sea |
Available from the start. | |
| 44 | 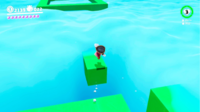 Sunken Treasure in the Cloud Sea |
Available from the start. | |
| 45 |  Fly Through the Narrow Valley |
Available from the start. | |
| 46 |  Treasure Chest in the Narrow Valley |
Available from the start. | |
| 47 |  Hurry and Stretch |
Available from the start. | |
| 48 |  Stretch on the Side Path |
Available from the start. | |
| 49 | 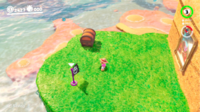 Secret Path to Bubblaine! |
Available from the start. | |
| 50 | 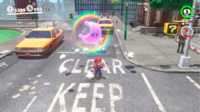 Found with Seaside Kingdom Art |
Available from the start. | |
| 51 | 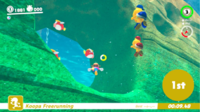 Seaside Kingdom Regular Cup |
Available after defeating Bowser in the Moon Kingdom. | |
| 52 | 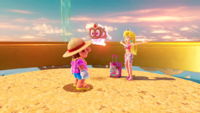 Peach in the Seaside Kingdom |
Mario must meet Peach at the top of the water fountain by jumping into one of the geysers. | Available after defeating Bowser in the Moon Kingdom. |
| 53 | 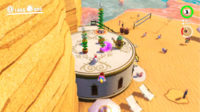 Above the Parasol: Catch! |
Available after opening this kingdom's Moon Rock. | |
| 54 | 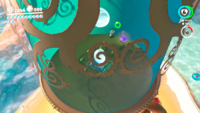 What Shines Inside the Glass |
Available after opening this kingdom's Moon Rock. | |
| 55 | 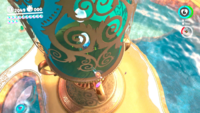 A Fine Detail on the Glass |
Available after opening this kingdom's Moon Rock. | |
| 56 | 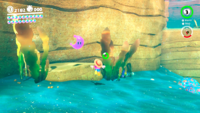 Underwater Highway West: Explore! |
Available after opening this kingdom's Moon Rock. | |
| 57 | 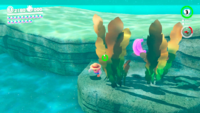 Underwater Highway East: Explore! |
Available after opening this kingdom's Moon Rock. | |
| 58 | 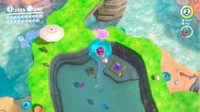 Rapid Ascent on Hot Springs Island |
Available after opening this kingdom's Moon Rock. | |
| 59 | 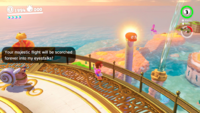 A Light Next to the Lighthouse |
Available after opening this kingdom's Moon Rock. | |
| 60 | 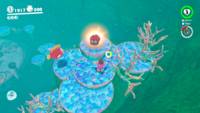 The Tall Rock Shelf in the Deep Ocean |
Available after opening this kingdom's Moon Rock. | |
| 61 |  At the Base of the Lighthouse |
Available after opening this kingdom's Moon Rock. | |
| 62 |  Bird Traveling Over the Ocean |
Available after opening this kingdom's Moon Rock. | |
| 63 |  Caught Hopping at Glass Palace! |
Available after opening this kingdom's Moon Rock. | |
| 64 |  Seaside Kingdom Timer Challenge 3 |
Available after opening this kingdom's Moon Rock. | |
| 65 | 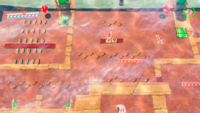 Taking Notes: Ocean-Bottom Maze |
Available after opening this kingdom's Moon Rock. | |
| 66 | 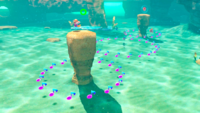 Taking Notes in the Sea |
Available after opening this kingdom's Moon Rock. | |
| 67 | 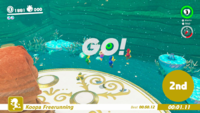 Seaside Kingdom Master Cup |
Available after opening this kingdom's Moon Rock. | |
| 68 | 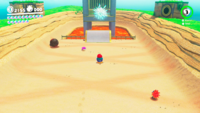 Aim! Poke! |
Available after opening this kingdom's Moon Rock. | |
| 69 | 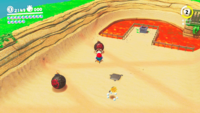 Poke! Roll! |
Available after opening this kingdom's Moon Rock. | |
| 70 | 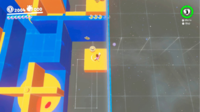 The Spinning Maze: Search! |
Available after opening this kingdom's Moon Rock. | |
| 71 | 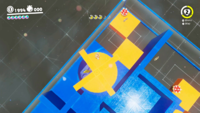 The Spinning Maze: Open! |
Available after opening this kingdom's Moon Rock. |