Water Vellumental Shrine
| Water Vellumental Shrine | |
|---|---|
| |
| Toads | 3 |
| Not-Bottomless Holes | 10 |
| Collectible Treasures | 3 |
| ? Blocks | 13 |
| Enemies | Sidesteppers Koopa Troopas Swoops Water Vellumental |
- “This place is pretty big, even for a shrine! It goes on and on...and on....”
- —Olivia, Paper Mario: The Origami King
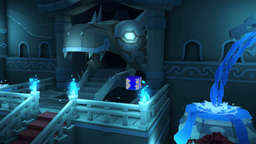
The Water Vellumental Shrine is a location in Paper Mario: The Origami King, a shrine found on Autumn Mountain dedicated to the Water Vellumental, who is fought at the end. As such, most of the temple is water-themed, with a couple of sliding tile puzzles along the way.
History
There are two tiles in front of the closed doors to the shrine, each requiring someone to stand on them. Mario must find Bob-omb down in Chestnut Valley and bring him to the temple, allowing them to enter. However, Bob-omb decides to wait outside for them, claiming he is exhausted from standing on the switch, not really wanting to enter the temple.
As soon as they enter the temple, Olivia notes the large stone dragon in back representing the Water Vellumental. After Mario finishes both of the sliding tile puzzles in the surrounding rooms, the head is jerked open, allowing them to enter the area where the Water Vellumental is fought. When Mario steps into the arena, the surrounding water starts to swirl about, causing the bridge to sink, preventing escape.
The Water Vellumental appears, also corrupted by the power of origami. Like the Earth Vellumental, Mario must defeat the Water Vellumental to obtain a Bibliofold teaching Olivia the powers of the Vellumental. This gives her the power to fill herself to the brim with water, allowing them to fill the pond and continue down the river.
Layout
The first room of the temple is spacious, with a wheel in the center allowing Mario to head any cardinal direction. However, this wheel is stuck at first, only allowing Mario to head north or west. Even then, there is only a Save Block and a blocked-off exit to the north, leaving Mario no choice but to continue west. The first room to the west has a Sidestepper, three Brick Blocks, and two ? Blocks - one contains a bag of confetti, while the other contains Shiny Iron Boots. To the left is a set of stairs leading up to the next room, with Sidesteppers coming in and out of the cracks in the walls at intervals.
The next room is the first sliding tile riddle, which a bit easier than the other as there are only four tiles. One of the tiles is missing, preventing Mario from completing the puzzle. To fix this, he must enter the room on the left, a section with Sidesteppers coming in and out of the walls. There is one blue Sidestepper carrying the Groovy Panel. However, whenever Mario approaches one end of the area, it is likely to start appearing at the other end. Fortunately, there is a POW Block at the north end Mario can hit when the blue Sidestepper appears to temporarily stun it. Mario is then able to put this panel into the grid, allowing him to complete the puzzle, creating and redirecting a path to the stone dragon head. This makes a path for the water to reach the main room and open the mouth halfway. Completing this puzzle also drops a ring of coins with a Fire Flower in the middle.
With the mouth of the stone dragon now partly open, the gears below the wheel start to spin. The wheel now rotates, opening and closing three of its gates at a time. Mario is now able to head east to another room. This room is made up of breakable blocks with a few Sidesteppers moving in pattern. Notably, there are a few treasures in the area, such as coins and ? Blocks, which can only be reached if certain blocks are not broken. If Mario exits and enters the room, the blocks reset, allowing him to try it out again. The door at the north end of this section leads to the next room, featuring another stone dragon head with water coming out of its mouth. Mario must use one of the tunnels on either side and walk up to the head of the dragon. Mario must hammer it to redirect the water coming out of its mouth to come out of its eyes.
This opens the door to the next room, featuring the other tile puzzle, which is also missing a tile. Mario must hammer the crack in the northwest corner of the room to create a path to a small cavern area. This leads to a seemingly empty area with the Groovier Panel in the middle. However, as Mario picks it up, several cracks form in the wall, revealing numerous Sidesteppers Mario must defeat. The steps in this room lead up to the door to a coffee shop. Mario can walk in and place and order for 100 coins to initiate a conversation between a Koopa Troopa, a Goomba, and a Shy Guy.
Mario can now walk back into the tile room and place the panel into the grid. This puzzle is quite harder, as it features nine tiles rather than four. If the player is having trouble figuring it out, they can use coins to get a hint or have the game solve it for them. Completing this puzzle drops down several rings of coins with Fire Flowers and Super Mushrooms. This also opens up a pipe leading back to the main area, where the mouth of the stone dragon is now completely open, revealing a set of stairs leading to the battle with the Water Vellumental.
Hidden Toads
| Form | Description | Image |
|---|---|---|
| 3 Hidden Toads | ||
 # 1 |
In the southwest corner of the entrance room, Mario can find a red origami beetle Toad climbing above a Not-Bottomless Hole. | 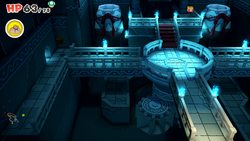
|
 # 2 |
After completing the first puzzle, the middle platform begins to rotate. Mario can head below the platform via some stairs and find a blue Toad, folded and perched in a window. | 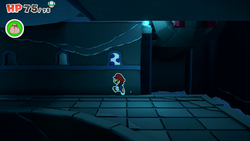
|
 # 3 |
Another blue Toad can be found in the room with the crying dragon statue. Mario must use the tunnel in the east wall, walk up to the window and hammer to push the Toad out the window. | 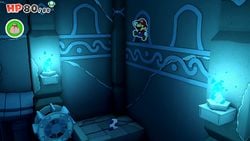
|
Not-Bottomless Holes
| There is a Not-Bottomless Hole in the ground in the southwest corner of the main room. | 
|
| There is a Not-Bottomless Hole in the stairs leading up to the room with the easier tile puzzle. | 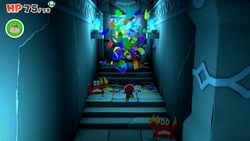
|
| There is a Not-Bottomless Hole in the ground in the southeast corner of the main room. | 
|
| There is a Not-Bottomless Hole below the wheel, guarded by Swoops. | 
|
| There are two Not-Bottomless Holes in the breakable block section. They are both in the walls on the opposite sides of the room. Mario must be careful not to break certain blocks, make it to the end of the section, and walk along the top of the blocks to reach them. | 
|
| There are two Not-Bottomless Holes beneath one of the blocks in this section, closer to the entrance. | 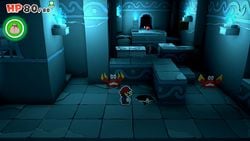
|
| There is a Not-Bottomless Hole in the wall in the northeast corner of the room with the smaller stone dragon head. | 
|
| There is a Not-Bottomless Hole in the right side of the cavern area. | 
|
| There is a Not-Bottomless Hole on the other side of the cavern in the shape of a mushroom, revealed to be the door to a coffee shop when filled in. | 
|
Collectible Treasures
| Mario must head down below the wheel and continue to the southwest corner to find the chest containing Collectible Treasure #37: Restaurant Fridge. | 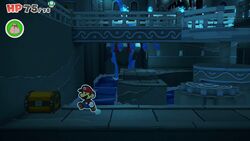
|
| Mario must hammer around the northwest area below the wheel to find a small set of Hidden Blocks allowing him to enter a tunnel leading to the chest containing Collectible Treasure #38: MAX UP Heart. | 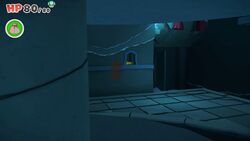
|
| Mario must destroy certain blocks in the block section and keep others, allowing him to hop along them to a small overhead tunnel at the entrance with a chest containing Collectible Treasure #39: POW Block. | 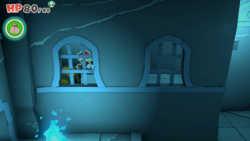
|
? Blocks
| There is a ? Block on the west side of the wheel in the main area. | 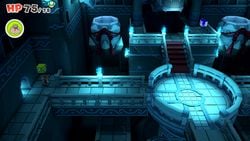
|
| There are two ? Blocks in the first room west of the main area. One contains a bag of confetti, while the other contains Shiny Iron Boots. | 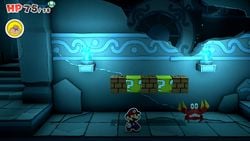
|
| There is a ? Block on the east side of the wheel in the main area. | 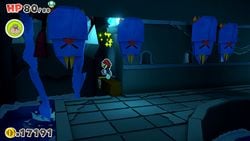
|
| There is a set of four Hidden Blocks creating a ledge down below the wheel. | 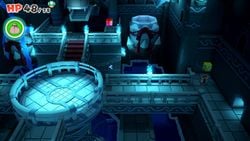
|
| There is a ? Block on a ledge in the southeast corner of the block section, right in front of a Not-Bottomless Hole. | 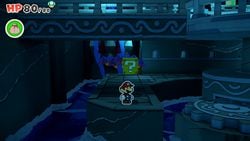
|
| There is a ? Block near the exit of the block section. | 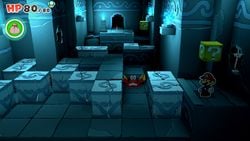
|
| There is a ? Block on the left side of the cavern. | 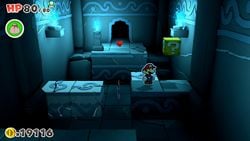
|
| There is a ? Block on the right side of the cavern. | 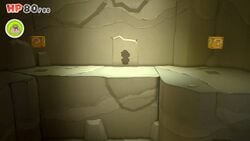
|
| There is a ? Block on the right side of the cavern. | File:WaterVellumentalShrineBlockI.jpg |
Names in other languages
| Language | Name | Meaning |
|---|---|---|
| Japanese | 水ガミしんでん Mizugami shinden |
Water God Temple |
| Chinese | 水神祇神殿 Shuǐ Shénqí Shéndiàn |
Water God Temple |
| Dutch | Heiligdom van de Water-Origant |
Sanctuary of the Water Vellumental |
| German | Tempel des Wasser-Pergamenton |
Temple of the Water Vellumental |
| Italian | Santuario delle acque |
Waters Sanctuary |
| Spanish | Santuario del Agua |
Water Sanctuary |