List of colorless spots in Paper Mario: Color Splash
From the Super Mario Wiki, the Mario encyclopedia
Jump to navigationJump to search
In Paper Mario: Color Splash, every level (besides Black Bowser's Castle and the Roshambo Temples) has colorless spots that Mario can fill in with his Paint Hammer. The percentage of colorless spots that have been painted in a level can be seen on the map, and if Mario paints every spot in a level, it gains a gold flag next to its level marker and its record becomes available in the Prisma Museum. A Super Flag is awarded for repainting every colorless spot.
The Shy Bandit appears on the map randomly, and can suck all the color out of a level, besides colorless spots on Toads and spots that are painted in by the Big Paint Stars. If Mario does not catch the Shy Bandit in time, that level's colorless spots must be painted in again.
Colorless spot locations
Port Prisma
| Port Prisma | |
|---|---|
| In the yellow district, Toad has his colors drained and must be repainted. | 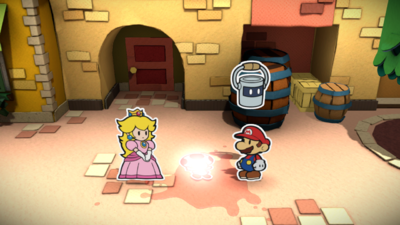
|
| In the yellow district, the Prisma Cardware shopkeeper Toad has had his colors drained. | 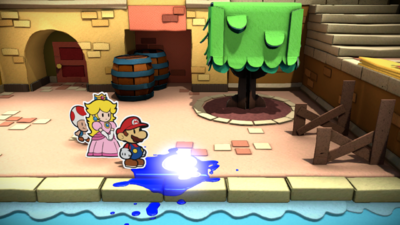
|
| In the fountain district, on the leftmost post. | 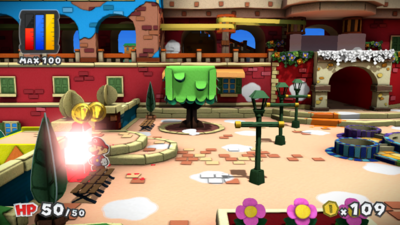
|
| In the fountain district, east of the lower leftmost potted plant. | 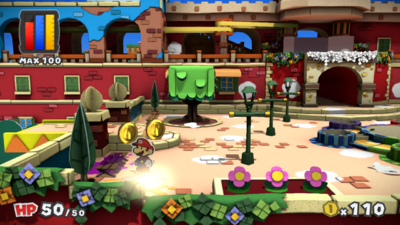
|
| In the fountain district, west of the leftmost flag. | 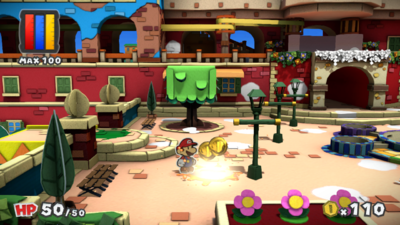
|
| In the fountain district, on the first step leading to the Red District. | 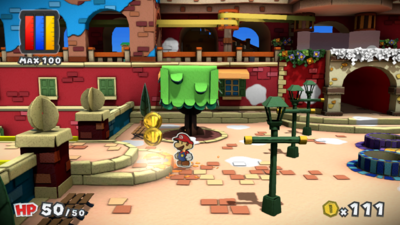
|
| In the fountain district, south of the upper leftmost bench. | 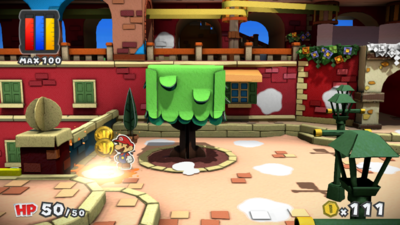
|
| In the fountain district, east of the upper leftmost potted plant. | 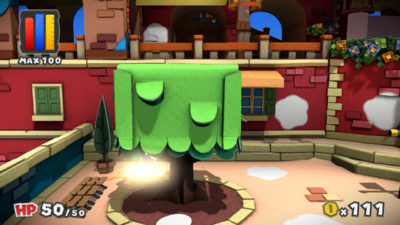
|
| In the fountain district, east of the steps leading to the Red District. | 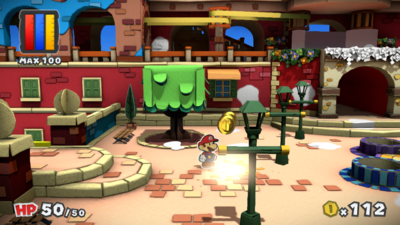
|
| In the fountain district, northeast of the left flower bed. | 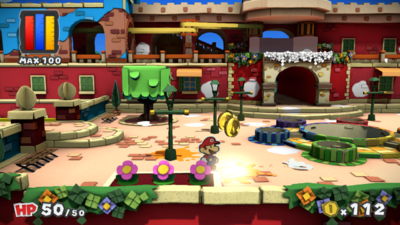
|
| In the fountain district, south of the left window. | 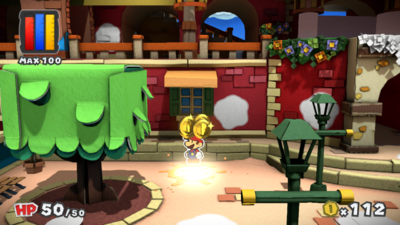
|
| In the fountain district, east of the left window. | 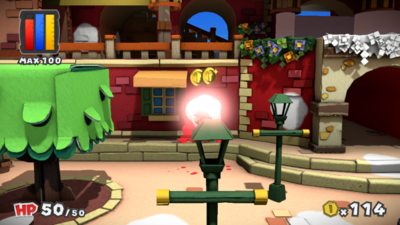
|
| In the fountain district, further south of the left window. | 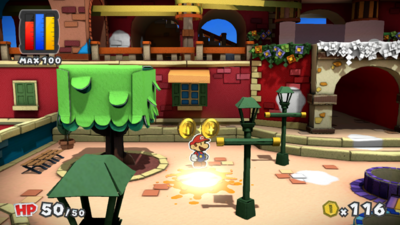
|
| In the fountain district, south of the blue Big Paint Star's spot. | 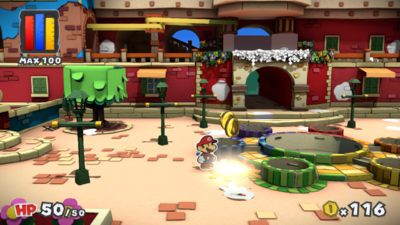
|
| In the fountain district, north of the blue Big Paint Star's spot. | 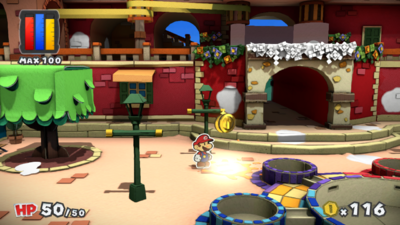
|
| In the fountain district, on the wall near the left arch. | 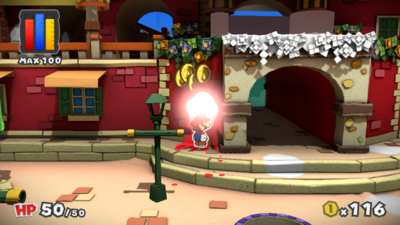
|
| In the fountain district, on the steps leading to the exit. | 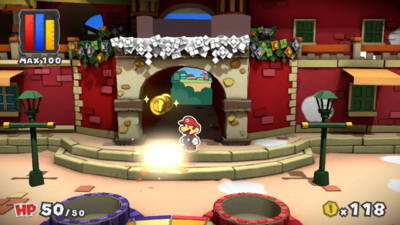
|
| In the fountain district, south of the right arch. | 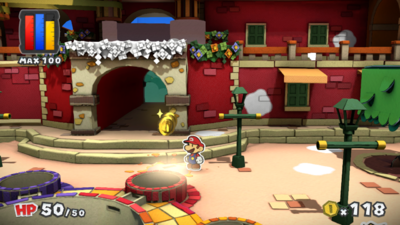
|
| In the fountain district, on the floor east of the right arch. | 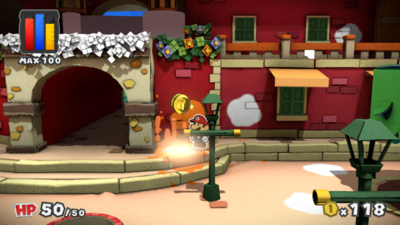
|
| In the fountain district, west of the right window. | 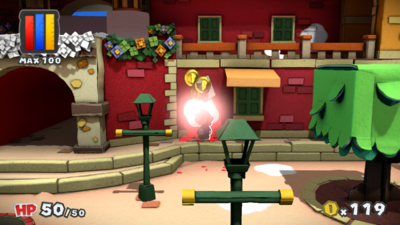
|
| In the fountain district, between the yellow and orange Big Paint Stars' spots. | 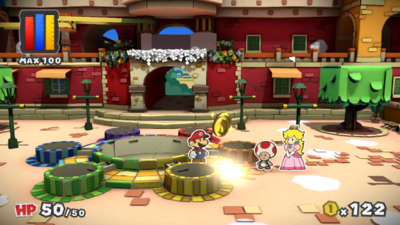
|
| In the fountain district, east of the entrance. | 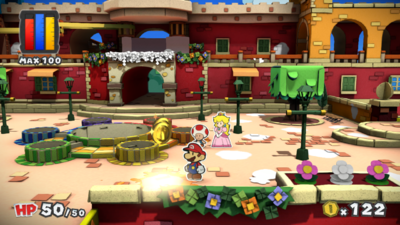
|
| In the fountain district, east of the yellow Big Paint Star's spot. | 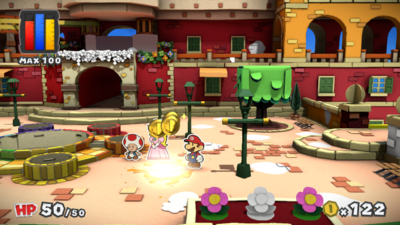
|
| In the fountain district, east of the orange Big Paint Star's spot. | 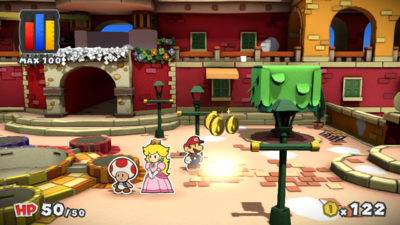
|
| In the fountain district, east of the northeast flagpole. | 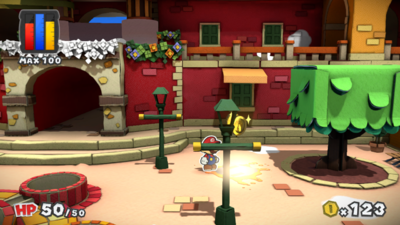
|
| In the fountain district, south of the eastmost window. | 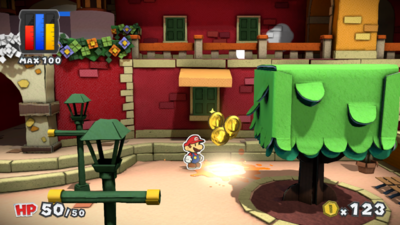
|
| In the fountain district, the middle flower on the east flower bed. | 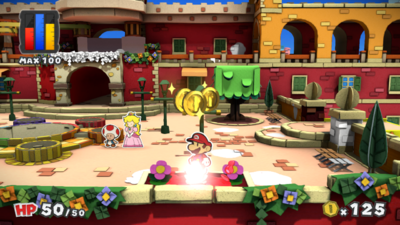
|
| In the fountain district, east of the eastmost flagpole. | 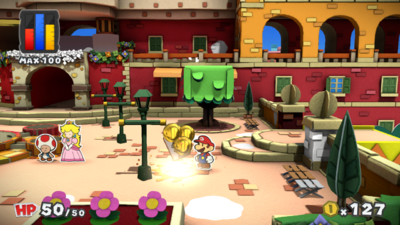
|
| In the fountain district, east of the second-eastmost flagpole. | 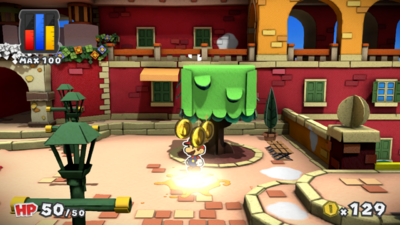
|
| In the fountain district, east of the east flower bed. | 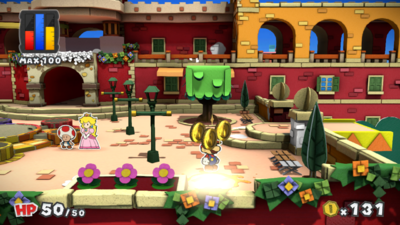
|
| In the fountain district, on the first step leading to the yellow district. | 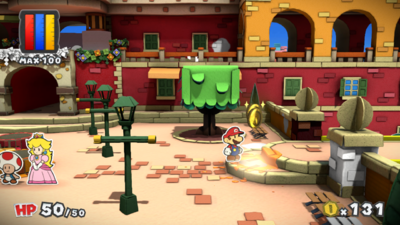
|
| In the fountain district, north of the steps leading to the yellow district. | 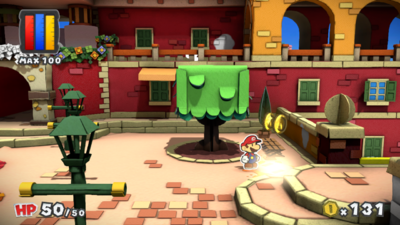
|
| In the fountain district, on the southeast bench. | 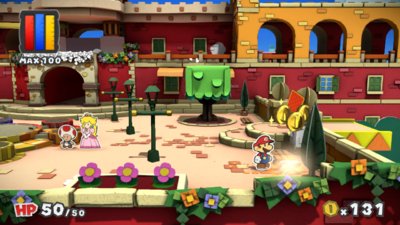
|
| In the fountain district, on one of the posts next to the steps leading to the yellow district. | 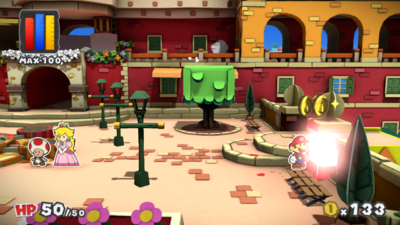
|
| In the fountain district, on the eastmost wall. | 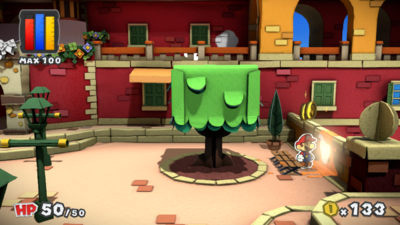
|
| In the fountain district, on the Toad under the west tree. | 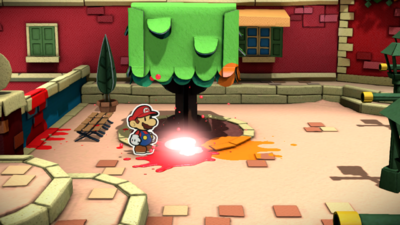
|
| In the fountain district, on the Postmaster Toad, who is near the fountain. | 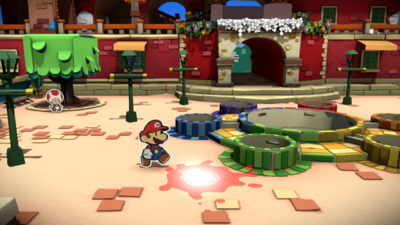
|
| In the fountain district, on the Toad near the east flower bed. | 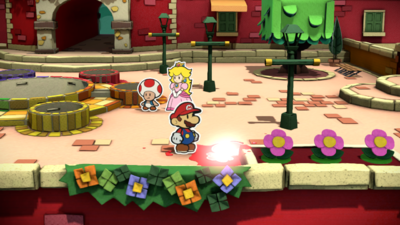
|
| In the harbor district, on the sign east of the trash can. | 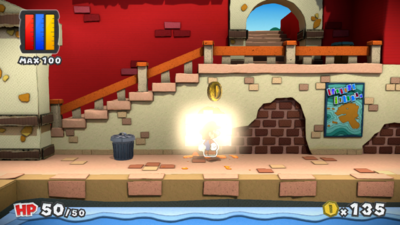
|
| In the blue district, on the green gate. | 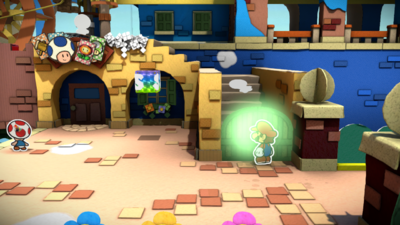
|
| In the blue district, on one of the flowers. | 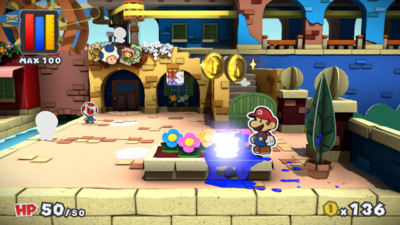
|
| In the blue district, west of the flower bed. | 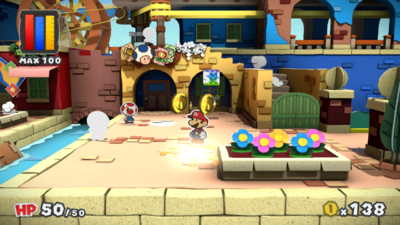
|
| In the blue district, south of Prisma Cardware. | 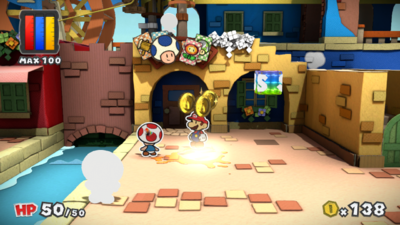
|
| In the blue district, on the Toad standing near the bridge. | 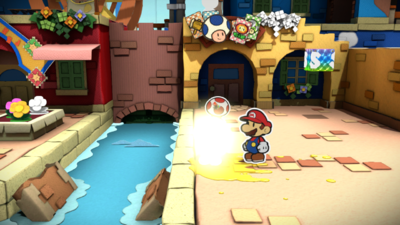
|
| In Prisma Cardware, the Toad at the west end of the shop. | 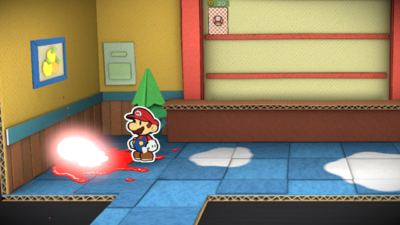
|
| In Prisma Cardware, north of the entrance. | 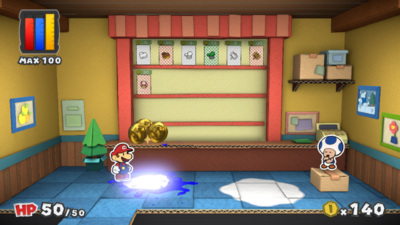
|
| In Prisma Cardware, west of the shopkeeper Toad. | 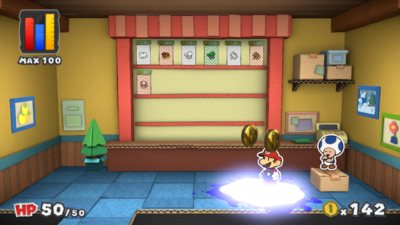
|
| In the blue district, a Toad on the stairs. | 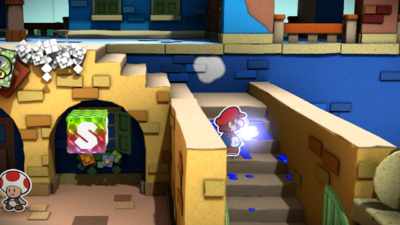
|
| In the blue district, on a wall north of the gate. | 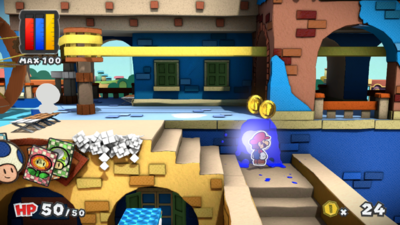
|
| In the blue district, on the ground beneath two windows. | 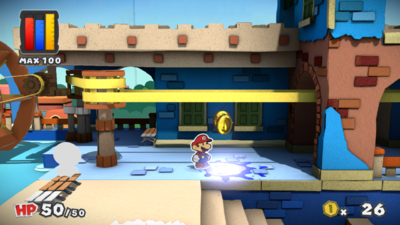
|
| In the blue district, the plants next to the Prisma Cardware sign. | 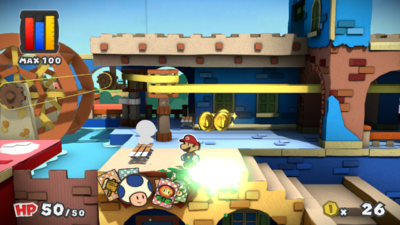
|
| In the blue district, on the south part of a bench. | 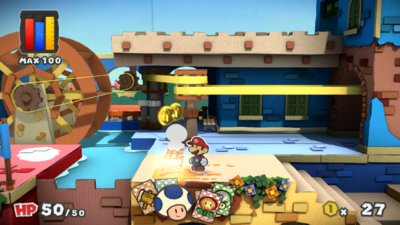
|
| In the blue district, a Toad sitting on the bench. | 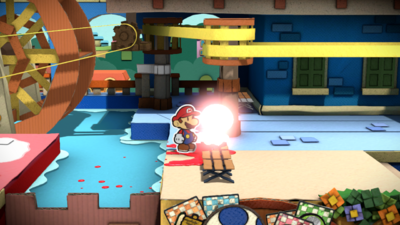
|
| In the blue district, on the south part of a bench. | 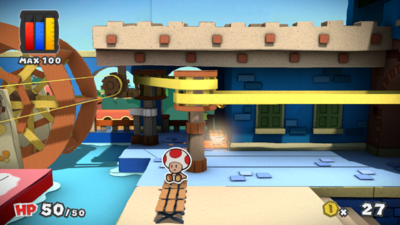
|
| In the blue district, on the waterwheel structure. | 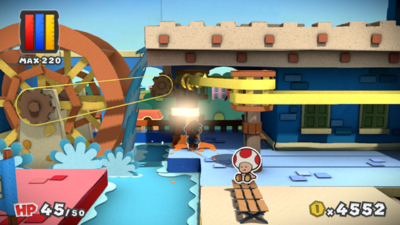
|
| In the fountain district, on the wall to the west. | 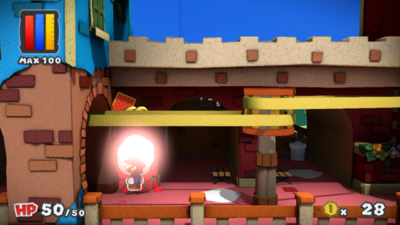
|
| In the fountain district, south of a bench. | 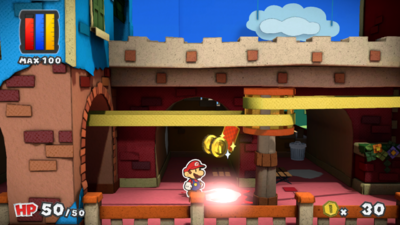
|
| In the fountain district, on the wall in the westmost alcove. | 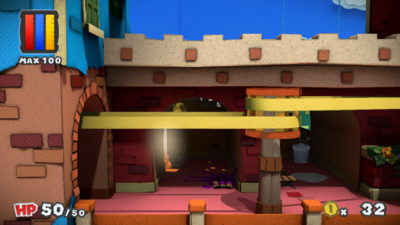
|
| In the fountain district, on the floor in the alcove with the trash can. | 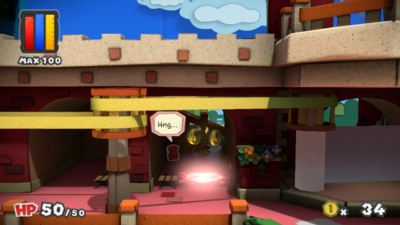
|
| In the fountain district, on the floor near the toilet paper. | 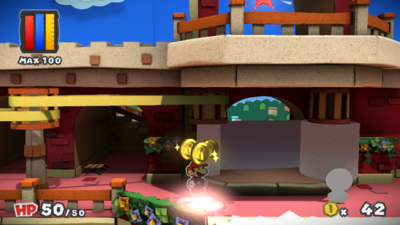
|
| In the fountain district, on the overhang of plants. | 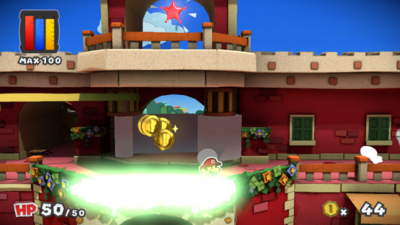
|
| In the fountain district, a Toad near the toilet paper. | 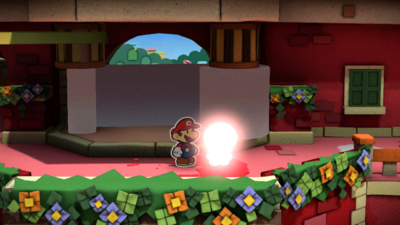
|
| In the fountain district, on the ground east of the toilet paper. | 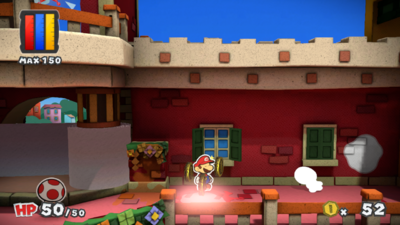
|
| In the fountain district, a Toad at the east end. | 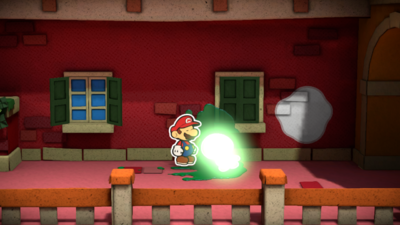
|
| In the fountain district, on the wall to the east. | 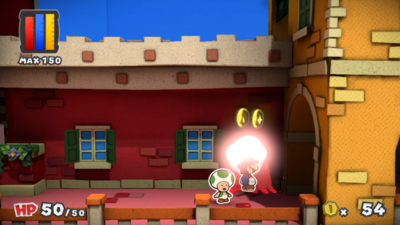
|
| In the yellow district, a Toad that is initially being held by a Shy Guy. | 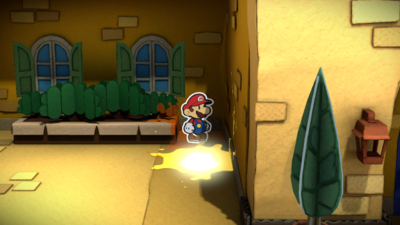
|
| In the yellow district, on the roof of Peach's and Toad's guest quarters. | 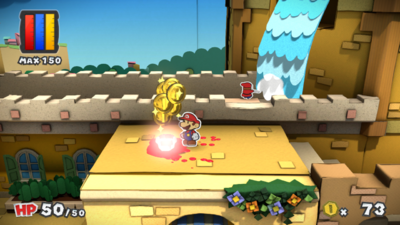
|
| In the yellow district, on the waterfall. | 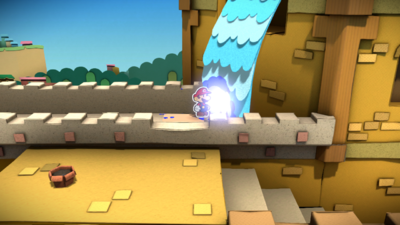
|
| In the yellow district, on the west wall in the area leading to the Mini Paint Star. | 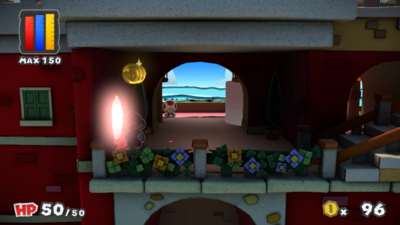
|
| In the blue district, on the ground shortly after the bridge. | 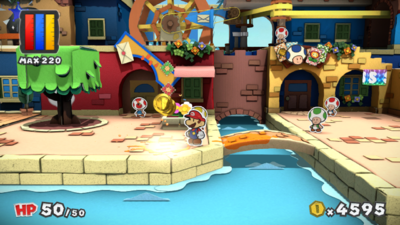
|
| In the blue district, on a flower after the bridge. | 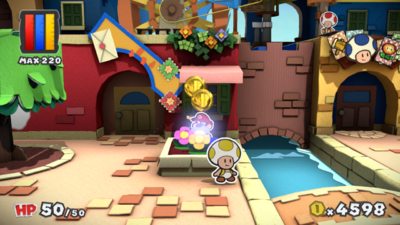
|
| In the blue district, on the wall of Prisma Postal Toad. | 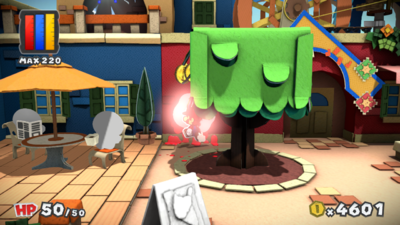
|
| In the blue district, on the sign outside the cafe. | 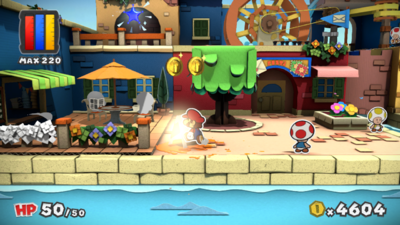
|
| In the blue district, on the westmost overhang. | 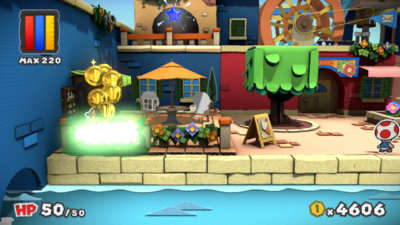
|
| In the blue district, on the Toad to the right of the Toad with the newspaper. | 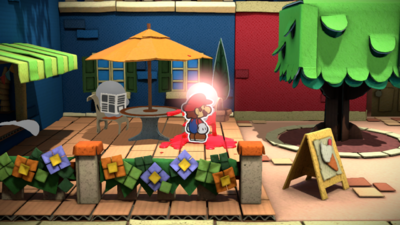
|
| In the blue district, on the Toad with the newspaper. | 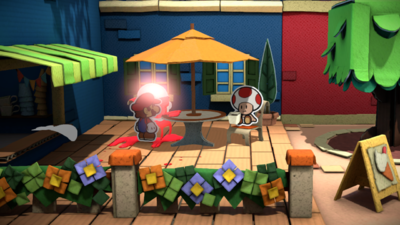
|
| In the blue district, on the Toad in the cafe. | 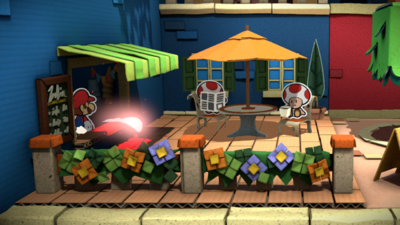
|
| In the blue district, on the roof of Prisma Postal Toad. | 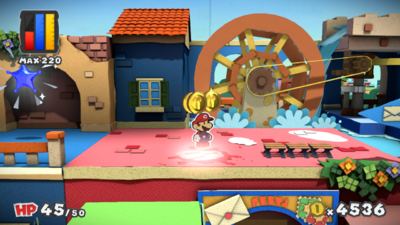
|
| In the blue district, on the roof of Prisma Postal Toad. | 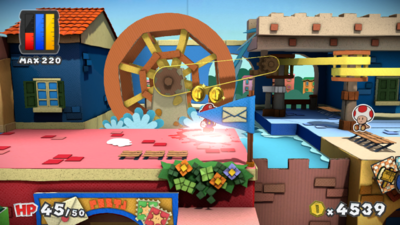
|
| In the blue district, on a Toad on the roof of Prisma Postal Toad. | 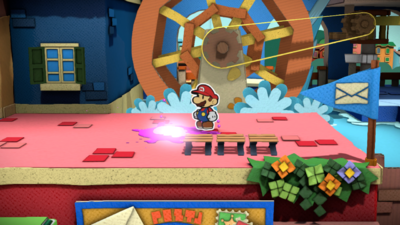
|
Ruddy Road
| Ruddy Road | |
|---|---|
| In the first area, on the ground. | 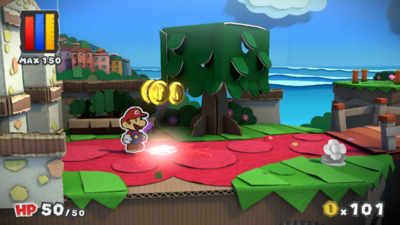
|
| In the first area, on the second flower. | 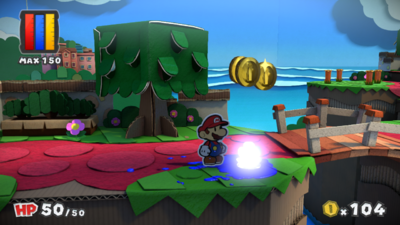
|
| In the first area, on the first flower after the bridge. | 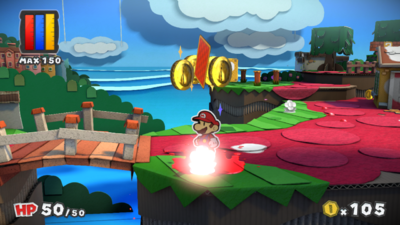
|
| In the first area, on the ground east of the bridge. | 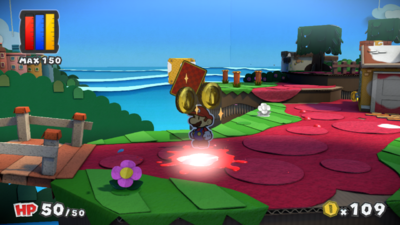
|
| In the first area, on the flower west of the house. | 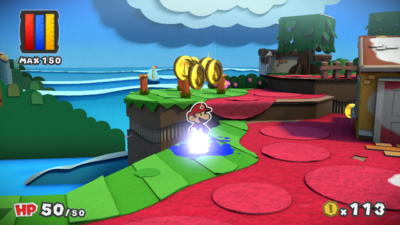
|
| In the first area, on the ground southwest of the house. | 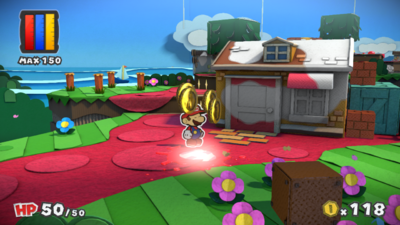
|
| In the first area, on the house. | 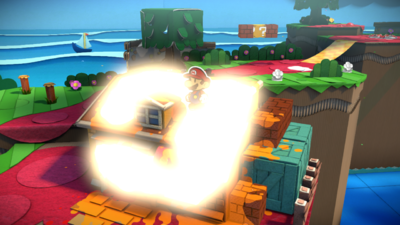
|
| In the first area, on the wall. | 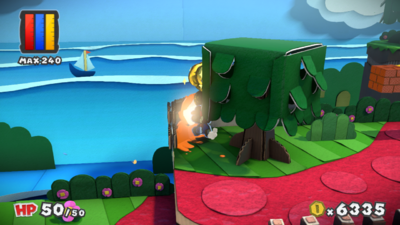
|
| In the first area, on a flower south of a ? Block. | 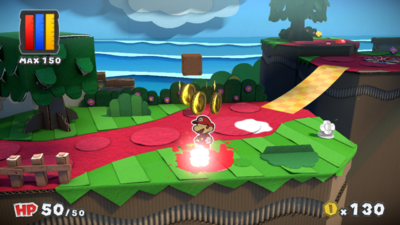
|
| In the first area, on the ground southeast of a ? Block. | 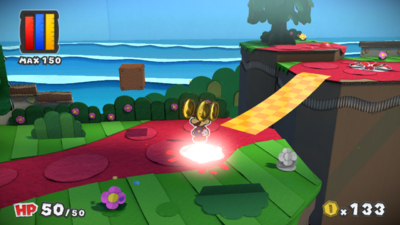
|
| In the first area, on the flower before the bridge. | 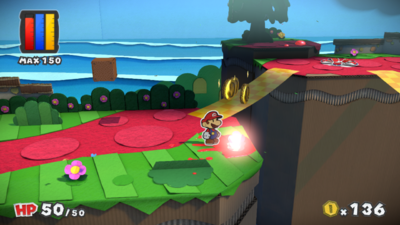
|
| In the first area, on the ground. Five Slurp Guys can be seen sucking the color out of this spot. | 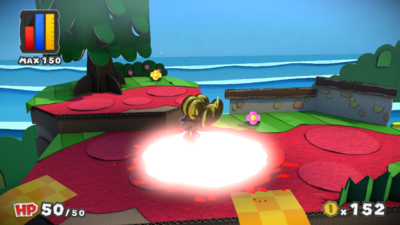
|
| In the first area, on the ground. A Slurp Guy is sucking the color out of this spot. | 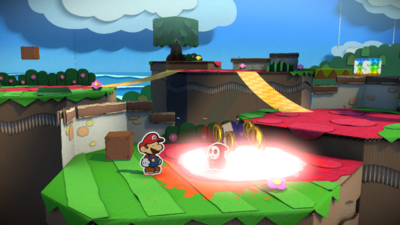
|
| In the area with the blue Mini Paint Star, in the second circle on the ground. | 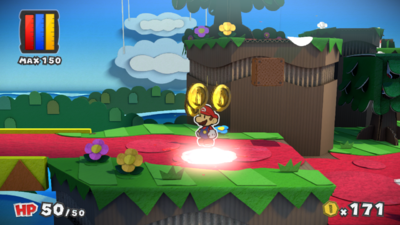
|
| In the area with the blue Mini Paint Star, on the ground. | 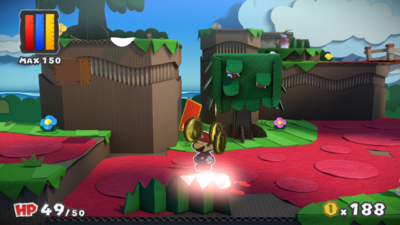
|
| In the area with the blue Mini Paint Star, on the fifth flower. | 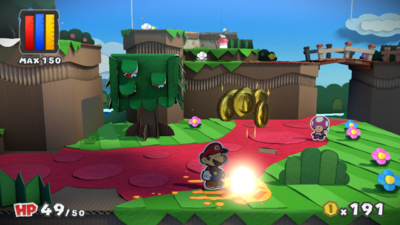
|
| In the area with the blue Mini Paint Star, on the eastmost flower on the lower area. | 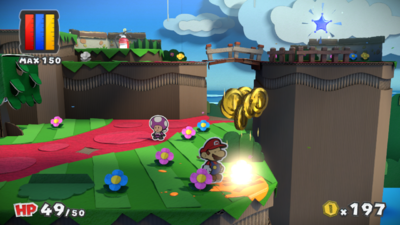
|
| In the second area, on the ground near the sign. | 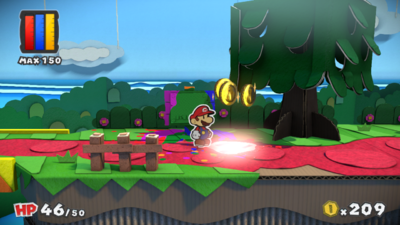
|
| In the second area, on the first flower. | 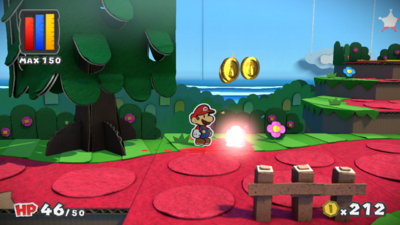
|
| In the second area, on a flower. | 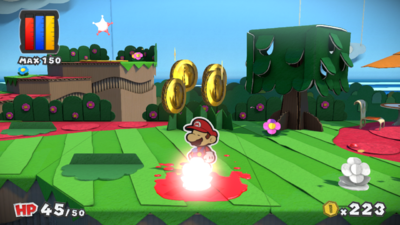
|
| In the second area, on a flower. | 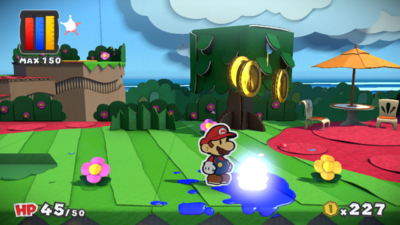
|
| In the second area, on the ground after the café. | 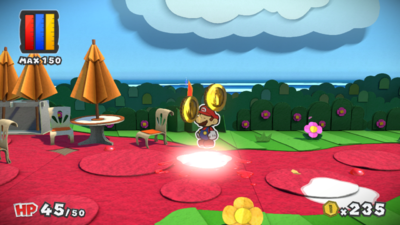
|
| In the second area, on the ground. | 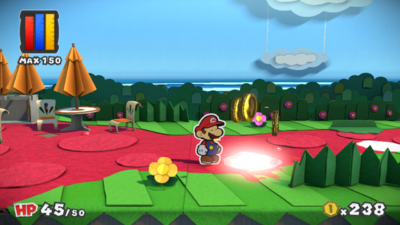
|
| In the second area, on the ground. | 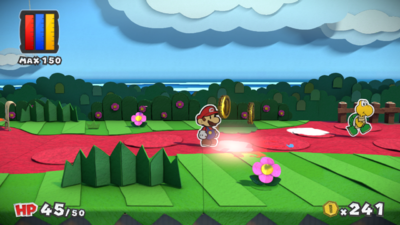
|
| In the second area, on the ground. | 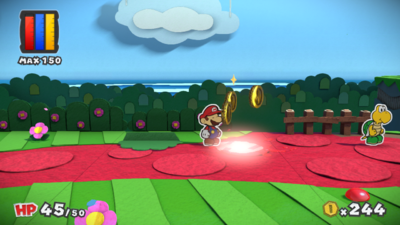
|
| In the second area, on the ground behind a bush. | 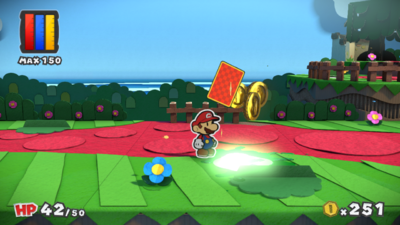
|
| In the second area, on the ground. | 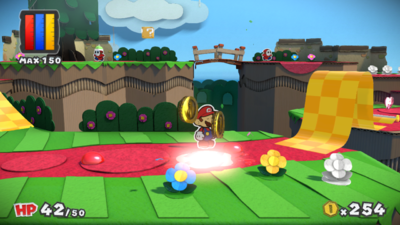
|
| In the second area, on a flower near the rolled-up platform. | 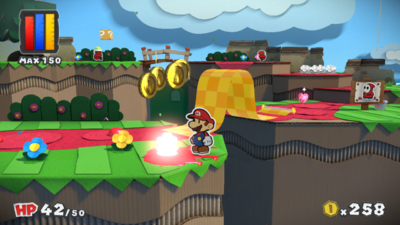
|
| In the second area, on the ground on a raised platform. | 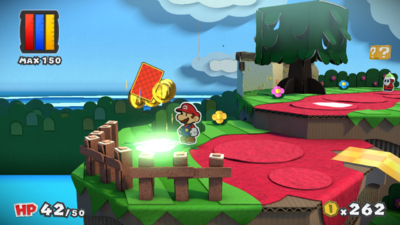
|
| In the second area, on the ground south of a tree. | 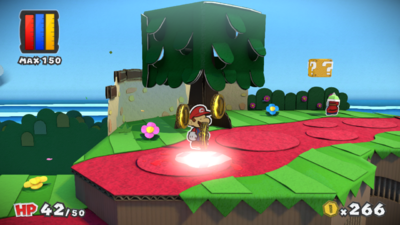
|
| In the second area, on a flower in a six-flower circle. | 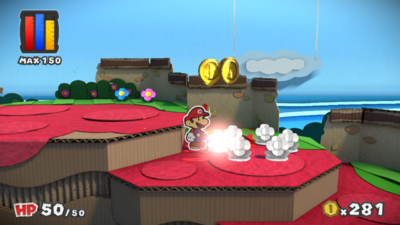
|
| In the second area, on a flower in a six-flower circle. | 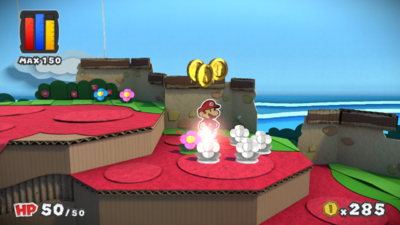
|
| In the second area, on a flower in a six-flower circle. | 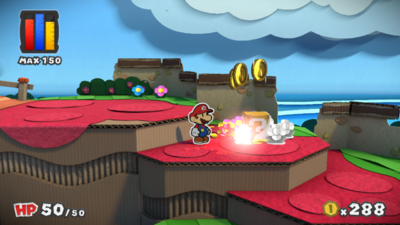
|
| In the second area, on a flower in a six-flower circle. | 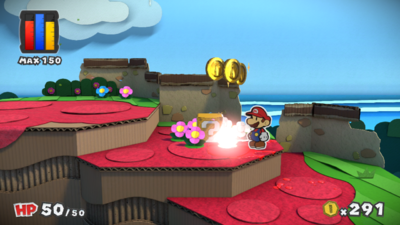
|
| In the second area, on a flower in a six-flower circle. | 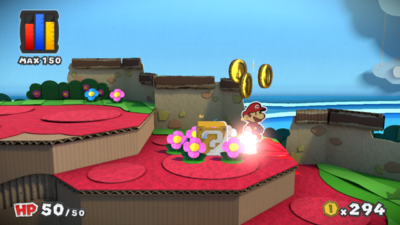
|
| In the second area, on a flower in a six-flower circle. | 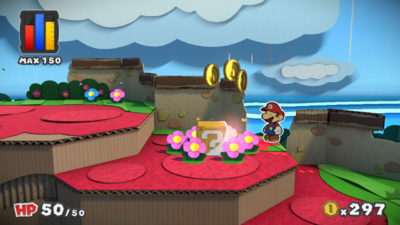
|
| In the second area, on an invisible ? Block surrounded by flowers. | 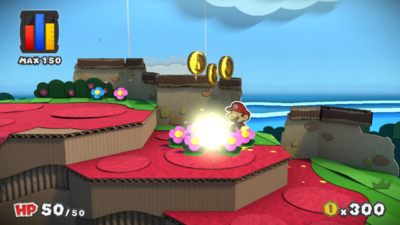
|
| In the area with the blue Mini Paint Star, on a Toad who can be reached by jumping from a tree. | 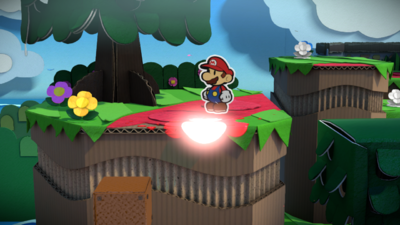
|
| In the area with the blue Mini Paint Star, on a flower. | 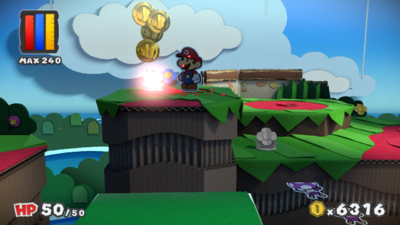
|
| In the area with the blue Mini Paint Star, on a flower. | 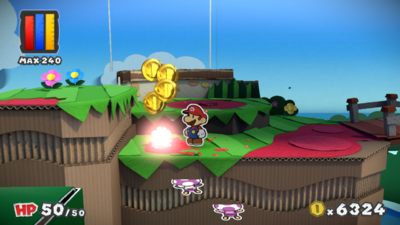
|
Cherry Lake
| Cherry Lake | |
|---|---|
| In the second area, behind a bush. | 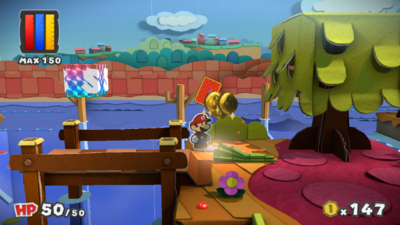
|
| In the second area, south of the tree after the bridge. | 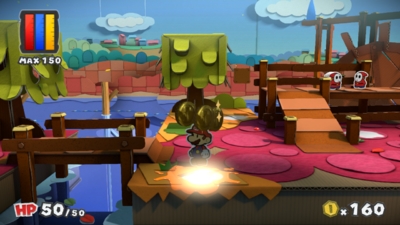
|
| In the second area, southeast of a tree. | 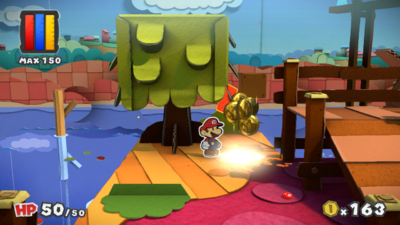
|
| In the second area, near some stairs. | 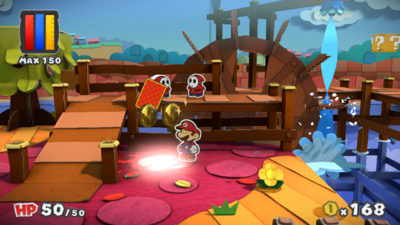
|
| In the second area, south of Justice Toad's shoes. | 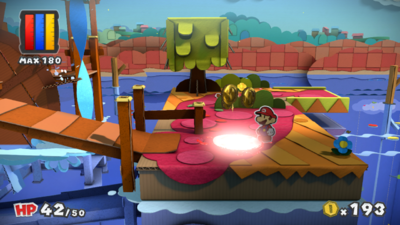
|
| In the second area, north of Justice Toad's shoes. | 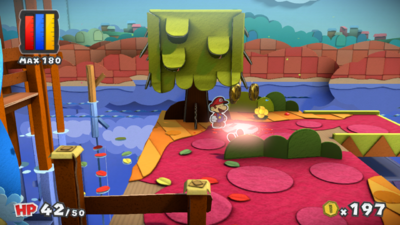
|
| In the third area, south of a Brick Block. | 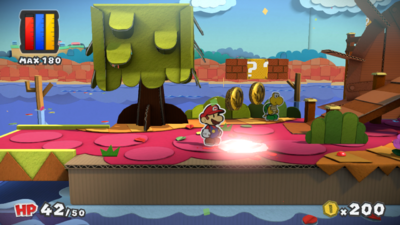
|
| In the third area, on a post near the waterwheel. | 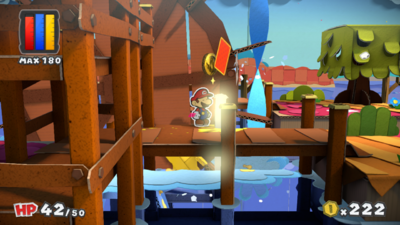
|
| In the third area, near the tree with Justice Toad's pants. | 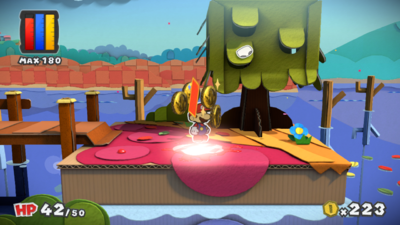
|
| In the third area, south of the tree with Justice Toad's pants. | 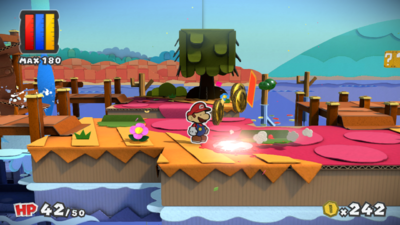
|
| In the third area, near the Inner Cherry Lake sign. | 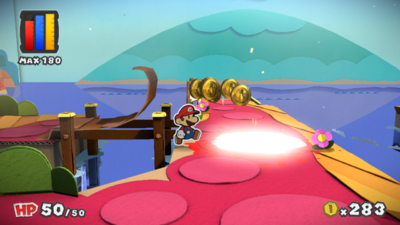
|
| In the third area, south of the Fan Thing. | 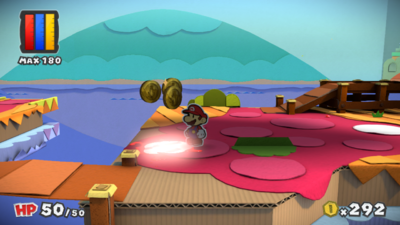
|
| In the third area, on the ground south of the steps. | 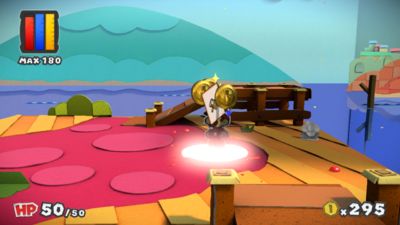
|
| In the third area, on a flower near the steps. | 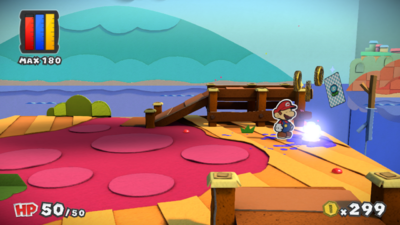
|
| In the third area, on a ? Block. | 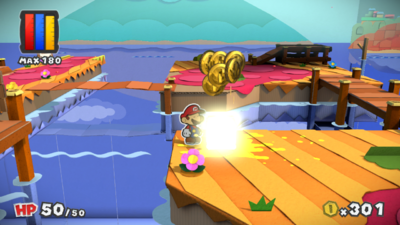
|
| In the fourth area, on the ground in the shape of a Shy Guy mask. | 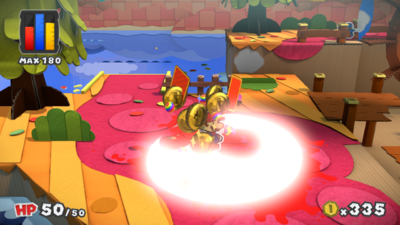
|
| In the fourth area, on the ground south of the entrance. | 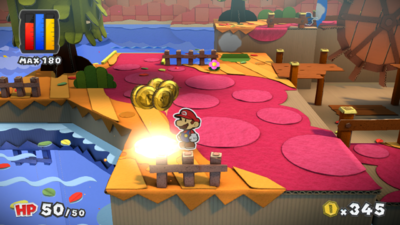
|
| In the fourth area, on the wall. | 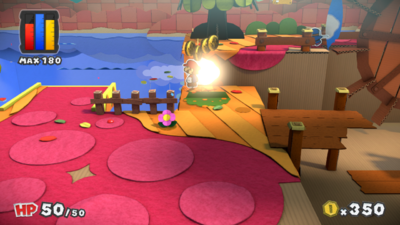
|
| In the fourth area, on the ground between two bushes. | 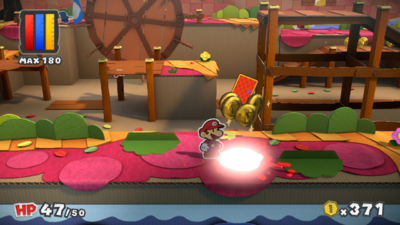
|
| In the fourth area, on a stream of water. This colorless spot is required to beat the level. | 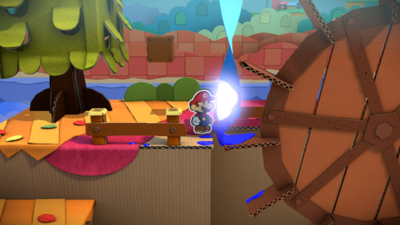
|
| In the fourth area, on the ground near a blue crate. | 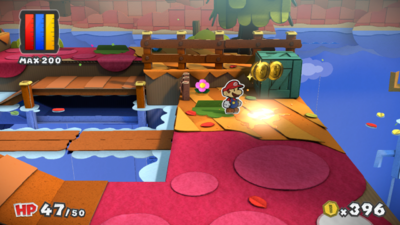
|
| In the fourth area, on the ground behind a bush. | 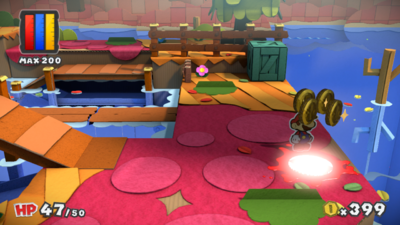
|
| In the fourth area, on a post that can only be reached from the right side. | 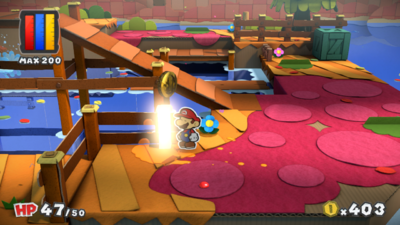
|
| In Inner Cherry Lake, on the ground. | 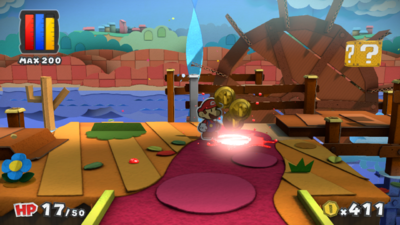
|
| In Inner Cherry Lake, on a post. | 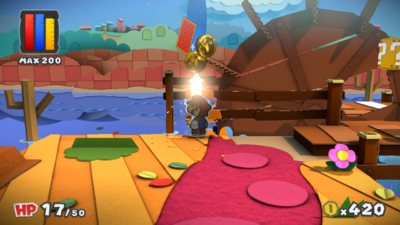
|
| In Inner Cherry Lake, on a plank behind the first waterwheel. | 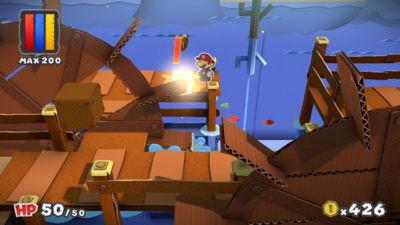
|
| In Inner Cherry Lake, on a plank after the second waterwheel. | 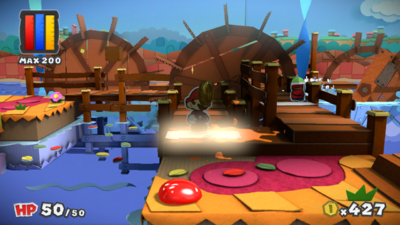
|
| In Inner Cherry Lake, on a plank after the second waterwheel. | 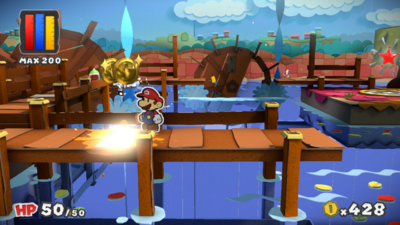
|
| In Inner Cherry Lake, on a plank before the third waterwheel. | 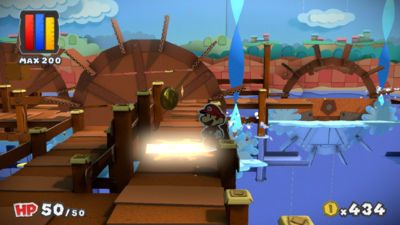
|
Redpepper Volcano
| Redpepper Volcano | |
|---|---|
| North of the first area, on the ground. | 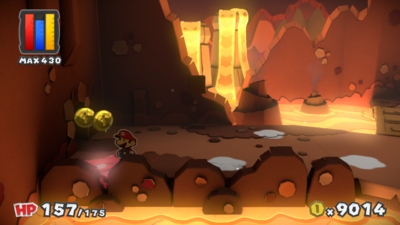
|
| North of the first area, on the ground. | 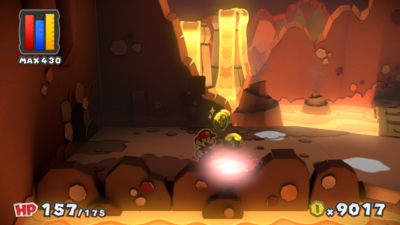
|
| North of the first area, on the ground. | 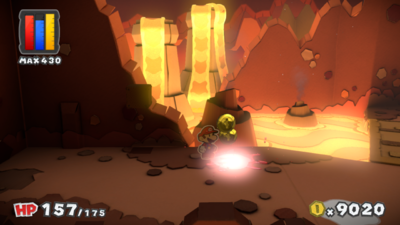
|
| North of the first area, on the ground. | 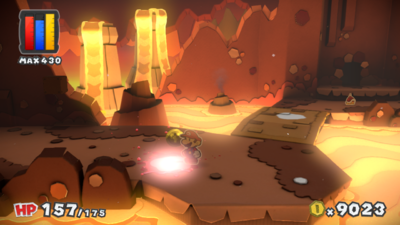
|
| North of the first area, on the ground. | 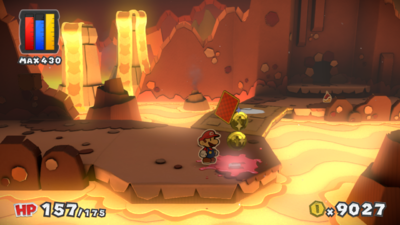
|
| North of the first area, on the bridge. | 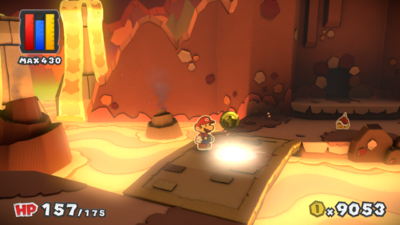
|
| North of the first area, on the bridge. | 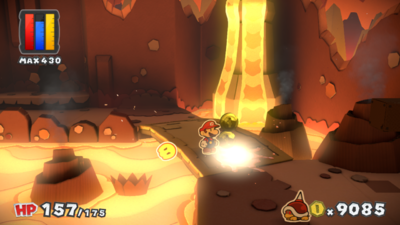
|
| In the Fire Bro area, on the wall. | 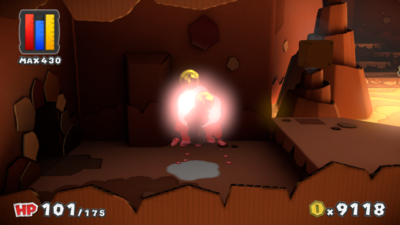
|
| In the Fire Bro area, on the ground. | 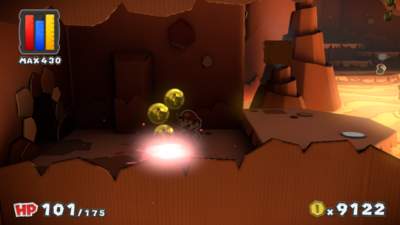
|
| In the Fire Bro area, on the ground. | 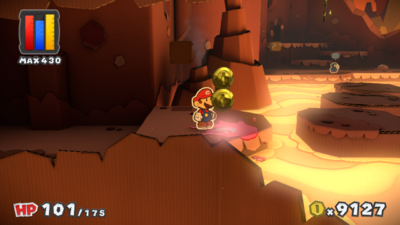
|
| In the Fire Bro area, on an uncolored path in the lava. | 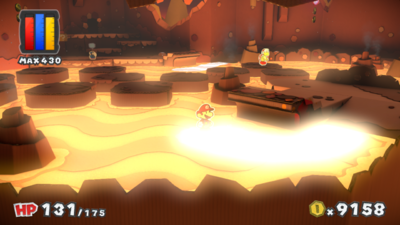
|
| In the Fire Bro area, on an uncolored path in the lava. | 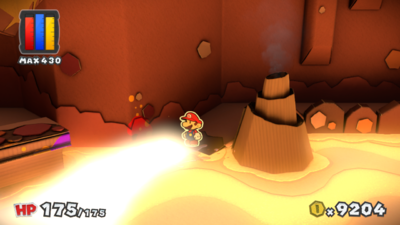
|
| In the red Mini Paint Star area, on a Warp Pipe. | 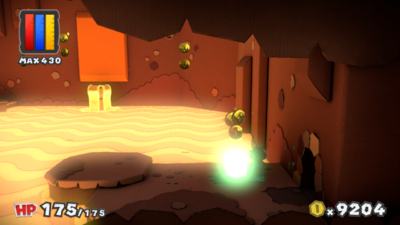
|
Redpepper Crater
| Redpepper Crater | |
|---|---|
| In the first area, on the ground. | 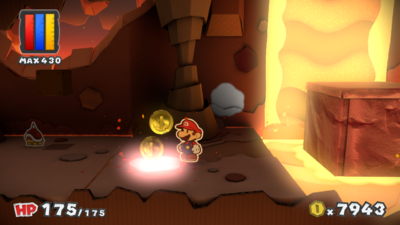
|
| In the first area, on the wall. | 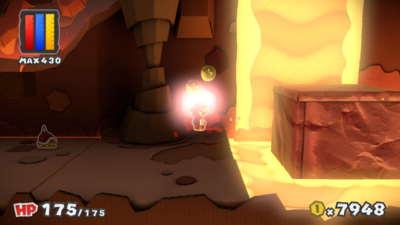
|
| In the first area, on the wall. | 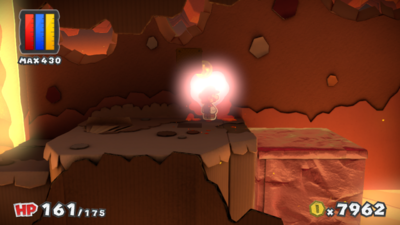
|
| In the first area, on the wall. | 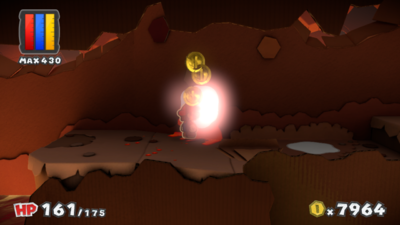
|
| In the first area, on the ground. | 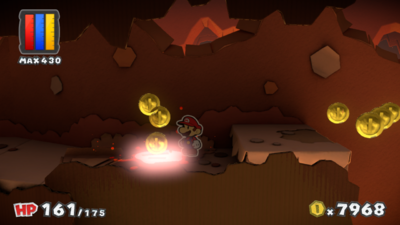
|
| In the first area, on the wall. | 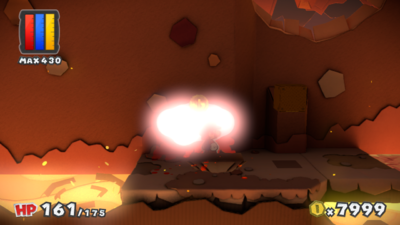
|
| In the second area, on the ground. | 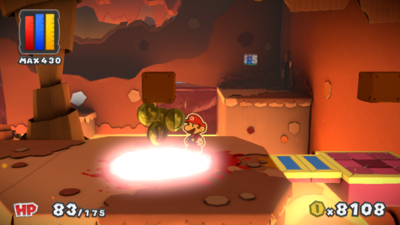
|
| In the second area, on a moving platform. | 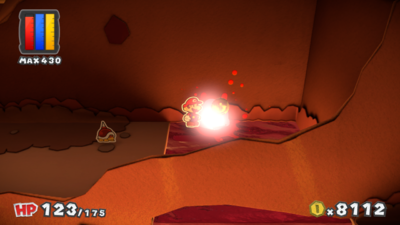
|
| In the second area, on the wall. This spot can be reached by jumping from the above area. | 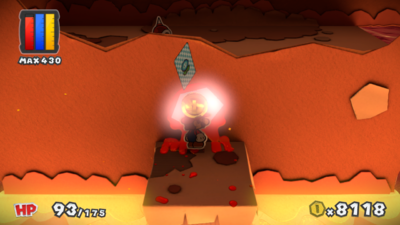
|
| In the third area, on a cardboard stalagmite. | 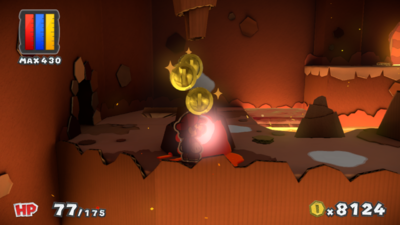
|
| In the third area, on the wall. | 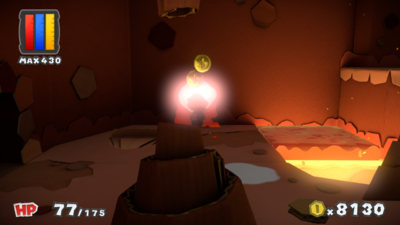
|
| In the third area, on the ground. | 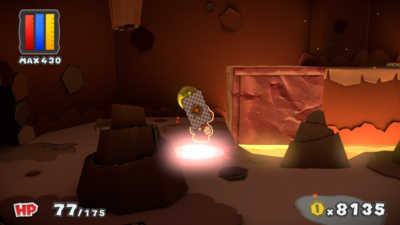
|
| In the third area, on the ground. | 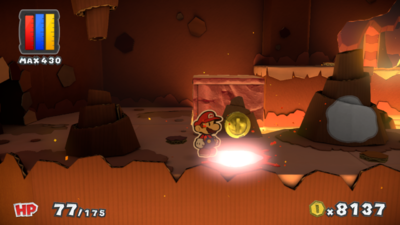
|
| In the third area, on a cardboard stalagmite. | 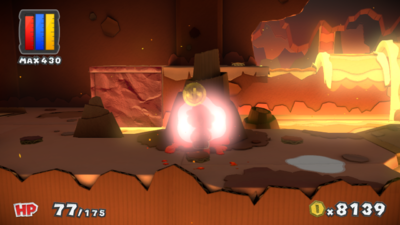
|
| In the third area, on the ground. | 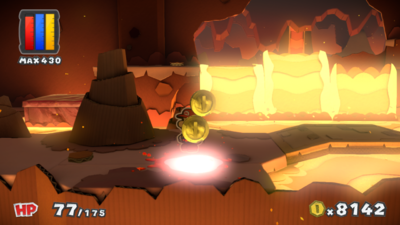
|
| In the third area, on a rock. | 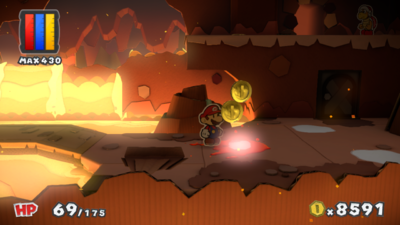
|
| In the third area, on the ground. | 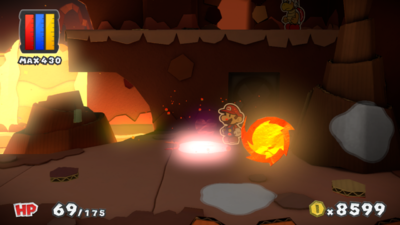
|
| In the third area, on the ground. | 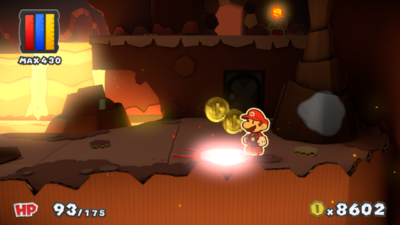
|
| In the third area, on a cardboard stalagmite. | 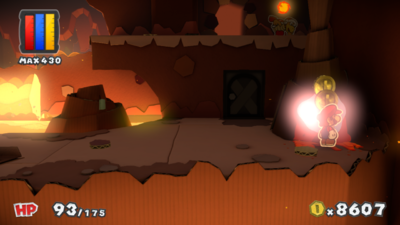
|
The Crimson Tower
| The Crimson Tower | |
|---|---|
| In the first area, on a green Toad. | 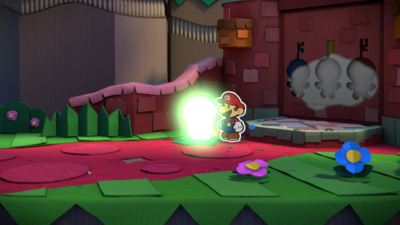
|
| In the first area, on the gate. | 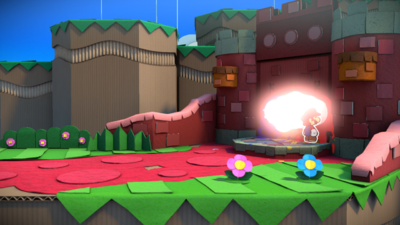
|
| In the second area, on the ground. | 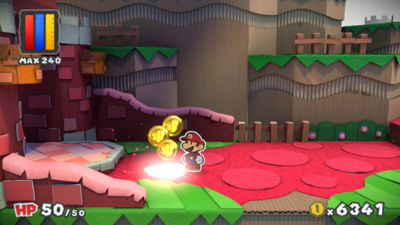
|
| In the second area, the Crimson Tower itself. | 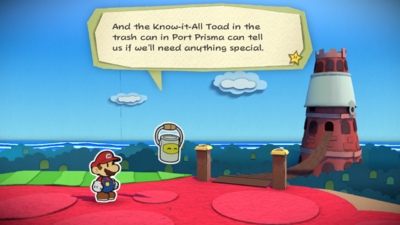
|
| In the third area, on the ground before the first conveyor belt. | 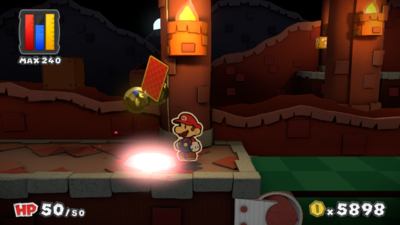
|
| In the third area, on the wall near the second conveyor belt. | 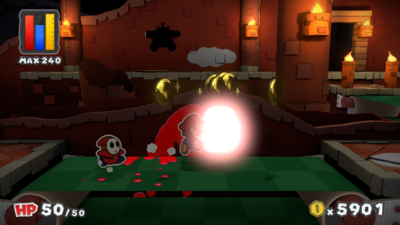
|
| In the third area, on the ground before the third conveyor belt. | 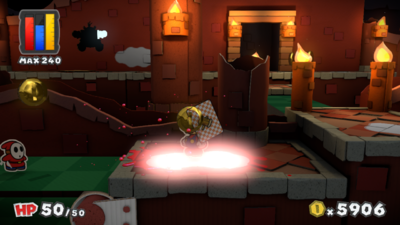
|
| In the third area, on the ground before the third conveyor belt. | 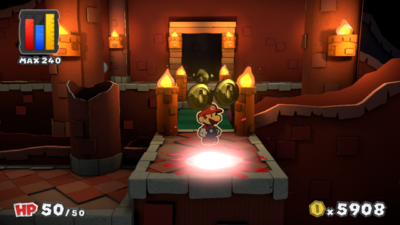
|
| In the third area, on the ground east of the staircase. | 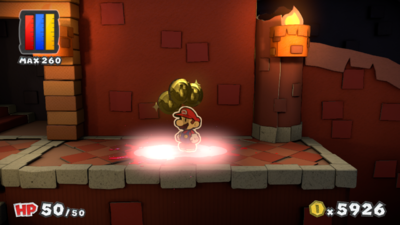
|
| In the third area, near the hole Morton leaves in the wall. | 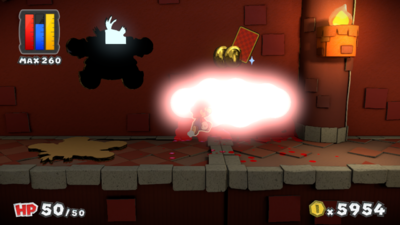
|
| In the third area, to the right of a ? Block. | 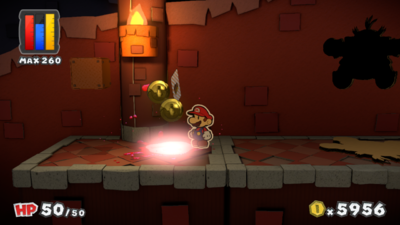
|
| In the fourth area, on a post on the third banister. | 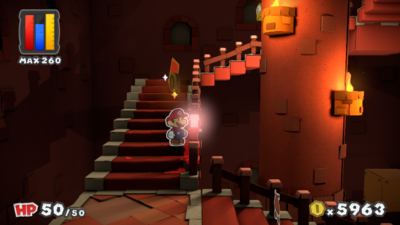
|
| In the fourth area, on a post on the fourth banister. | 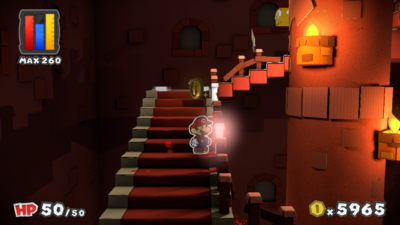
|
| In the fourth area, on a post on the fourth banister. | 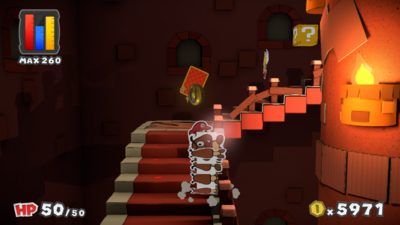
|
| In the fourth area, on a post on the fifth banister. | 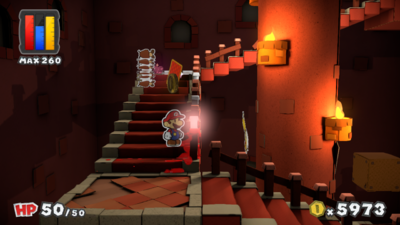
|
| In the fourth area, on a post on the fifth banister. | 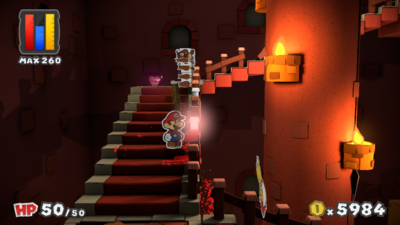
|
| In the fourth area, on a post on the fifth banister. | 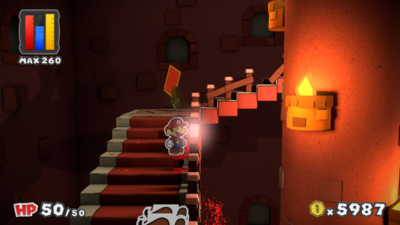
|
| In the fifth area, on the ground. | 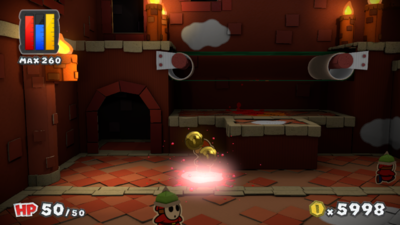
|
| In the fifth area, on the ground. | 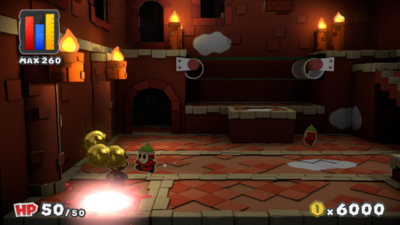
|
| In the fifth area, on the ground. | 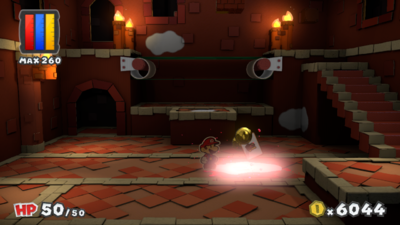
|
| In the fifth area, on the wall. | 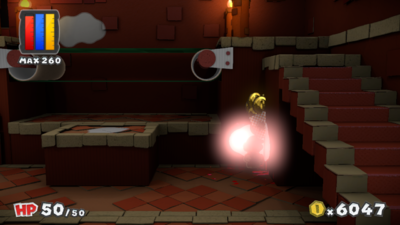
|
| In the fifth area, on the ground after jumping off the conveyor belt. | 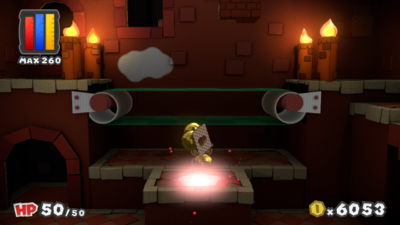
|
| In the fifth area, on the wall near the conveyor belt. | 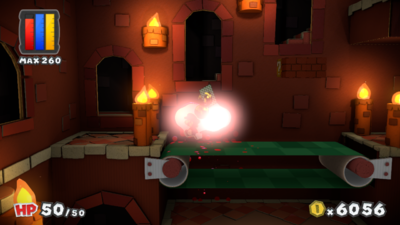
|
| In the fifth area, on a Toad. | 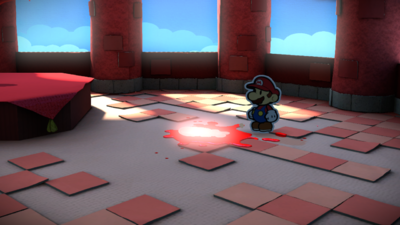
|
Sunglow Ridge
| Sunglow Ridge | |
|---|---|
| In the first area, on the gate. This spot is repainted after collecting the red Big Paint Star. | 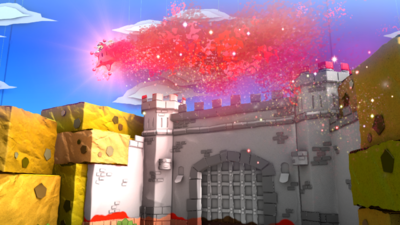
|
| In the second area, on a block. | 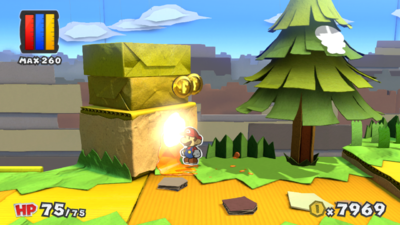
|
| In the second area, on the wall after jumping down from the ledge. | 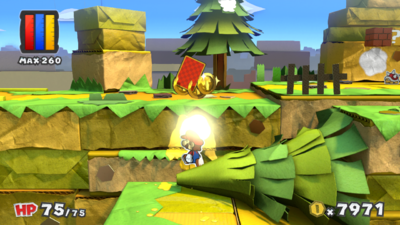
|
| In the second area, on the wall. | 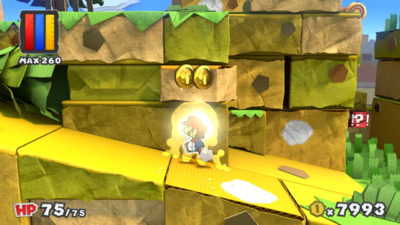
|
| In the second area, on the sloped ground.pl | 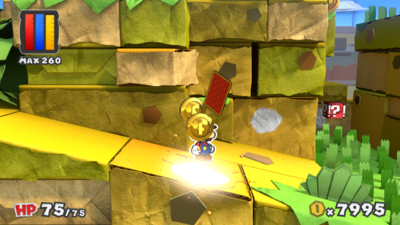
|
| In the second area, on the wall. | 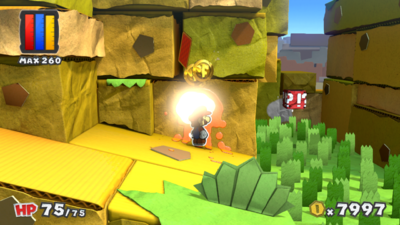
|
| In the second area, on the wall north of the Unfurl Block. | 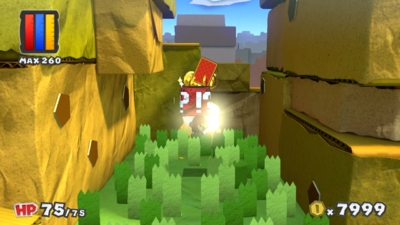
|
| In the second area, on a Toad. Mario must hammer a tree to get the Toad down first. | 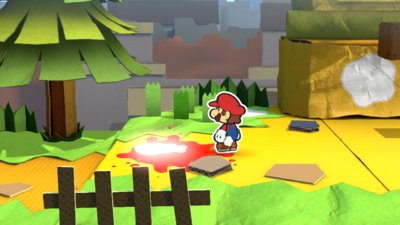
|
| In the second area, on the ground. | 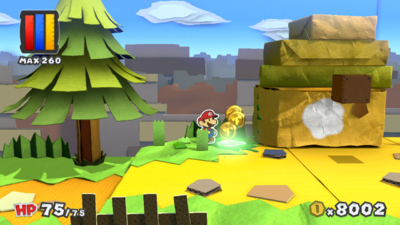
|
| In the second area, on the wall. | 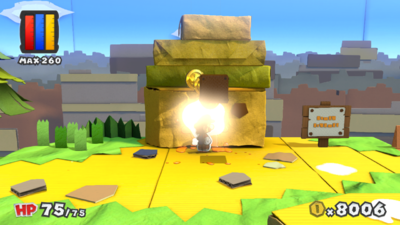
|
| In the second area, on the ground south of the sign. | 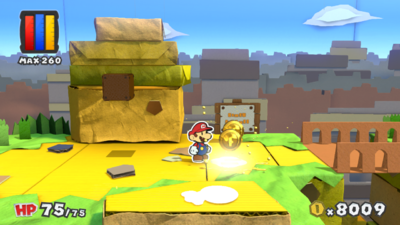
|
| In the second area, on a Toad south of the sign. | 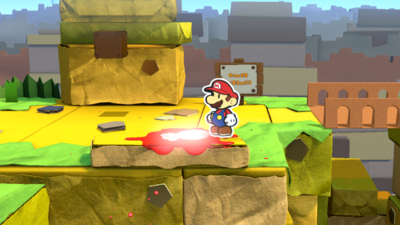
|
| In the second area, on a flower after the bridge. | 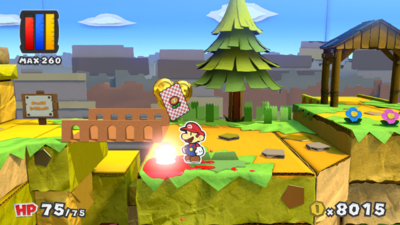
|
| In the third area, on the sign. | 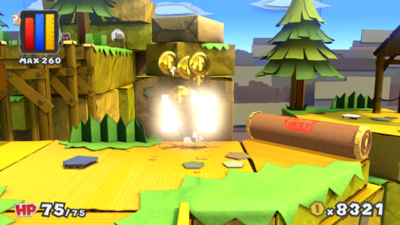
|
| In the third area, on the ground. | 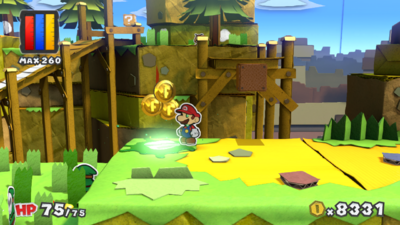
|
| In the third area, on the bridge. | 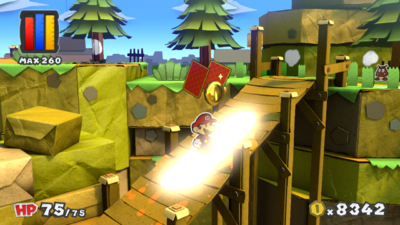
|
| In the third area, on the ground. | 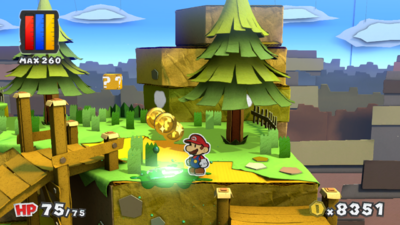
|
| In the third area, on the wall behind a tree. | 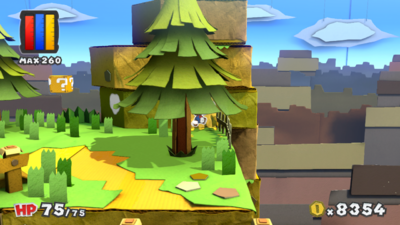
|
| In the third area, on the wall. | 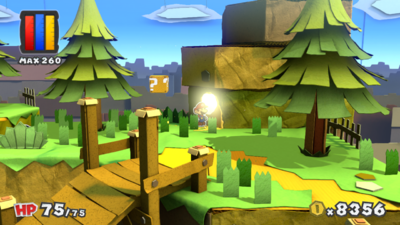
|
| In the third area, on a tree. | 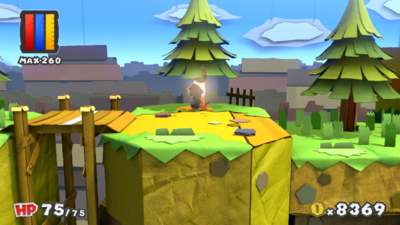
|
| In the third area, on a wooden plank on a bridge. | 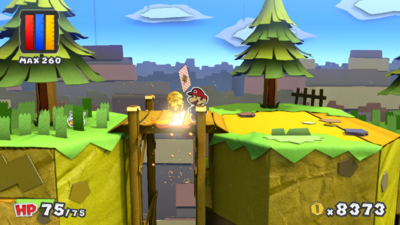
|
| In the fourth area, on the ground behind some grass. | 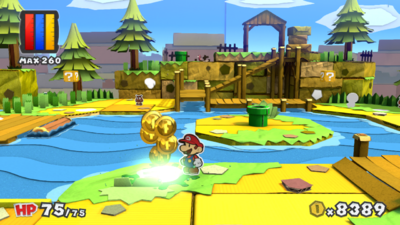
|
| In the fourth area, on the ground. | 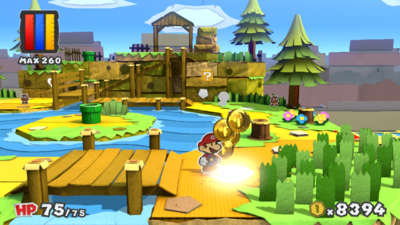
|
| In the fourth area, on the ground. | 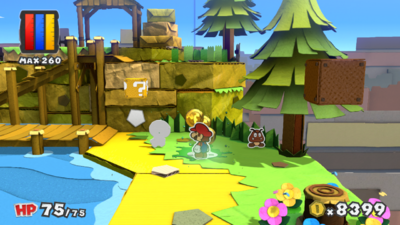
|
| In the fourth area, on a Toad. | 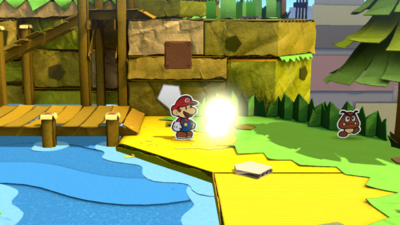
|
| In the fourth area, on the wall. | 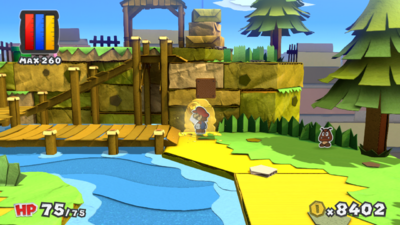
|
| In the fourth area, on the wall. | 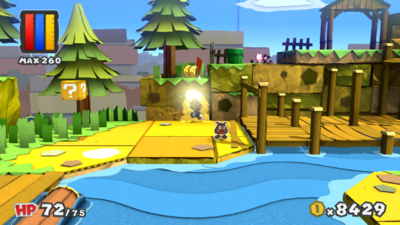
|
| In the fourth area, on the ground. | 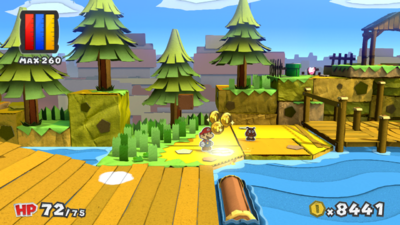
|
| In the fourth area, on the wooden slope leading to the mill. | 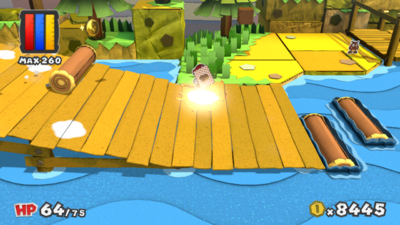
|
| In the fourth area, on the wooden slope leading to the mill. | 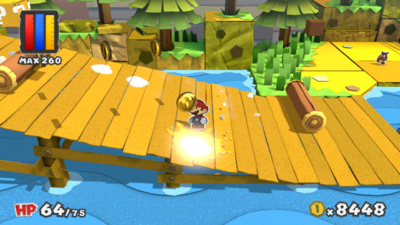
|
| In the fourth area, on the wooden slope leading to the mill. | 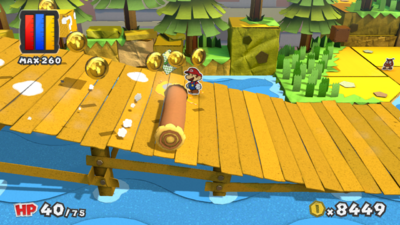
|
| In the fourth area, on the wooden slope leading to the mill. | 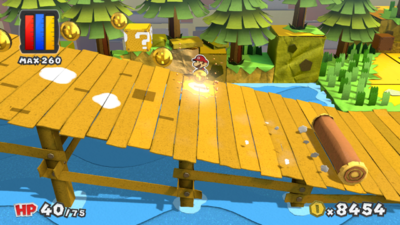
|
| In the fourth area, on the wooden slope leading to the mill. | 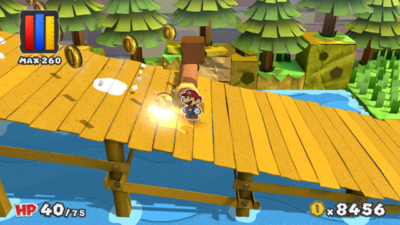
|
| In the fourth area, on the wooden slope leading to the mill. | 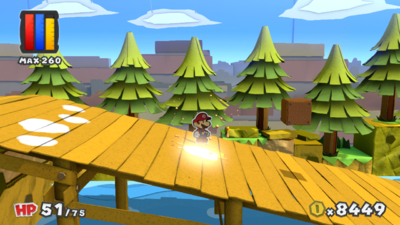
|
| In the fourth area, on the wooden slope leading to the mill. | 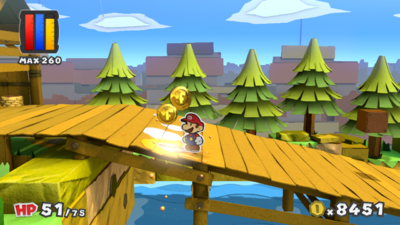
|
| In the fourth area, on the wooden slope leading to the mill. | 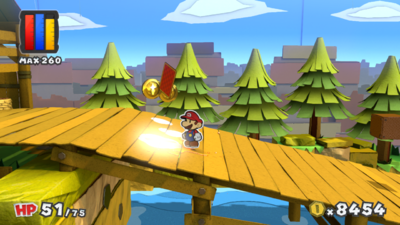
|
| In the fourth area, on the wooden slope leading to the mill. | 
|
| In the fourth area, on the wooden slope leading to the mill. | 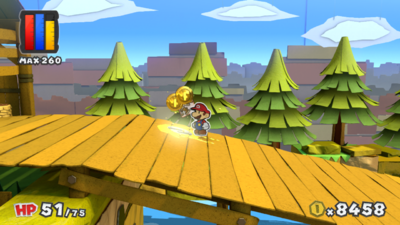
|
| In the fourth area, on a Toad in the lumber mill. | 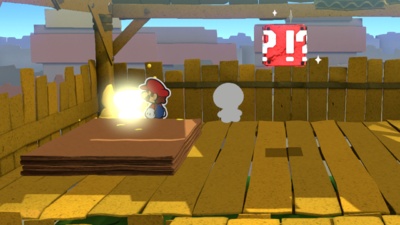
|
| In the fourth area, on a Toad in the lumber mill. | 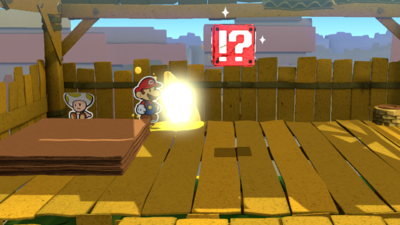
|
| In the fifth area, on the guard around the first bridge. | 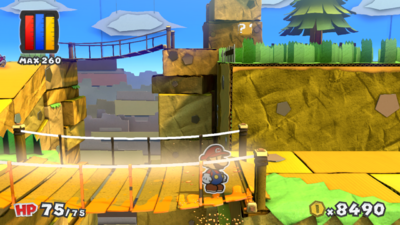
|
| In the fifth area, on the guard around the first bridge. | 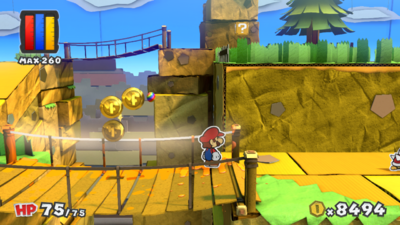
|
| In the fifth area, on the ground. | 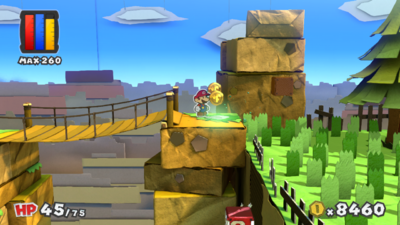
|
| In the fifth area, on the ground in a cave. | 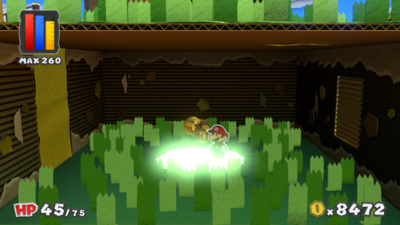
|
Daffodil Peak
| Daffodil Peak | |
|---|---|
| In the first area, on the ground. | 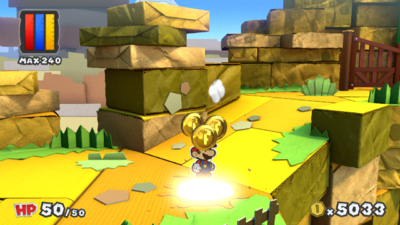
|
| In the first area, on the wall. | 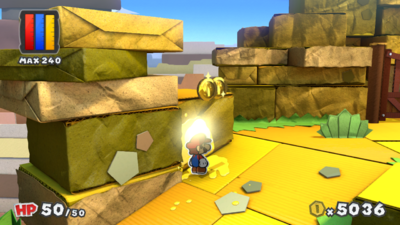
|
| In the first area, on the wall past the gate. | 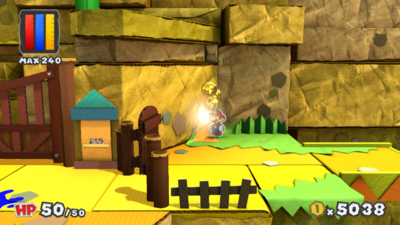
|
| In the cabin, under the rug. Mario must hammer the rug to flip it over first. | 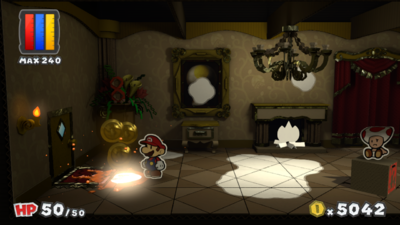
|
| In the cabin, between the dresser and the potted plant. | 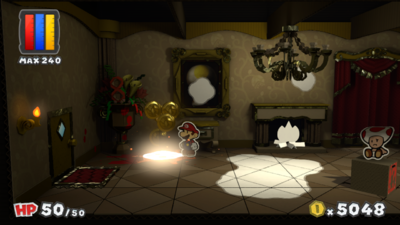
|
| In the cabin, on the painting. | 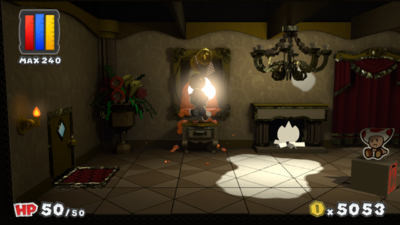
|
| In the cabin, on the ground. | 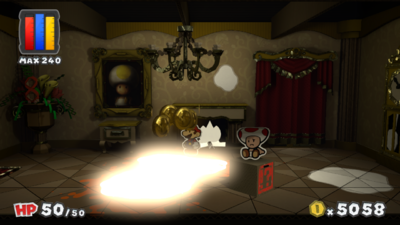
|
| In the cabin, on the fire in the fireplace. | 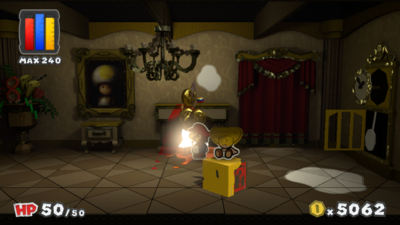
|
| In the cabin, on the wall above the fireplace. | 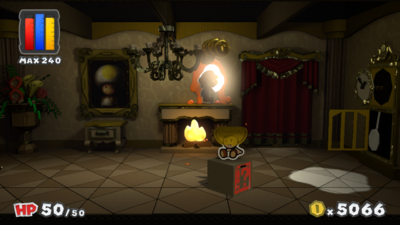
|
| In the cabin, on the ground. | 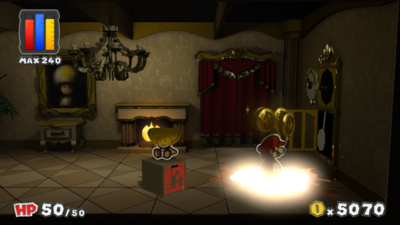
|
| In the cabin, on the clock. | 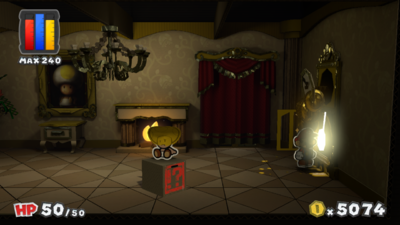
|
| In the cabin, past the window. | 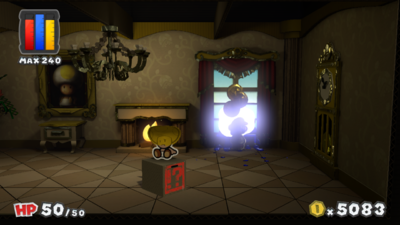
|
| In the cabin, on the chair. | 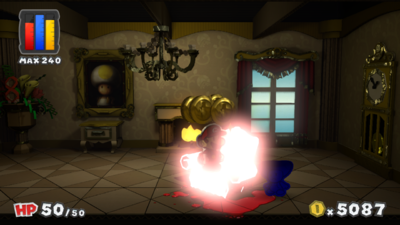
|
| In the second area, under the first ? Block. | 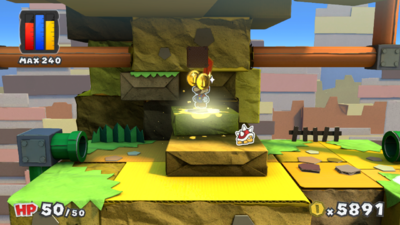
|
| In the second area, south of the pipe entrance. | 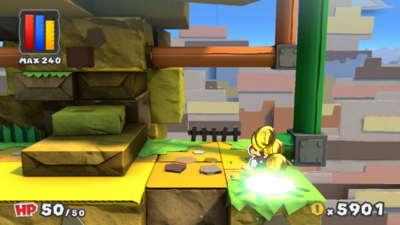
|
| In the second area, south of the exit to the first pipe. | 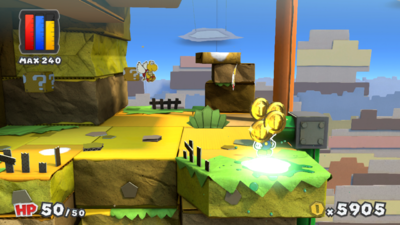
|
| In the second area, on the ground behind a bush. | 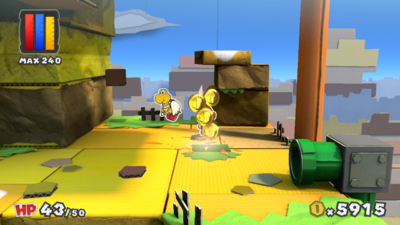
|
| In the second area, on the ground. | 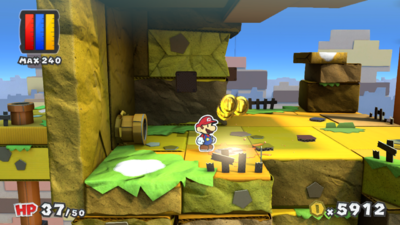
|
| In the second area, on the ground south of the yellow pipe. | 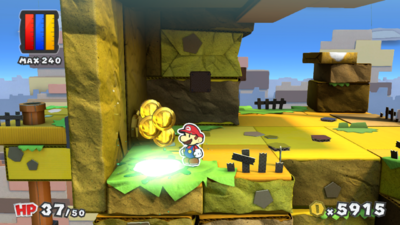
|
| In the second area, on the ground. | 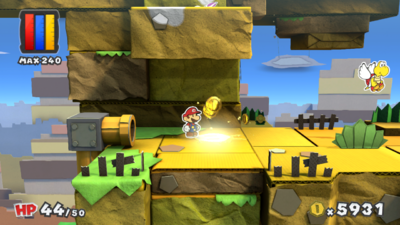
|
| In the second area, on the ground, hidden from view until Mario steps onto a lower platform. | 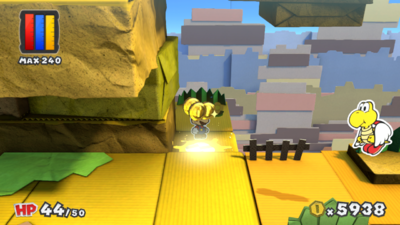
|
| In the second area, on a flower. | 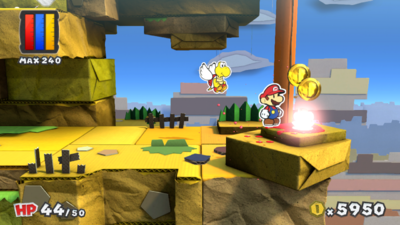
|
| In the second area, on top of a rock formation. This spot can be reached by jumping down from the area directly above it. | 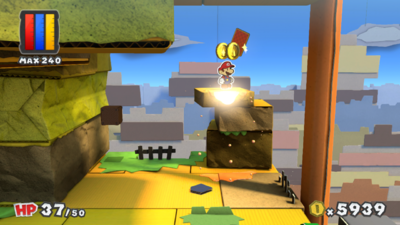
|
| In the second area, on a Toad. This Toad can be found by going behind the mountain and dropping behind it. | 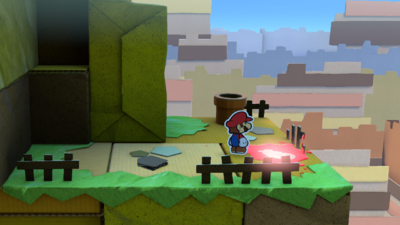
|
| In the second area, on the wall of the area with the Rescue Squad Toad. | 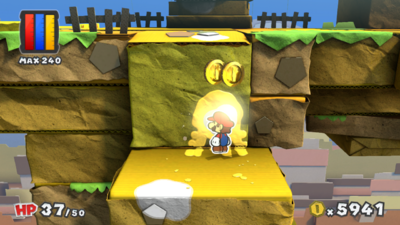
|
| In the second area, on the ground and wall of the area with the Rescue Squad Toad. | 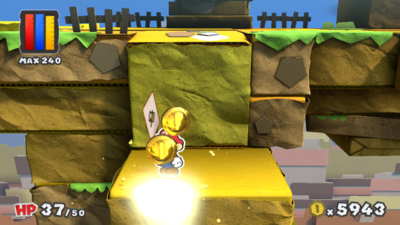
|
| In the second area, on the ground. | 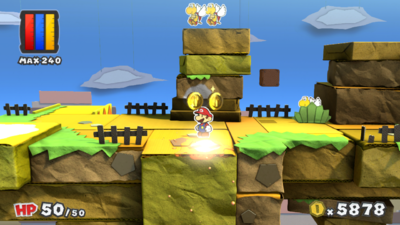
|
| In the second area, on the wall. | 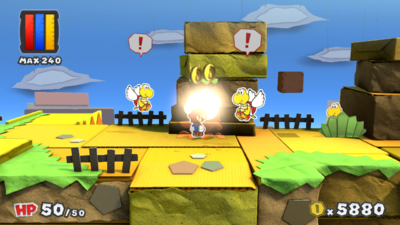
|
| In the second area, on the ground. | 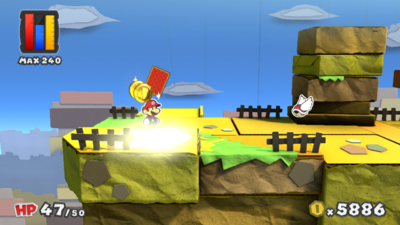
|
| In the third area, on the ground. | 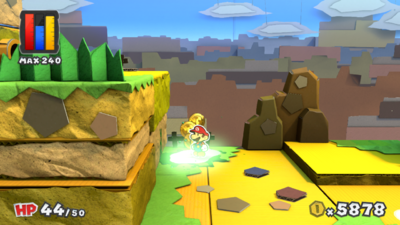
|
| In the third area, on the ground. | 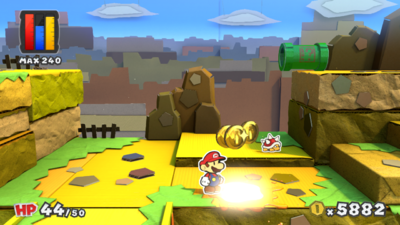
|
| In the third area, on the ground. | 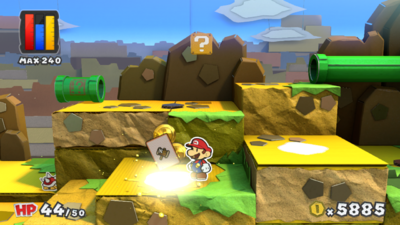
|
| In the third area, on the ground. | 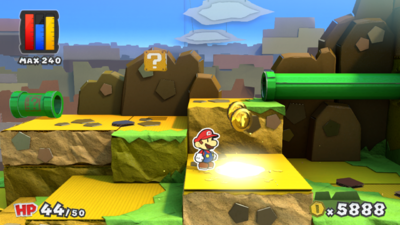
|
| In the third area, on the ground to the left of the first pipe's exit. | 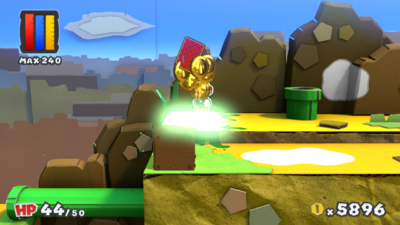
|
| In the third area, on the ground east of an ? Block. | 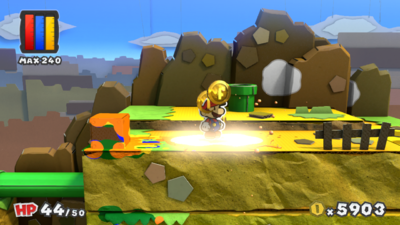
|
| In the third area, on the wall. | 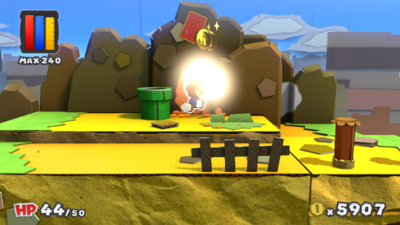
|
| In the third area, on the wall. | 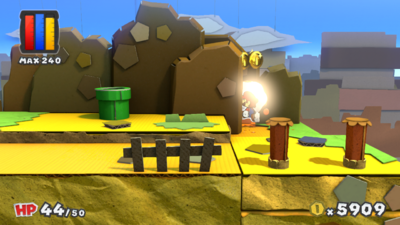
|
| In the third area, on the ground after the unfurled pipe. | 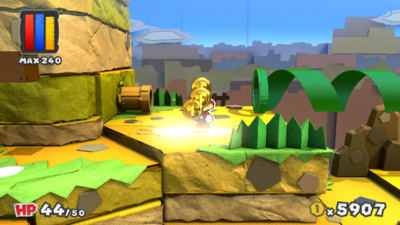
|
| In the third area, on the ground. | 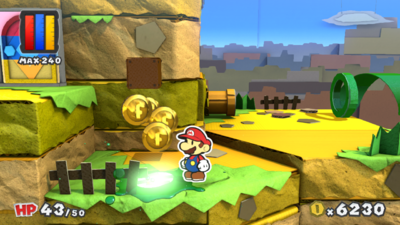
|
| In the third area, near the Spinning-Door. | 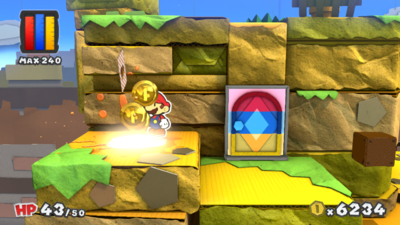
|
| In the fourth area, near the rightmost pipe. | 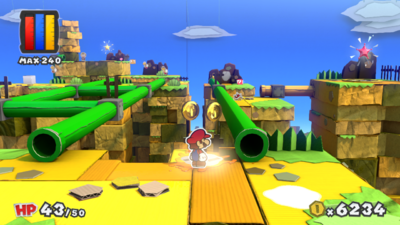
|
| In the fourth area, near the rightmost pipe. | 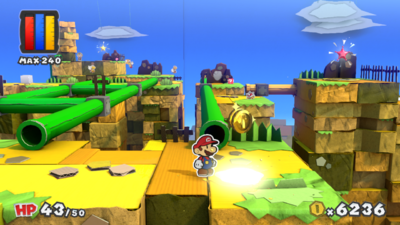
|
| In the fourth area, on the wall of the area with the Unfurl Block. | 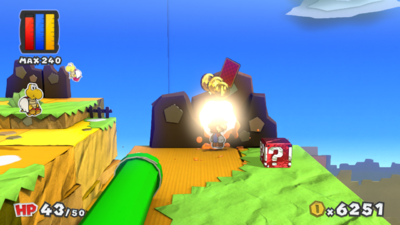
|
| In the fourth area, on the ground accessible from entering an orange pipe. | 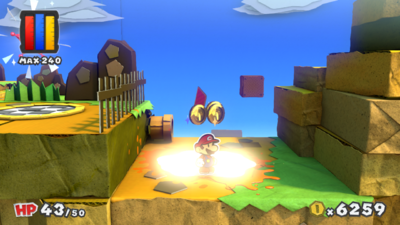
|
| In the fourth area, on the ground neat the leftmost pipe. | 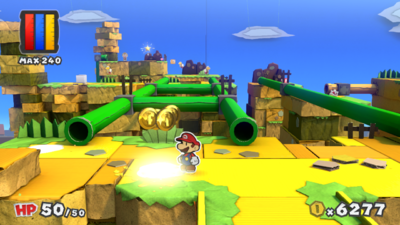
|
| In the fourth area, on the ground near the leftmost pipe. | 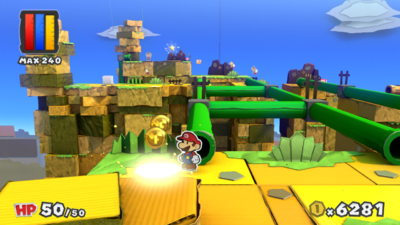
|
| In the fourth area, on the ground after entering the leftmost pipe. | 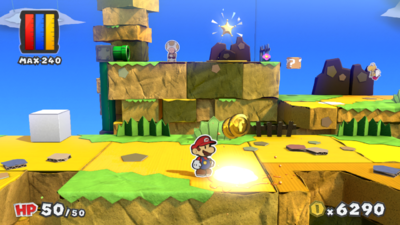
|
| In the fourth area, on the ground after entering the leftmost pipe. | 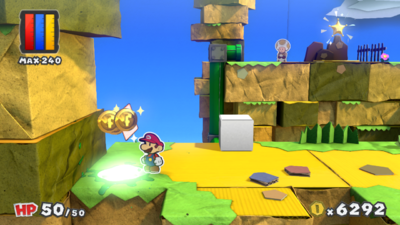
|
| In the fourth area, on an Unfurl Block. | 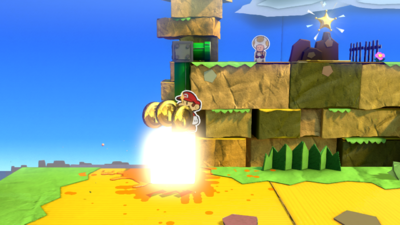
|
| In the fourth area, on the ground after entering the middle pipe. | 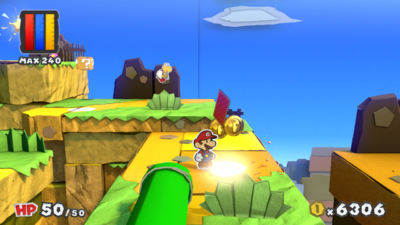
|
| In the fourth area, on the ground after entering the middle pipe. | 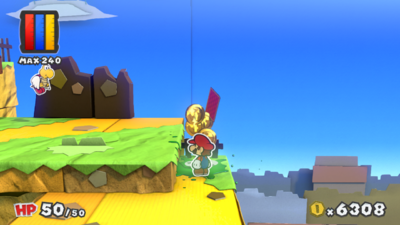
|
| In the fourth area, on the ground after entering the middle pipe. | 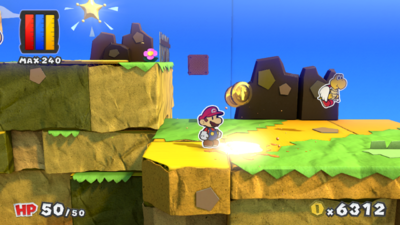
|
| In the first area, on the gatekeeper's head. | 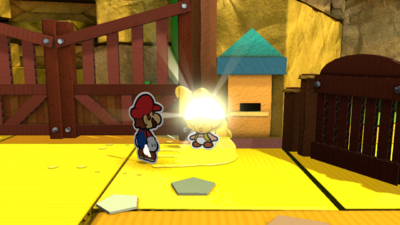
|
Château Chanterelle
| Château Chanterelle | |
|---|---|
| In front of the house, on the ground. | 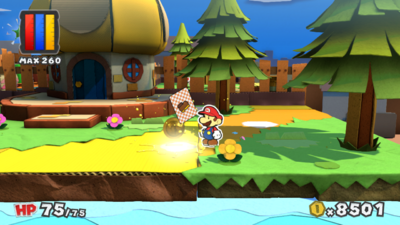
|
| In front of the house, on the ground. | 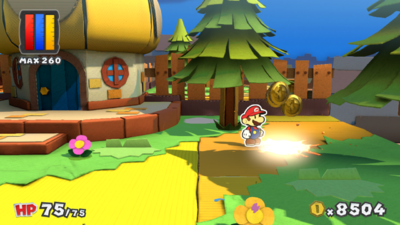
|
| In front of the house, on the ground. | 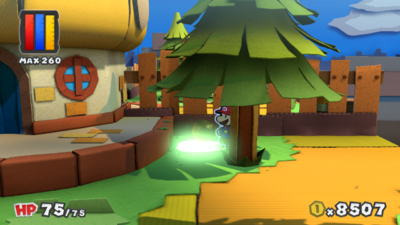
|
| Behind the house, on the fence near the barn. | 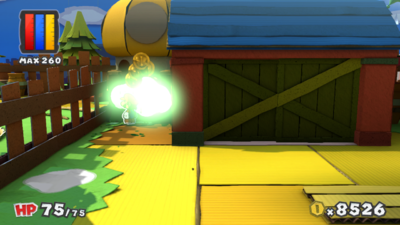
|
| Behind the house, on the ground. | 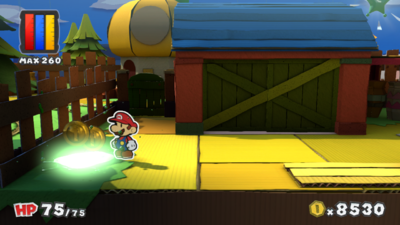
|
| Behind the house, on the ground. | 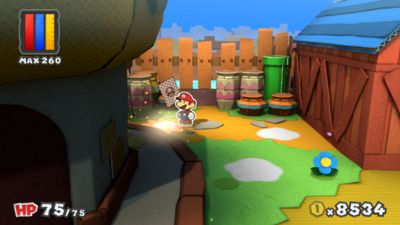
|
| Behind the house, on the ground. | 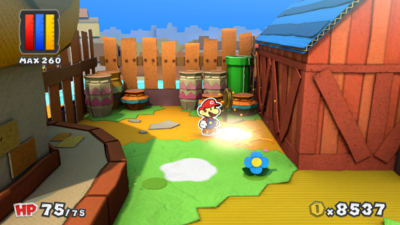
|
| Behind the house, on the ground. | 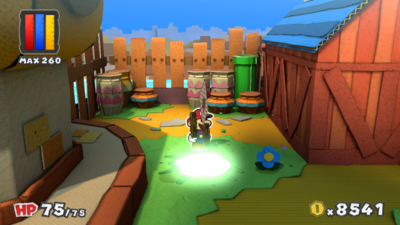
|
Mustard Café
| Mustard Café | |
|---|---|
| In the first area, on the ground. | 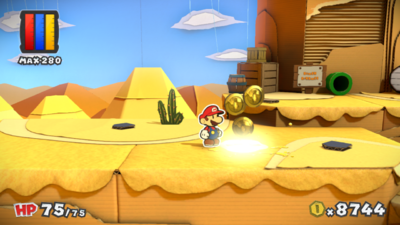
|
| In the first area, on the wall north of the giant colorless spot. | 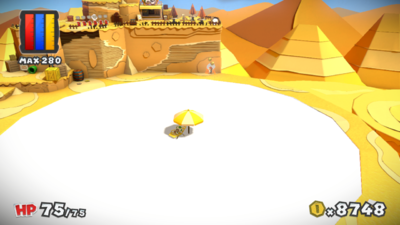
|
| In the first area, on a barrel lid near the pipe to the cafe entrance. | 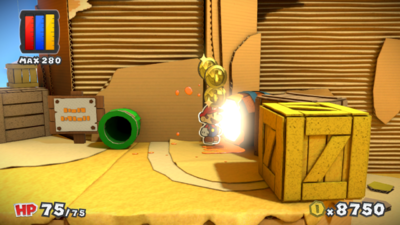
|
| In the first area, on the ground west of the cafe exit pipe. | 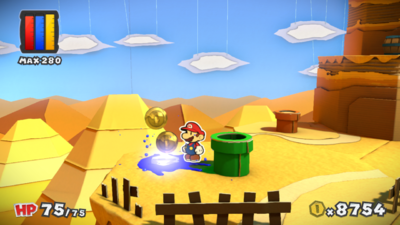
|
| In the first area, on the wall near the cafe entrance. | 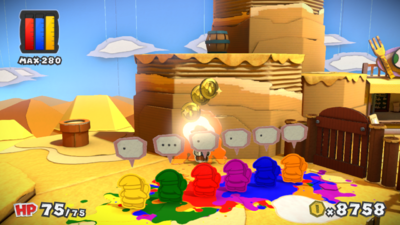
|
| In the first area, on the ground near the cafe entrance. | 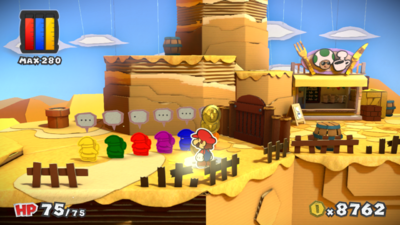
|
| In the first area, on the giant hole. This spot is repainted by collecting the purple Big Paint Star. | 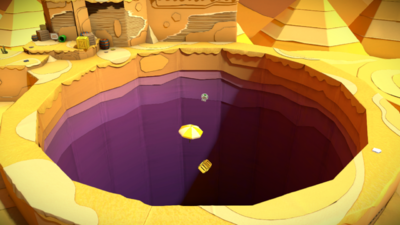
|
| In the second area, on a Warp Pipe. | 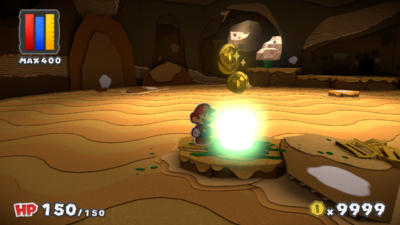
|
| In the second area, on the ground. | 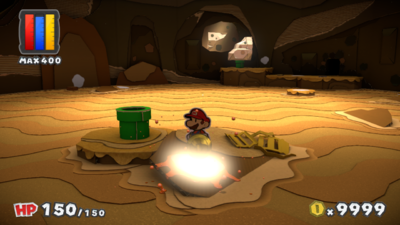
|
| In the second area, on the ground. | 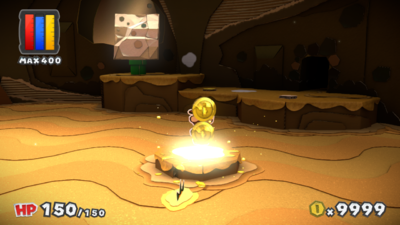
|
| In the second area, on the wall. | 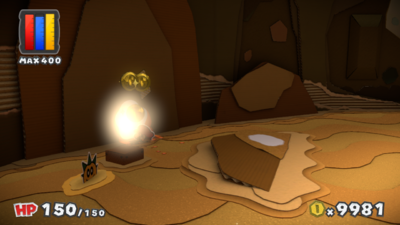
|
| In the second area, on the ground. | 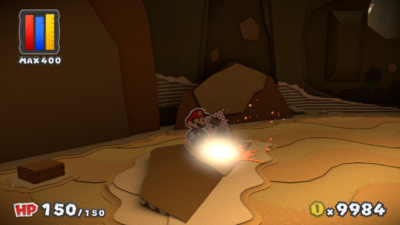
|
| In the second area, on the wall. | 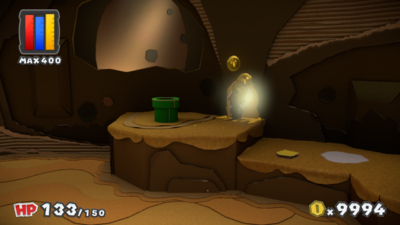
|
| In the second area, on the wall. | 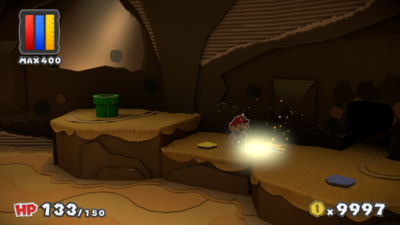
|
| In the third area, on the wall. | 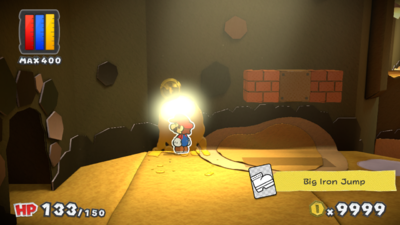
|
| In the third area, on the ground. | 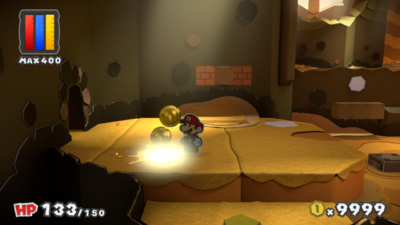
|
| In the third area, on the ground. | 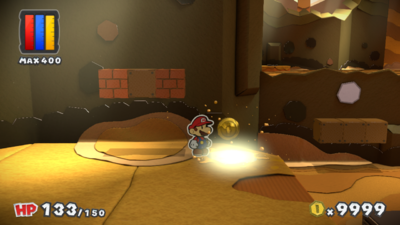
|
| In the third area, on the wall. | 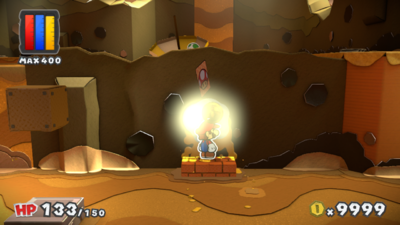
|
| In the third area, on the wall. | 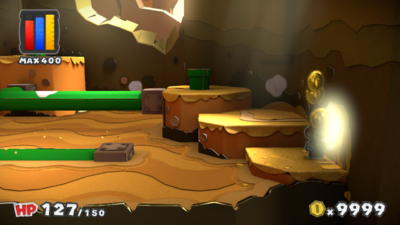
|
| In the third area, on the wall. | 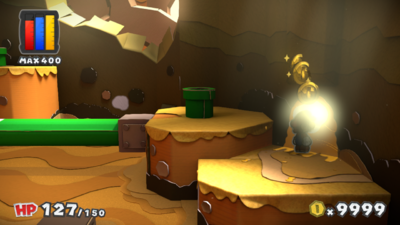
|
| In the third area, on a Warp Pipe. | 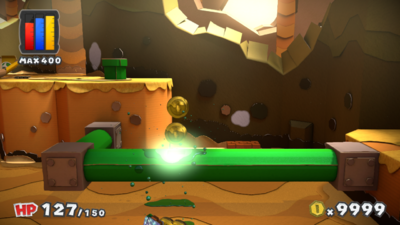
|
| In the third area, on the wall. | 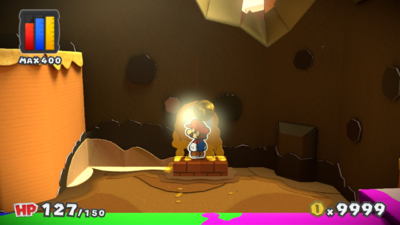
|
| In the third area, on the wall. | 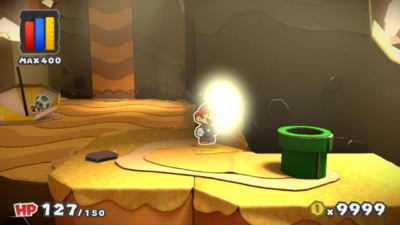
|
| In the third area, on the wall after jumping down from a higher area. | 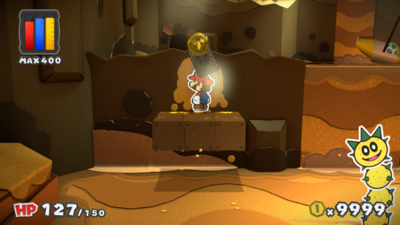
|
| In the fourth area, on the ground. | 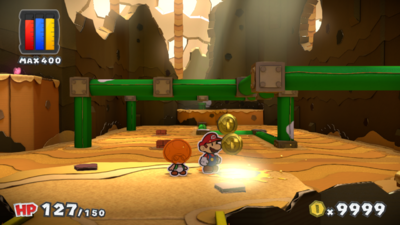
|
| In the fourth area, on the ground. | 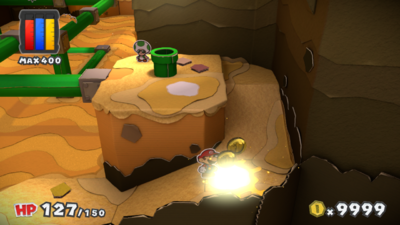
|
| In the fourth area, on the ground. | 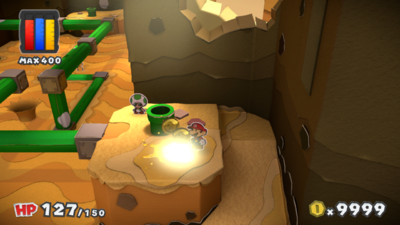
|
| In the fourth area, on a vertical pipe. | 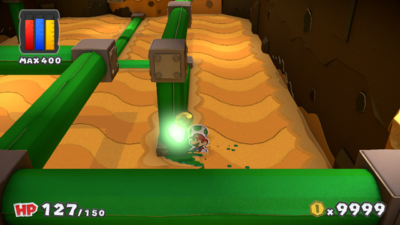
|
| In the fourth area, on a square pipe section. | 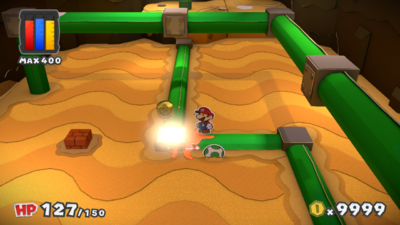
|
| In the fourth area, on a horizontal pipe. | 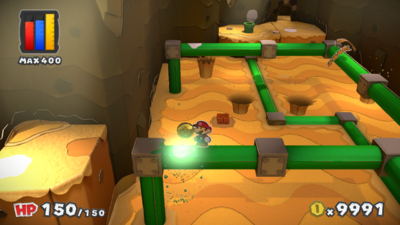
|
| In the fourth area, on the ground. | 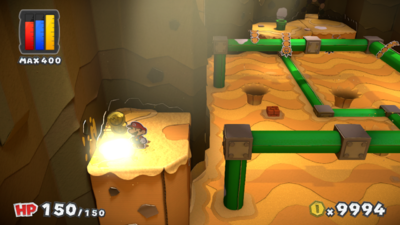
|
| In the fourth area, on the wall. This spot can only be reached after using the Paint Hammer off the edge of the pipe. | 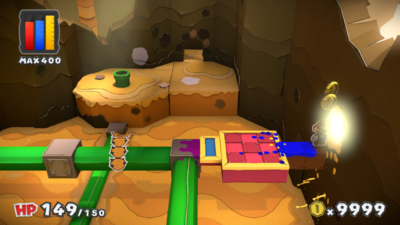
|
| In the fourth area, on a horizontal pipe. | 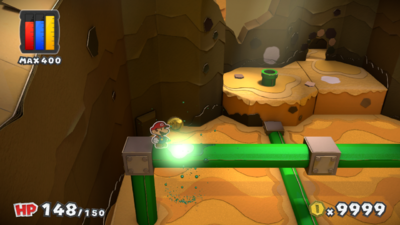
|
| In the fourth area, on a vertical pipe. | 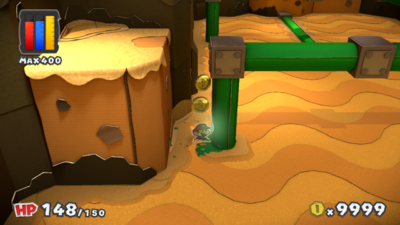
|
| In the fourth area, on the wall. | 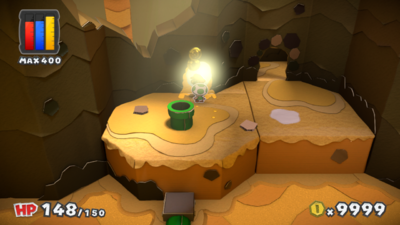
|
| In the fourth area, on the ground. | 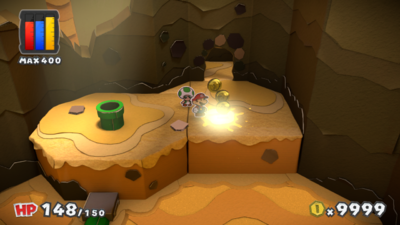
|
| In the fifth area, on the ground. | 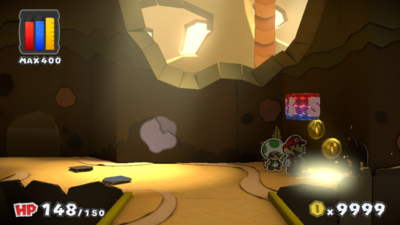
|
| In the fifth area, on the wall. | 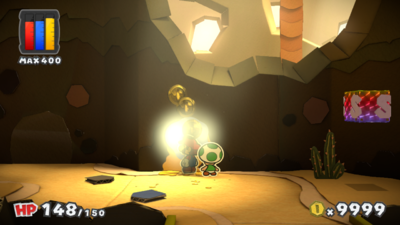
|
| In the fifth area, on a pipe. | 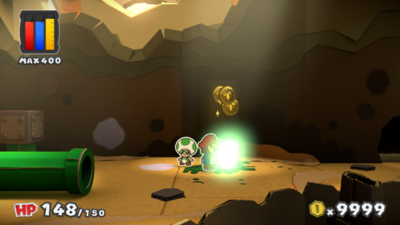
|
| In the fifth area, on the ground. | 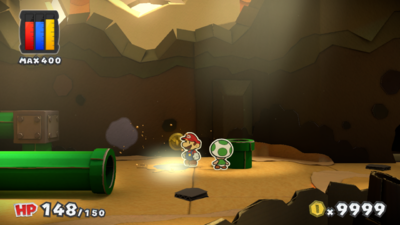
|
| In the fifth area, on the wall. | 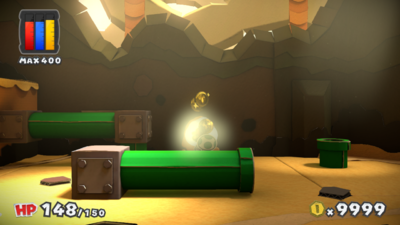
|
| In the fifth area, on the ground. | 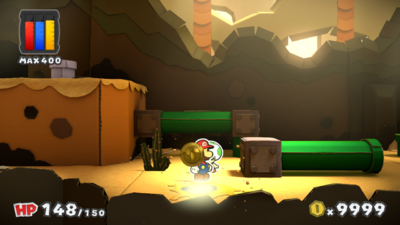
|
| In the fifth area, on the wall. | 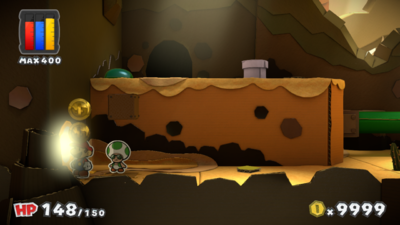
|
| In the fifth area, on a pipe. | 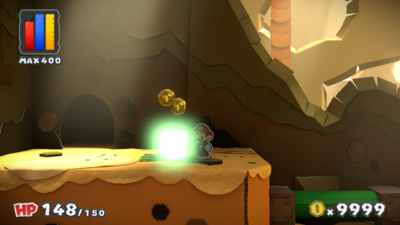
|
| On floor B2, on the wall. | 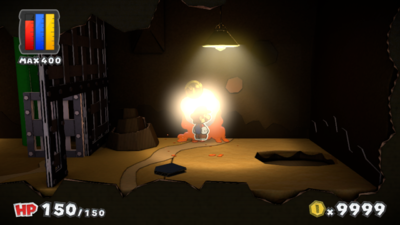
|
| On floor B2, on the wall. | 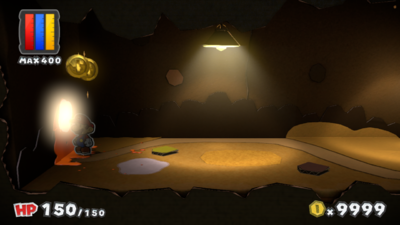
|
| On floor B2, on the ground. | 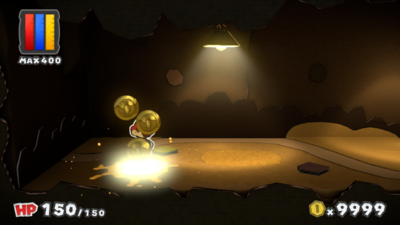
|
| On floor B3, on the wall. | 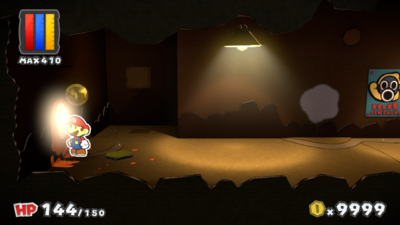
|
| On floor B3, on the wall. | 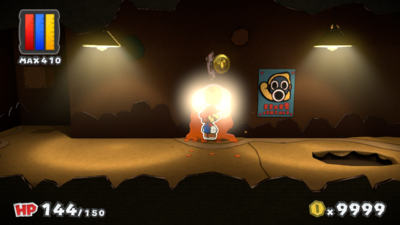
|
| On floor B4, on the wall. | 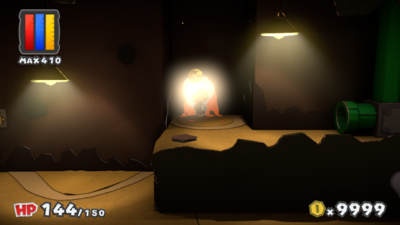
|
| On floor B4, on the wall. | 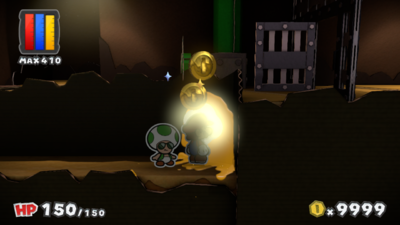
|
| On floor B4, on the ground. | 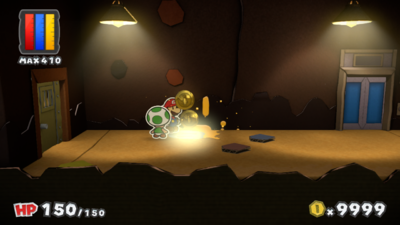
|
| In the first area, on a Toad in the cafe. | 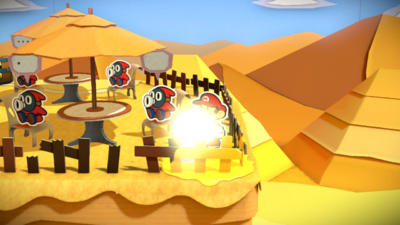
|
| In the first area, on a rock. | 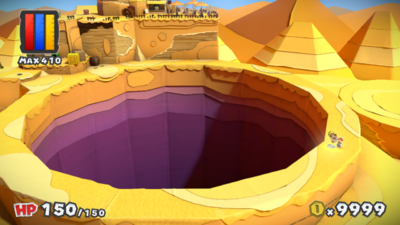
|
The Golden Coliseum
| The Golden Coliseum | |
|---|---|
| In the lobby, on the ground. | 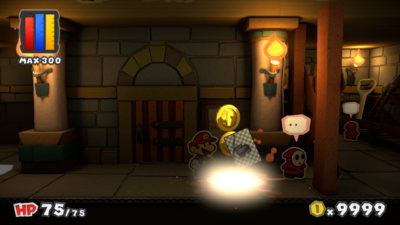
|
| In the lobby, on the ground. | 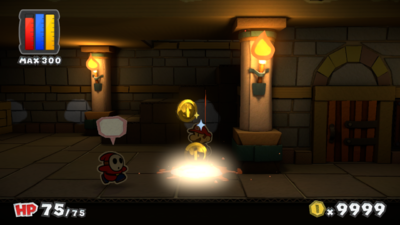
|
| In the lobby, on the wall. | 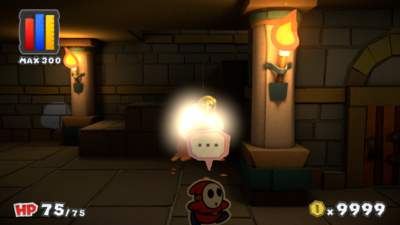
|
| In the lobby, on the wall. | 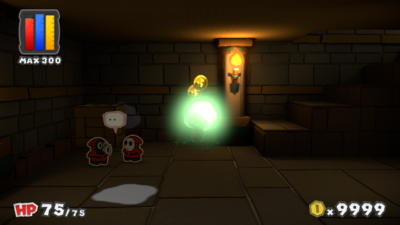
|
| In the lobby, on the wall behind a crate. | 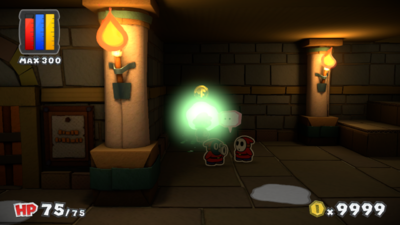
|
| In the lobby, on the ground. | 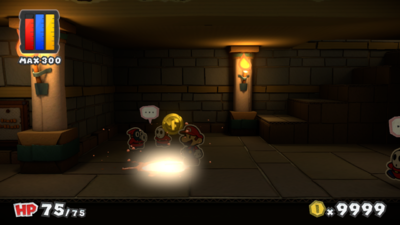
|
| In the lobby, on the ground. | 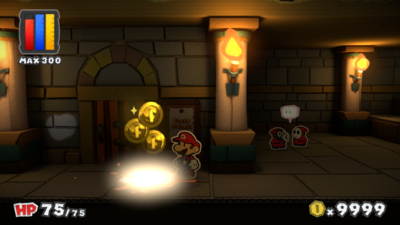
|
| In the lobby, on the wall. | 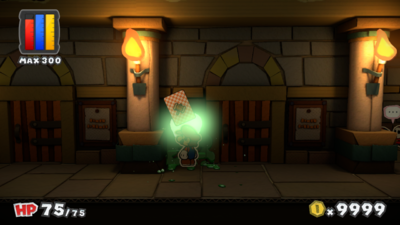
|
| In the lobby, on the wall. | 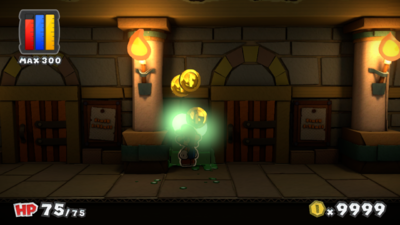
|
| In the 3rd level of the stands, on the wall. | 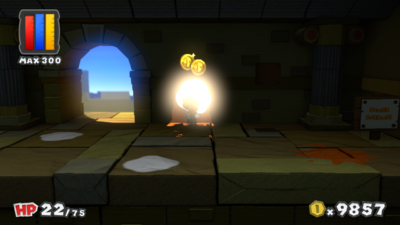
|
| In the 3rd level of the stands, on the ground. | 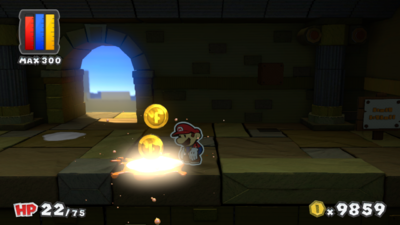
|
| In the 3rd level of the stands, on the ground. | 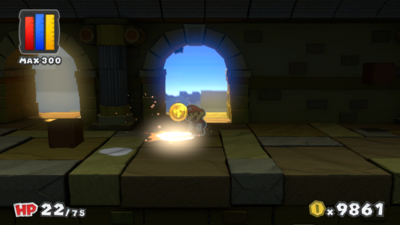
|
| In the 3rd level of the stands, on the ground. | 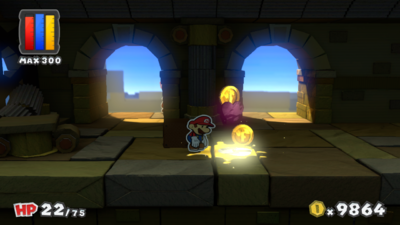
|
| In the 3rd level of the stands, on the wall. | 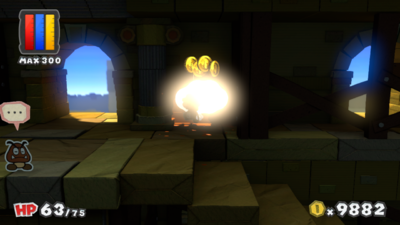
|
| In the 3rd level of the stands, on the ground. | 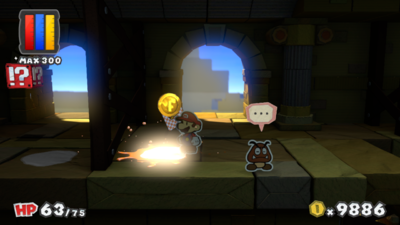
|
| In the 3rd level of the stands, on the ground. | 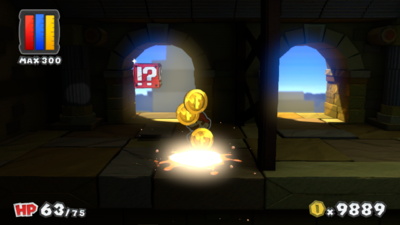
|
| In the 3rd level of the stands, on a pillar. | 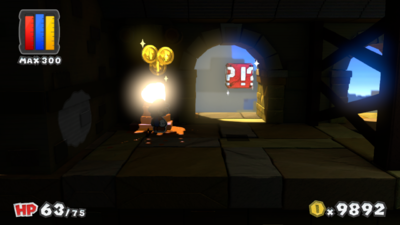
|
| In the 3rd level of the stands, on the wall. | 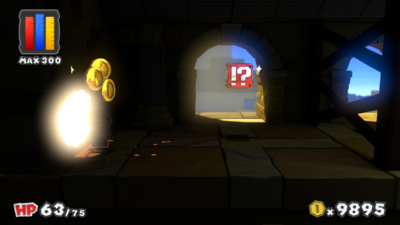
|
| In the 2nd level of the stands, on the wall. | 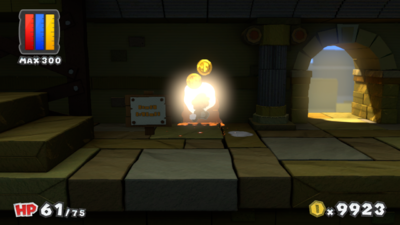
|
| In the 2nd level of the stands, on the ground. | 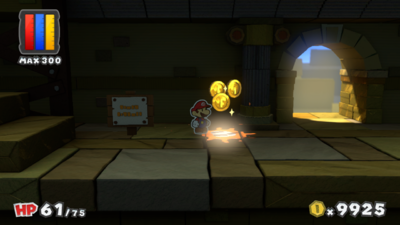
|
| In the 2nd level of the stands, on a crate. | 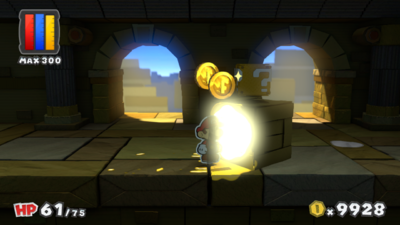
|
| In the 2nd level of the stands, on the ground. | 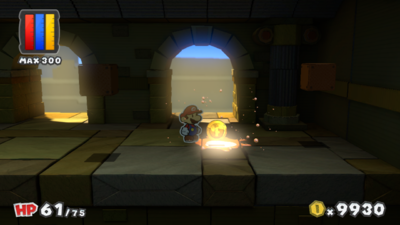
|
| In the 1st level of the stands, on the wall. | 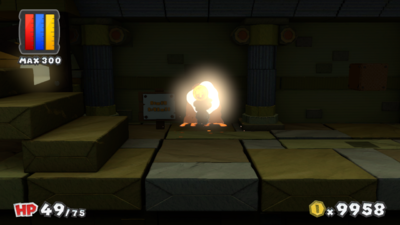
|
| In the 1st level of the stands, on the ground. | 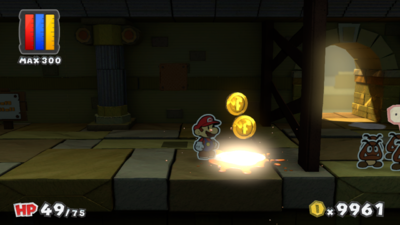
|
| In the 1st level of the stands, on the ground. | 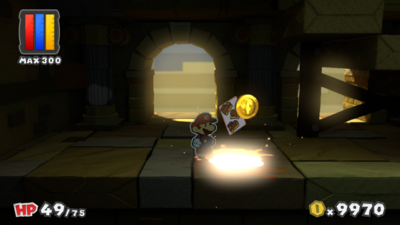
|
| In the 1st level of the stands, on a pillar. | 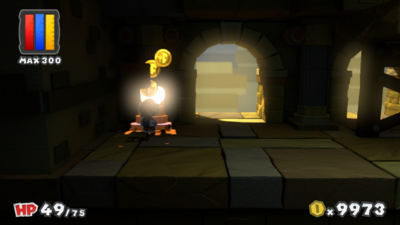
|
| In the 1st level of the stands, on the ground. | 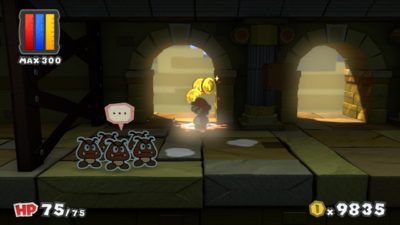
|
| In the 1st level of the stands, on the ground. | 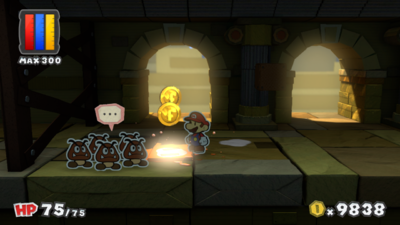
|
| In the 1st level of the stands, on the ground. | 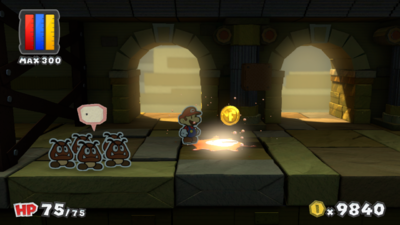
|
| In the 1st level of the stands, on the ground. | 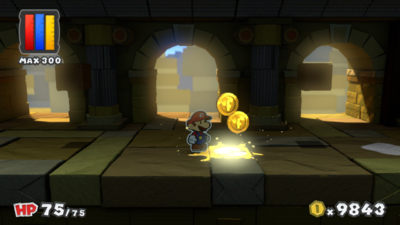
|
| In the 1st level of the stands, on the ground. | 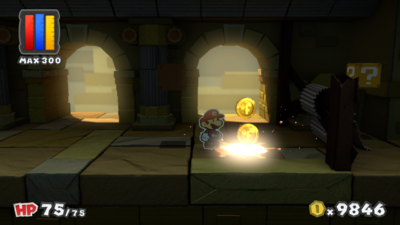
|
Indigo Underground
| Indigo Underground | |
|---|---|
| In the first area, south of the fence. | 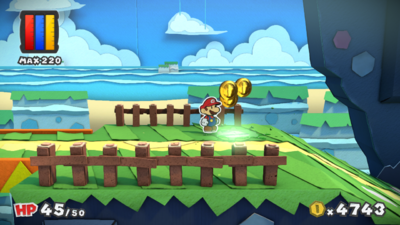
|
| In the first area, on the sloped ground. | 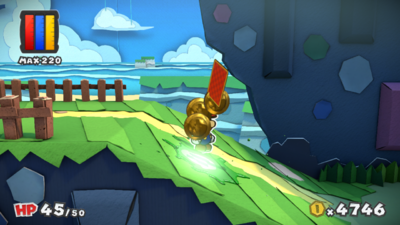
|
| In the first area, on the sloped ground. | 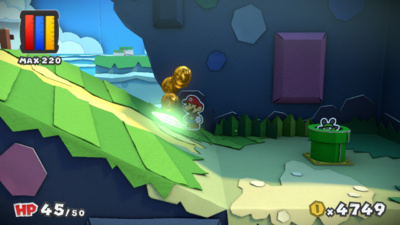
|
| In the second area, on a square-shaped part of the wall. | 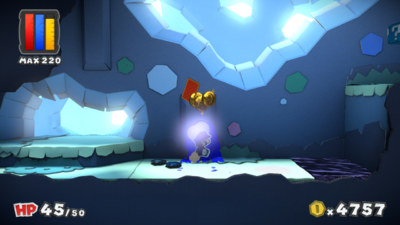
|
| In the second area, before the first moving block. | 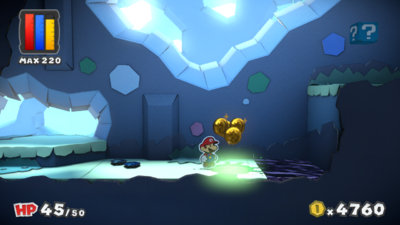
|
| In the second area, below the first ? Block. | 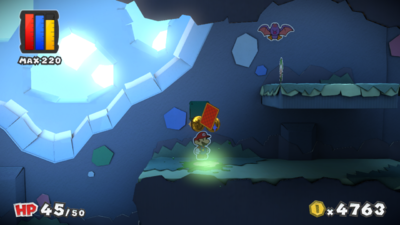
|
| In the second area, on the ground near three Swoops. | 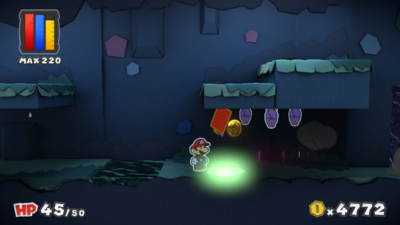
|
| In the second area, on the wall near three Swoops. | 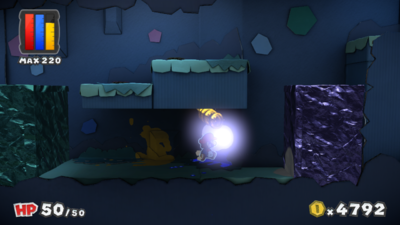
|
| In the second area, on the third moving block. | 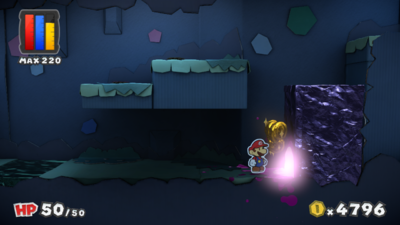
|
| In the second area, on the ground after the third moving block. | 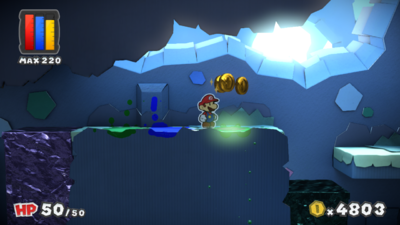
|
| In the second area, on the wall in a hidden alcove that can be accessed by walking behind the fourth moving block. | 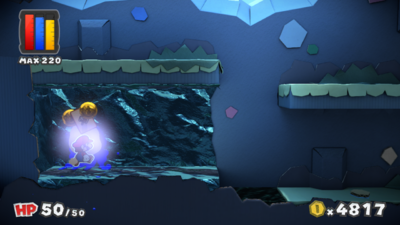
|
| In the second area, on a diamond-shaped spot on the wall. | 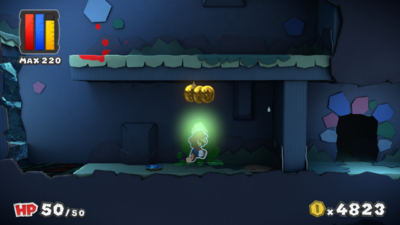
|
| In the second area, on the ground. | 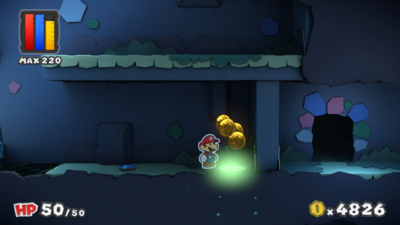
|
| In the second area, on the wall and only accessible from the top of green moving block. | 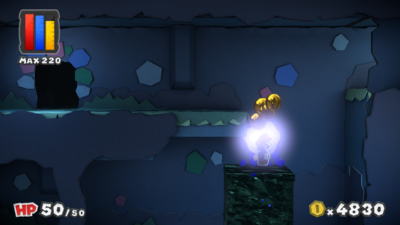
|
| In the second area, in a secret alcove to the right. | 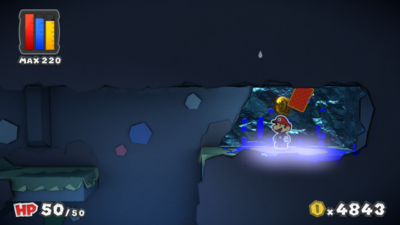
|
| In the third area, on the ground to the far west. | 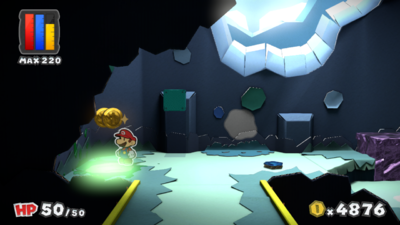
|
| In the third area, on the wall. | 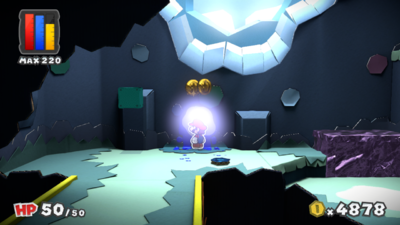
|
| In the third area, on the ground south of the first moving block. | 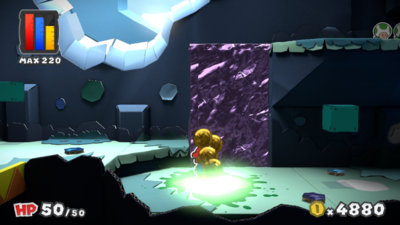
|
| In the third area, on the ground below a ? Block. | 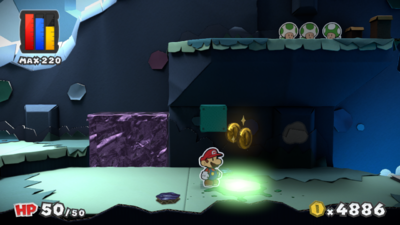
|
| In the third area, on the wall. | 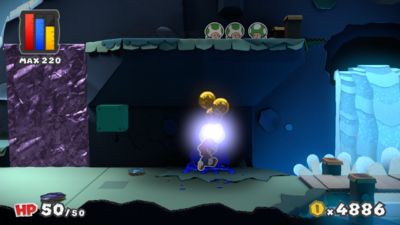
|
| In the third area, on the bridge. | 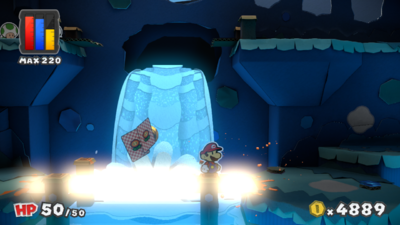
|
| In the third area, on the ground after the bridge. | 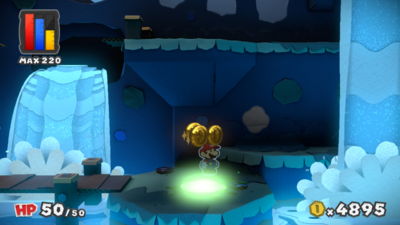
|
| In the third area, on the wall. | 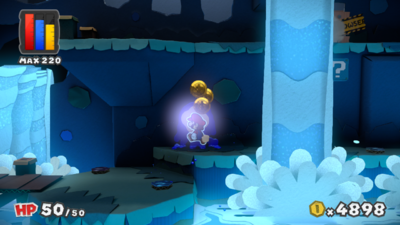
|
| In the third area, on the wall near the Save Block. | 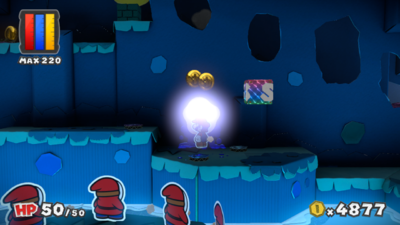
|
| In the fourth area, on the ground. | 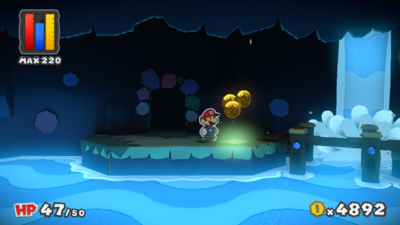
|
| In the fourth area, on the ground. | 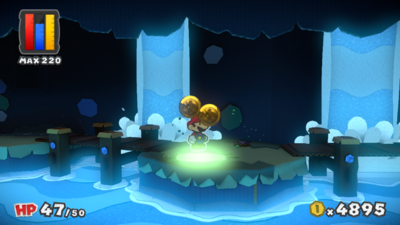
|
| In the fourth area, on the sloped ground. | 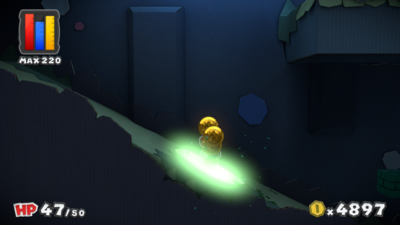
|
| In the fourth area, on the sloped ground. | 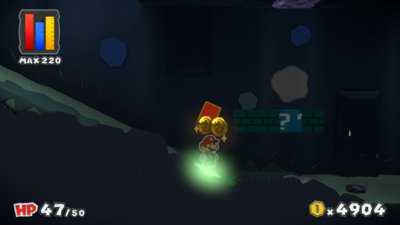
|
| In the fourth area, on the ground under a ? Block. | 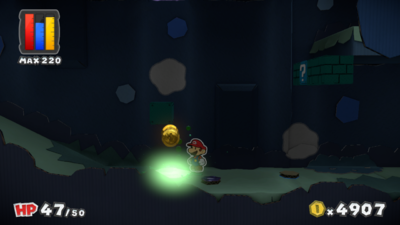
|
| In the fourth area, on the wall. | 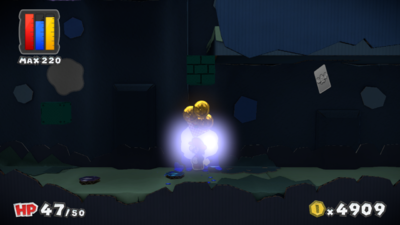
|
| In the fourth area, on a moving block. | 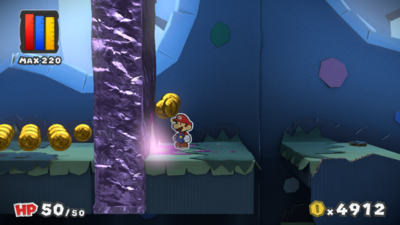
|
| In the fourth area, above a ? Block. This spot can be reached by going down a hole when the moving block has gone up. | 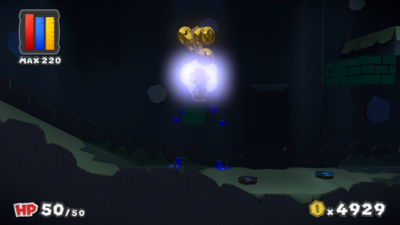
|
| In the fourth area, on the ground. | 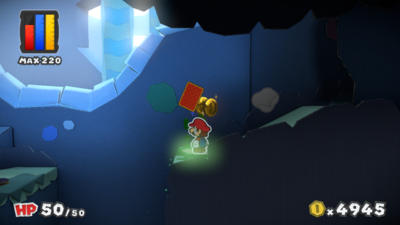
|
| In the fourth area, on the wall. | 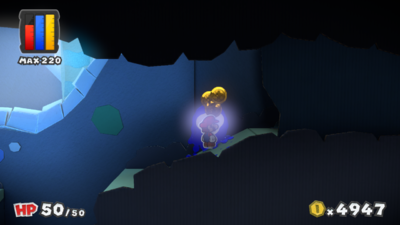
|
| In the fourth area, on a green Rescue Squad Toad. | 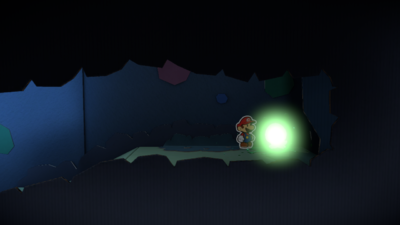
|
| In the third area, on a wooden board. | 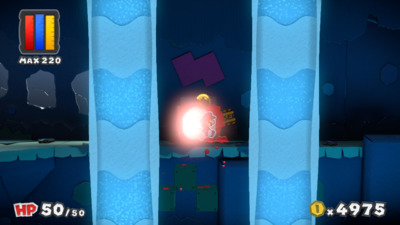
|
| In the third area, on the wall after the Brick Block. | 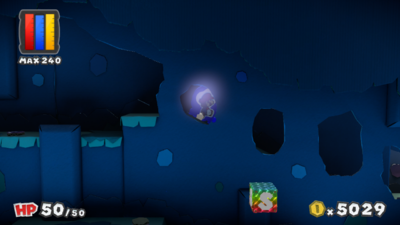
|
| In the third area, on the platform with the Lemon Thing. | 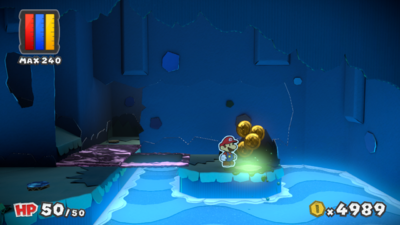
|
| In the third area, on the wall near the blue Mini Paint Star. | 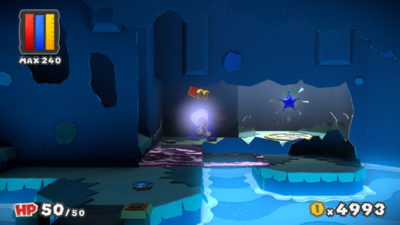
|
Bloo Bay Beach
| Bloo Bay Beach | |
|---|---|
| In the first area, on the wall near the Toad. | 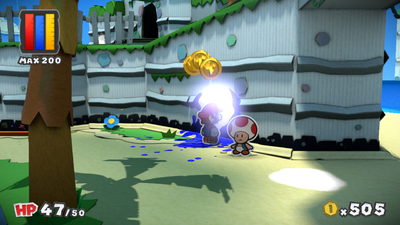
|
| In the first area, on the ground under the overhang. | 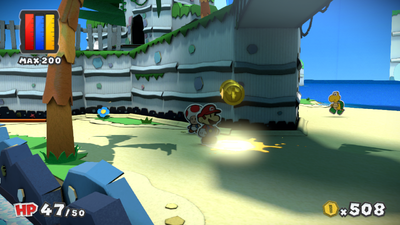
|
| In the first area, on the wall. | 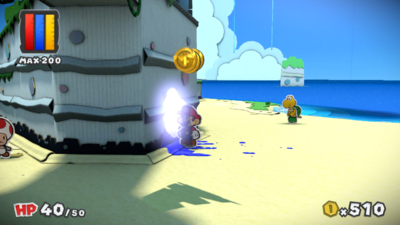
|
| In the first area, on the wall. | 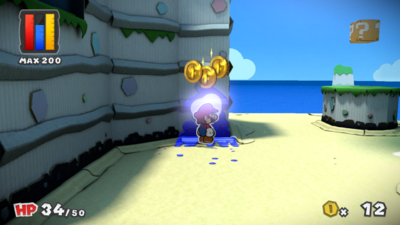
|
| In the first area, on the ground south of a ? Block. | 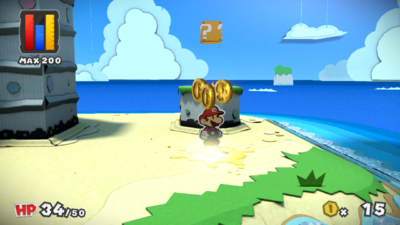
|
| In the first area, on the wall behind the rock structure. | 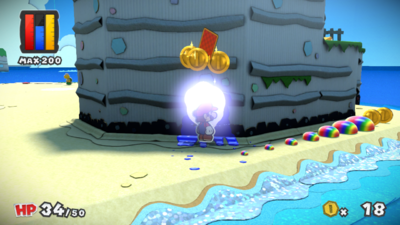
|
| In the first area, on the wall behind the rock structure. | 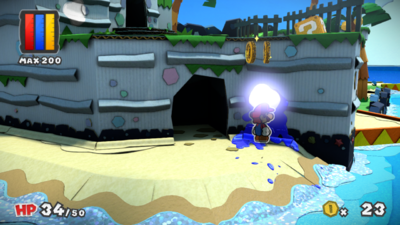
|
| In the first area, on the wall on top of the cliff. | 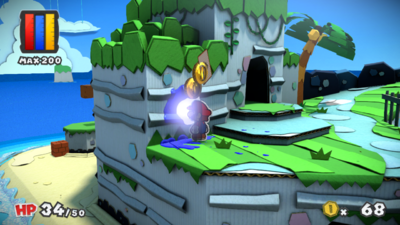
|
| In the first area, on the ground south-east of a palm tree on the cliff. | 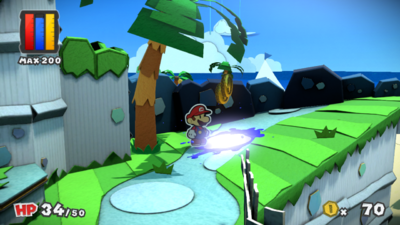
|
| In the first area, on a grain of sand near the ? Block. | 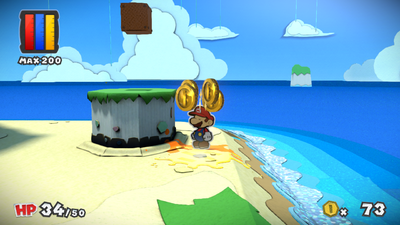
|
| In the first area, on the ground. | 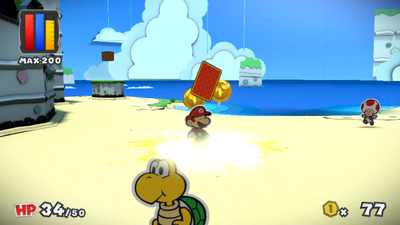
|
| In the first area, on the ground. | 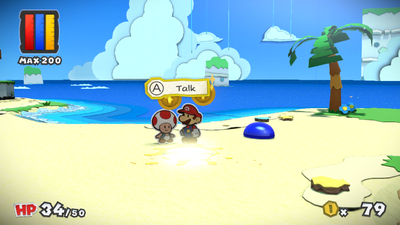
|
| In the second area, on the ground. | 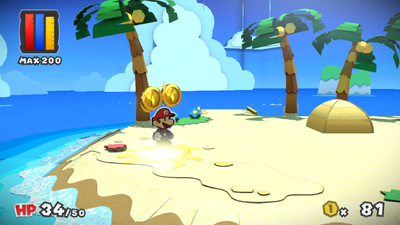
|
| In the second area, on the ground south of the fourth palm tree. | 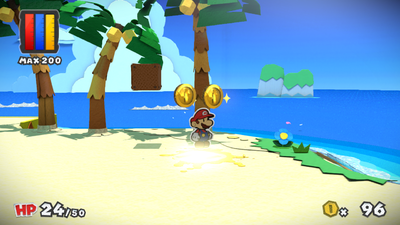
|
| In the second area, on the ground between the last two palm trees. | 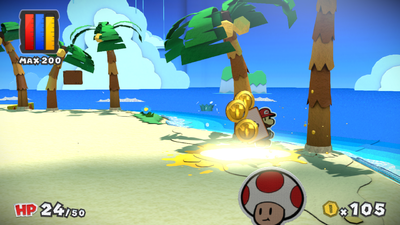
|
| In the second area, on the ground. | 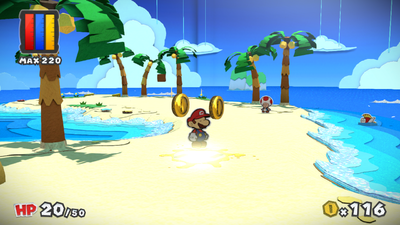
|
| In the second area, on the ground. | 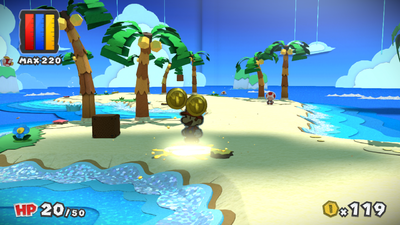
|
| In the second area, on the ground. | 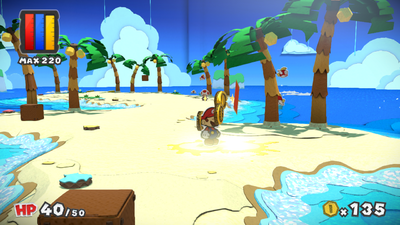
|
| In the second area, on the ground near the exit. | 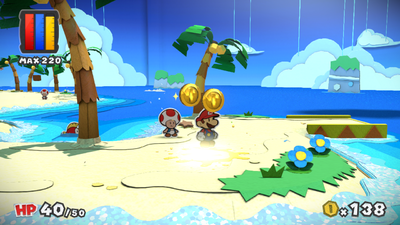
|
| In the third area, on a cardboard star. | 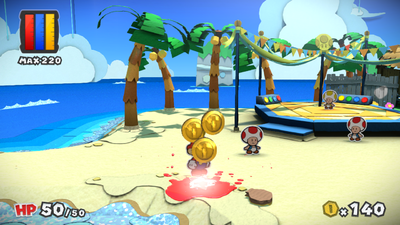
|
| In the third area, on the ground. | 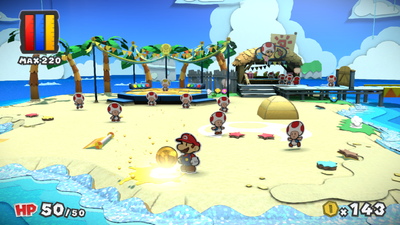
|
| In the third area, on the ground in the outline of a Toad's head. | 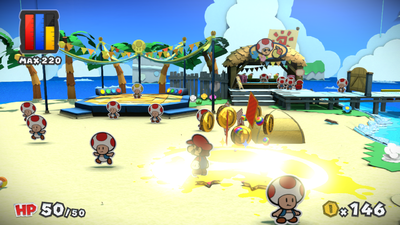
|
| In the third area, on a flower. | 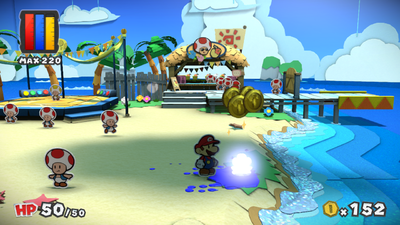
|
| In the third area, on a flower near the fence. | 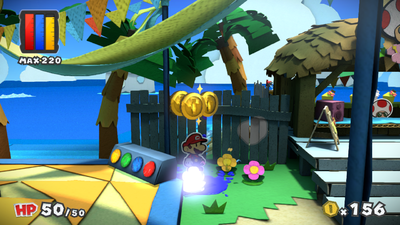
|
| In the third area, on the fence. | 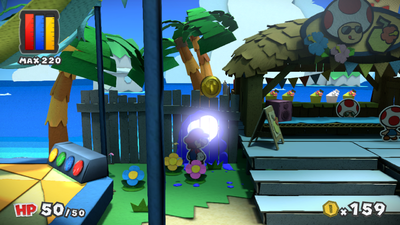
|
| In the third area, on a planter in the cafe. | 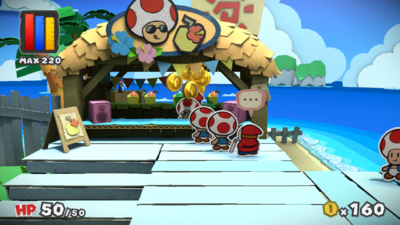
|
| In the third area, on the ground south of Luigi. | 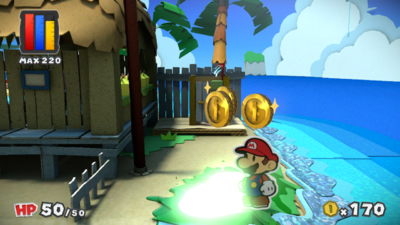
|
| In the third area, on a shell. | 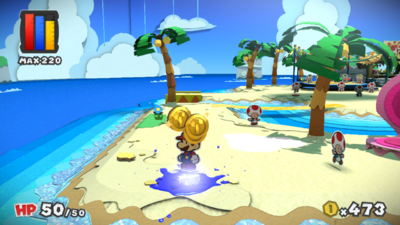
|
| In the third area, on the ground. | 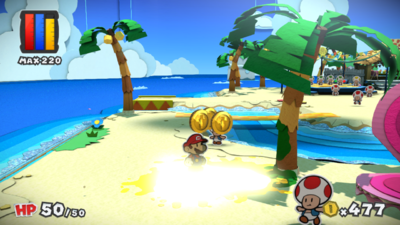
|
| In Blissful Beach, on the wall on the first rock. | 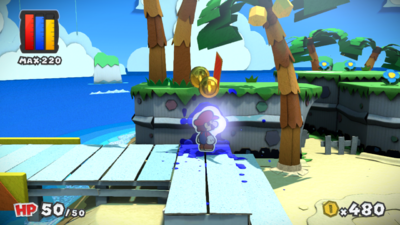
|
| In Blissful Beach, on the ground. | 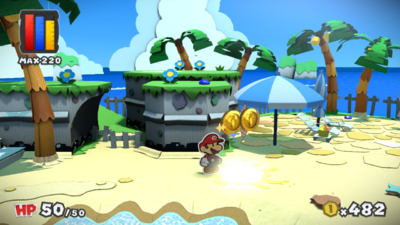
|
| In Blissful Beach, on a tile on the ground. | 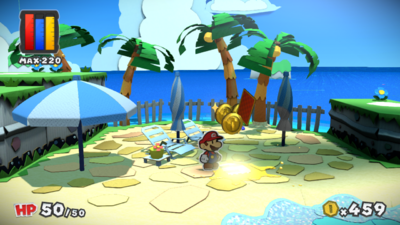
|
| In Blissful Beach, on an umbrella. | 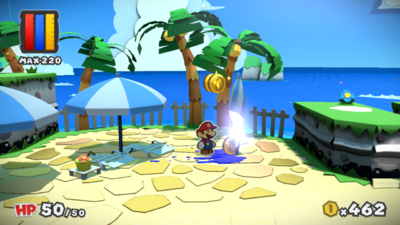
|
| In Blissful Beach, on a rock wall. | 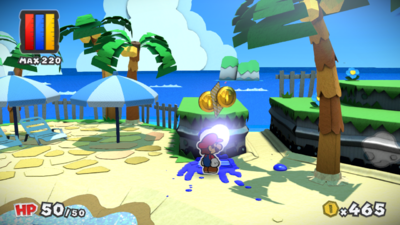
|
| In Blissful Beach, on a rock wall. | 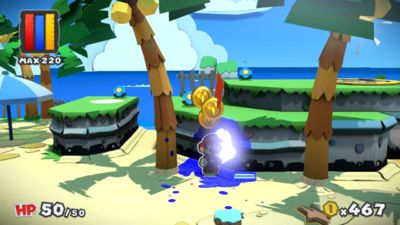
|
| In Blissful Beach, on a rock wall. | 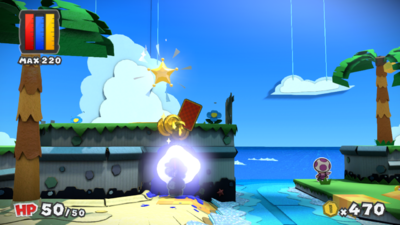
|
| In Blissful Beach, on the ground on a raised platform. | 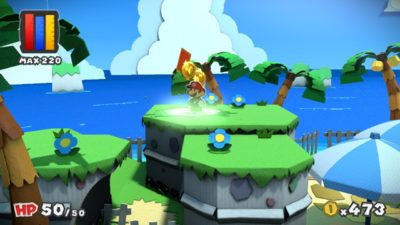
|
| In Blissful Beach, on the ground on a raised platform. | 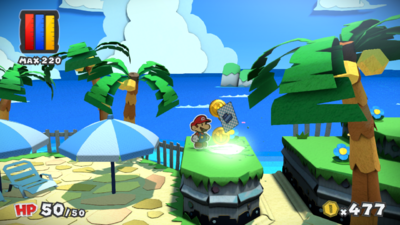
|
Dark Bloo Inn
| Dark Bloo Inn | |
|---|---|
| Outside the hotel, on the Toad. | 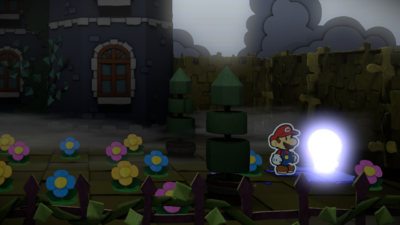
|
| In the lobby, on the leftmost painting. | 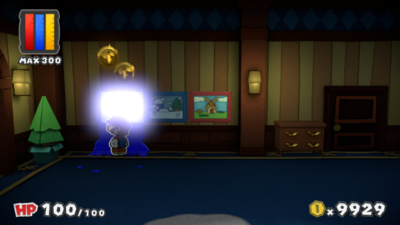
|
| In the lobby, on the ground. | 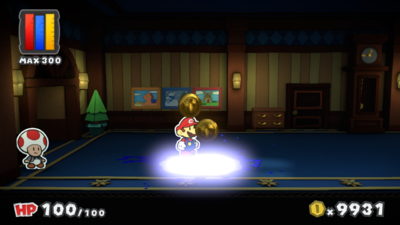
|
| In the lobby, on the elevator. | 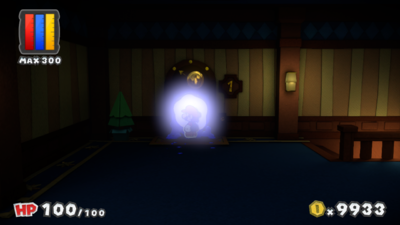
|
| On floor 2, on the wall. | 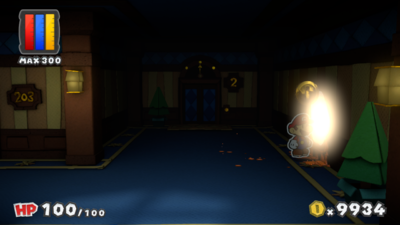
|
| On floor 2, on the ground. | 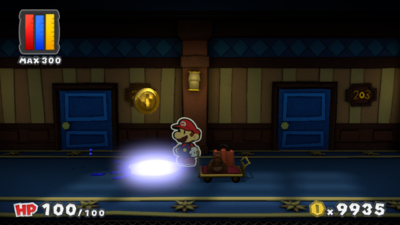
|
| On floor 2, on the ground. | 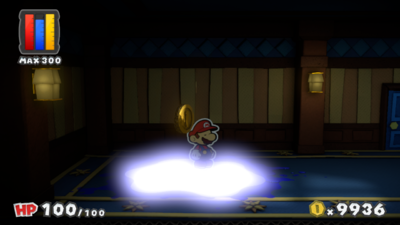
|
| On floor 3, on the wall. | 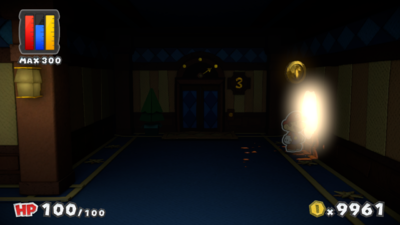
|
| On floor 3, on the ground. | 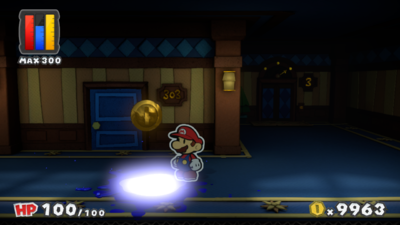
|
| On floor 3, on the ground. | 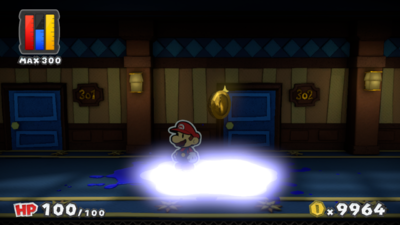
|
| In room 302, on the Tea Recipe Book. | 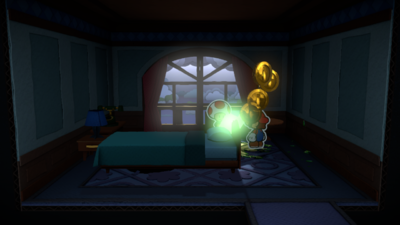
|
| In room 303, on the Birdcage. | 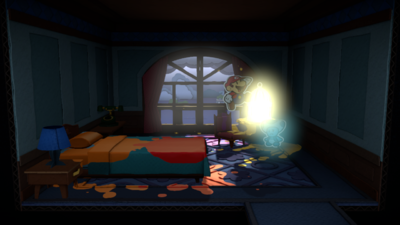
|
| In the linen closet, on the ground. | 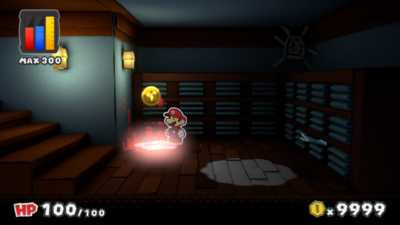
|
| In the linen closet, on the ground. | 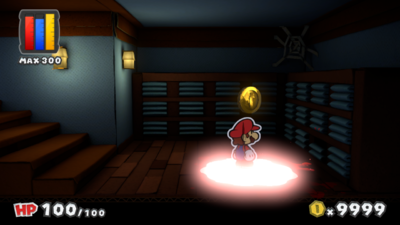
|
Cobalt Base
| Cobalt Base | |
|---|---|
| In the first area, on the ground. | 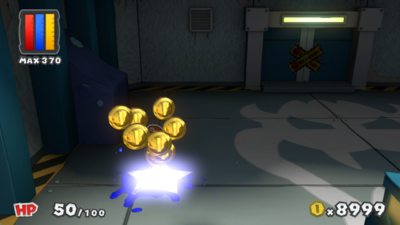
|
| In the first area, on the ground. | 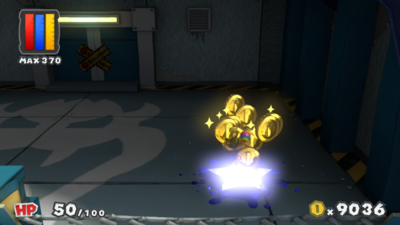
|
| In the first area, on the ground. This colorless spot is in the shape of a Bowser insignia. | 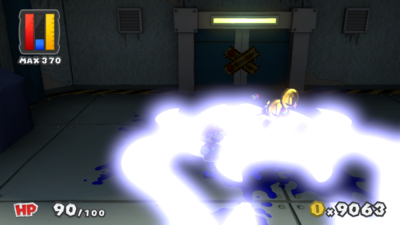
|
Fort Cobalt
| Fort Cobalt | |
|---|---|
| In the first area, on the ground. | 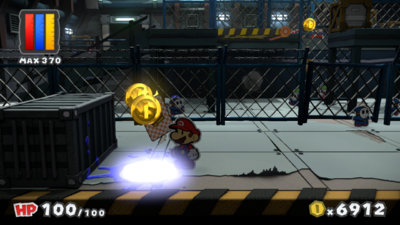
|
| In the first area, on the ground. | 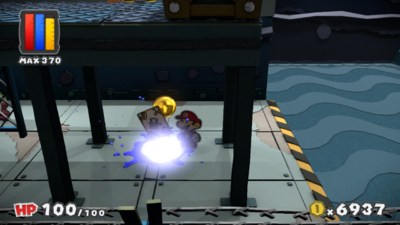
|
| In the first area, on the wall. | 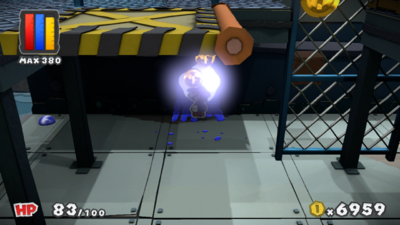
|
| In the first area, on the ground. | 
|
| In the first area, on the ground. | 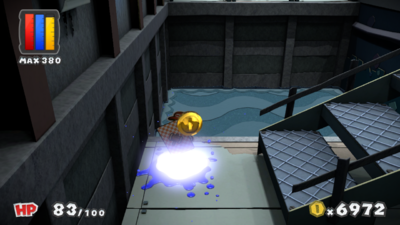
|
| In the first area, on the crate past the first platform. | 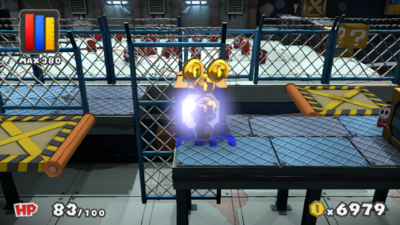
|
| In the first area, on the wall. | 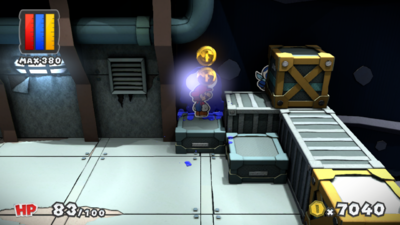
|
| In the first area, on top of a crate. | 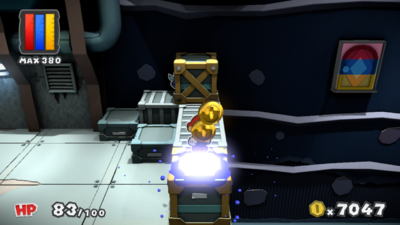
|
| In the first area, on the ground. | 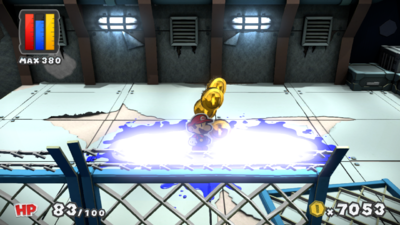
|
| In the first area, on the wall. | 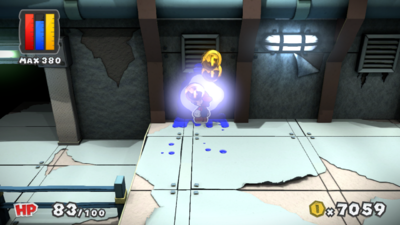
|
| In the second area, on the ground. | 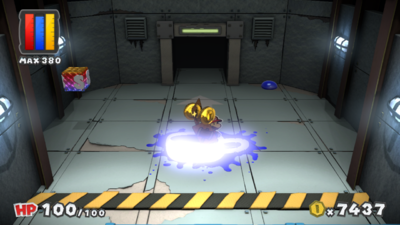
|
| In the second area, on the ground. | 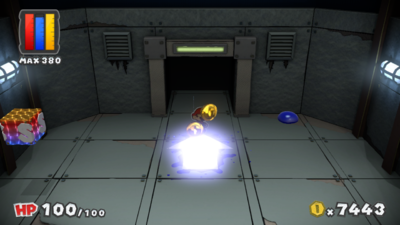
|
| In the third area, on the ground. | 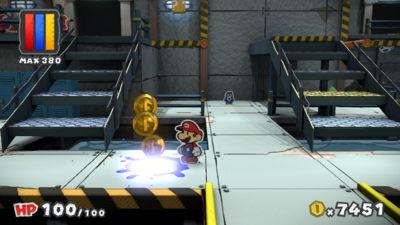
|
| In the third area, on the wall. | 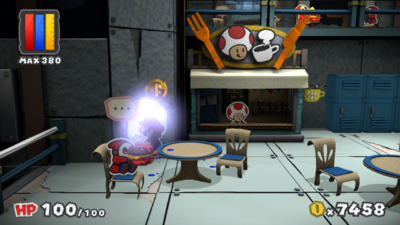
|
| In the third area, on a railing. | 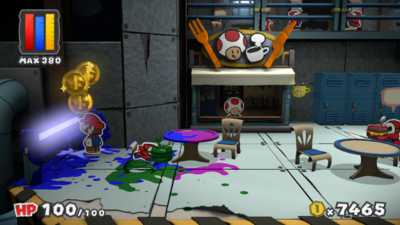
|
| In the third area, on the ground of the 2nd floor of the café. | 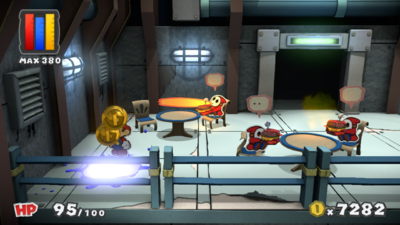
|
| In the third area, on the ground. | 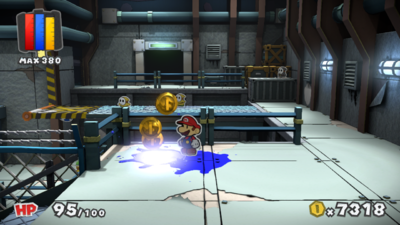
|
| In the third area, on the wall. | 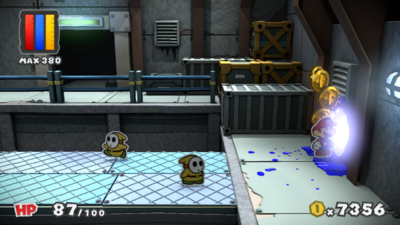
|
| In the third area, on a rotating platform. | 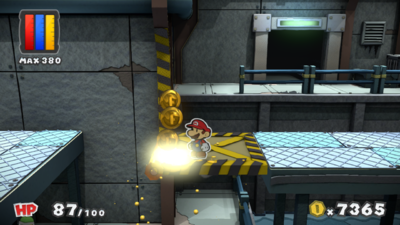
|
| In the third area, on the wall. | 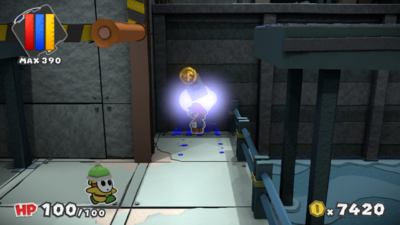
|
| In the gym, on the cabinet. | 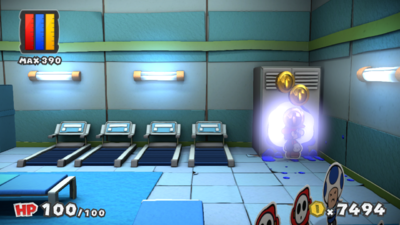
|
Plum Park
| Plum Park | |
|---|---|
| In the first area, on the ground. | 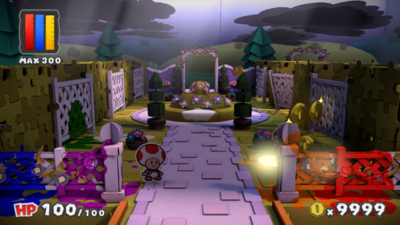
|
| In the first area, on the ground. | 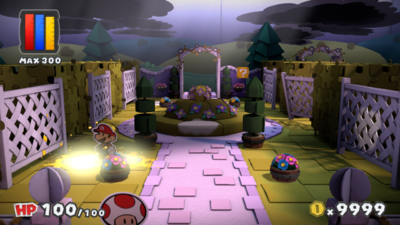
|
| In the first area, on a fence to the right. | 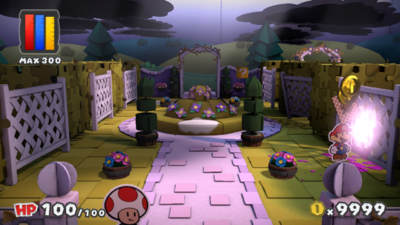
|
| In the first area, on the base of the flowers. | 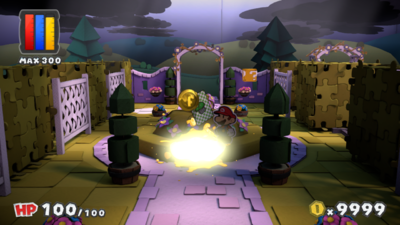
|
| In the first area, on the ground. | 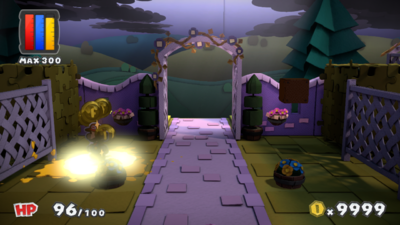
|
| To the right of the first area, on a wooden plank. | 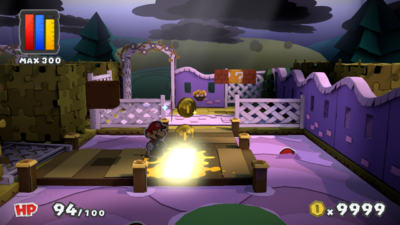
|
| To the right of the first area, on the southmost lily pad. | 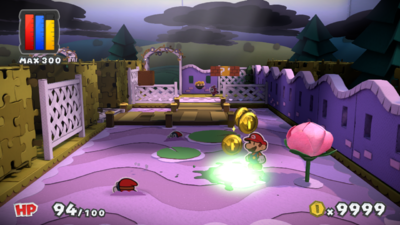
|
| In the second area, on a brick. | 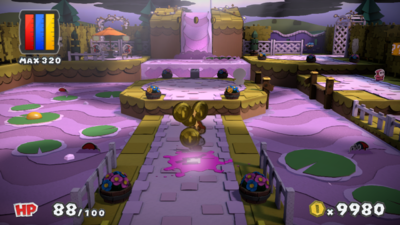
|
| In the second area, on a brick. | 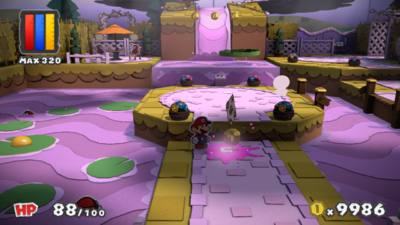
|
| In the second area, on a brick. | 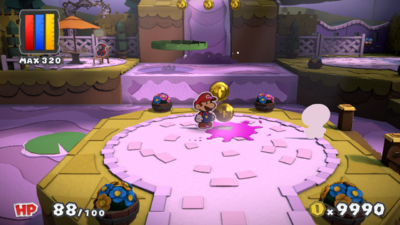
|
| In the second area, on a Toad. | 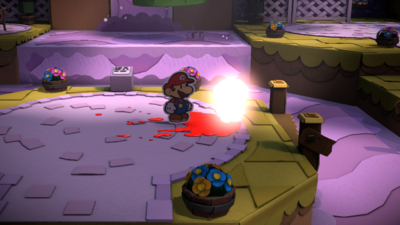
|
| In the second area, on three bushes. To access the bushes, Mario must use the Paint Hammer off the left edge of the platform with the sign, revealing a hidden path. | 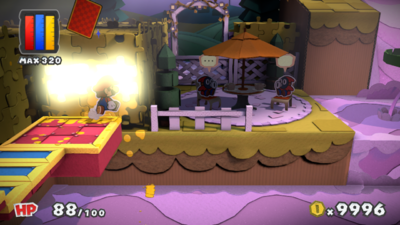
|
| In the second area, on a Toad. | 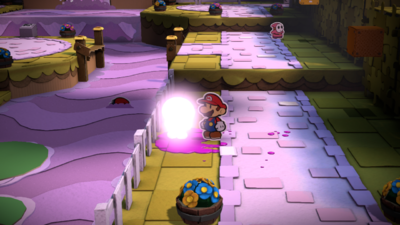
|
| In the second area, on a brick. | 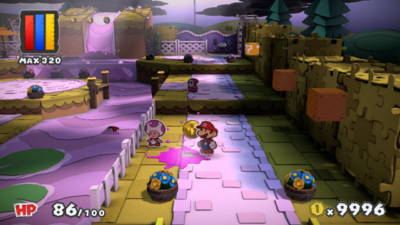
|
| In the second area, on a brick. | 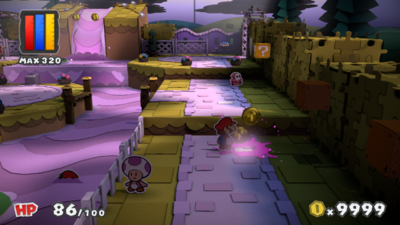
|
| In the second area, on a brick. | 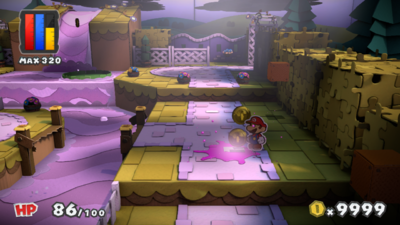
|
| In the second area, on a brick. | 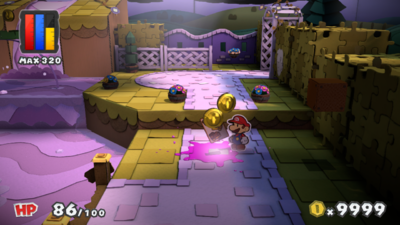
|
| In the second area, on a bush. | 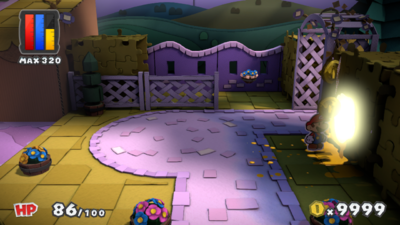
|
| In the second area, on a brick. | 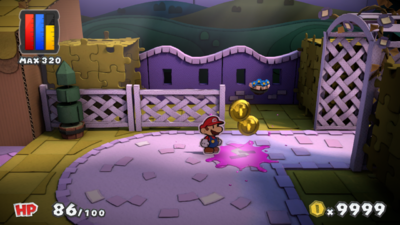
|
| In the second area, on a brick. | 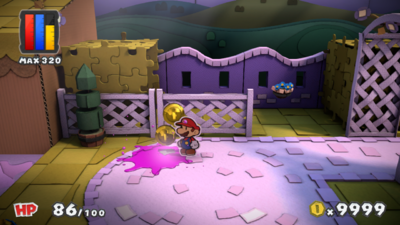
|
| In the second area, on a brick. | 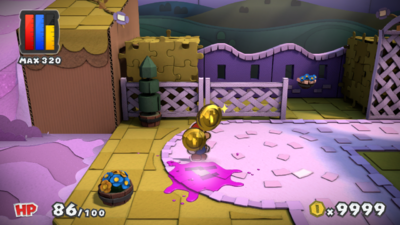
|
| In the second area, on a brick. | 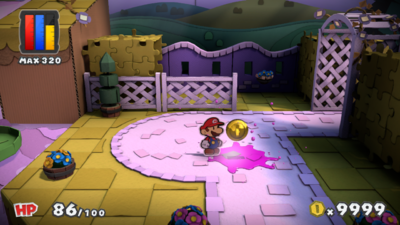
|
| In the third area, on the ground. | 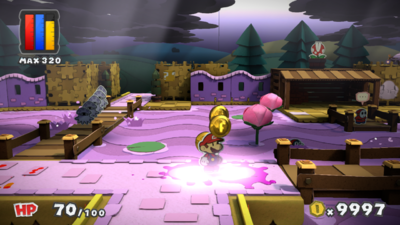
|
| In the third area, on the ground. | 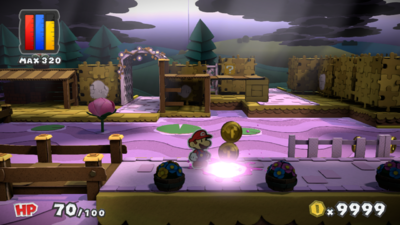
|
| In the third area, on a wooden plank. | 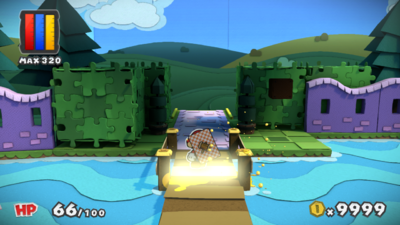
|
| In the third area, on the ground. | 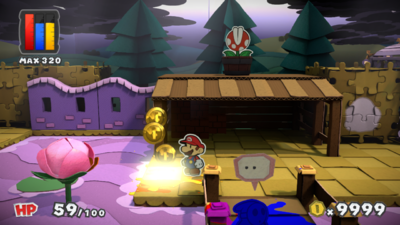
|
| In the third area, on a wall. | 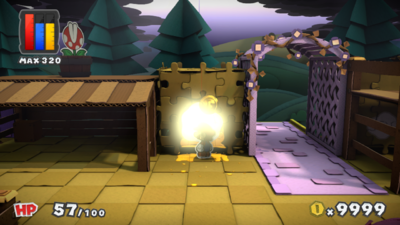
|
| In the third area, on a wall. | 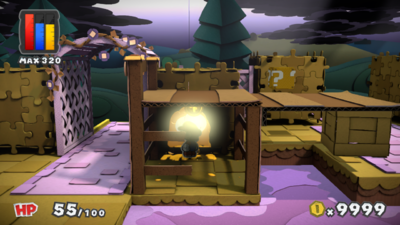
|
| North from the third area, on the ground. This colorless spot is in the shape of a Fire Flower or Ice Flower. | 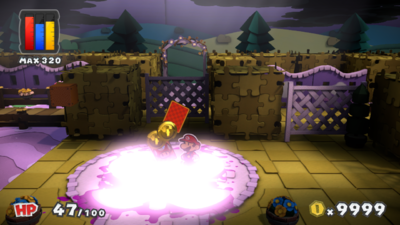
|
| North from the third area, on a lily pad. | 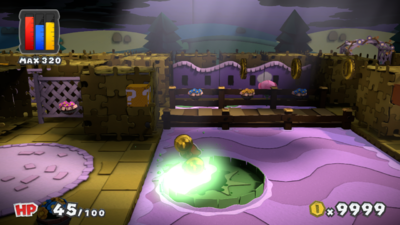
|
| North from the third area, on a wall. This colorless spot can only be accessed after Petea Piranha has been defeated and the fence is knocked down. | 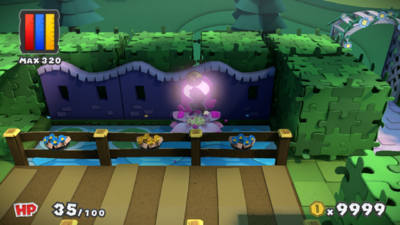
|
| North from the third area, on a wall. | 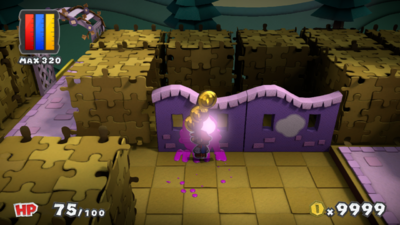
|
| North from the third area, on a wall. | 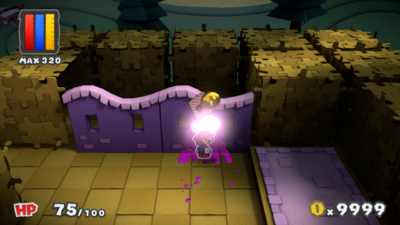
|
| North from the third area, on a wall. | 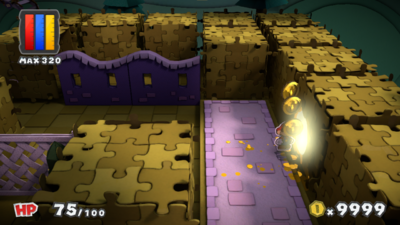
|
| At the Fountain of Truth, on the Toad. | 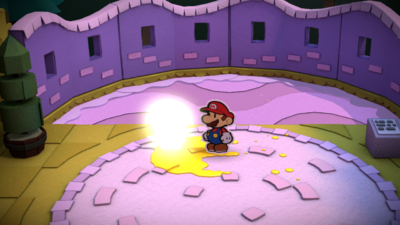
|
| In the third area, on the wall. | 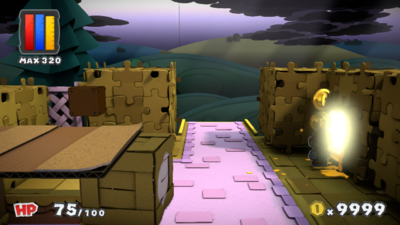
|
| In the third area, on a crate. | 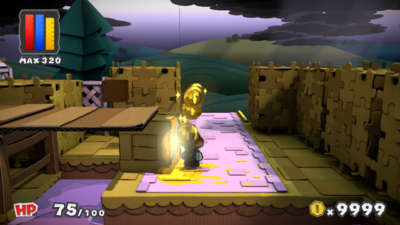
|
| In the concert area, on a lily pad. | 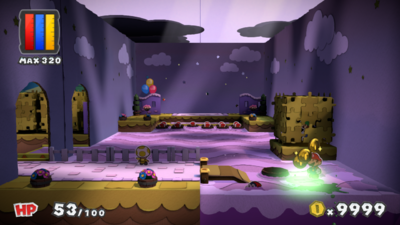
|
Violet Passage
| Violet Passage | |
|---|---|
| In the first area, on a crate. | 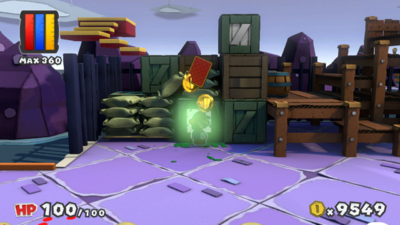
|
| In the first area, on a crate. | 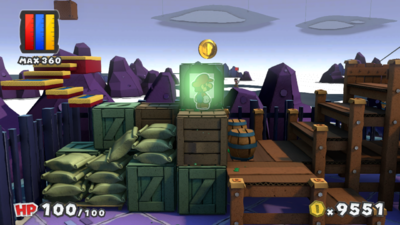
|
| In the first area, on a post. | 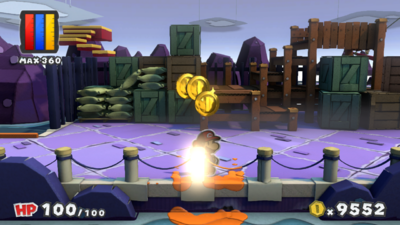
|
| In the first area, on the ground under a barrel. | 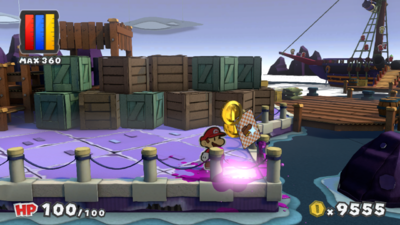
|
| In the first area, on the ground. This colorless spot is in the shape of a Blooper. | 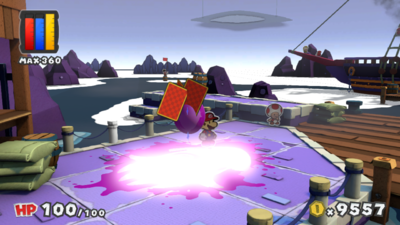
|
| In the first area, on the piling. | 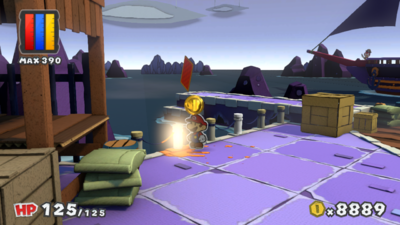
|
| In the first area, on a post. | 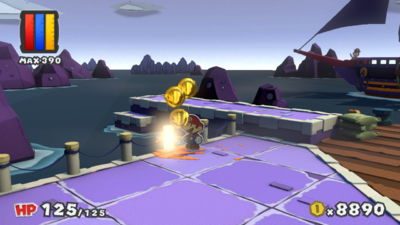
|
| In the first area, on a post. | 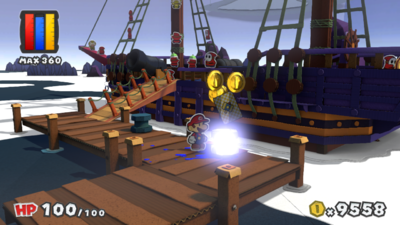
|
| In the first area, on the ocean. This colorless spot is repainted after getting the blue Big Paint Star. | 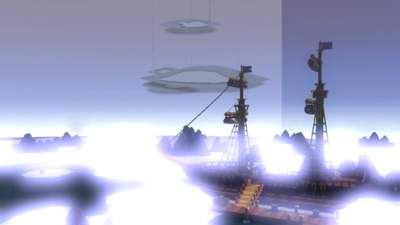
|
| Below deck, on the treasure chest. | 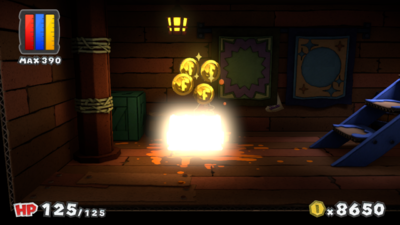
|
Vortex Island
| Vortex Island | |
|---|---|
| In the first area, on a Toad. | 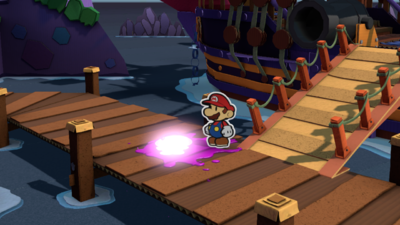
|
| In the first area, on the ground. | 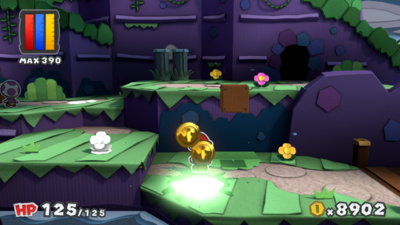
|
| In the first area, on a flower. | 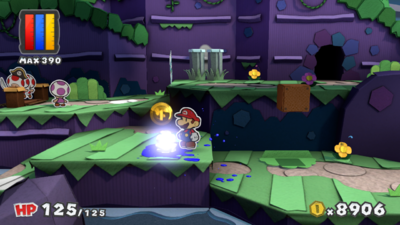
|
| In the first area, on the ground. | 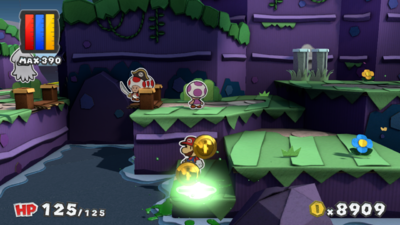
|
| In the first area, on the ground. | 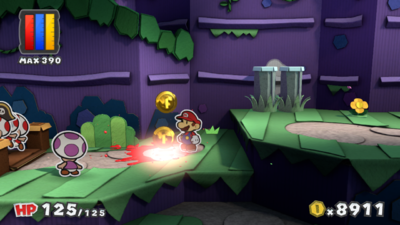
|
| In the second area, on the ground. | 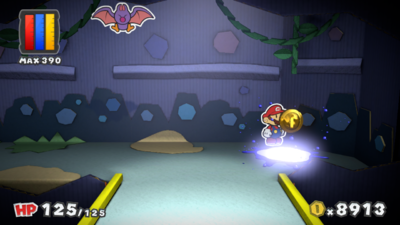
|
| In the second area, on the ground. | 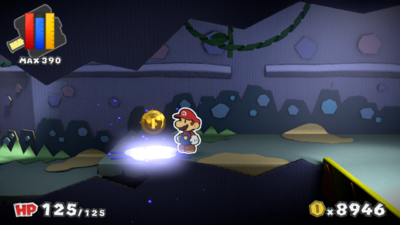
|
| In the second area, on the ground. | 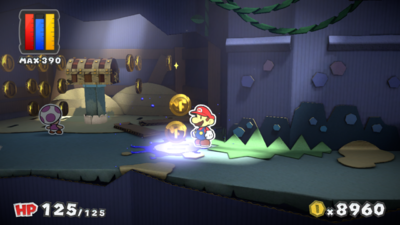
|
| In the second area, on the ground. | 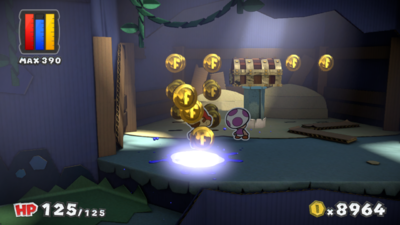
|
| In the second area, on the ground. | 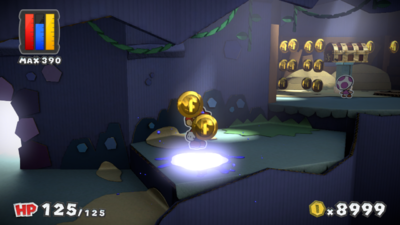
|
| In the second area, on the ground. | 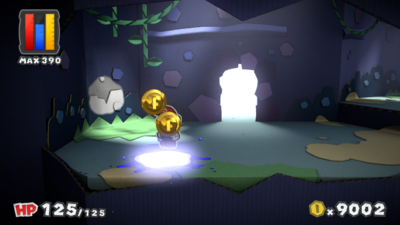
|
| In the second area, on the wall. | 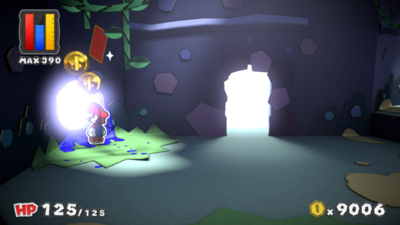
|
| In the third area, on a flower. | 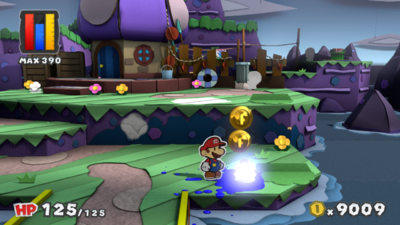
|
| In the third area, on the wall. | 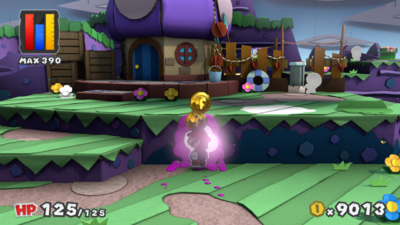
|
| In the third area, on the ground. | 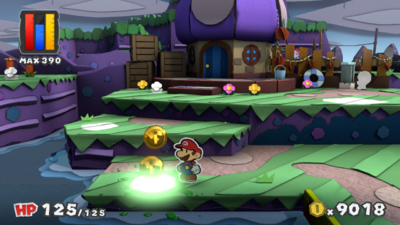
|
| In the third area, on the ground. | 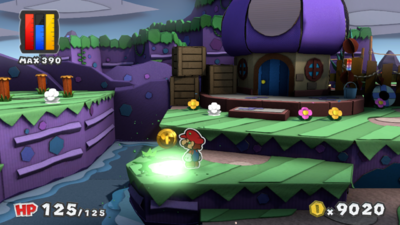
|
| In the third area, on a flower. | 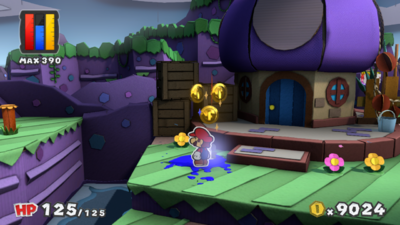
|
| In the third area, on the ground. | 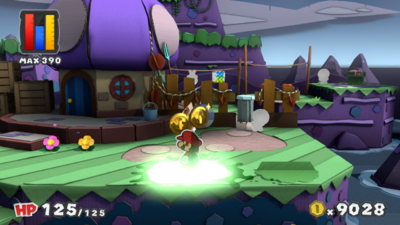
|
| In the third area, on a Toad. | 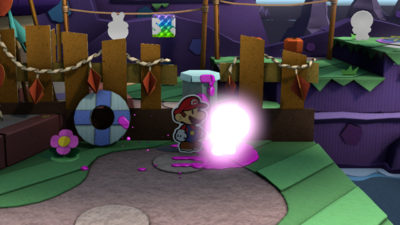
|
| In the house, on a Toad. | 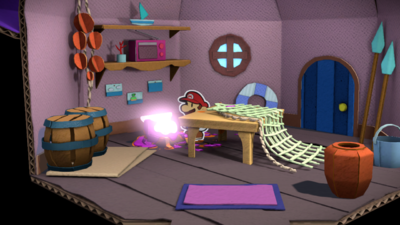
|
| In the third area, on a Toad. | 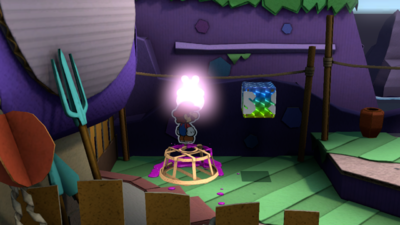
|
| In the third area, on a Toad. | 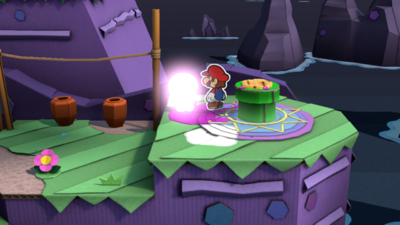
|
| In the third area, on the ground. | 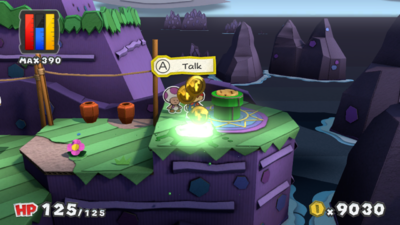
|
| In the parallel third area, on a flower. | 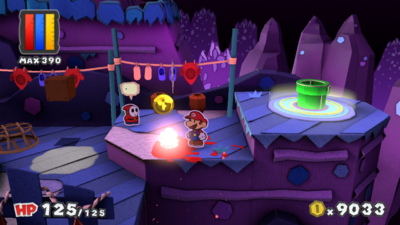
|
| In the parallel third area, on the ground. | 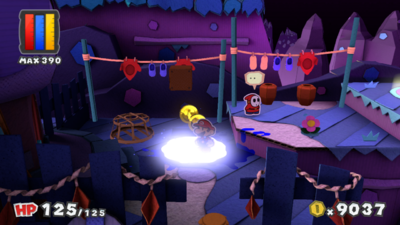
|
| In the parallel third area, on a flower. | 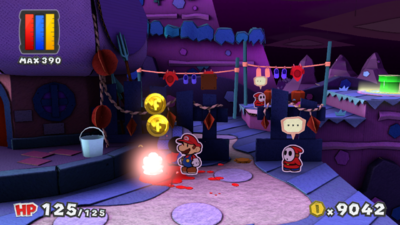
|
| In the parallel third area, on a flower. | 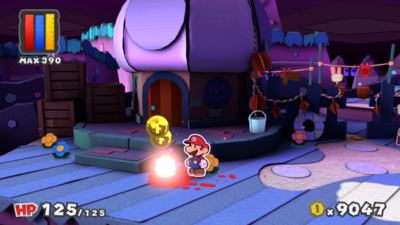
|
| In the parallel third area, on the ground. | 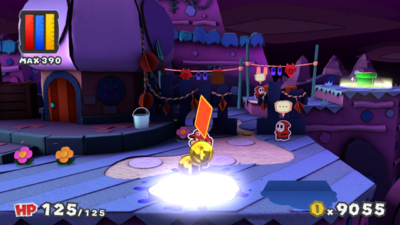
|
| In the parallel third area, on the wall. | 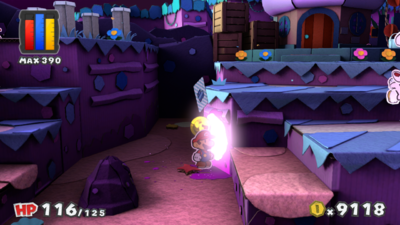
|
| In the parallel third area, on the ground. | 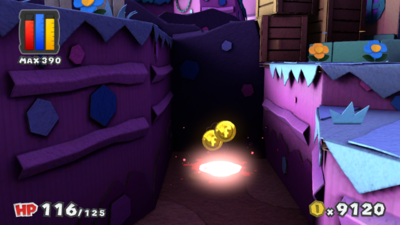
|
| In the parallel third area, on a flower. | 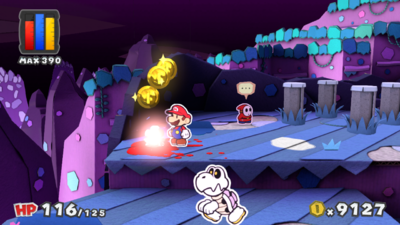
|
| In the parallel third area, on the ground. | 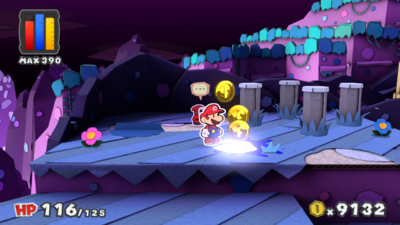
|
| In the parallel third area, on a flower. | 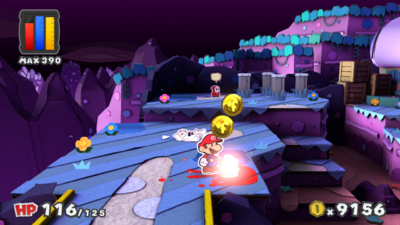
|
| In the parallel second area, on the wall. | 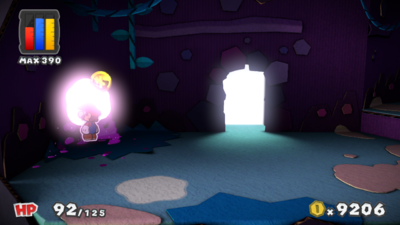
|
| In the parallel second area, on the ground. | 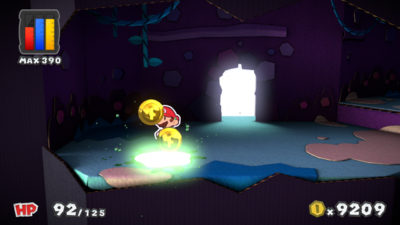
|
| In the parallel second area, on the ground. | 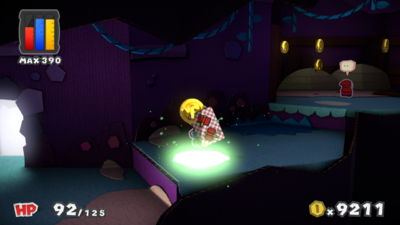
|
| In the parallel second area, on the ground. | 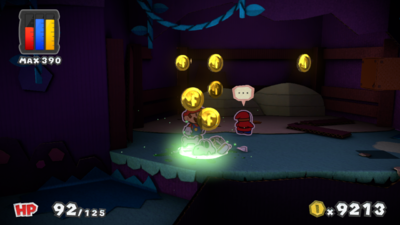
|
| In the parallel second area, on the ground. | 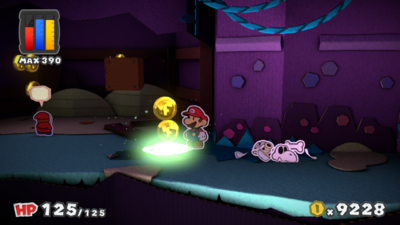
|
| In the parallel second area, on the ground. | 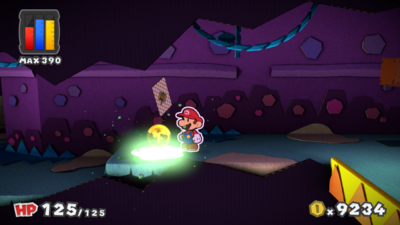
|
| In the parallel second area, on the ground. | 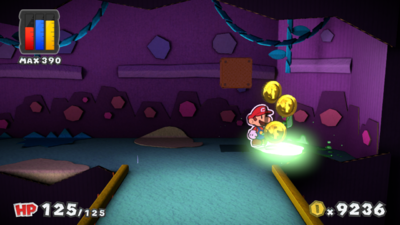
|
| In the parallel first area, on the wall. | 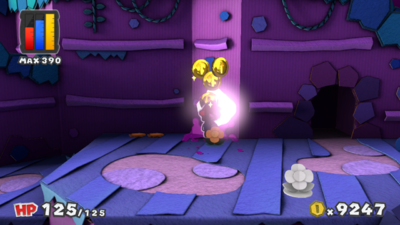
|
| In the parallel first area, on a flower. | 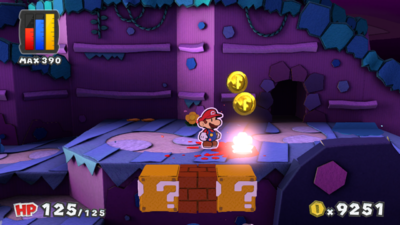
|
| In the parallel first area, on a wooden plank. | 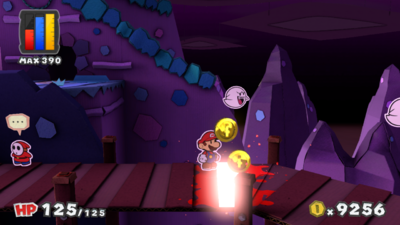
|
| In the parallel first area, on the ground. | 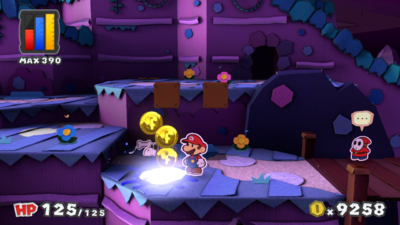
|
| In the parallel first area, on the ground. | 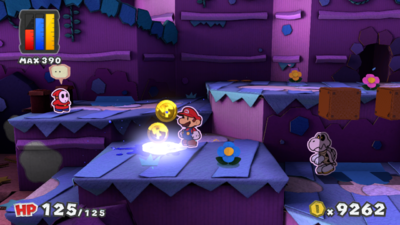
|
| In the parallel first area, on a starfish. | 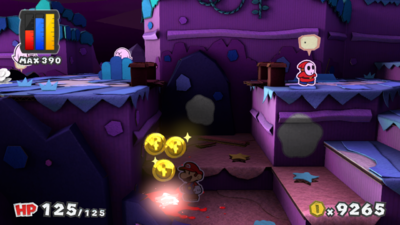
|
| In the parallel first area, on the wall. | 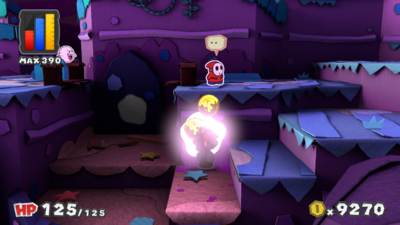
|
| In the parallel first area, on the wall. | 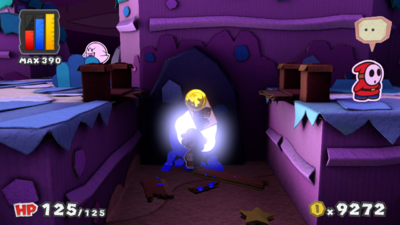
|
| In the parallel first area, on a flower. | 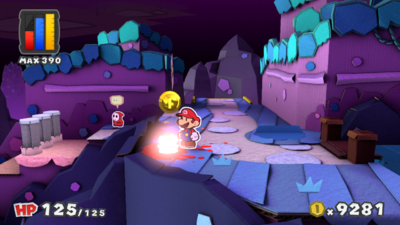
|
| In the first area, on the wall. This spot is only accessible after the posts have been hammered in the parallel world. | 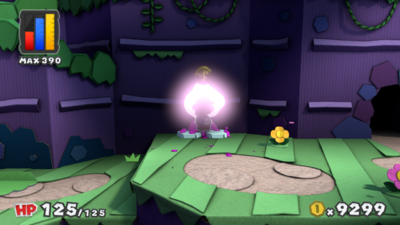
|
| In the first area, on the ground. | 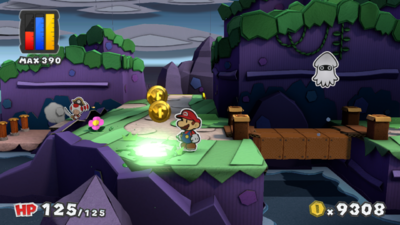
|
| In the first area, on the wall. | 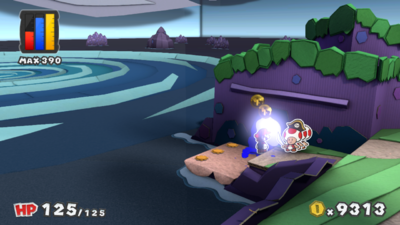
|
| In the third area, on a flower. | 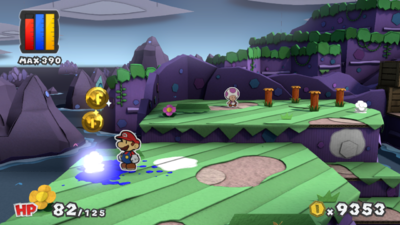
|
| In the first area, on the ground. | 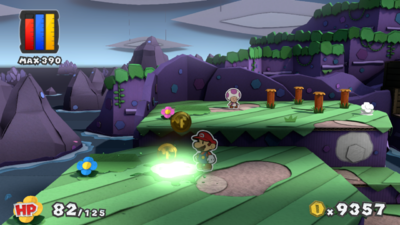
|
| In the first area, on the wall. | 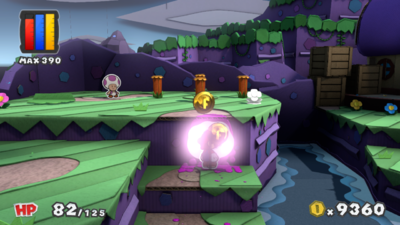
|
| In the first area, on a flower. | 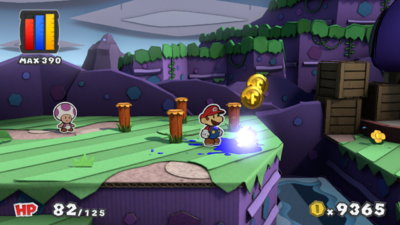
|
Lighthouse Island
| Lighthouse Island | |
|---|---|
| In the first area, on the ground. | 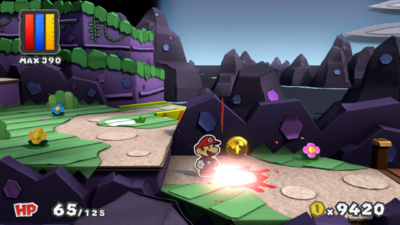
|
| In the first area, on the ground. | 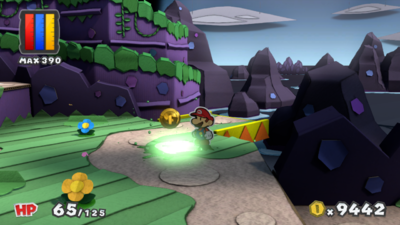
|
| In the first area, on the ground. | 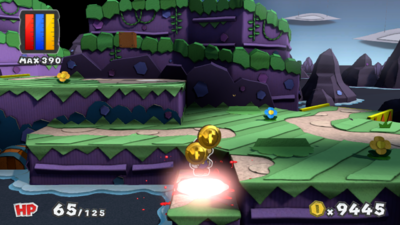
|
| In the first area, on the wall. | 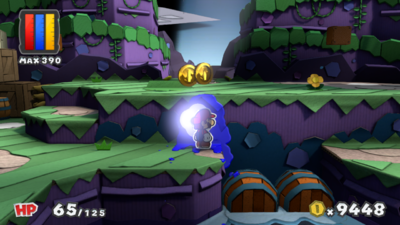
|
| In the first area, on the ground. | 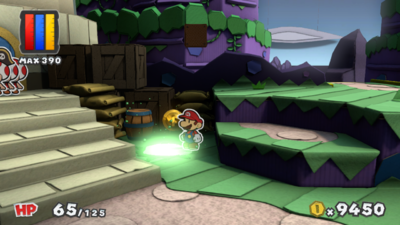
|
| In the first area, on the ground. | 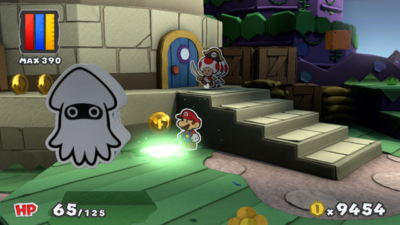
|
| In the first area, on the lighthouse wall. | 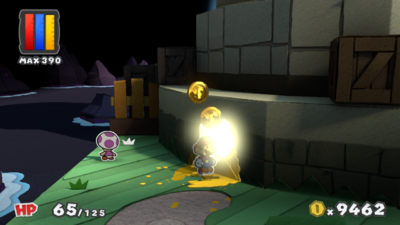
|
| In the first area, on some grass. | 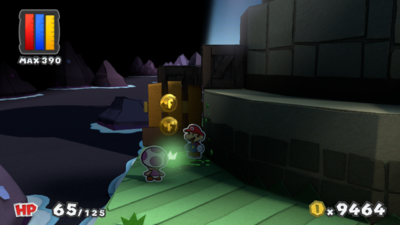
|
| In the first area, on the ground. | 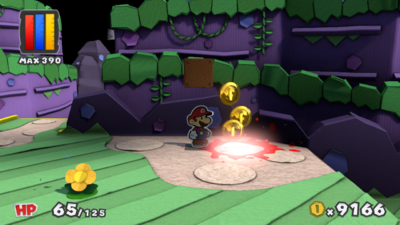
|
| At the top of the lighthouse, on the lighthouse keeper. | 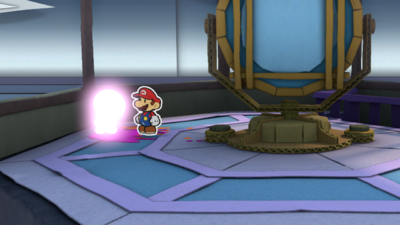
|
| In the second area, on the ground. | 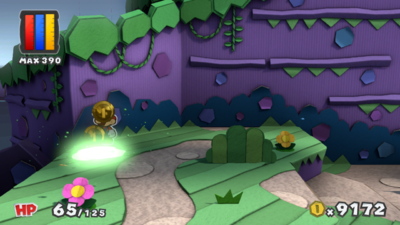
|
| In the second area, on the ground. | 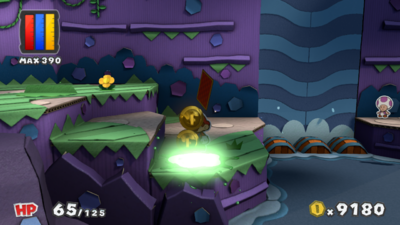
|
| In the second area, on the wall. | 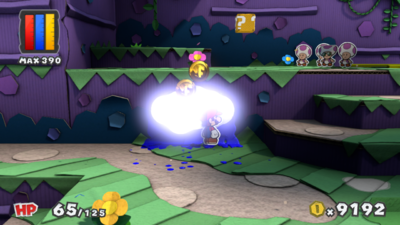
|
| In the second area, on the ground. | 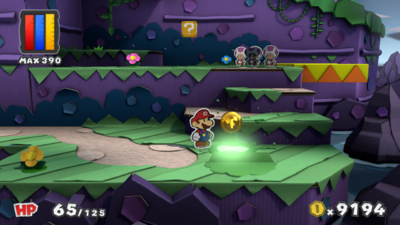
|
| In the second area, on the ground. | 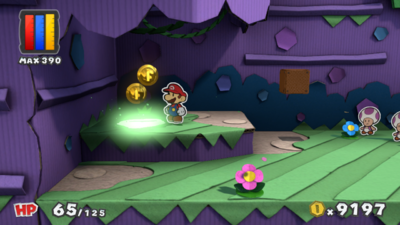
|
| In the third area, on the ground. | 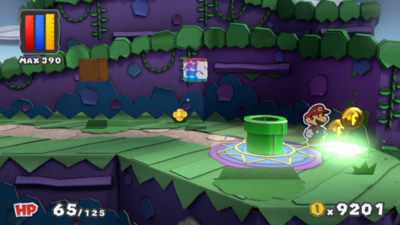
|
| In the third area, on the ground. | 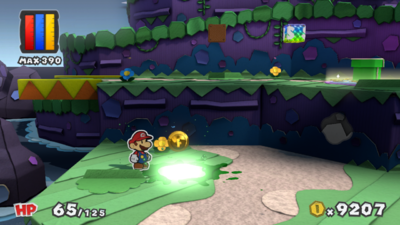
|
| In the third area, on the wall. | 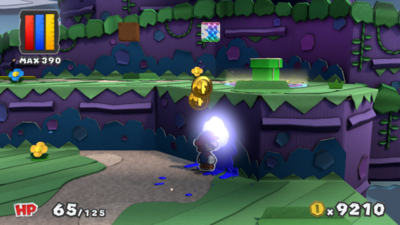
|
| In the third area, on the ground. | 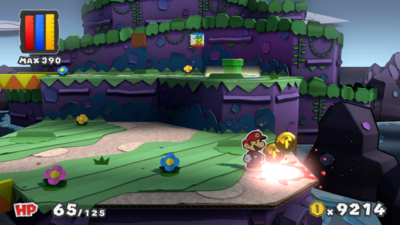
|
| In the parallel third area, on the wall. | 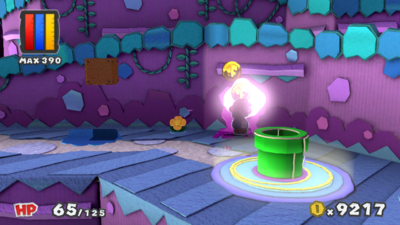
|
| In the parallel third area, on the ground. | 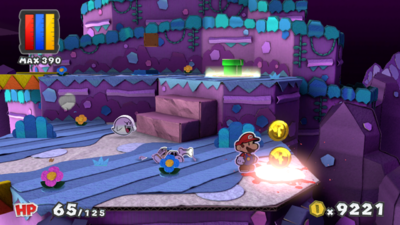
|
| In the parallel third area, on the wall. | 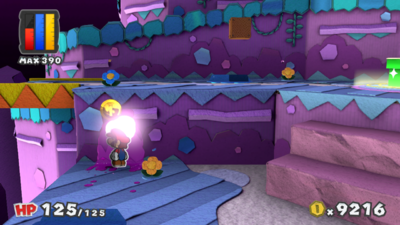
|
| In the parallel first area, on the ground. | 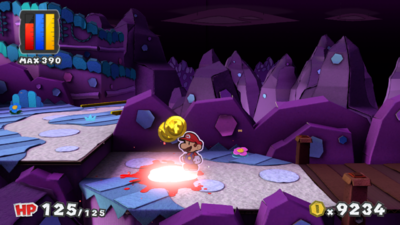
|
| In the parallel first area, on the ground. | 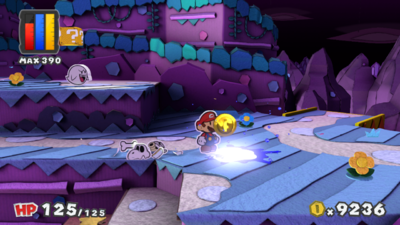
|
| In the parallel first area, on the ground. | 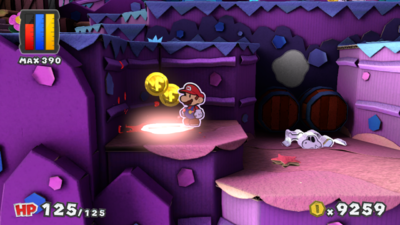
|
| In the parallel first area, on the wall. | 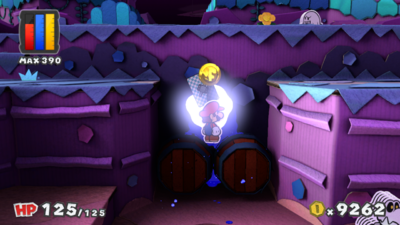
|
| In the parallel second area, on the ground. | 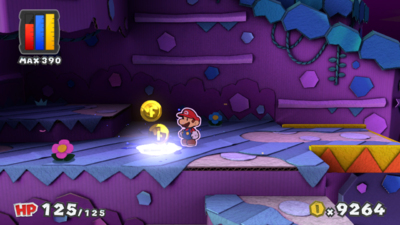
|
| In the parallel second area, on the wall. | 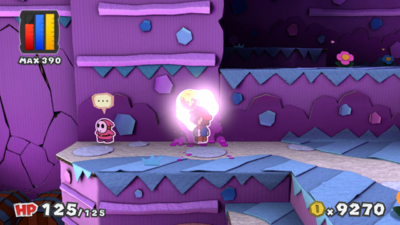
|
| In the parallel second area, on the ground. | 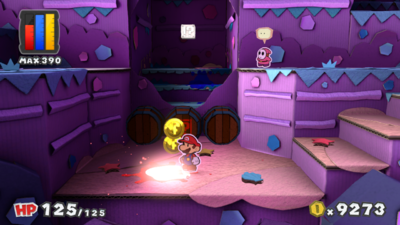
|
| In the second area, on a ? Block. | 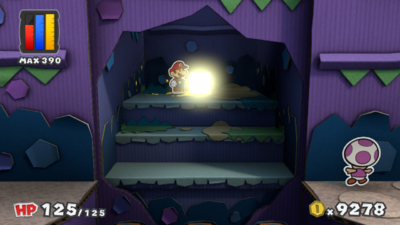
|
| In the parallel second area, on the ground. | 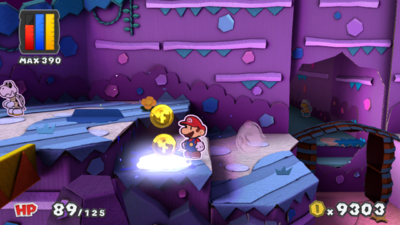
|
| In the parallel first area, on the ground. | 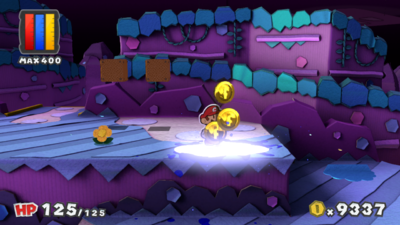
|
| In the parallel first area, on the ground. | 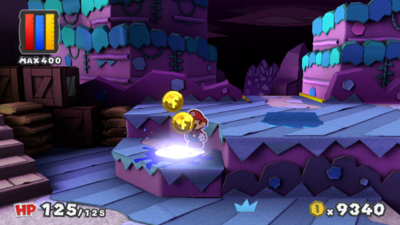
|
| In the parallel first area, on the lighthouse wall. | 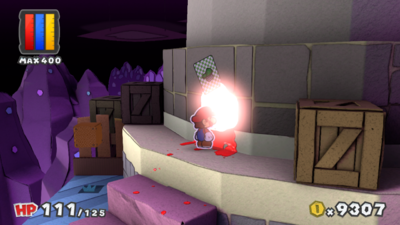
|
| In the parallel first area, on the side of a crate. | 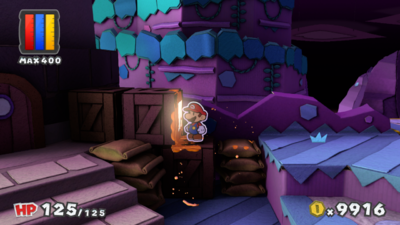
|
Fortune Island
| Fortune Island | |
|---|---|
| In the first area, on a post. | 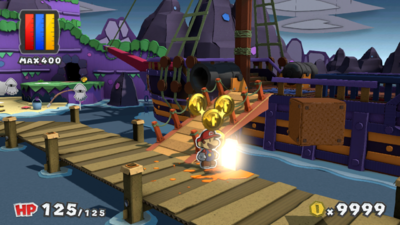
|
| In the first area, on the ground. | 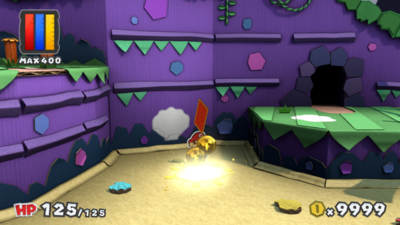
|
| In the first area, on the wall. | 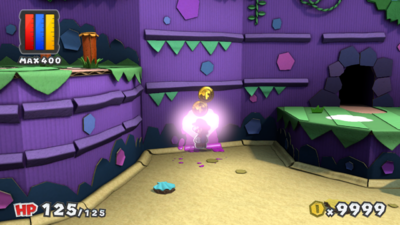
|
| In the first area, on the ground. | 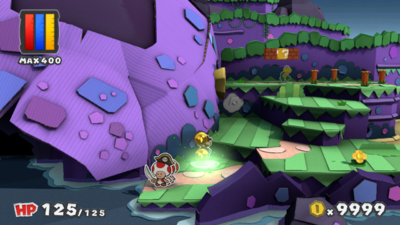
|
| In the first area, on the wall. | 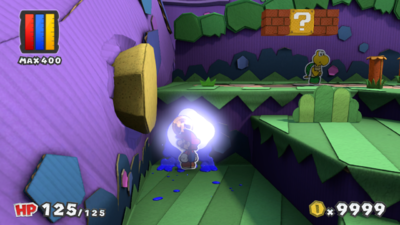
|
| In the parallel first area, on the wall. | 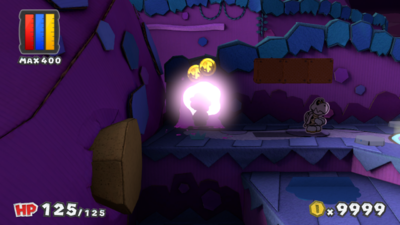
|
| In the parallel first area, on the ground. | 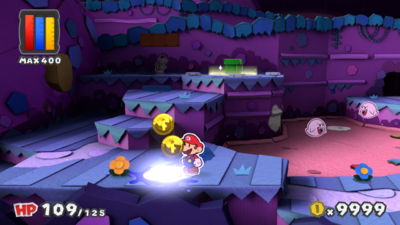
|
| In the parallel first area, on the wall. | 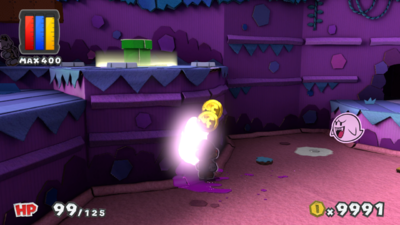
|
| In the parallel first area, on the ground. | 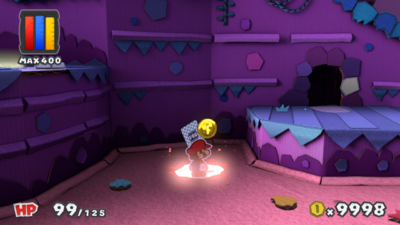
|
| In the parallel first area, on a shell. | 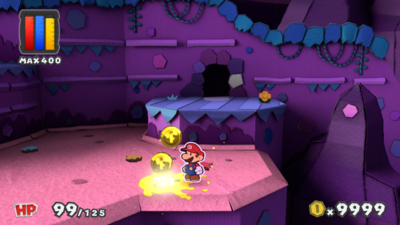
|
| In the parallel first area, on a plank. | 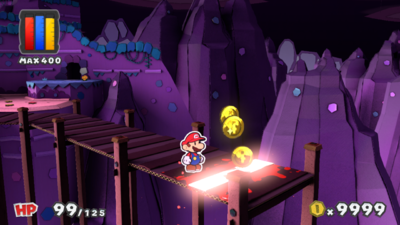
|
| In the parallel first area, on the wall. | 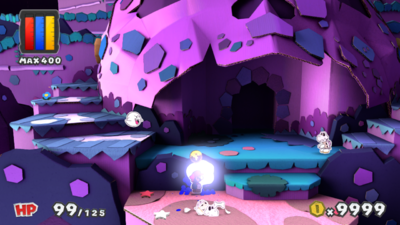
|
| In the parallel first area, on a star. | 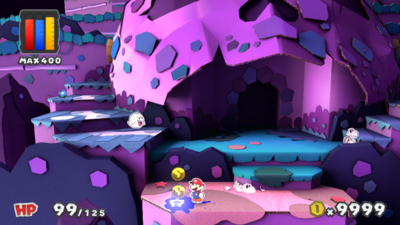
|
| In the parallel first area, on the ground. | 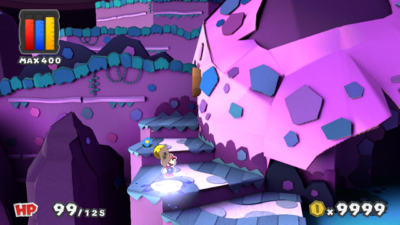
|
| In the parallel second area, on the ground. | 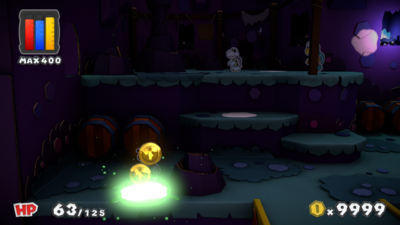
|
| In the parallel second area, on the ground. | 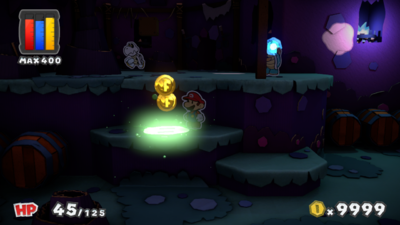
|
| In the parallel second area, on the wall. | 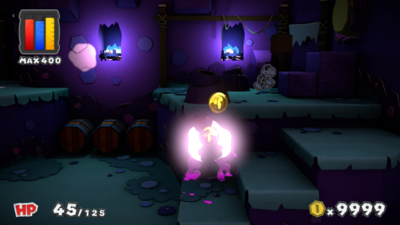
|
| In the second area, on the ground. | 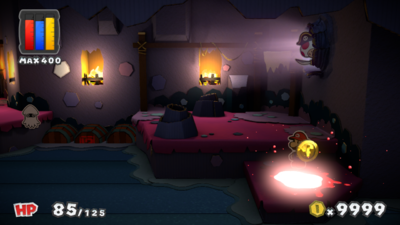
|
| In the second area, on the ground. | 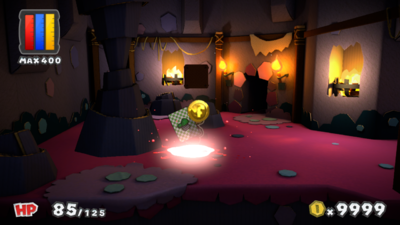
|
| In the second area, on a shell in the Unfurl Block room. | 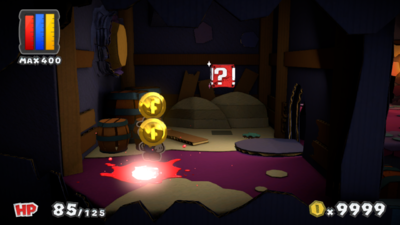
|
| In the area past the Unfurl Block, on a flower. | 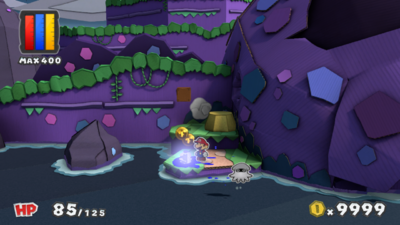
|
| In the area past the Unfurl Block, on the wall. | 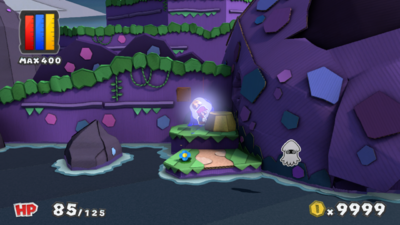
|
| In the second area, on a rock on the wall. This spot can only be reached after unfurling the barrel. | 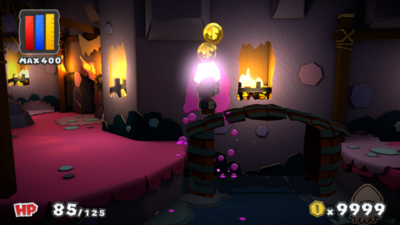
|
| In the third area, on the wall. | 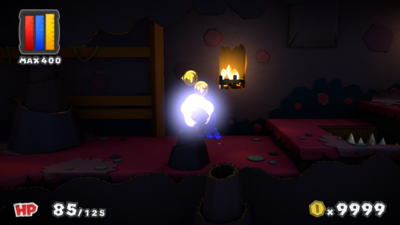
|
| In the third area, on a rock on the ground. | 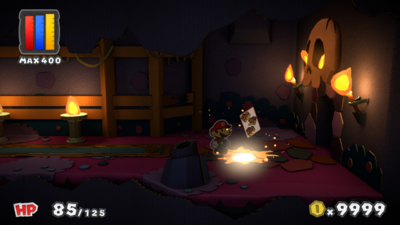
|
| In the fourth area, on a rock on the wall. | 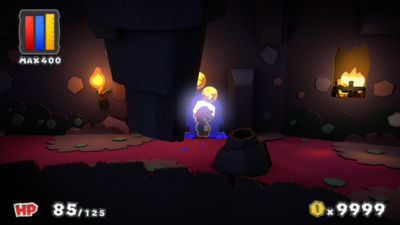
|
| In the fourth area, on the wall. | 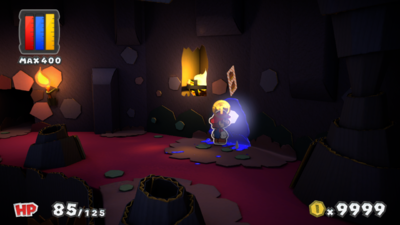
|
| In the fourth area, on the treasure chest. | 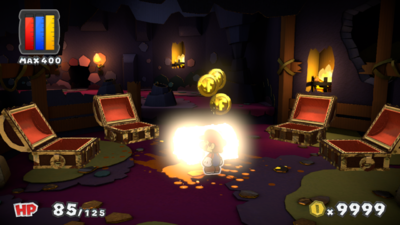
|
| In the fifth area, on the ground. | 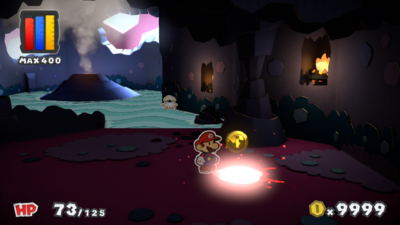
|
| In the first area, on the ground. | 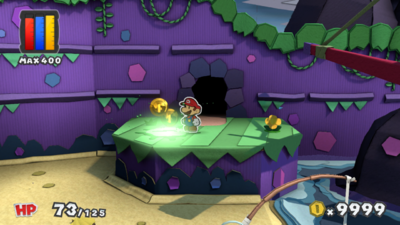
|
| In the parallel second area, on a seashell in the Unfurl Block area. | 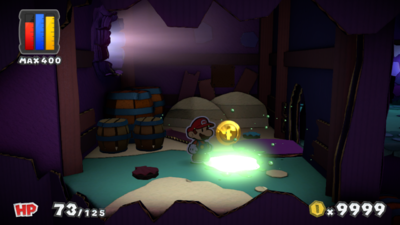
|
| In the parallel second area, on a rock on the wall. | 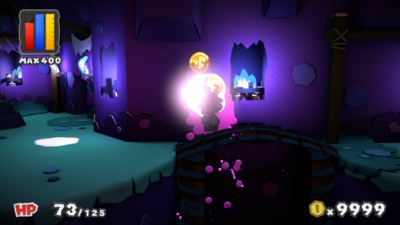
|
| In the parallel second area, on the ground. | 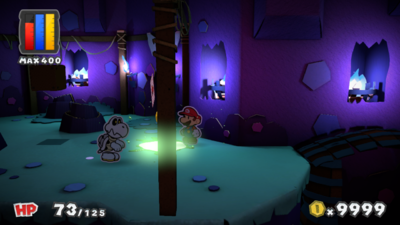
|
| In the parallel third area, on the ground. | 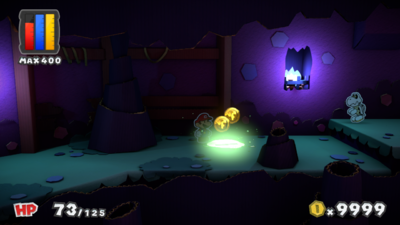
|
| In the parallel third area, on a plank on the wall. | 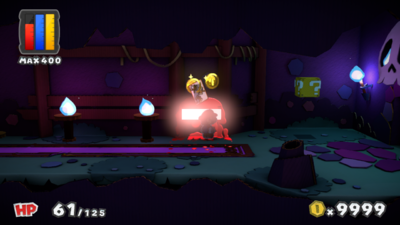
|
| In the parallel fourth area, on the wall. | 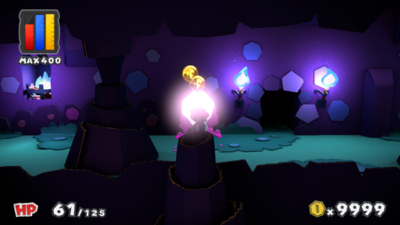
|
| In the parallel fourth area, on the ground. | 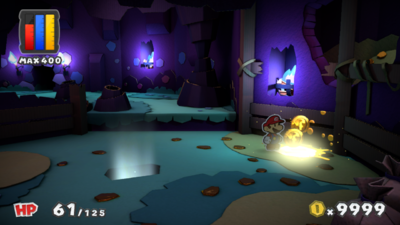
|
| In the parallel fifth area, on the ground. | 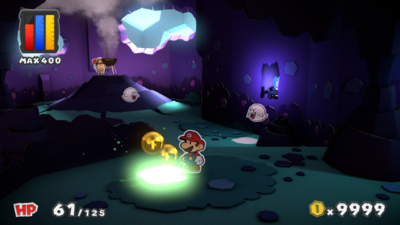
|
| In the parallel fifth area, on the ground. | 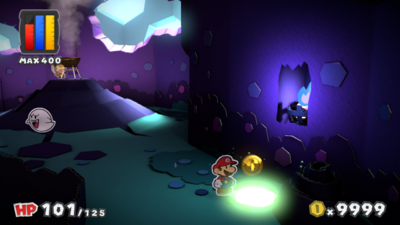
|
| In the parallel first area, on a rock on the wall. | 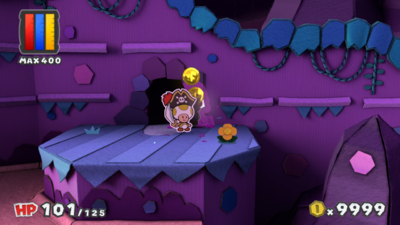
|
| In the parallel smoke area, on the ground. | 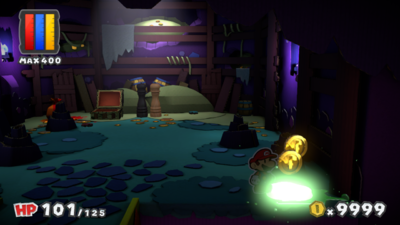
|
| In the smoke area, on the ground. | 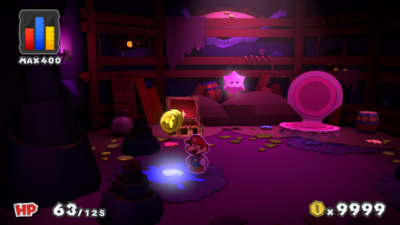
|
Marmalade Valley
| Marmalade Valley | |
|---|---|
| In the first area, on the ground. | 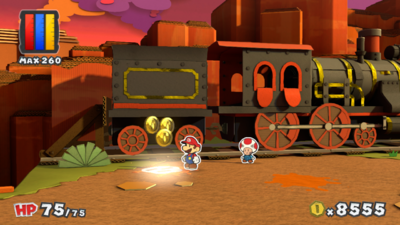
|
| In the first area, on the ground. | 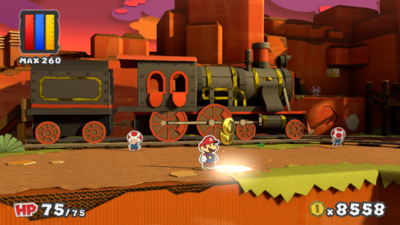
|
| In the first area, on the ground. | 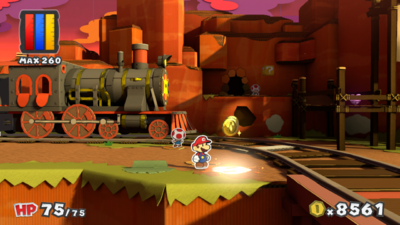
|
| In the first area, on the railroad tracks. | 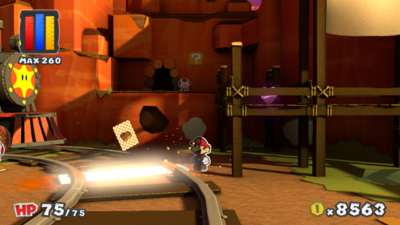
|
| In the first area, on the wall. | 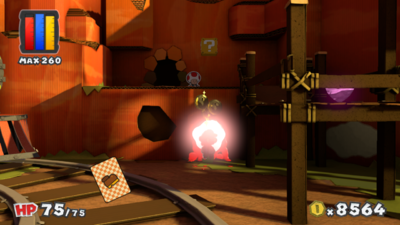
|
| In the first area, on the wall. | 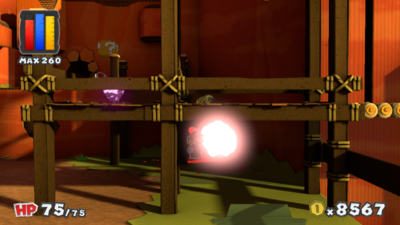
|
| In the first area, on a wooden platform. | 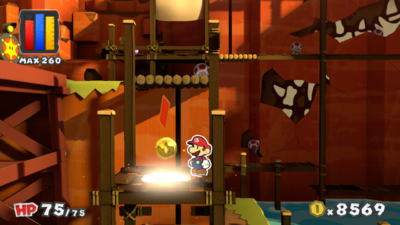
|
| In the first area, on the ground. | 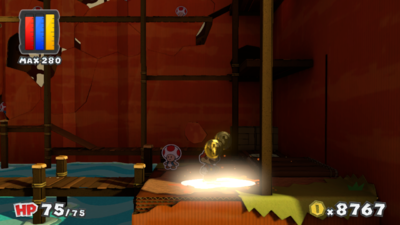
|
| In the first area, on a wooden platform. | 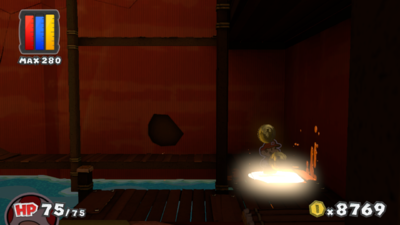
|
| In the cave, on the ground. | 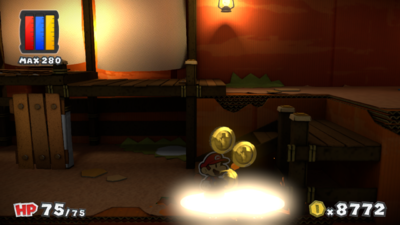
|
| In the cave, on the ground. | 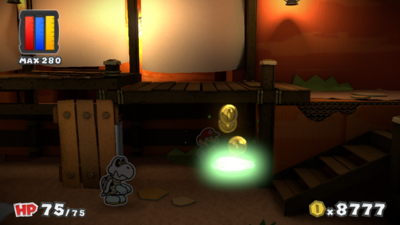
|
| In the cave, on a pole. | 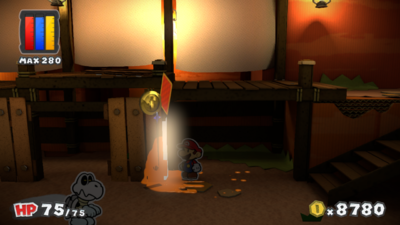
|
| In the cave, on the ground. | 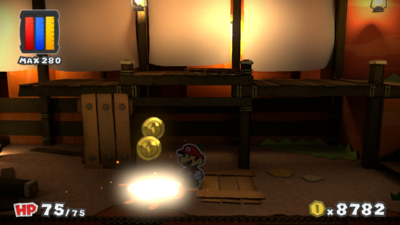
|
| In the cave, on a wooden platform. | 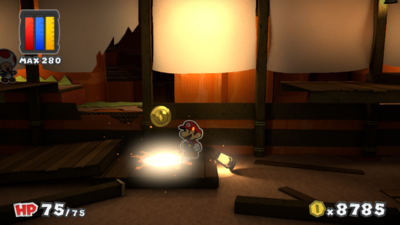
|
| In the cave, on the ground. | 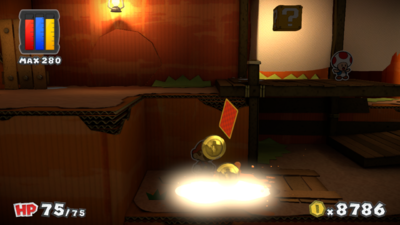
|
| In the cave, on a wooden platform. | 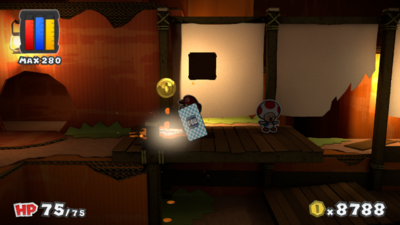
|
| In the cave, on the ground behind a wooden block. | 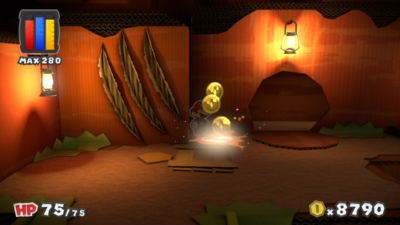
|
| In the first area, on the wall. | 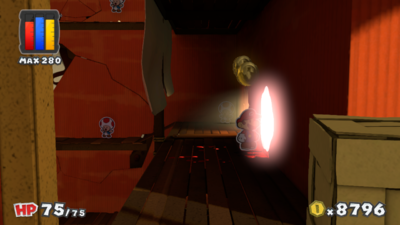
|
| In the second area, on the wall. | 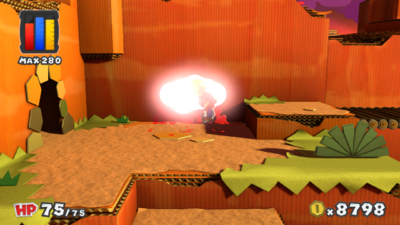
|
| In the second area, on the ground. | 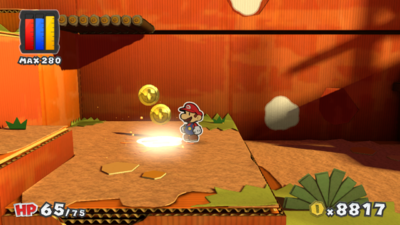
|
| In the second area, on the wall. | 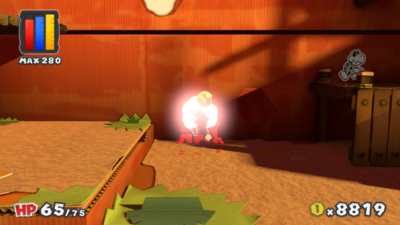
|
| In the second area, on the ground. | 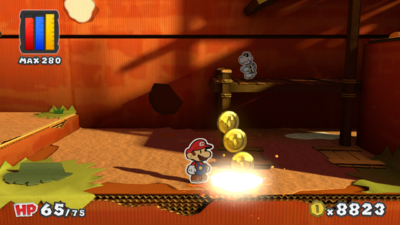
|
| In the second area, on the ground. | 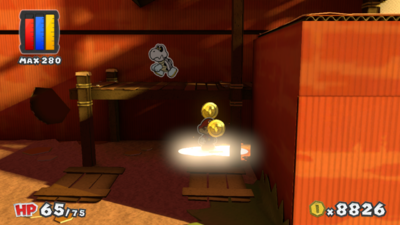
|
| In the second area, on the wall. | 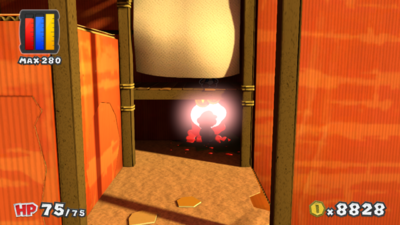
|
| In the second area, on the wall, accessible from the moving platform. | 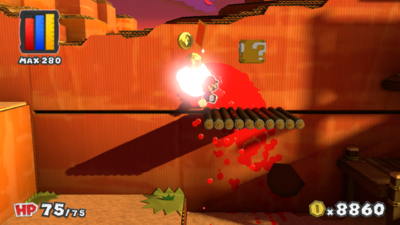
|
| In the second area, on a wooden platform. | 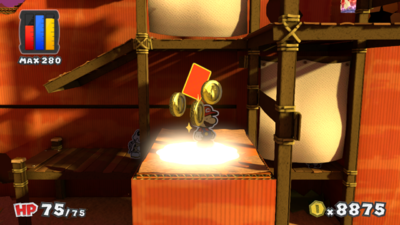
|
| In the third area, on the wall. | 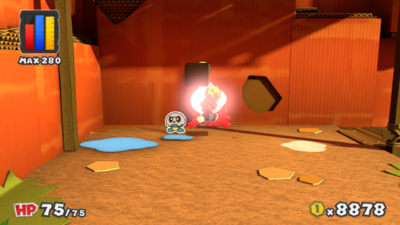
|
| In the third area, on the ground. | 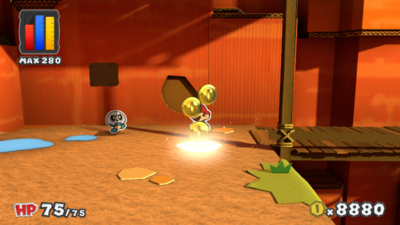
|
| In the third area, on the ground. | 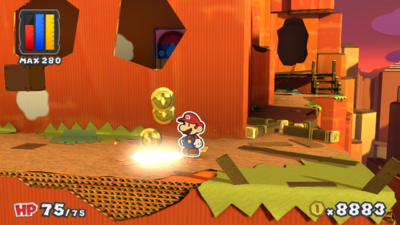
|
| In the third area, on the wall. | 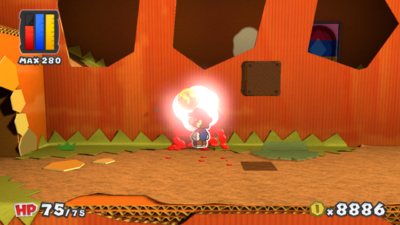
|
| In the first area, on the wall. | 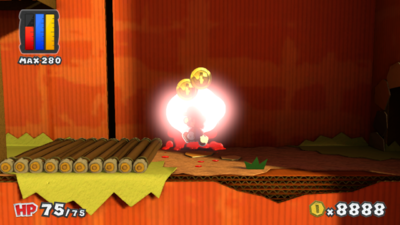
|
| In the first area, on a crate. | 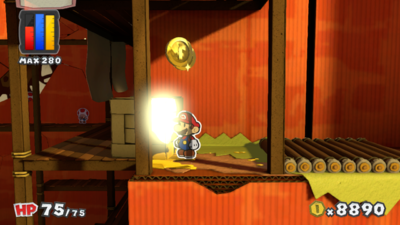
|
| In the first area, on the wall. | 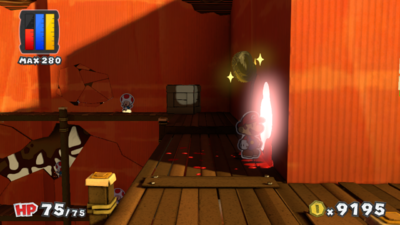
|
| In the third area, near the Spinning-Door. | 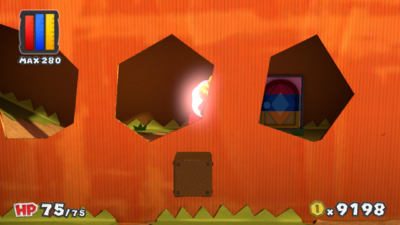
|
| In the first area, on a crate. | 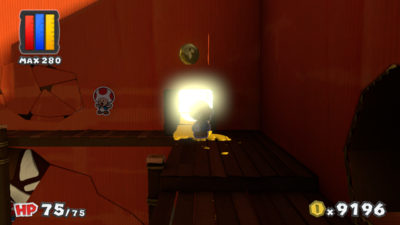
|
| In the first area, on the Draggadon fossil. This colorless spot is repainted after collecting the orange Big Paint Star. | 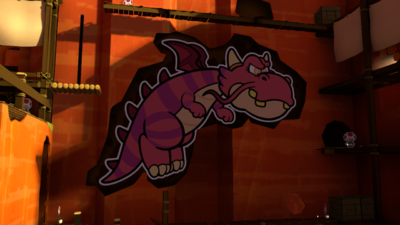
|
Kiwano Temple
| Kiwano Temple | |
|---|---|
| In the first area, on a post. | 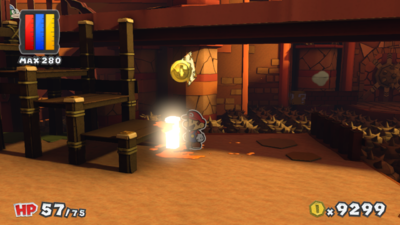
|
| In the first area, on the wall. | 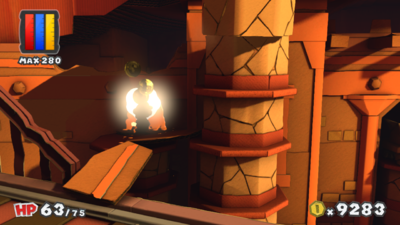
|
| In the first area, on the ground. | 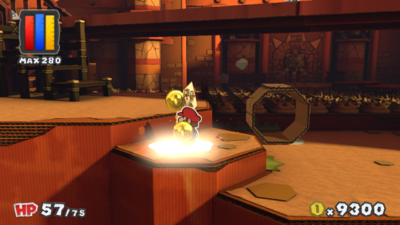
|
| In the first area, on the ground beneath a cardboard tube. | 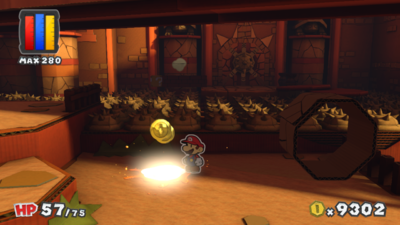
|
| In the first area, on a railroad track. If this colorless spot is not repainted before destroying the track with the rickity column, it will be inaccessible until the blue Rescue Squad is rescued. | 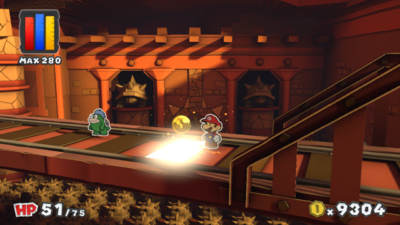
|
| In the first area, on the ground after crossing the spikes. | 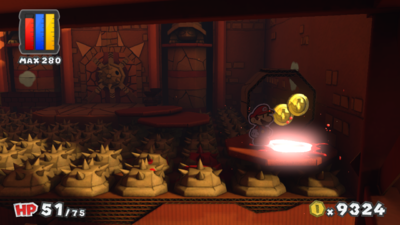
|
| In the first area, on the wall. Mario must hammer off the ledge to reveal a row of invisible blocks. | 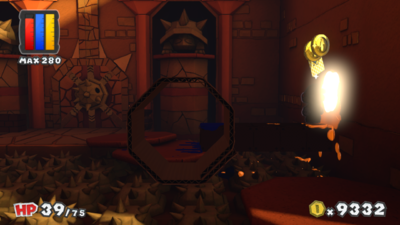
|
| In the first area, on the wall. | 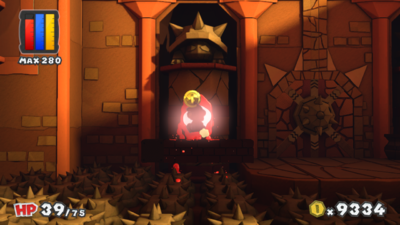
|
| In the second area, on the ground. | 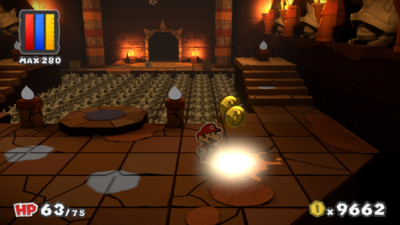
|
| In the second area, on the ground. | 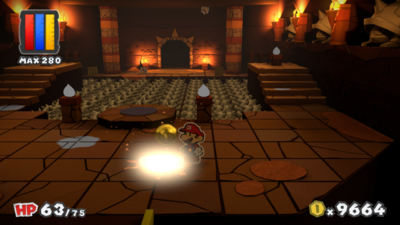
|
| In the second area, on the ground. | 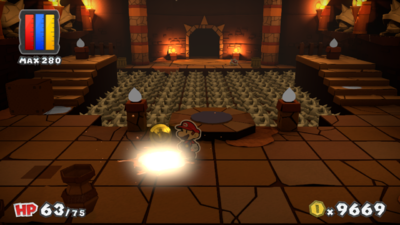
|
| In the second area, on the ground. | 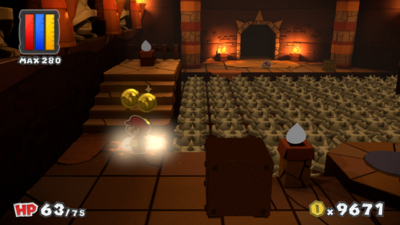
|
| In the second area, on the ground. | 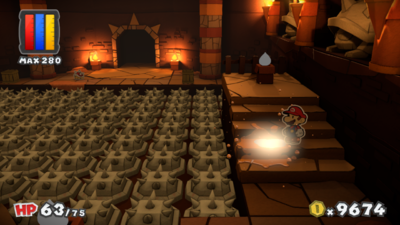
|
| In the second area, on a flame. | 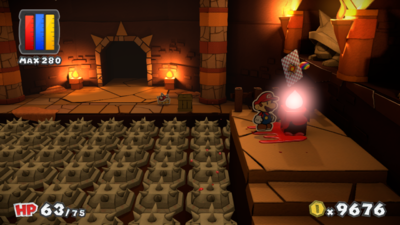
|
| In the second area, on a flame. | 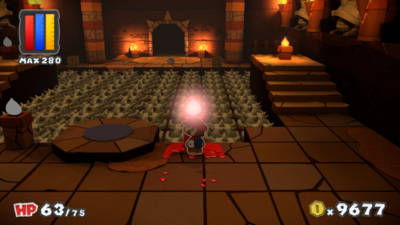
|
| In the second area, on a flame. | 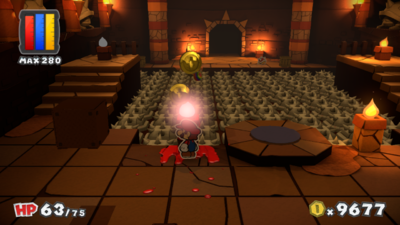
|
| In the second area, on a flame. | 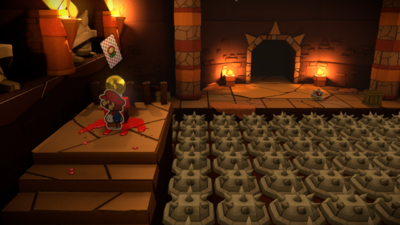
|
| In the third area, on a fencepost. | 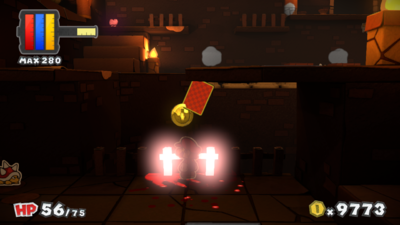
|
| In the third area, on the ground. | 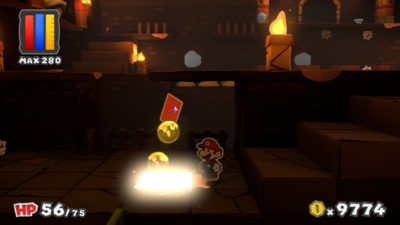
|
| In the third area, on the ground. | 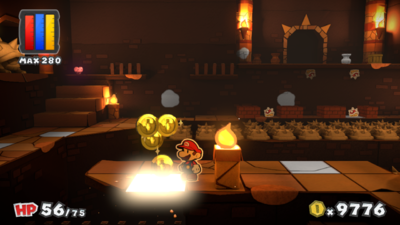
|
| In the third area, on the ground. | 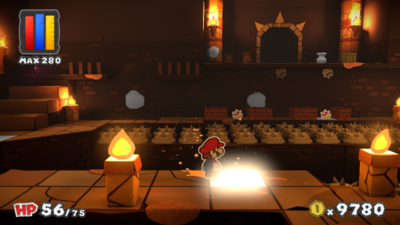
|
| In the third area, on the ground. | 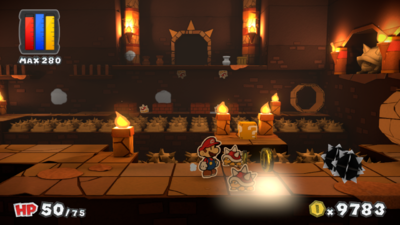
|
| In the third area, on the ground. | 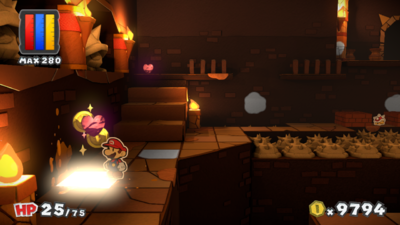
|
| In the third area, on the ground. | 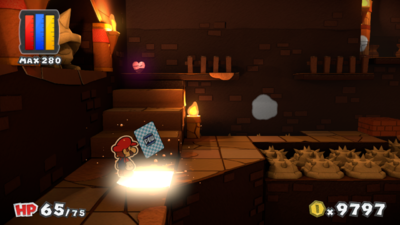
|
| In the third area, on the wall. | 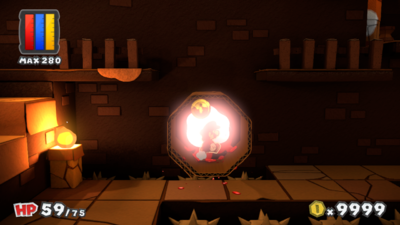
|
| In the third area, on the wall. | 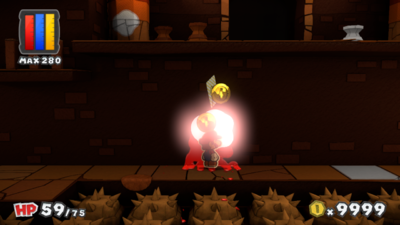
|
| In the third area, on the ground. | 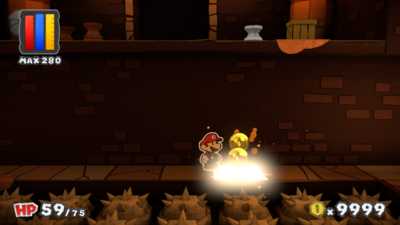
|
| In the third area, on the wall. | 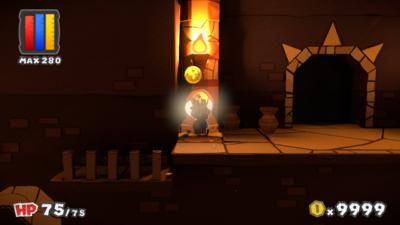
|
| In the third area, on a vase. | 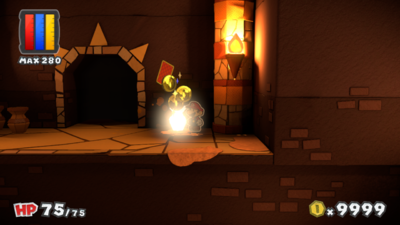
|
| In the fourth area, on a column. | 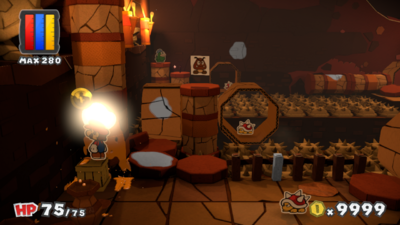
|
| In the fourth area, on the ground. | 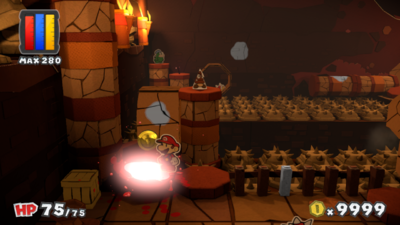
|
| In the fourth area, on a cardboard wheel. | 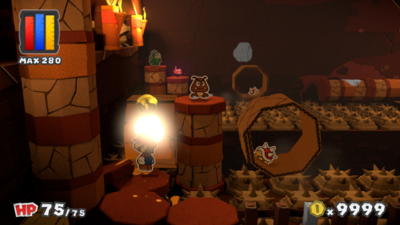
|
| In the fourth area, on a fencepost. | 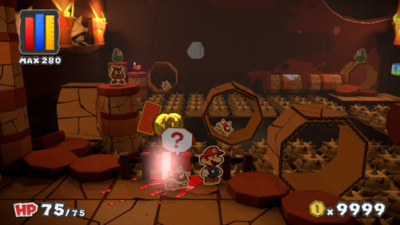
|
| In the fourth area, on a column. | 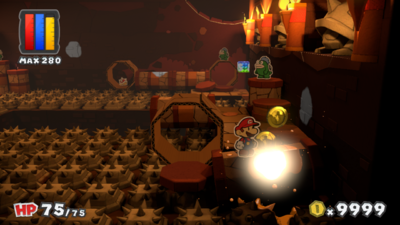
|
| In the fourth area, on the wall. | 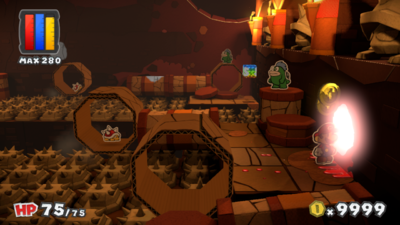
|
| In the fourth area, on the wall. | 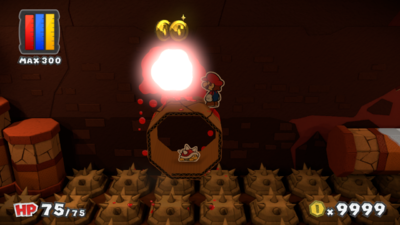
|
| In the fourth area, on a tipped column. | 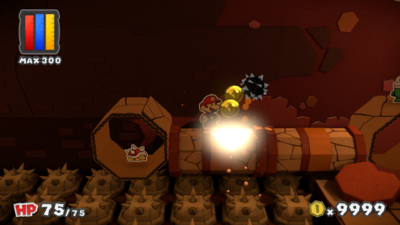
|
Toad Trainworks
| Toad Trainworks | |
|---|---|
| In the first area, on the ground. | 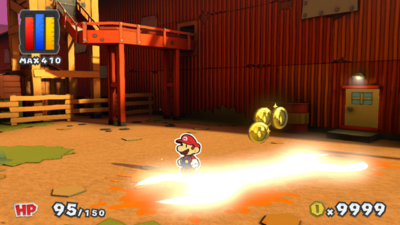
|
| In the first area, on the side of a crate. Mario must hammer nearby to reveal an invisible block, then jump on it to reach the crate. | 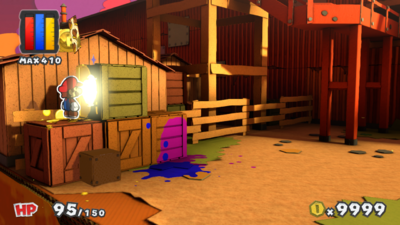
|
| In the second area, on the wall beneath some stairs. | 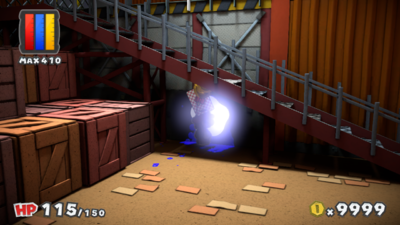
|
| In the second area, on a stair. | 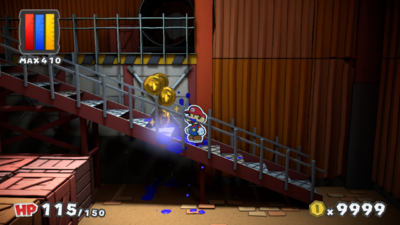
|
| In the second area, on the railing. | 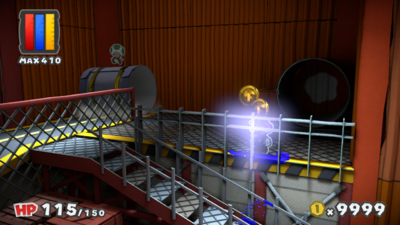
|
| In the second area, on the wall. | 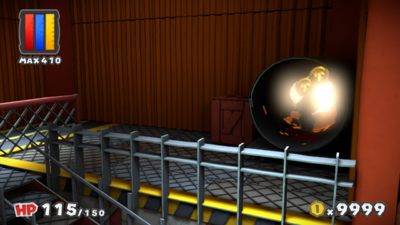
|
| In the second area, on the smokestack. | 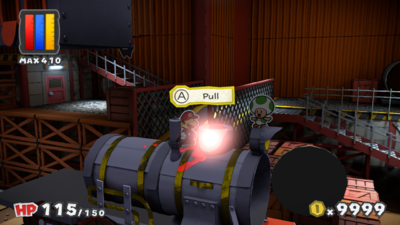
|
| In the second area, on the top of a crate. | 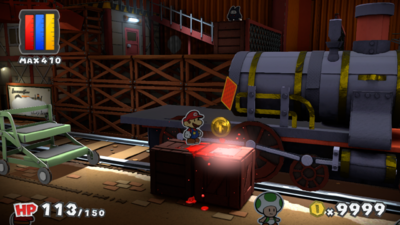
|
| In the second area, on the ground. | 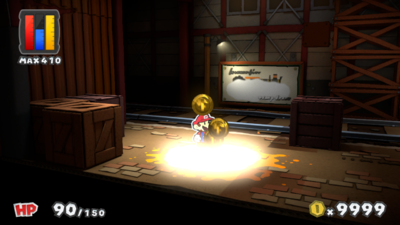
|
| In the second area, on the train chart. | 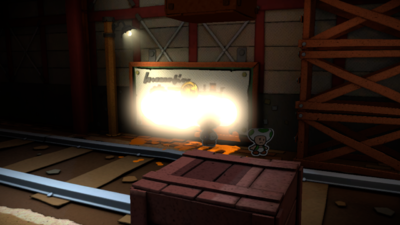
|
| In the third area, on a crate. | 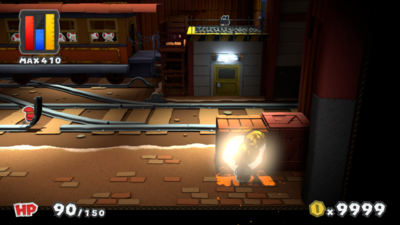
|
| In the cabin, on a post. | 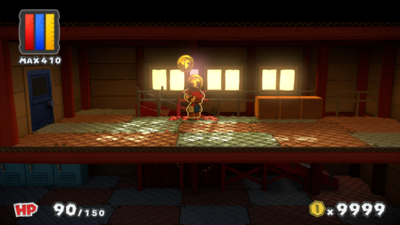
|
| In the second area, on the wall beneath some stairs. | 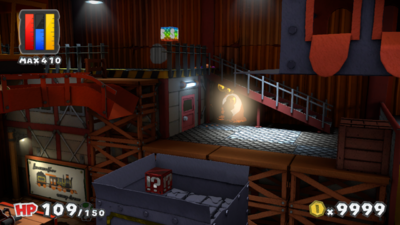
|
| In the second area, on the wall. | 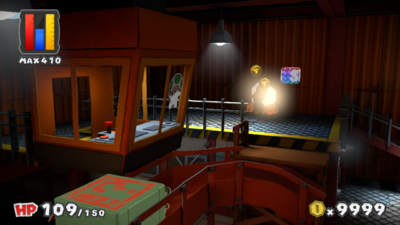
|
| In the second area, on the Toad in the crane. | 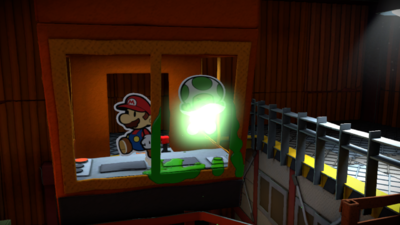
|
| In the first area, on the coal ramp. | 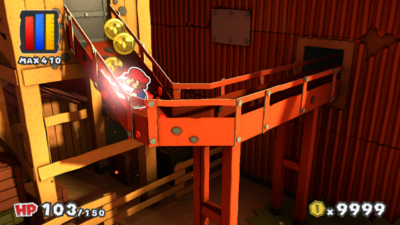
|
| In the third area, on the ground. | 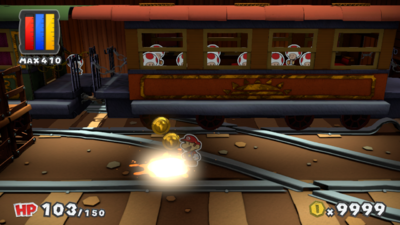
|
| In the third area, on a railroad plank. | 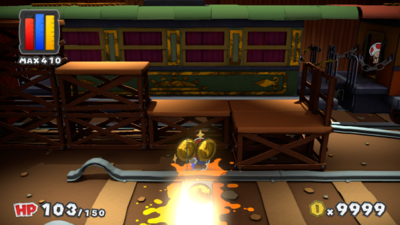
|
| In the third area, on a crate. | 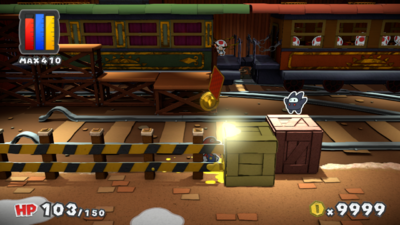
|
| In the third area, on the ground. | 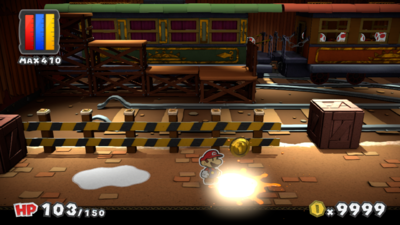
|
| In the third area, on the ground. | 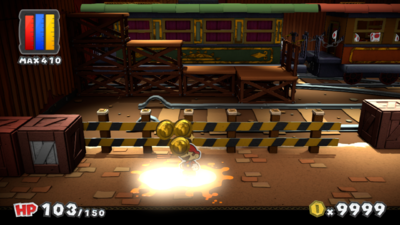
|
| In the third area, on the side of a crate. | 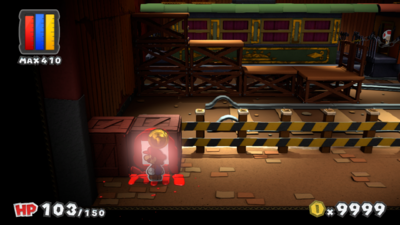
|
| In the second area, on the fence. | 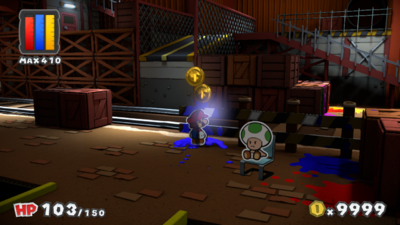
|
| In the second area, on the fence. | 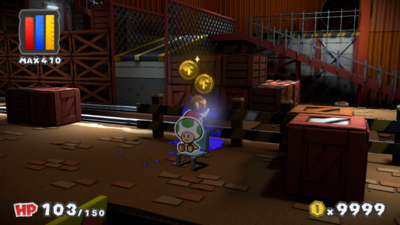
|
| In the second area, on the fence. | 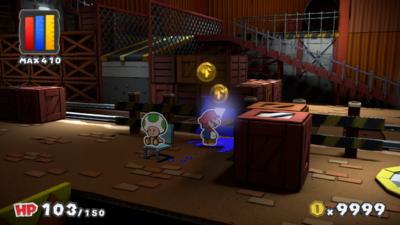
|
| In the third area, on the wall. | 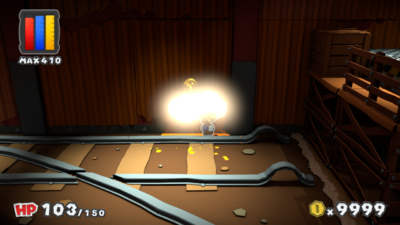
|
| In the third area, on the wall. | 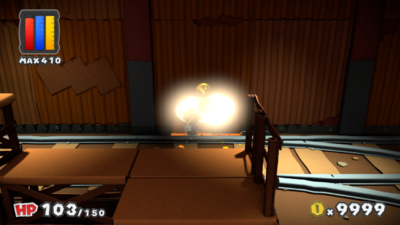
|
| In the second area, on the top of a crate. The handcar must be brought over from the third area after the Sunset Express has departed. | 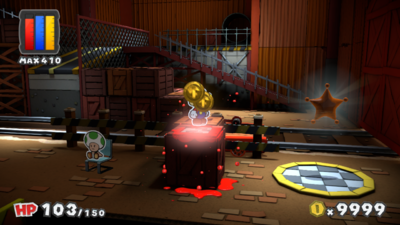
|
Tangerino Grill
| Tangerino Grill | |
|---|---|
| In the first area, on the ground. | 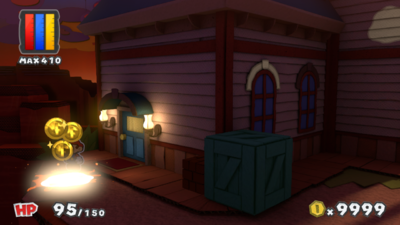
|
| In the first area, on the window. An invisible path must be painted in to reach this spot. | 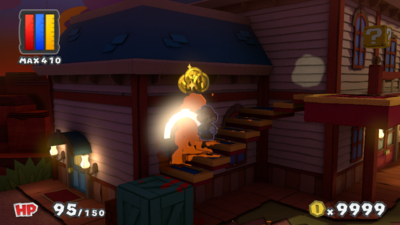
|
| In the first area, on the wall. | 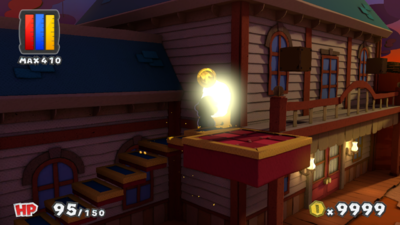
|
| In the first area, on a rock. | 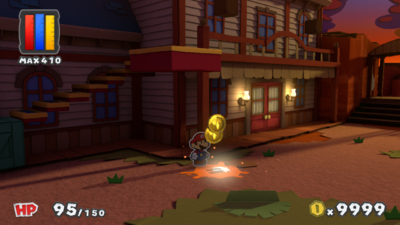
|
| In the first area, on some grass. | 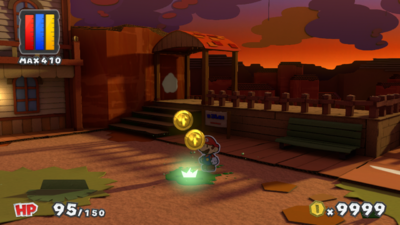
|
| In the first area, on the ground. | 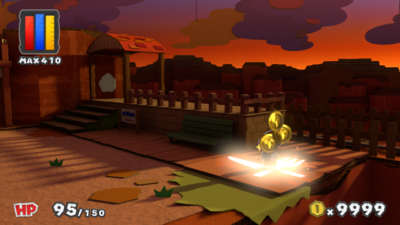
|
| In the first area, on the wall. | 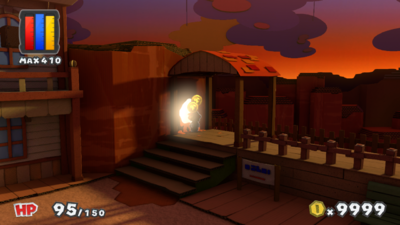
|
| In the VIP room, on the wall and ground. | 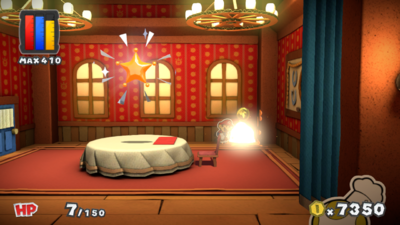
|
Sunset Express
| Sunset Express | |
|---|---|
| In the first area, on the side of a crate. | 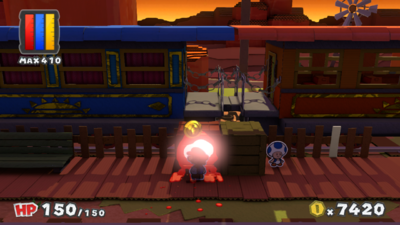
|
| In the first area, on a fencepost. | 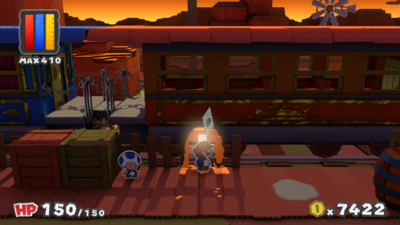
|
| In the first area, on the ground. | 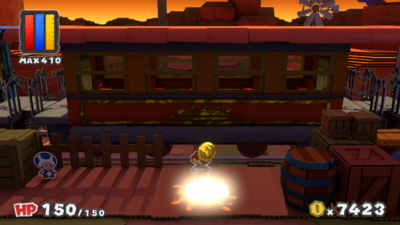
|
| In the first area, on a piece of grass. | 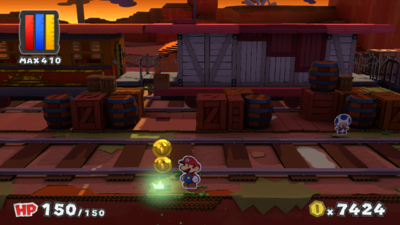
|
| In the first area, on the ground. | 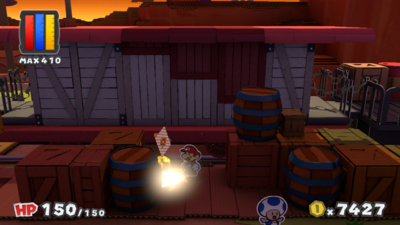
|
| In the first area, on the ground between two train tracks. | 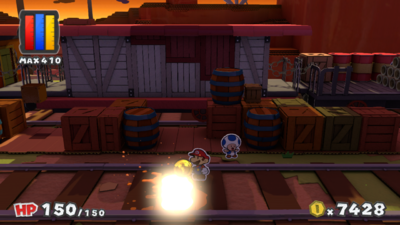
|
| In the first area, on the ground. | 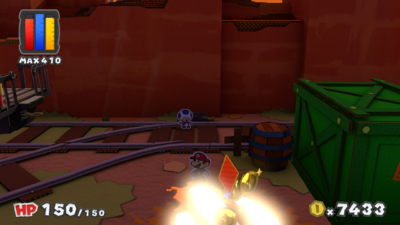
|
| In the first area, on a flower. | 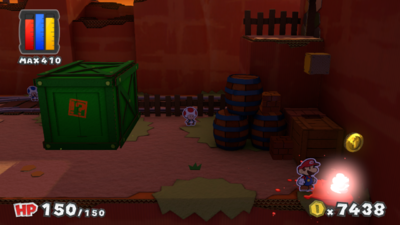
|
| On top of the train cars, on the roof. | 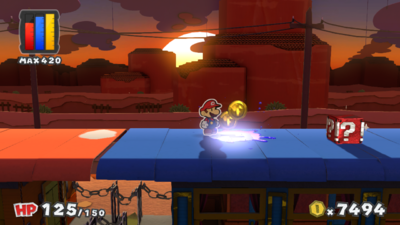
|
| On top of the train cars, on the roof. | 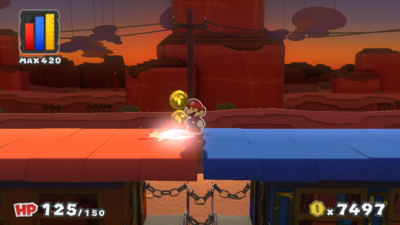
|
| In the Snifit train car, on the left door. | 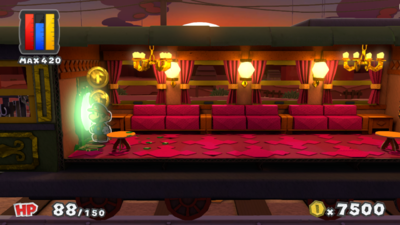
|
| In the first area, on the train tracks. This spot can only be accessed after the Sunset Express has departed. | 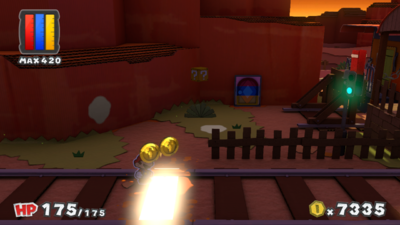
|
| In the first area, on the wall. This spot can only be accessed after the Sunset Express has departed. | 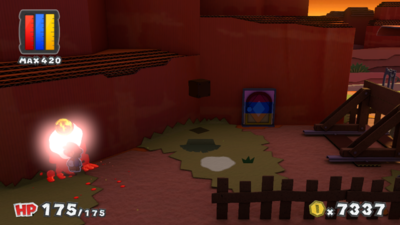
|
| In the first area, on the ground. This spot can only be accessed after the Sunset Express has departed. | 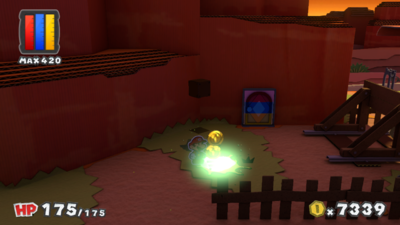
|
Mondo Woods
| Mondo Woods | |
|---|---|
| In the first area, on the ground. | 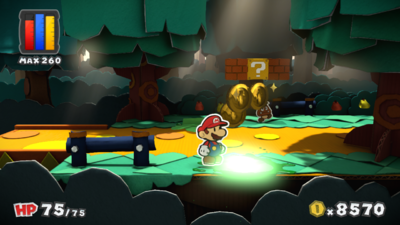
|
| In the first area, on the ground. | 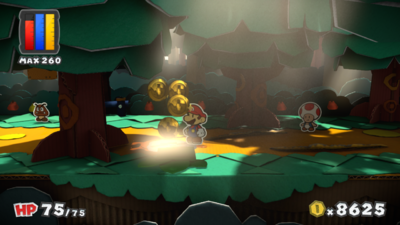
|
| In the first area, on the ground. | 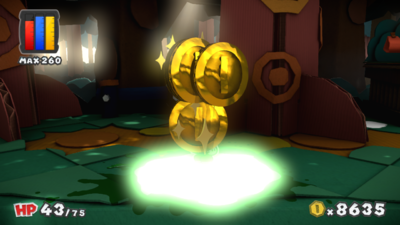
|
| In the first area, on the ground. | 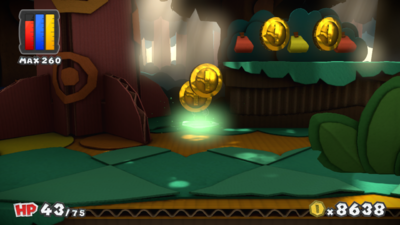
|
| In the first area, on a Brick Block. | 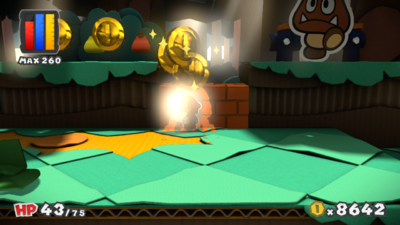
|
| In the first area, on the ground. | 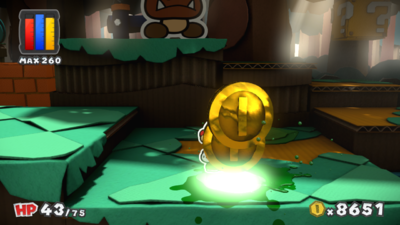
|
| In the second area, on a tree. | 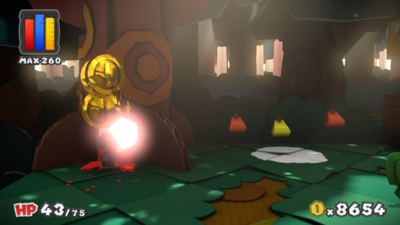
|
| In the second area, on the ground. | 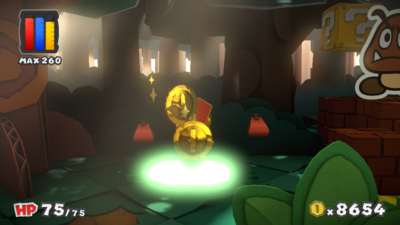
|
| In the second area, on top of a Brick Block. | 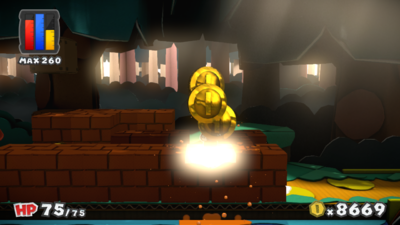
|
| In the second area, on the ground beneath a row of Brick Blocks. | 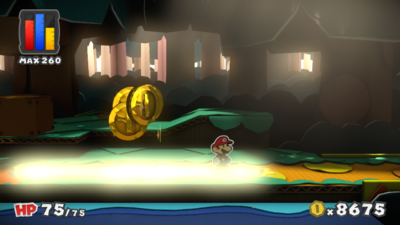
|
| In the area with the giant coin, on a tree. | 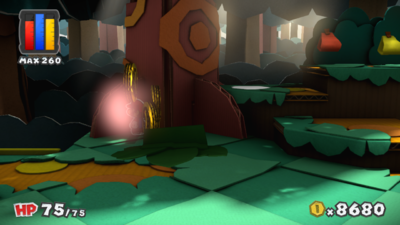
|
| In the area with the giant coin, on a raised platform. | 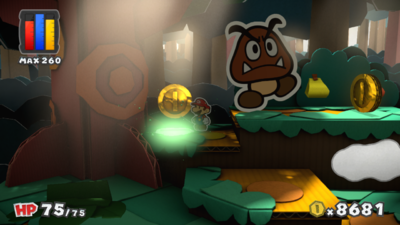
|
| In the area with the giant coin, on the wall. | 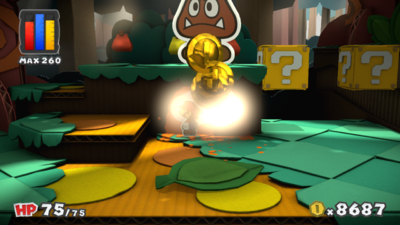
|
| In the third area, on the ground. | 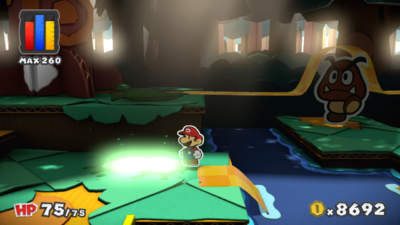
|
| In the third area, on a tree. | 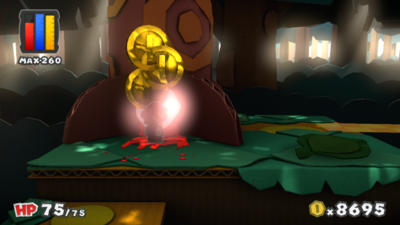
|
| In the fourth area, on a bush. | 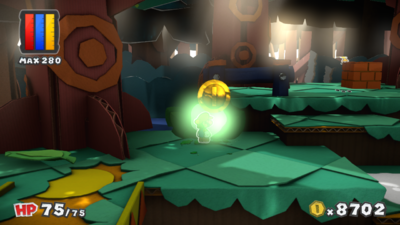
|
| In the fourth area, on the ground. | 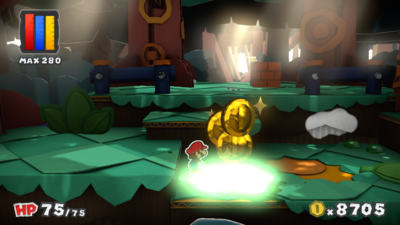
|
| In the fourth area, on the wall. | 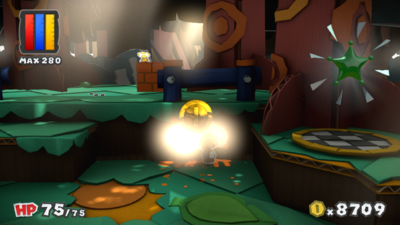
|
| In the area with the giant coin, on the coin. This colorless spot is repainted after collecting the yellow Big Paint Star. | 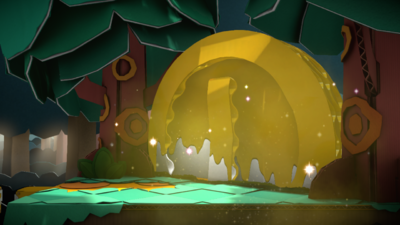
|
Sacred Forest
| Sacred Forest | |
|---|---|
| In the first area, on a tree. | 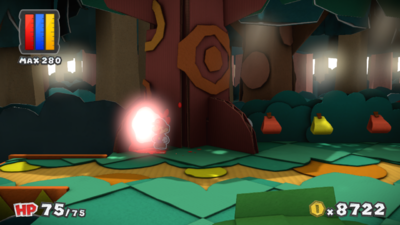
|
| In the first area, on a Toad hiding behind a bush. | 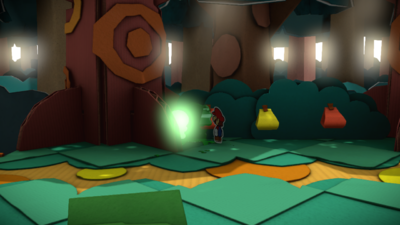
|
| In the first area, on the ground. | 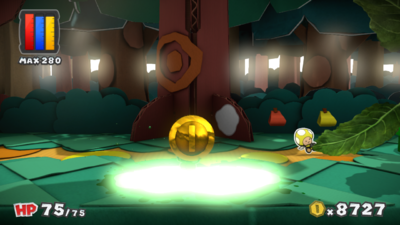
|
| In the first area, on a tree. | 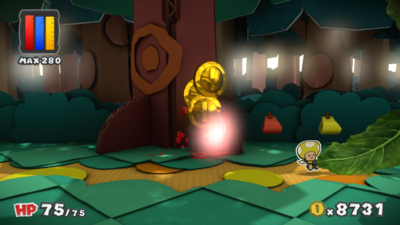
|
| In the second area, on the ground. | 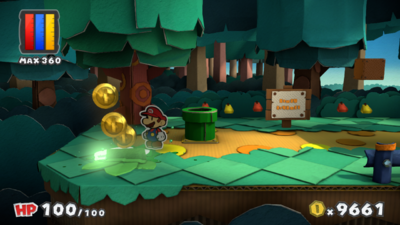
|
| In the second area, on the ground. | 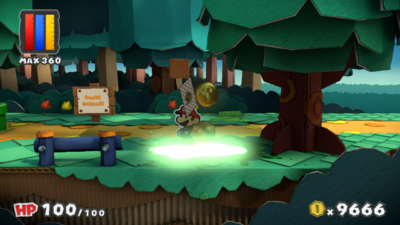
|
| In the second area, on a tree. | 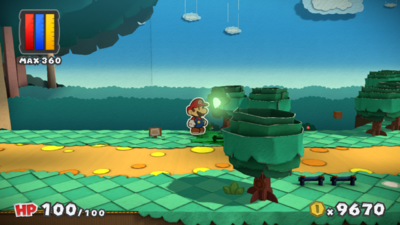
|
| In the second area, on the ground. | 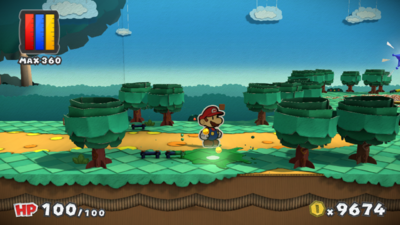
|
| In the second area, on the ground. | 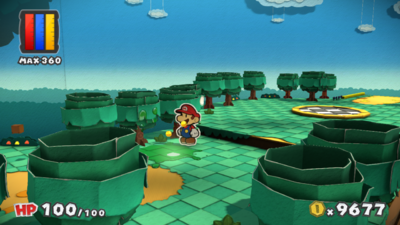
|
| In the second area, on the ground. | 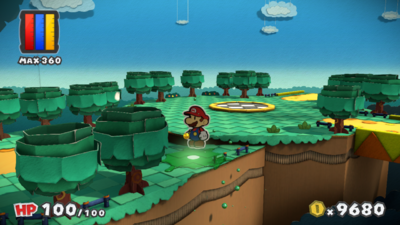
|
| In the second area, on a tree. | 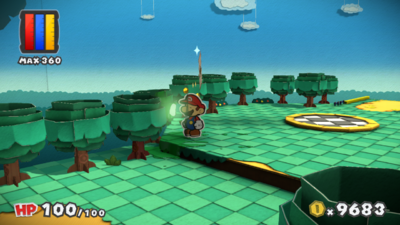
|
| In the Buzzy Beetle area, on the ground. | 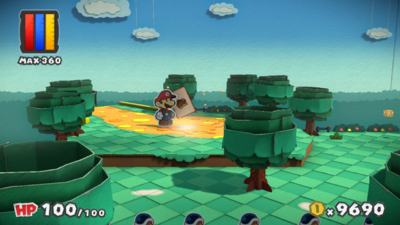
|
| In the Buzzy Beetle area, on the ground. | 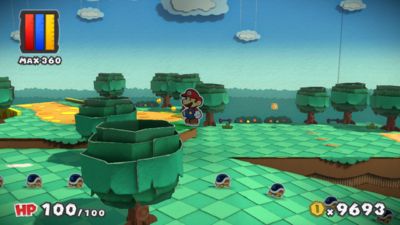
|
| In the Buzzy Beetle area, on the ground. | 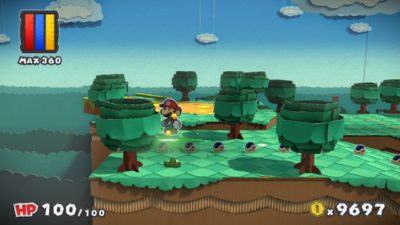
|
| In the Buzzy Beetle area, on the ground. | 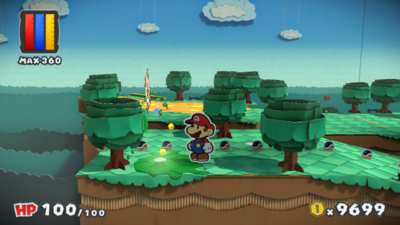
|
| In the Buzzy Beetle area, on the ground. | 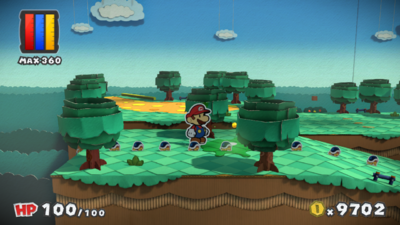
|
| In the Buzzy Beetle area, on the ground. | 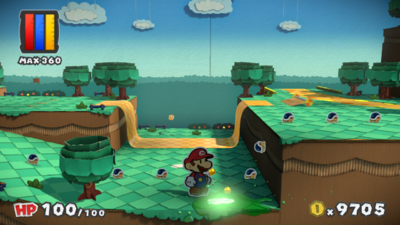
|
| In the Buzzy Beetle area, on the ground. | 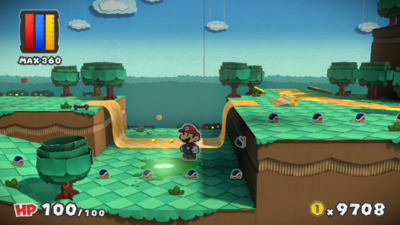
|
| In the Buzzy Beetle area, on the ground. Three pieces of Bowser Tape must be pulled to reveal this spot. | 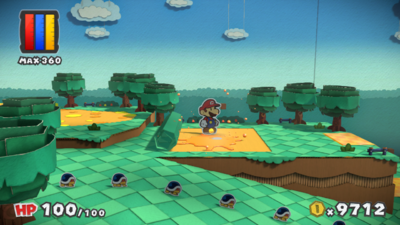
|
| In the Old Sacred Tree area, on the ground. | 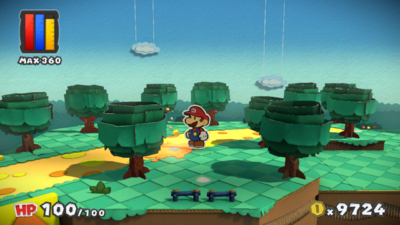
|
| In the Old Sacred Tree area, on the ground. | 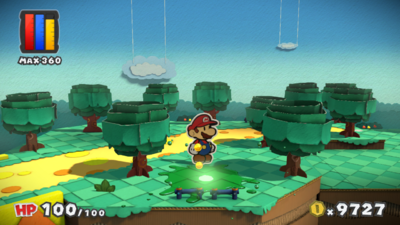
|
| In the Old Sacred Tree area, on the ground. | 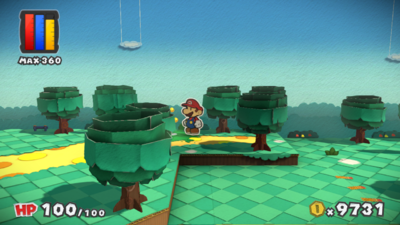
|
| In the Old Sacred Tree area, on the ground. | 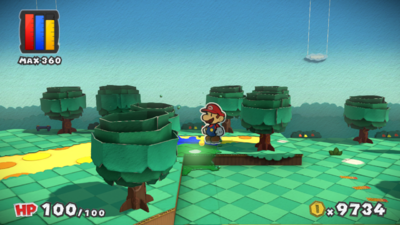
|
| In the Old Sacred Tree area, on the ground. | 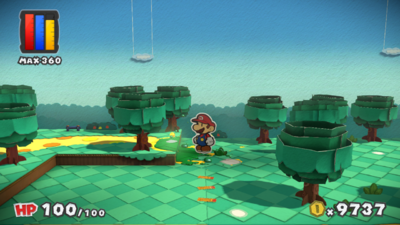
|
| In the Old Sacred Tree area, on the ground. | 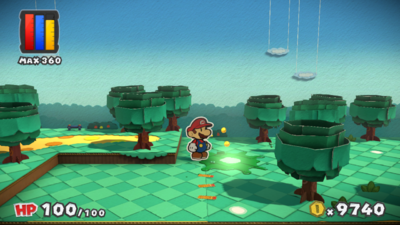
|
| In the Old Sacred Tree area, on the ground. | 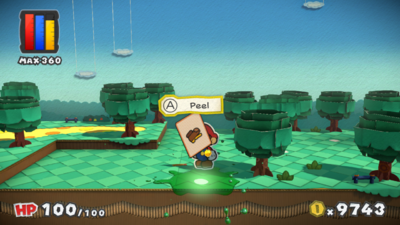
|
| In the Old Sacred Tree area, on the ground. | 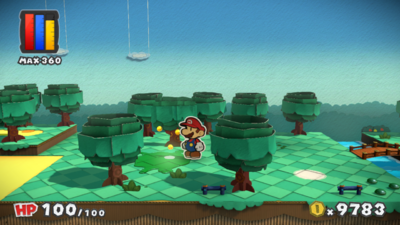
|
| In the Old Sacred Tree area, on the ground. | 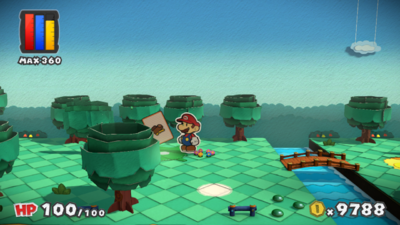
|
| In the Old Sacred Tree area, on the ground. | 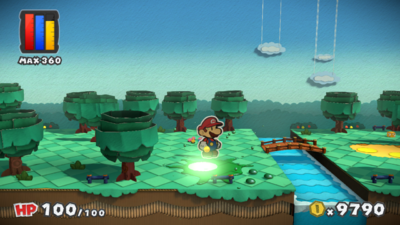
|
| In the Old Sacred Tree area, on the ground. | 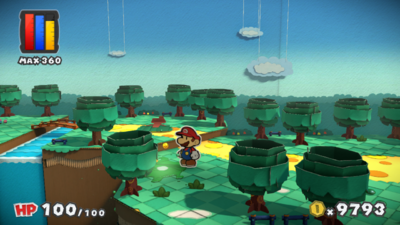
|
| In the Old Sacred Tree area, on the ground. | 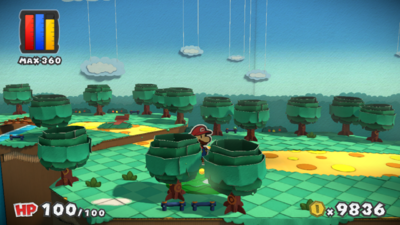
|
| In the Old Sacred Tree area, on the ground. | 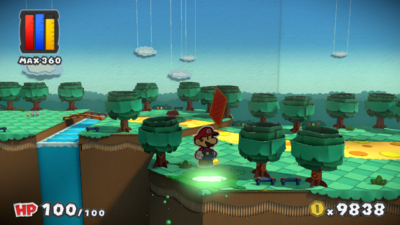
|
| In the Old Sacred Tree area, on the ground. | 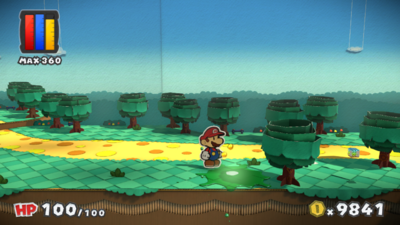
|
| In the Old Sacred Tree area, on the ground. | 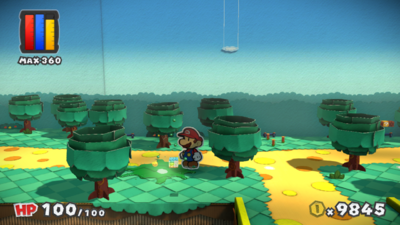
|
| In the Old Sacred Tree area, on the ground. | 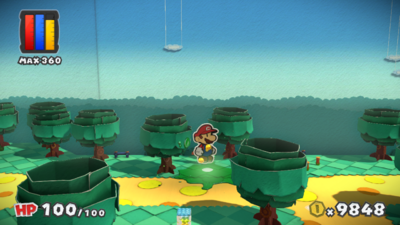
|
| In the Old Sacred Tree area, on the ground. | 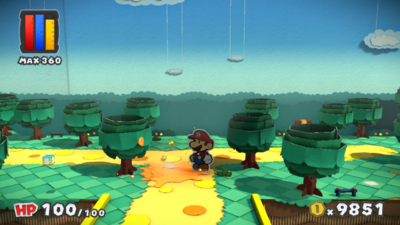
|
| In the Old Sacred Tree area, on the ground. | 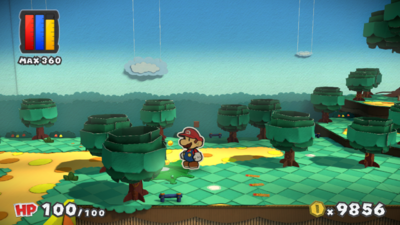
|
| In the Old Sacred Tree area, on the ground. | 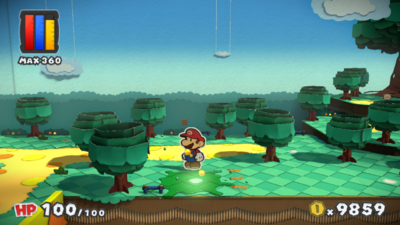
|
| In the Old Sacred Tree area, on the ground. | 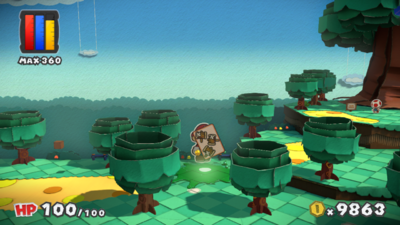
|
| In the Old Sacred Tree area, on the ground. | 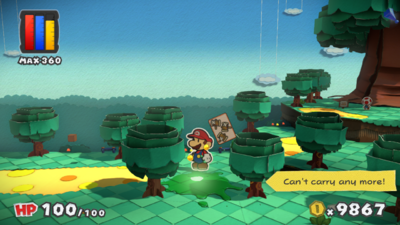
|
| In the Old Sacred Tree area, on the ground. | 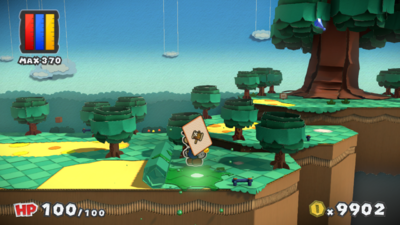
|
| In the Old Sacred Tree area, on the ground. | 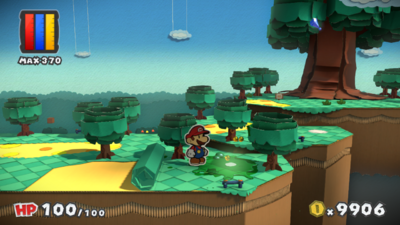
|
| In the Old Sacred Tree area, on the ground. | 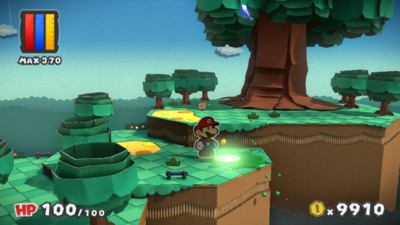
|
| In the Small Goomba Gang area, on the ground. | 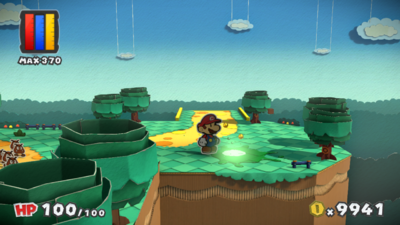
|
| In the Small Goomba Gang area, on the ground. | 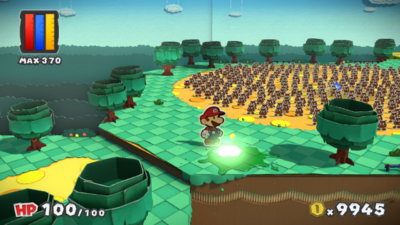
|
| In the Buzzy Beetle area, on the ground. | 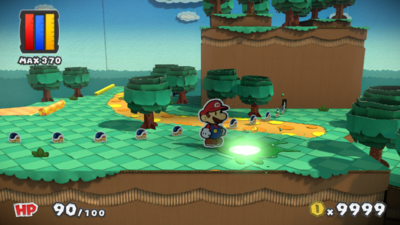
|
| In the Buzzy Beetle area, underneath the bridge. | 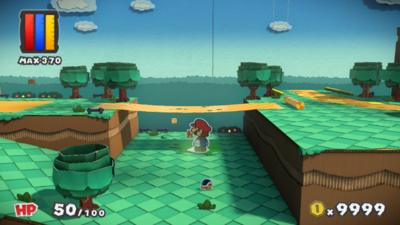
|
Green Energy Plant
| Green Energy Plant | |
|---|---|
| In the third Super Mario Bros. 3 area, on a cloud's eyes. | 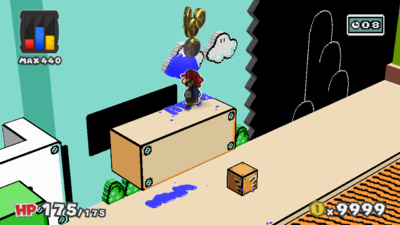
|
Mossrock Theater
| Mossrock Theater | |
|---|---|
| In the first area, on some grass. | 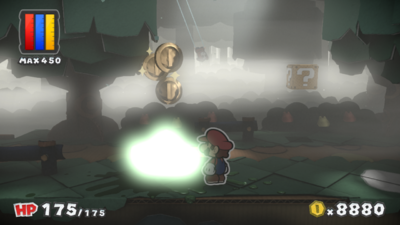
|
| In the first area, on the ground. | 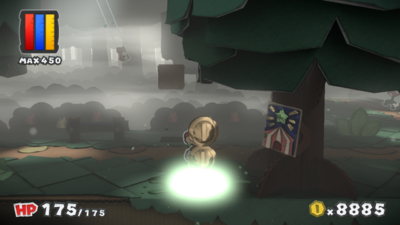
|
| In the first area, on the ground. | 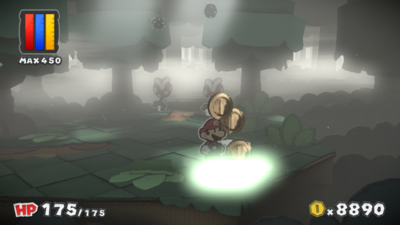
|
| In the first area, on a Toad. | 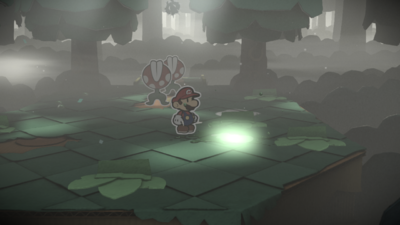
|
| In the first area, on the ground behind some grass. | 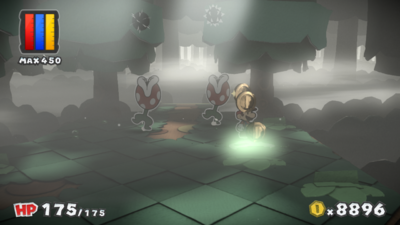
|
| In the second area, on the ground. | 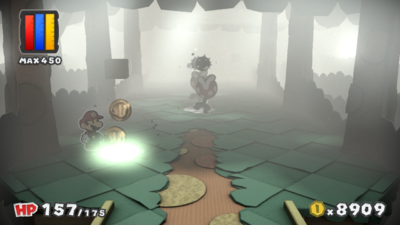
|
| In the second area, on the ground. | 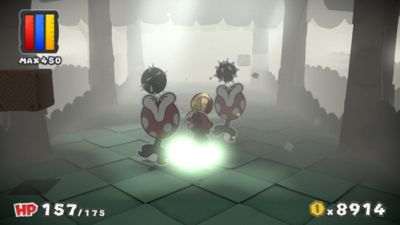
|
| In the second area, on the ground. | 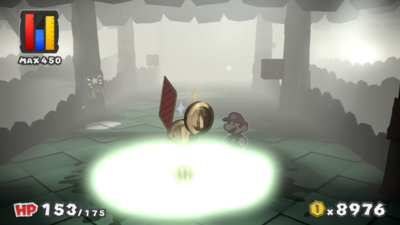
|
| In the second area, on the ground. | 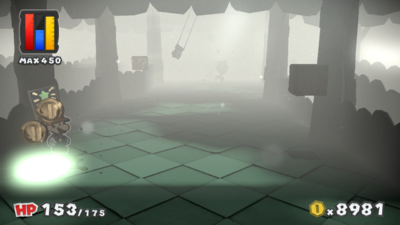
|
| In the second area, on the ground. | 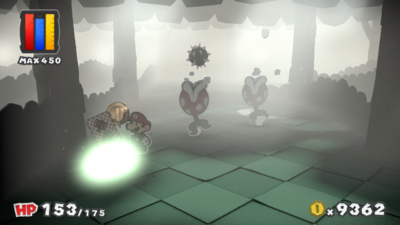
|
| In the second area, on the ground. | 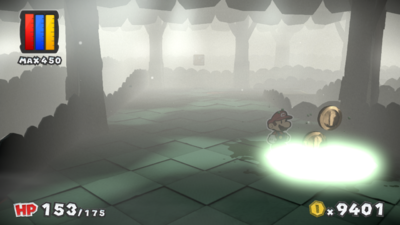
|
| In the third area, on the ground. | 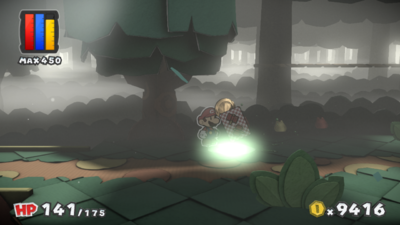
|
| In the third area, on the ground. | 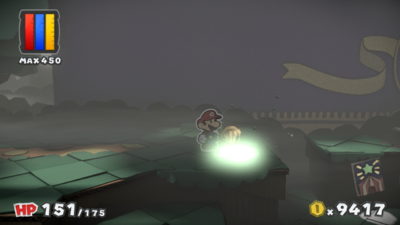
|
| In the third area, on the ground. | 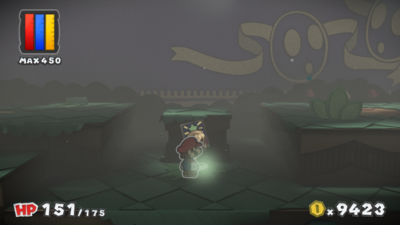
|
| In the third area, on the ground. | 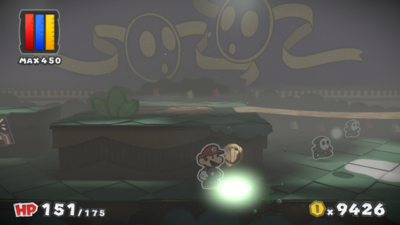
|
| In the third area, on the ground. | 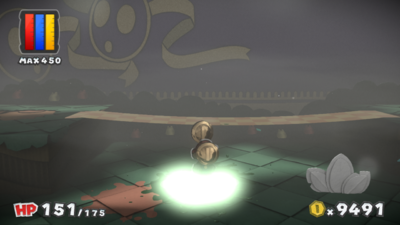
|
| In the third area, on some grass. | 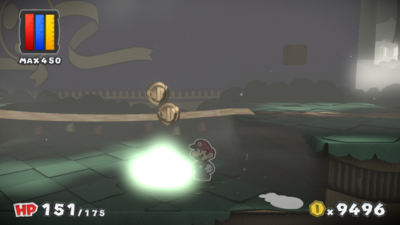
|
| In the third area, on a Toad. | 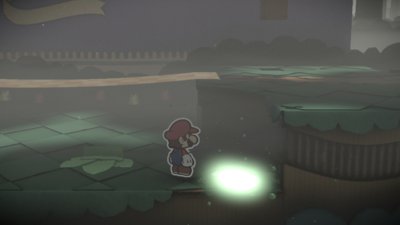
|
| In the fourth area, on the ground. | 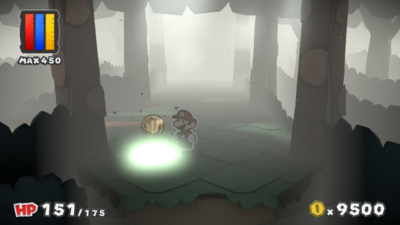
|
| In the fourth area, on a tree. | 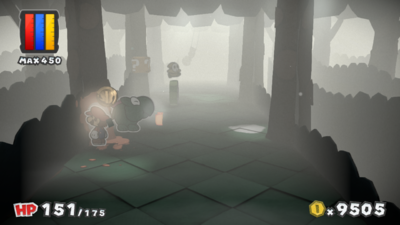
|
| In the fourth area, on the ground. | 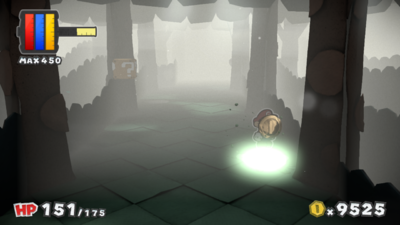
|
| In the fourth area, on the ground. | 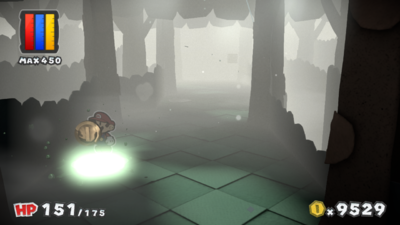
|
| In the fourth area, on the wall. | 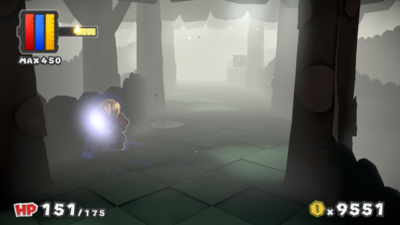
|
| In the fourth area, on the ground. | 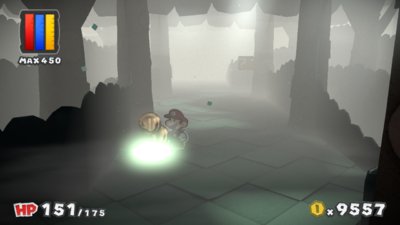
|
| In the area with two Mini Paint Stars, on the ground. | 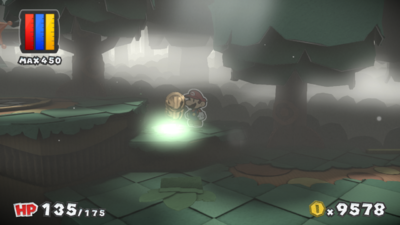
|
| In the area with two Mini Paint Stars, on a Toad. | 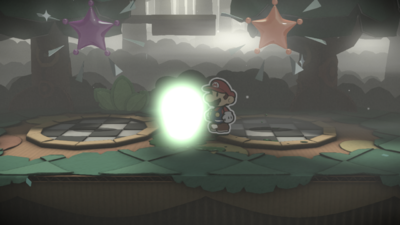
|
| In the fourth area, on the ground. | 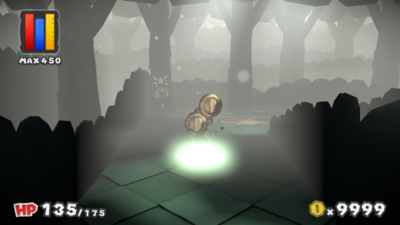
|
| In the fifth area, on the ground. | 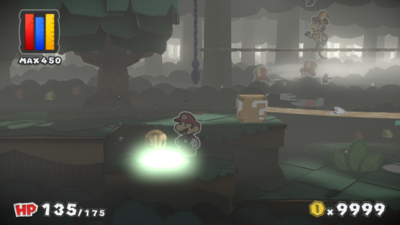
|
| In the fifth area, on the ground. | 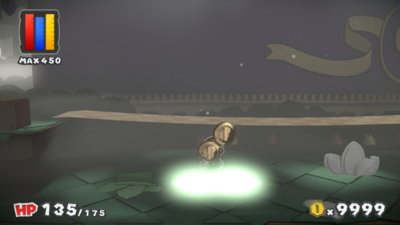
|
| In the fifth area, on the ground. | 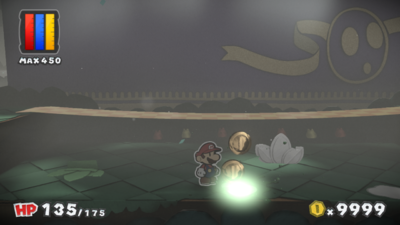
|
| In the fifth area, on some grass. | 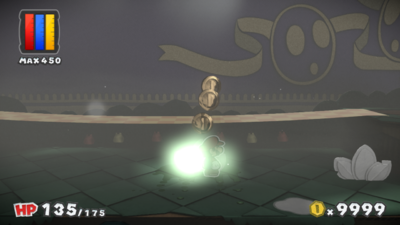
|
| In the fifth area, on the ground. | 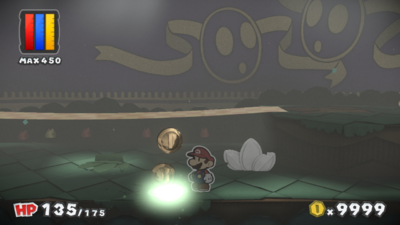
|
| In the fifth area, on some grass. | 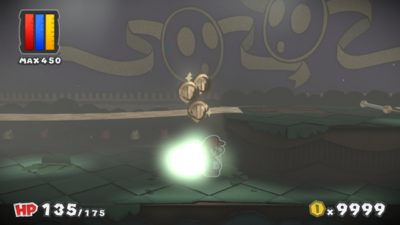
|
| In the fifth area, on the poster. | 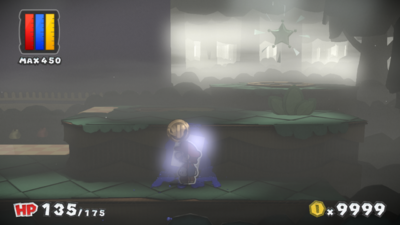
|
The Emerald Circus
| The Emerald Circus | |
|---|---|
| In the first area, on the ground. | 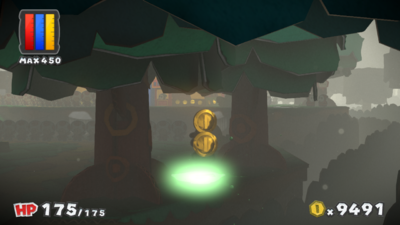
|
| In the first area, on the wall. | 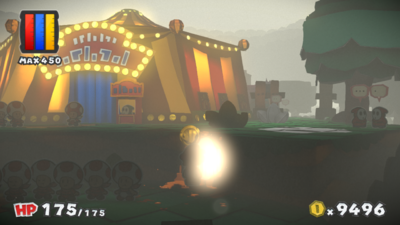
|
| In the first area, on the wall. | 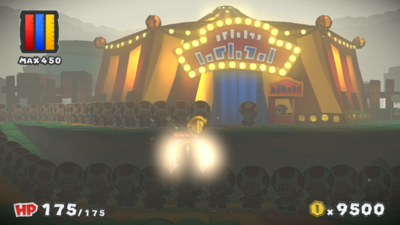
|
| In the first area, on the ground. | 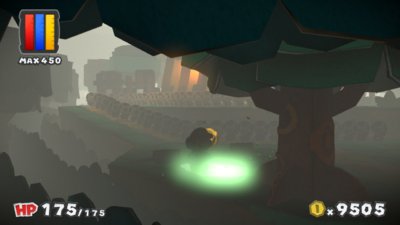
|
| In the first area, on the ground. | 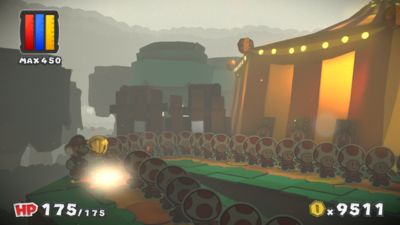
|
| In the first area, on a fencepost. | 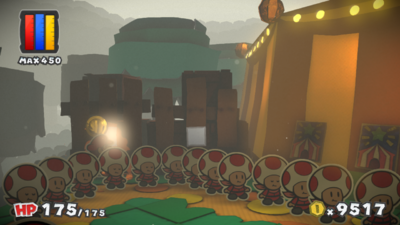
|
| In the first area, on a fencepost. | 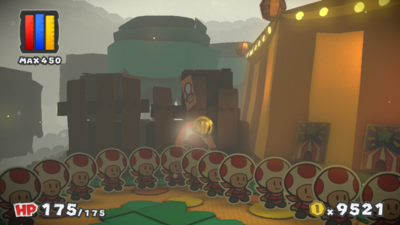
|
| In the first area, on the ground. | 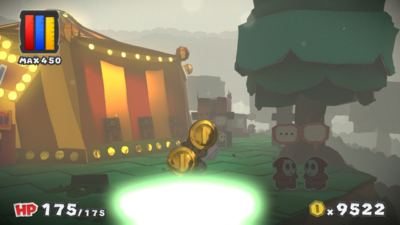
|
| In the first area, on some grass. | 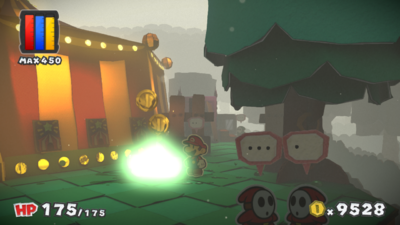
|
| In the first area, on a crate. | 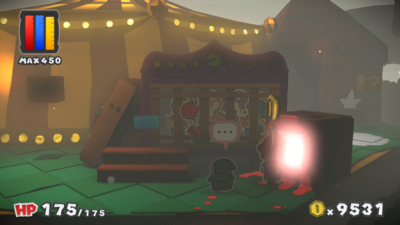
|
| In the first area, on the ground. | 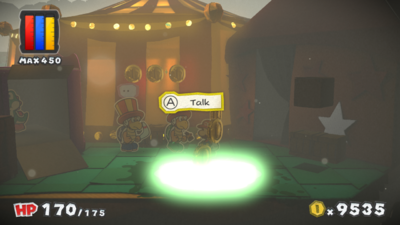
|
| In the first area, on the wall. | 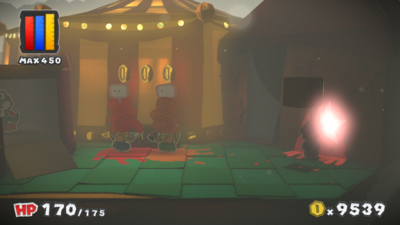
|
Statistics
| Location | Colorless spots from parts of areas | Colorless spots from Toads | Total number of colorless spots |
|---|---|---|---|
| Port Prisma | 63 | 16 | 79 |
| Ruddy Road | 38 | 1 | 39 |
| Cherry Lake | 29 | 0 | 29 |
| Redpepper Volcano | 13 | 0 | 13 |
| Redpepper Crater | 19 | 0 | 19 |
| The Crimson Tower | 22 | 2 | 24 |
| Sunglow Ridge | 39 | 5 | 44 |
| Daffodil Peak | 51 | 2 | 53 |
| Château Chanterelle | 8 | 0 | 8 |
| Mustard Café | 53 | 1 | 54 |
| The Golden Coliseum | 31 | 0 | 31 |
| Indigo Underground | 38 | 1 | 39 |
| Bloo Bay Beach | 38 | 0 | 38 |
| Dark Bloo Inn | 13 | 1 | 14 |
| Cobalt Base | 3 | 0 | 3 |
| Fort Cobalt | 21 | 0 | 21 |
| Plum Park | 34 | 3 | 37 |
| Violet Passage | 10 | 0 | 10 |
| Vortex Island | 56 | 5 | 51 |
| Lighthouse Island | 34 | 1 | 35 |
| Fortune Island | 42 | 0 | 42 |
| Marmalade Valley | 36 | 0 | 36 |
| Kiwano Temple | 37 | 0 | 37 |
| Toad Trainworks | 27 | 1 | 28 |
| Tangerino Grill | 8 | 0 | 8 |
| Sunset Express | 14 | 0 | 14 |
| Mondo Woods | 19 | 0 | 19 |
| Sacred Forest | 47 | 0 | 47 |
| Green Energy Plant | 1 | 0 | 1 |
| Mossrock Theater | 32 | 2 | 34 |
| The Emerald Circus | 12 | 0 | 12 |
| Total | 883 | 41 | 924 |